


距离上一篇博文有一段时间了。博主也在努力的学习中。最近发现了一些问题借此记录下来。顺便写一个demo方便有需要的同学学习。
<LinearLayout xmlns:android="http://schemas.android.com/apk/res/android"
xmlns:tools="http://schemas.android.com/tools"
android:layout_width="match_parent"
android:layout_height="match_parent"
android:gravity="center"
tools:context=".MainActivity" >
<TextView
android:id="@+id/textview"
android:layout_width="wrap_content"
android:layout_height="wrap_content"
android:background="@drawable/shapre"
android:text="@string/hello_world" />
<Button
android:id="@+id/butto"
android:layout_width="wrap_content"
android:layout_height="wrap_content"
android:text="发送请求" />
</LinearLayout>
这是xml的布局。很简单一个text一个button。
package com.example.http;
import java.io.BufferedReader;
import java.io.InputStream;
import java.io.InputStreamReader;
import java.net.HttpURLConnection;
import java.net.URI;
import java.net.URL;
import android.os.Bundle;
import android.os.Handler;
import android.os.Message;
import android.app.Activity;
import android.util.Log;
import android.view.Menu;
import android.view.View;
import android.view.View.OnClickListener;
import android.widget.Button;
import android.widget.TextView;
public class MainActivity extends Activity {
TextView tx;
Button bt;
String result = "";
@Override
protected void onCreate(Bundle savedInstanceState) {
super.onCreate(savedInstanceState);
setContentView(R.layout.activity_main);
tx = (TextView) findViewById(R.id.textview);
bt = (Button) findViewById(R.id.butto);
final Handler handler = new Handler() {
@Override
public void handleMessage(Message msg) {
//正如下边提到的。如果是一切正常将发送0x123那么文本框将显示服务器返回的结果。服务器的内容很简单。待会来看
if (msg.what == 0x123) {
tx.setText(result);
}
//如果发送的是0x122说明是在连接的过程中出现了异常。讲文本框更新为bad
if (msg.what == 0x122) {
tx.setText("bad");
}
}
};
Log.d("=====================", "---------------->>>>>>");
bt.setOnClickListener(new OnClickListener() {
@Override
public void onClick(View v) {
new Thread() {
@Override
public void run() {
try {
Log.d("=====================", "1");
//创建一个url ip地址可以通过运行cmd的ipconfig来查看
URL url = new URL(
"http://10.255.91.139:8080/servlet/servlet/myservlet");
Log.d("=====================", "2");
//httpurlconnecton的对象是通过url的openconnection来获取的
HttpURLConnection httpURLConnection = (HttpURLConnection) url
.openConnection();
Log.d("=====================", "4");
//设置连接超时。这里设置为五秒。如果五秒未能连接则会抛出超时异常
httpURLConnection.setConnectTimeout(5000);
//建立连接。默认是get请求。当然可以通过httpURLConnection.setRequestMethod(method)设置post请求
httpURLConnection.connect();
Log.d("=====================", "5");
//获取输入流。也就是获取服务器的响应结果。
InputStream input = httpURLConnection
.getInputStream();
Log.d("=====================", "6");
//讲输入流转化为bufferreader
BufferedReader reader = new BufferedReader(
new InputStreamReader(input));
Log.d("=====================", "7");
String line;
//讲返回结果通过while赋值给result
while ((line = reader.readLine()) != null) {
result += line;
System.out.println(line);
}
//发送消息通知ui线程更新界面。这里发送的0x123其实是一个标示。可以任意赋值
handler.sendEmptyMessage(0x123);
} catch (Exception e) {
//这里的异常只是exception。并没有细分种种的异常。只要上边的try块中出现了异常。程序将直接跳转到此处。如果需要的同学。可以自己捕获其他异常来处理相关的信息
Log.d("=====================", "can not connection");
//如果出现异常就发送0x122区别于上边的0x123方便在handler中判断如何更新ui
handler.sendEmptyMessage(0x122);
}
}
}.start();
}
});
}
@Override
public boolean onCreateOptionsMenu(Menu menu) {
// Inflate the menu; this adds items to the action bar if it is present.
getMenuInflater().inflate(R.menu.main, menu);
return true;
}
}
这一段代码是在安卓代码。注释的很清楚了。如果还是有不同见解或者不太明白的同学可以留言探讨。
服务器断。采用很简单的servlet。高级的框架对于这样的小程序无疑是多余的。
import java.io.IOException;
import java.io.PrintWriter;
import javax.servlet.ServletException;
import javax.servlet.http.HttpServlet;
import javax.servlet.http.HttpServletRequest;
import javax.servlet.http.HttpServletResponse;
public class myservlet extends HttpServlet {
/**
* Constructor of the object.
*/
public myservlet() {
super();
}
/**
* Destruction of the servlet. <br>
*/
public void destroy() {
super.destroy(); // Just puts "destroy" string in log
// Put your code here
}
/**
* The doGet method of the servlet. <br>
*
* This method is called when a form has its tag value method equals to get.
*
* @param request the request send by the client to the server
* @param response the response send by the server to the client
* @throws ServletException if an error occurred
* @throws IOException if an error occurred
*/
public void doGet(HttpServletRequest request, HttpServletResponse response)
throws ServletException, IOException {
response.setContentType("text/html");
PrintWriter out = response.getWriter();
out.print("good");
out.flush();
out.close();
}
/**
* The doPost method of the servlet. <br>
*
* This method is called when a form has its tag value method equals to post.
*
* @param request the request send by the client to the server
* @param response the response send by the server to the client
* @throws ServletException if an error occurred
* @throws IOException if an error occurred
*/
public void doPost(HttpServletRequest request, HttpServletResponse response)
throws ServletException, IOException {
response.setContentType("text/html");
PrintWriter out = response.getWriter();
out
.println("<!DOCTYPE HTML PUBLIC \"-//W3C//DTD HTML 4.01 Transitional//EN\">");
out.println("<HTML>");
out.println(" <HEAD><TITLE>A Servlet</TITLE></HEAD>");
out.println(" <BODY>");
out.print(" This is ");
out.print(this.getClass());
out.println(", using the POST method");
out.println(" </BODY>");
out.println("</HTML>");
out.flush();
out.close();
}
/**
* Initialization of the servlet. <br>
*
* @throws ServletException if an error occurs
*/
public void init() throws ServletException {
// Put your code here
}
}
直接新建一个servlet。稍微修改一下doget方法就好。
然后将工程发布到tomcat。博主用的是myeclipse9.0是集成了tomcat的。用起来比较方便。
为了确认地址是否错误。先用浏览器访问一下。
http://10.255.91.139:8080/servlet/servlet/myservlet

这个地址下返回的确实是good。大家做测试的时候讲ip地址改为自己电脑的就好了。需要注意的是。在安卓代码那里也要修改ip地址。
好了一切准备就绪。可以测试了。

点击button
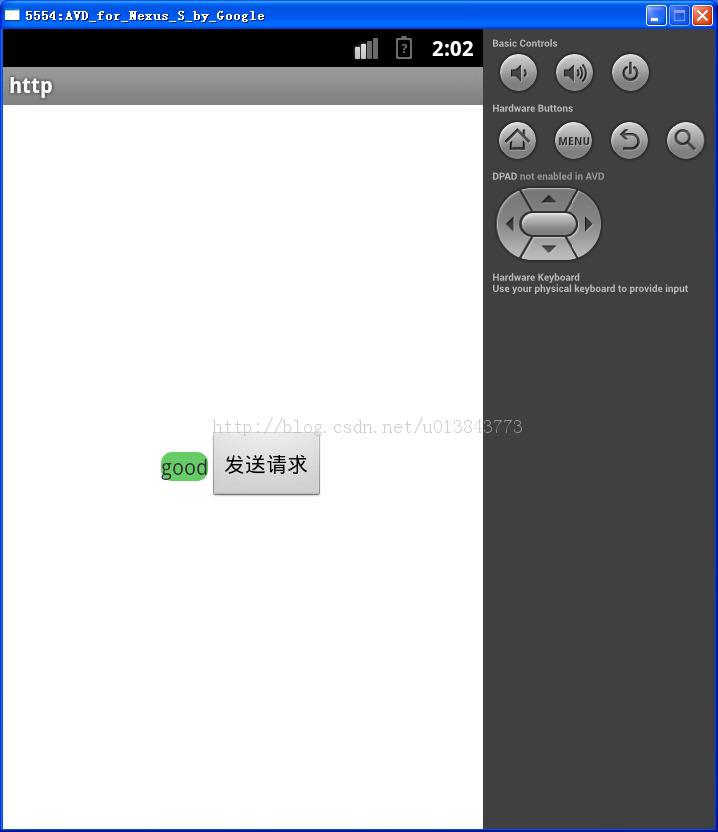
正常。返回了服务器的good这个字符串。log日志也依次打印出了程序的运行过程
接着将服务器关闭。再来测试。
发现结果如下
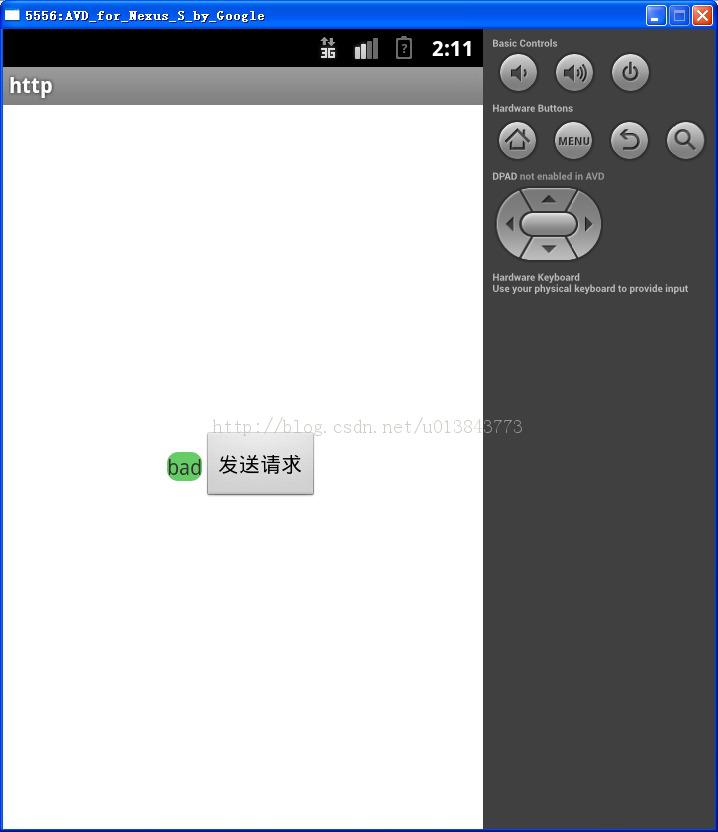
而log打印出的日志如下。来看这个log日志。红线框起的部分。打印出4和打印出can not connection的时间差刚好是五秒。当然包含了程序运行时间。不是完全的一样。这也符合了我们在代码中设置的超时为五秒。至此一个完整的httpurlconnection从发送请求到接受数据到处理连接不成功便都一一讲完了。大家只要在相关的地方添加自己的片段就可以做自己的事情了。安卓源码和服务器源码都将上传。


 829
829

 被折叠的 条评论
为什么被折叠?
被折叠的 条评论
为什么被折叠?
 到【灌水乐园】发言


