


效果

在一台 RTX 4090 显卡上,生成了两个分辨率为 544x960,帧率为 24fps 的视频,时长为 2 秒。其中一个视频的生成耗时为 433 秒,另一个耗时为 839 秒。
如下图所示:
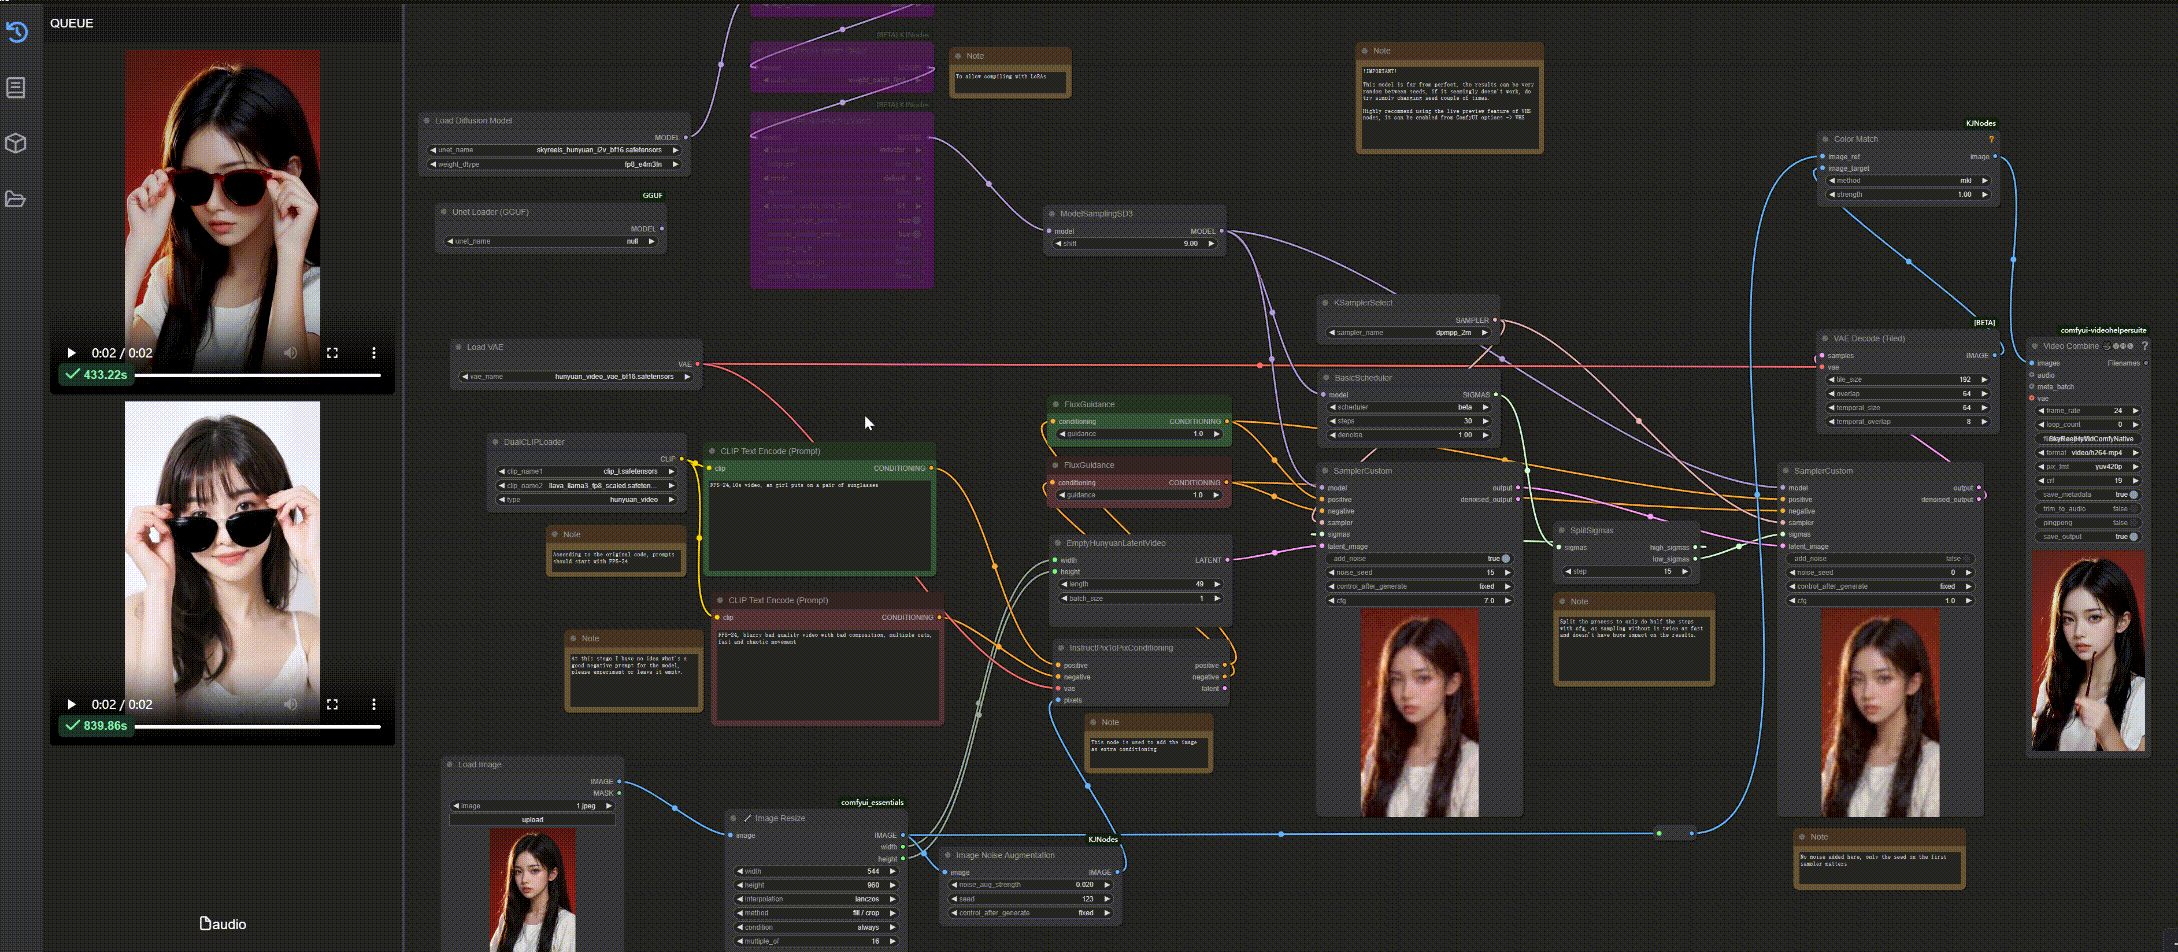
这里我使用的时4090显卡,运行时效果
本地部署教程
安装comfyui
1、使用conda配置python环境,不会安装conda的可以自行搜索,这里不多赘述。
根据https://github.com/comfyanonymous/ComfyUI.git
conda create -n comfyui202502 python=3.12
conda activate comfyui202502
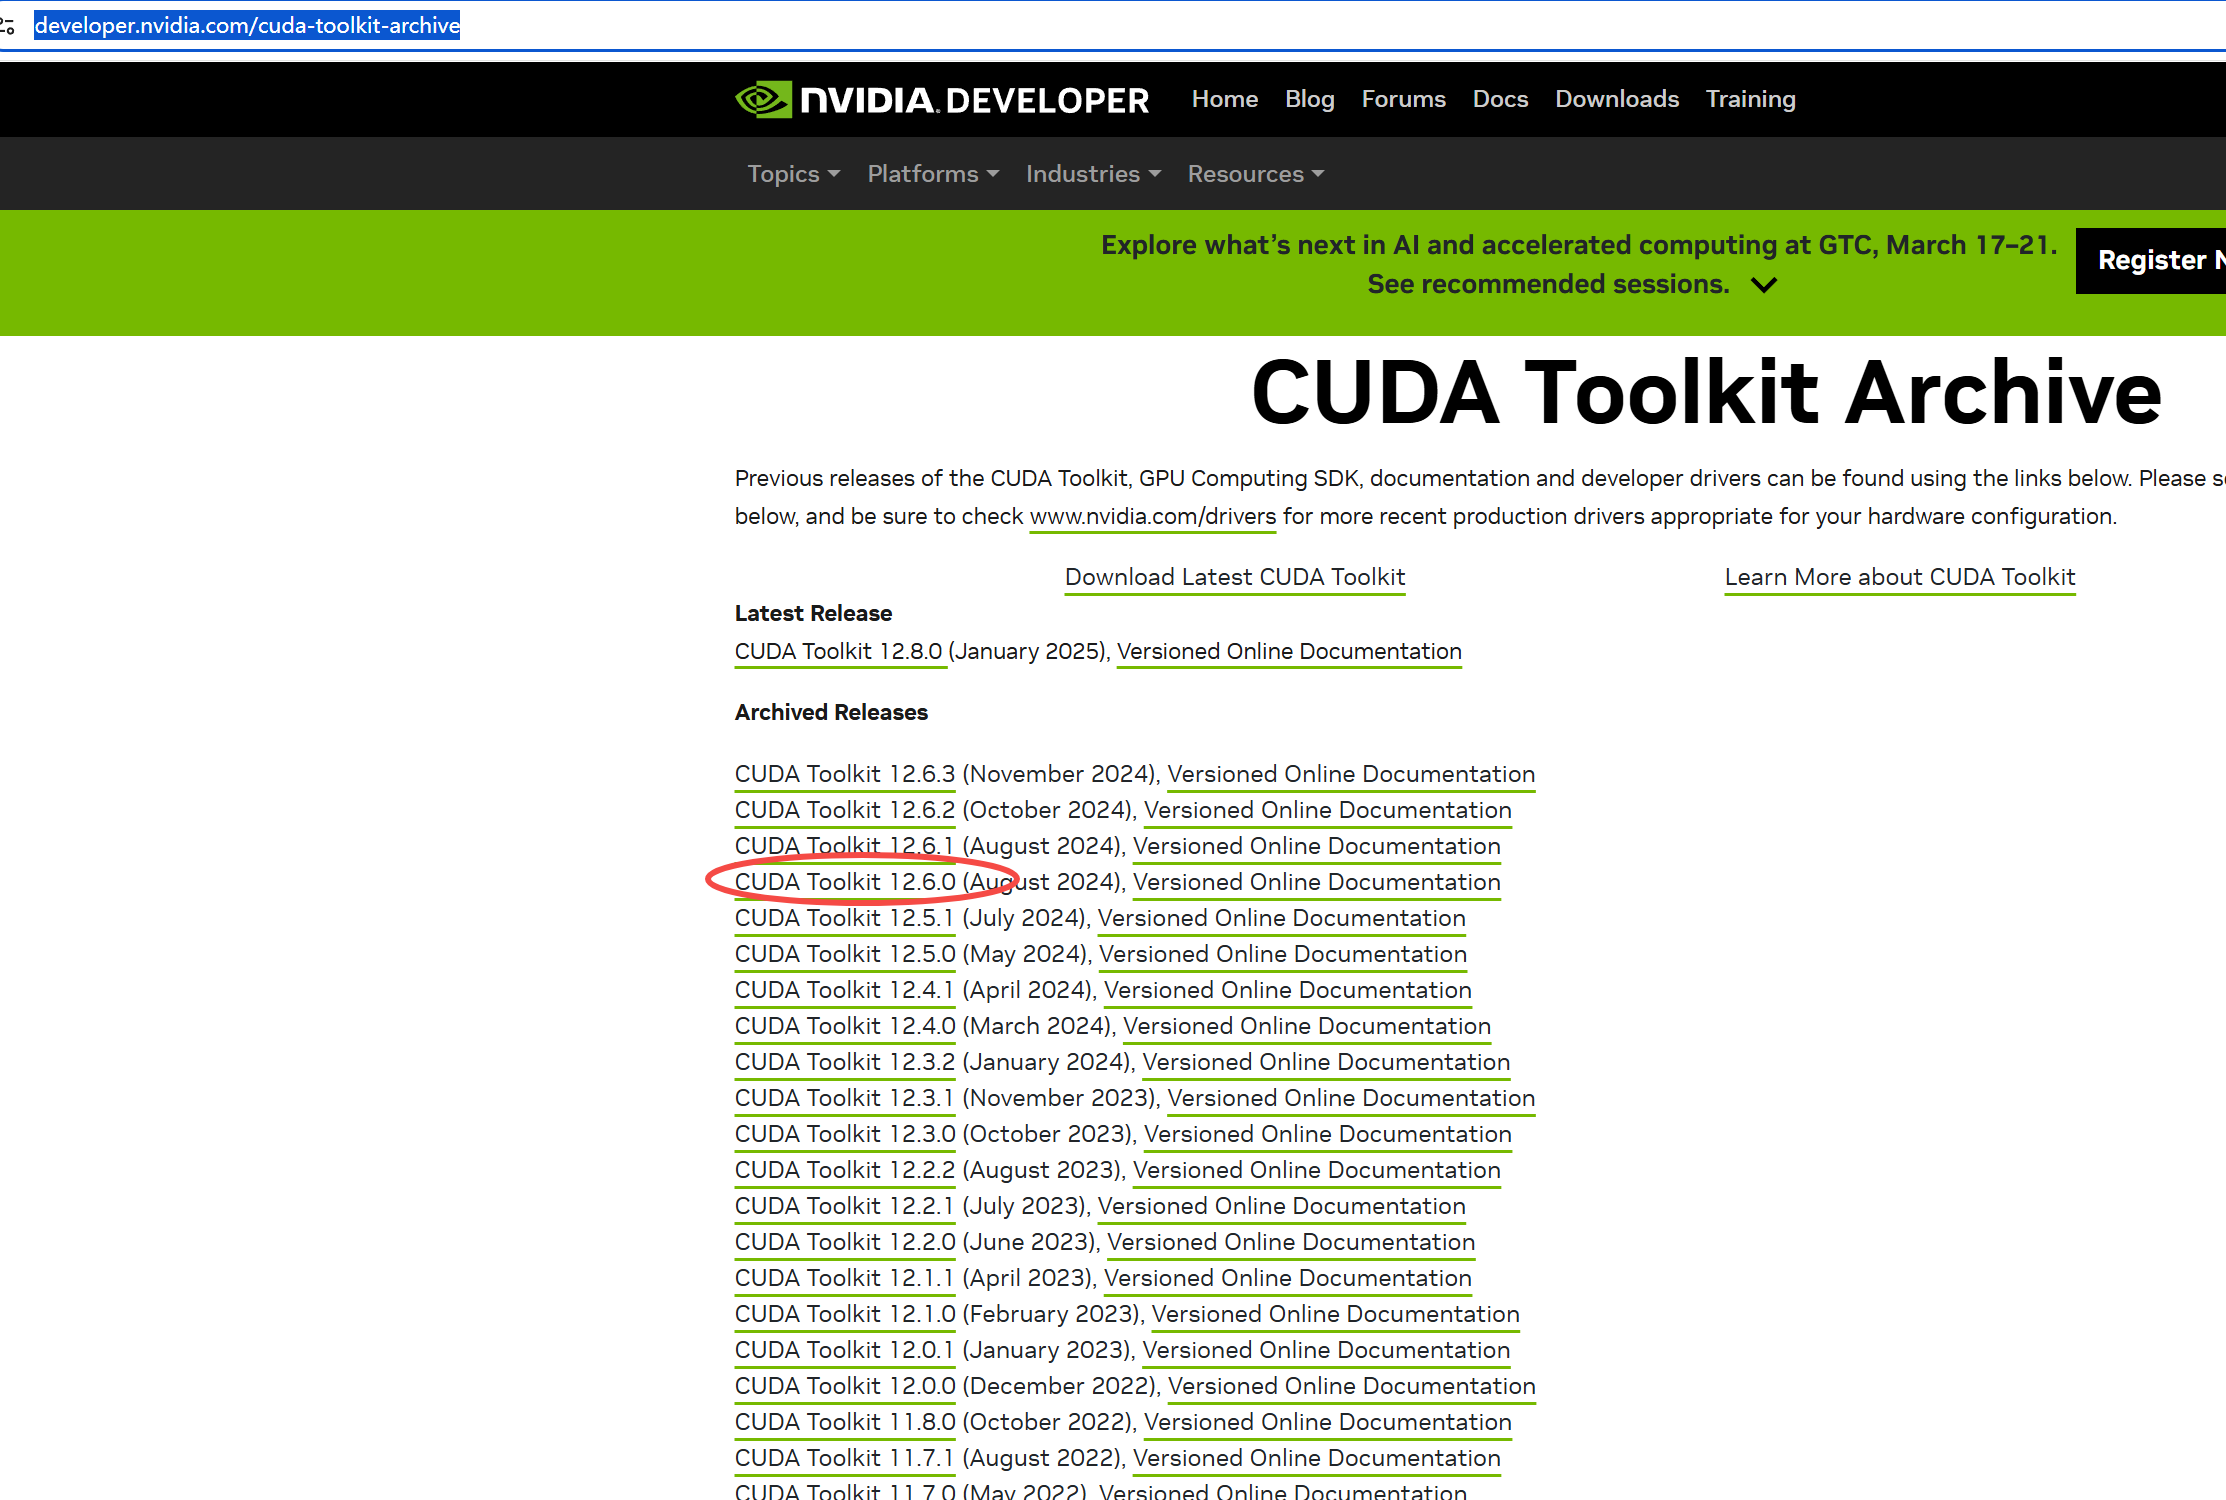
2、安装pytorch,comfyui文档介绍用的12.6版本的cuda,我是重新安装的12.6版本的,这里只是为了安装comfyui,而选择的跟文档一致,其他版本应该也行,这个没有测试。
cuda地址:https://developer.nvidia.com/cuda-toolkit-archive
3、下载后安装,然后再运行下面的命令
pip install torch torchvision torchaudio --extra-index-url https://download.pytorch.org/whl/cu126
4、安装comfyui
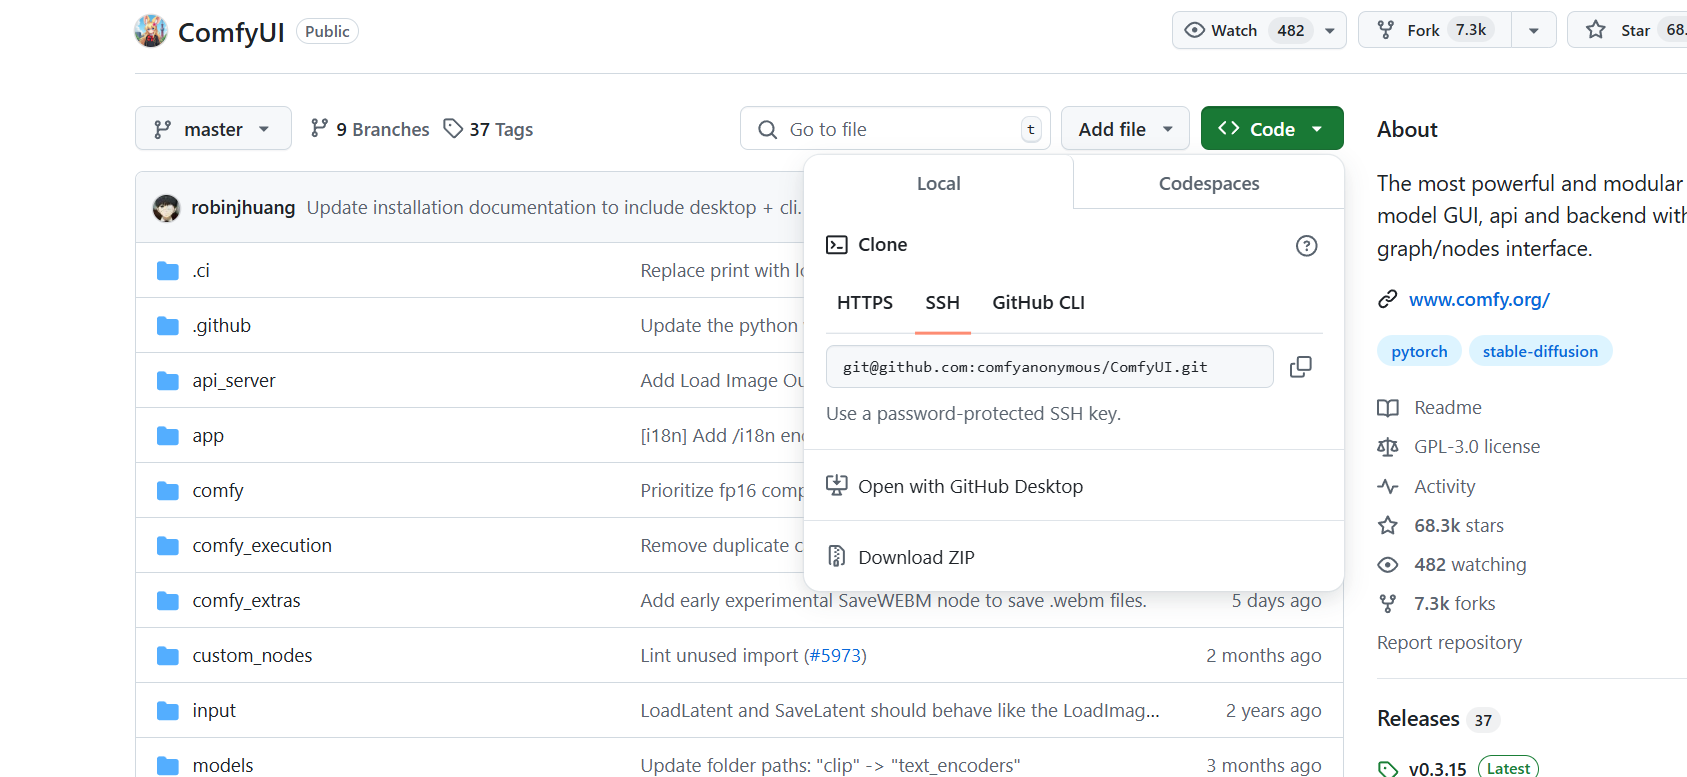
git clone https://github.com/comfyanonymous/ComfyUI.git
这里我这个报错了,好像是链接github出错
改为ssh的方式解决
git clone git@github.com:comfyanonymous/ComfyUI.git
安装依赖
pip install -r requirements.txt
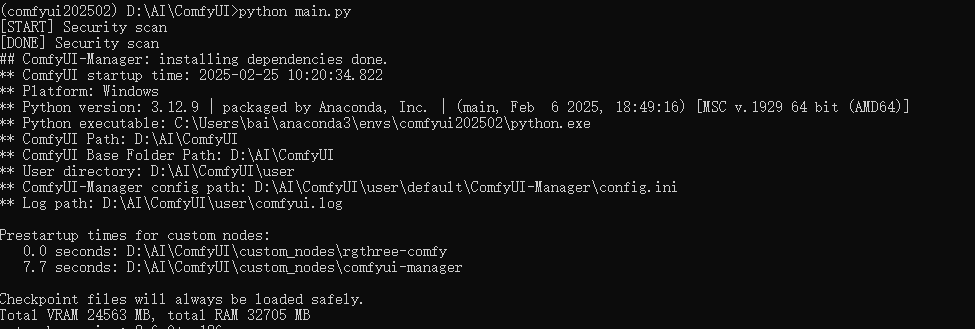
启动
python main.py
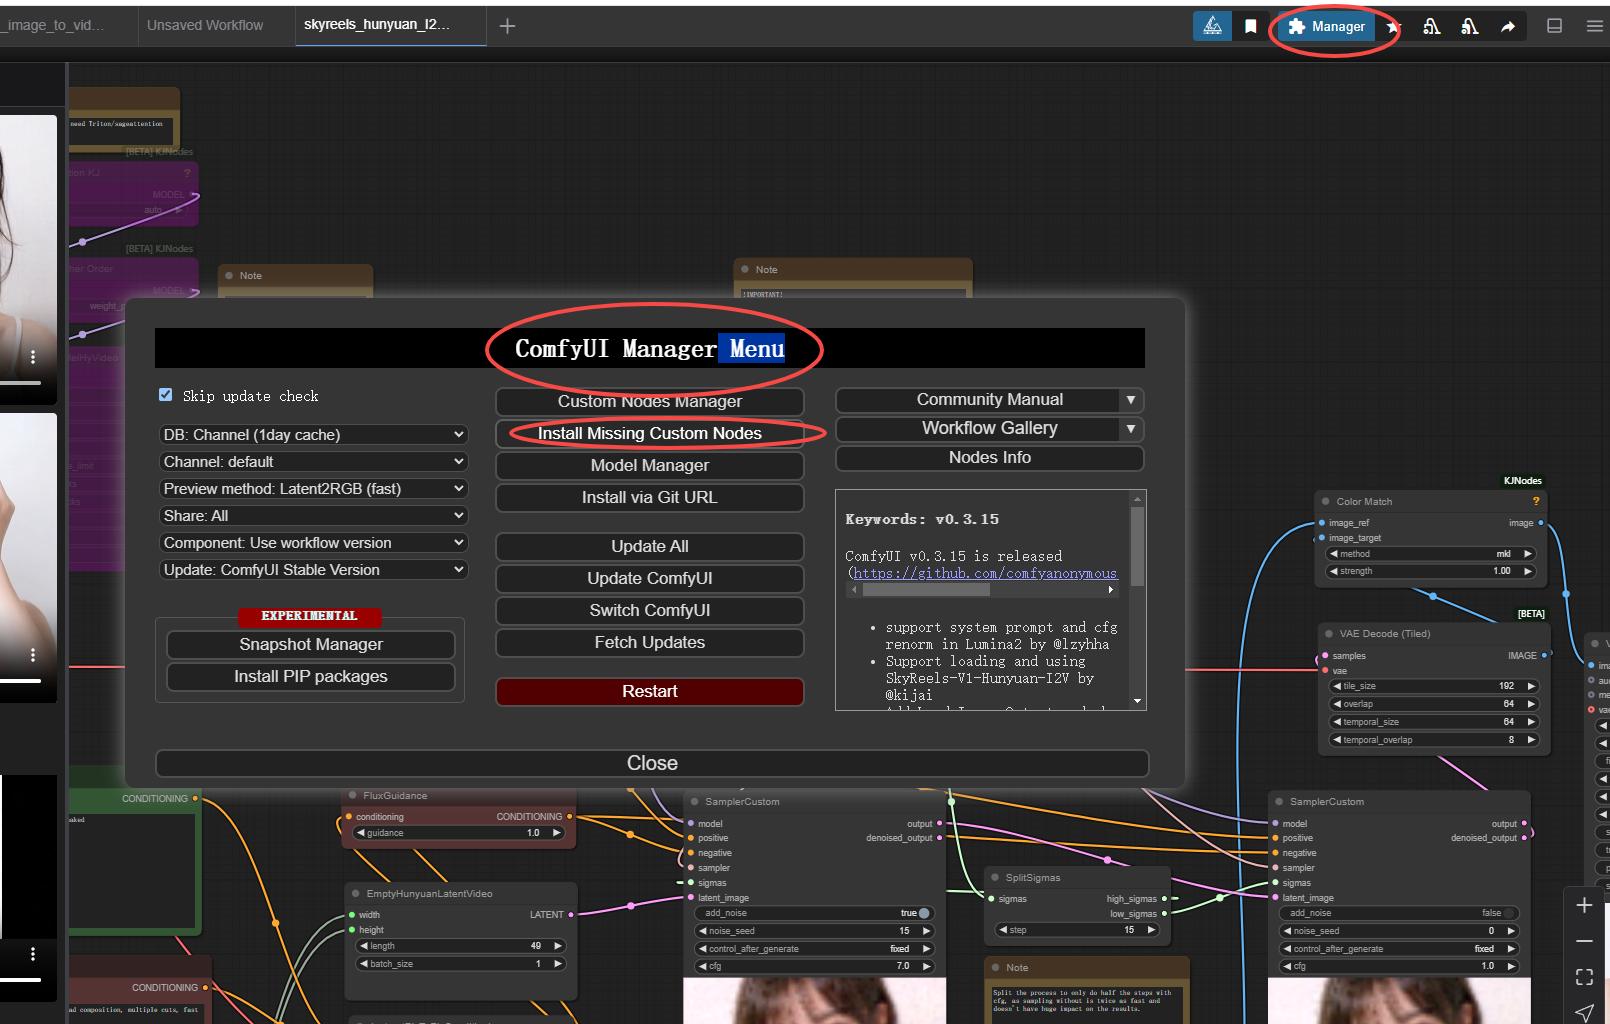
5、安装comfyui插件管理comfyui-manager
进入到ComfyUI/custom_nodes 文件夹,用命令行(cmd)
git clone https://github.com/ltdrdata/ComfyUI-Manager comfyui-manager
重启comfyui,comfyui-manager的作用当复制某些工作流时,节点可能丢失,可以点击install missing custom nodes直接查找缺失的节点。
SkyReels-V1部署
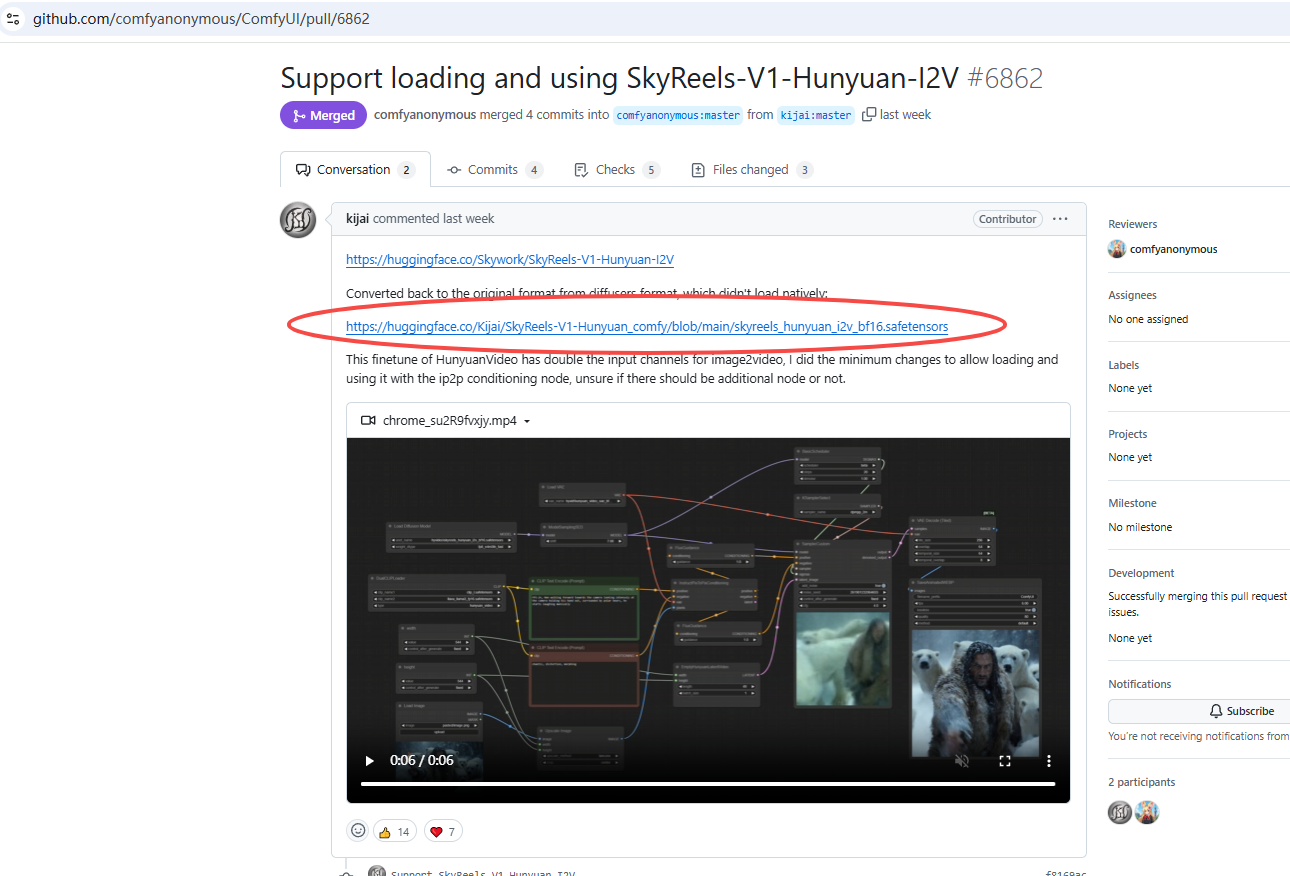
https://github.com/comfyanonymous/ComfyUI/pull/6862
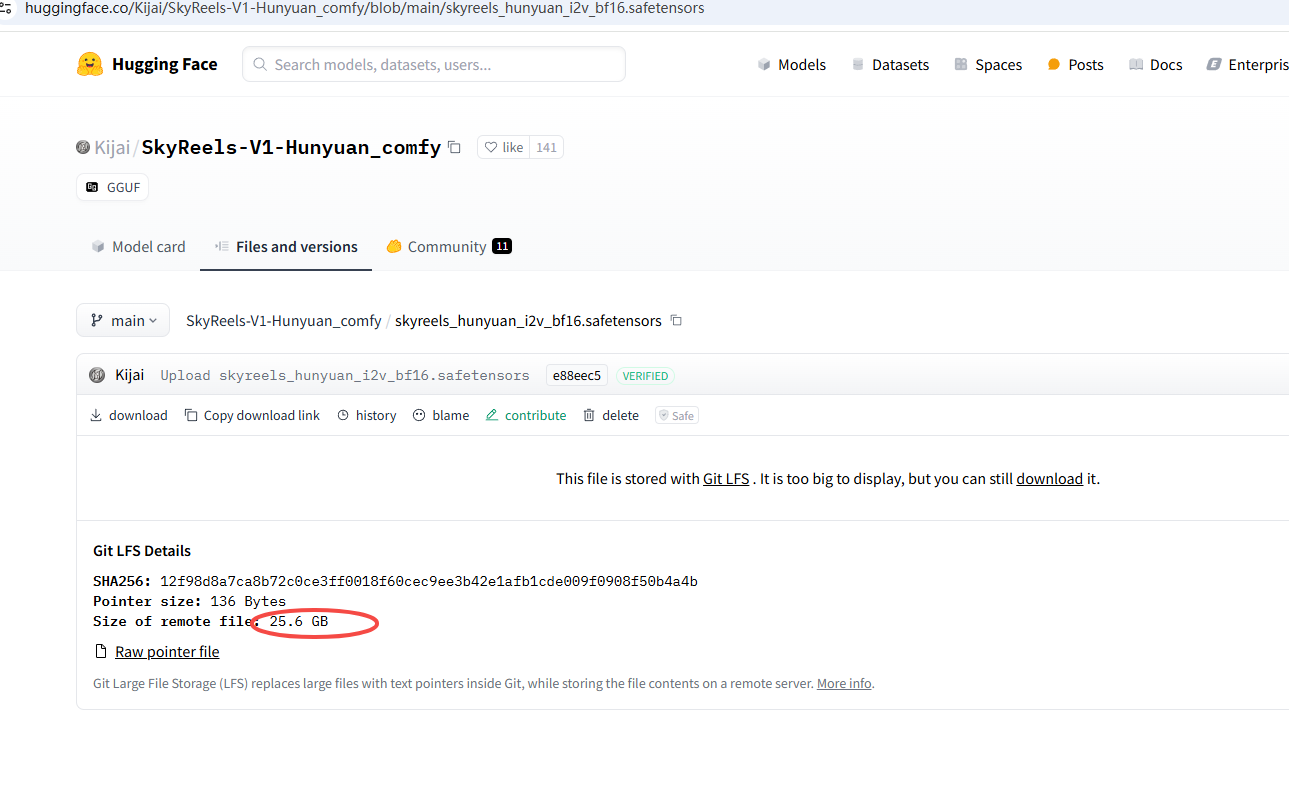
进入链接,下载大模型25.6GB
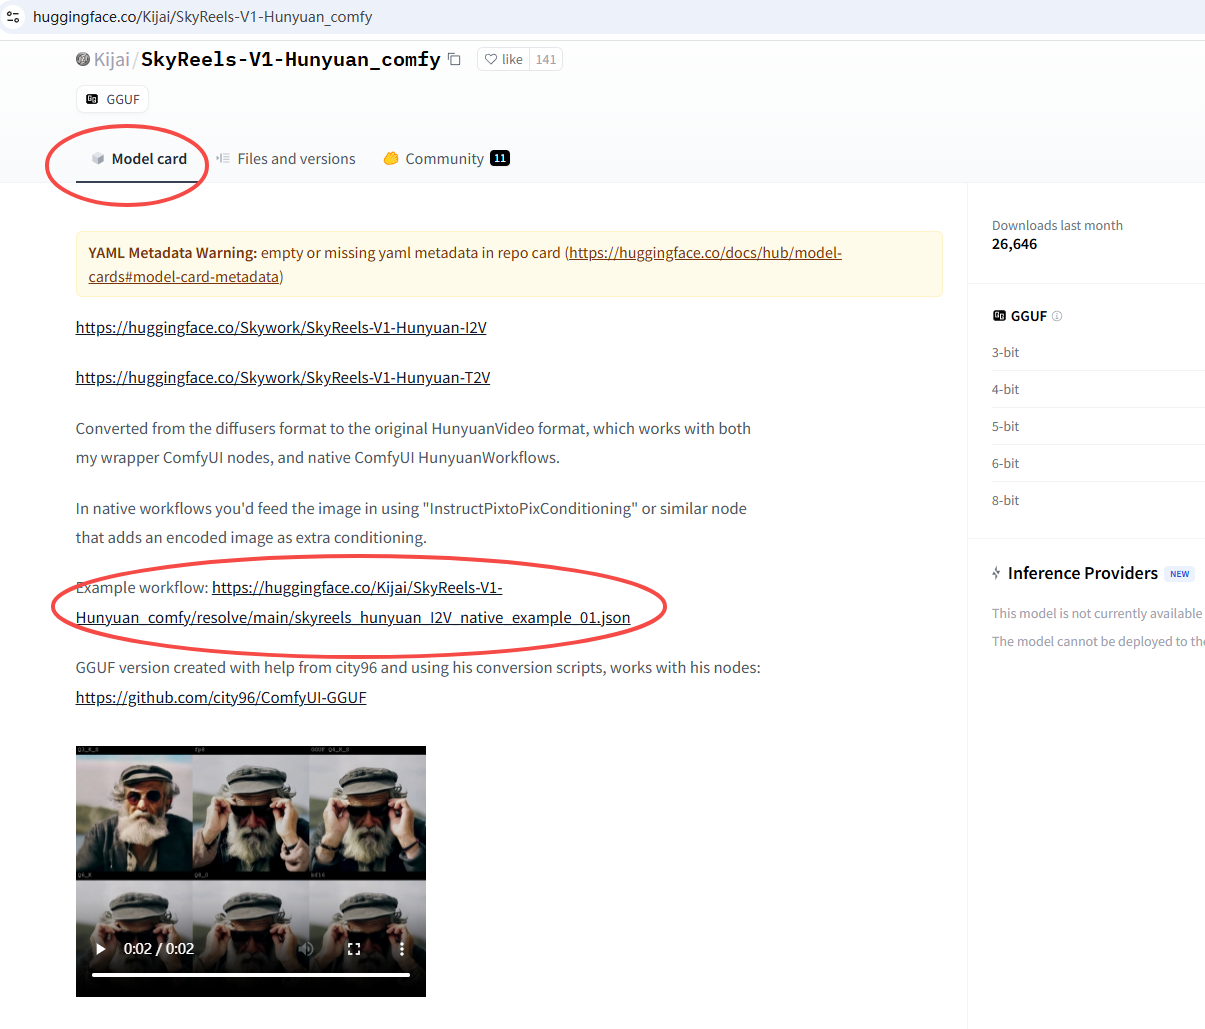
进入Model card下载工作流
把这个json导入我们的comyui中,

大概率会缺失节点,这里我们使用上面安装的comfyui-manager,安装必要的节点。
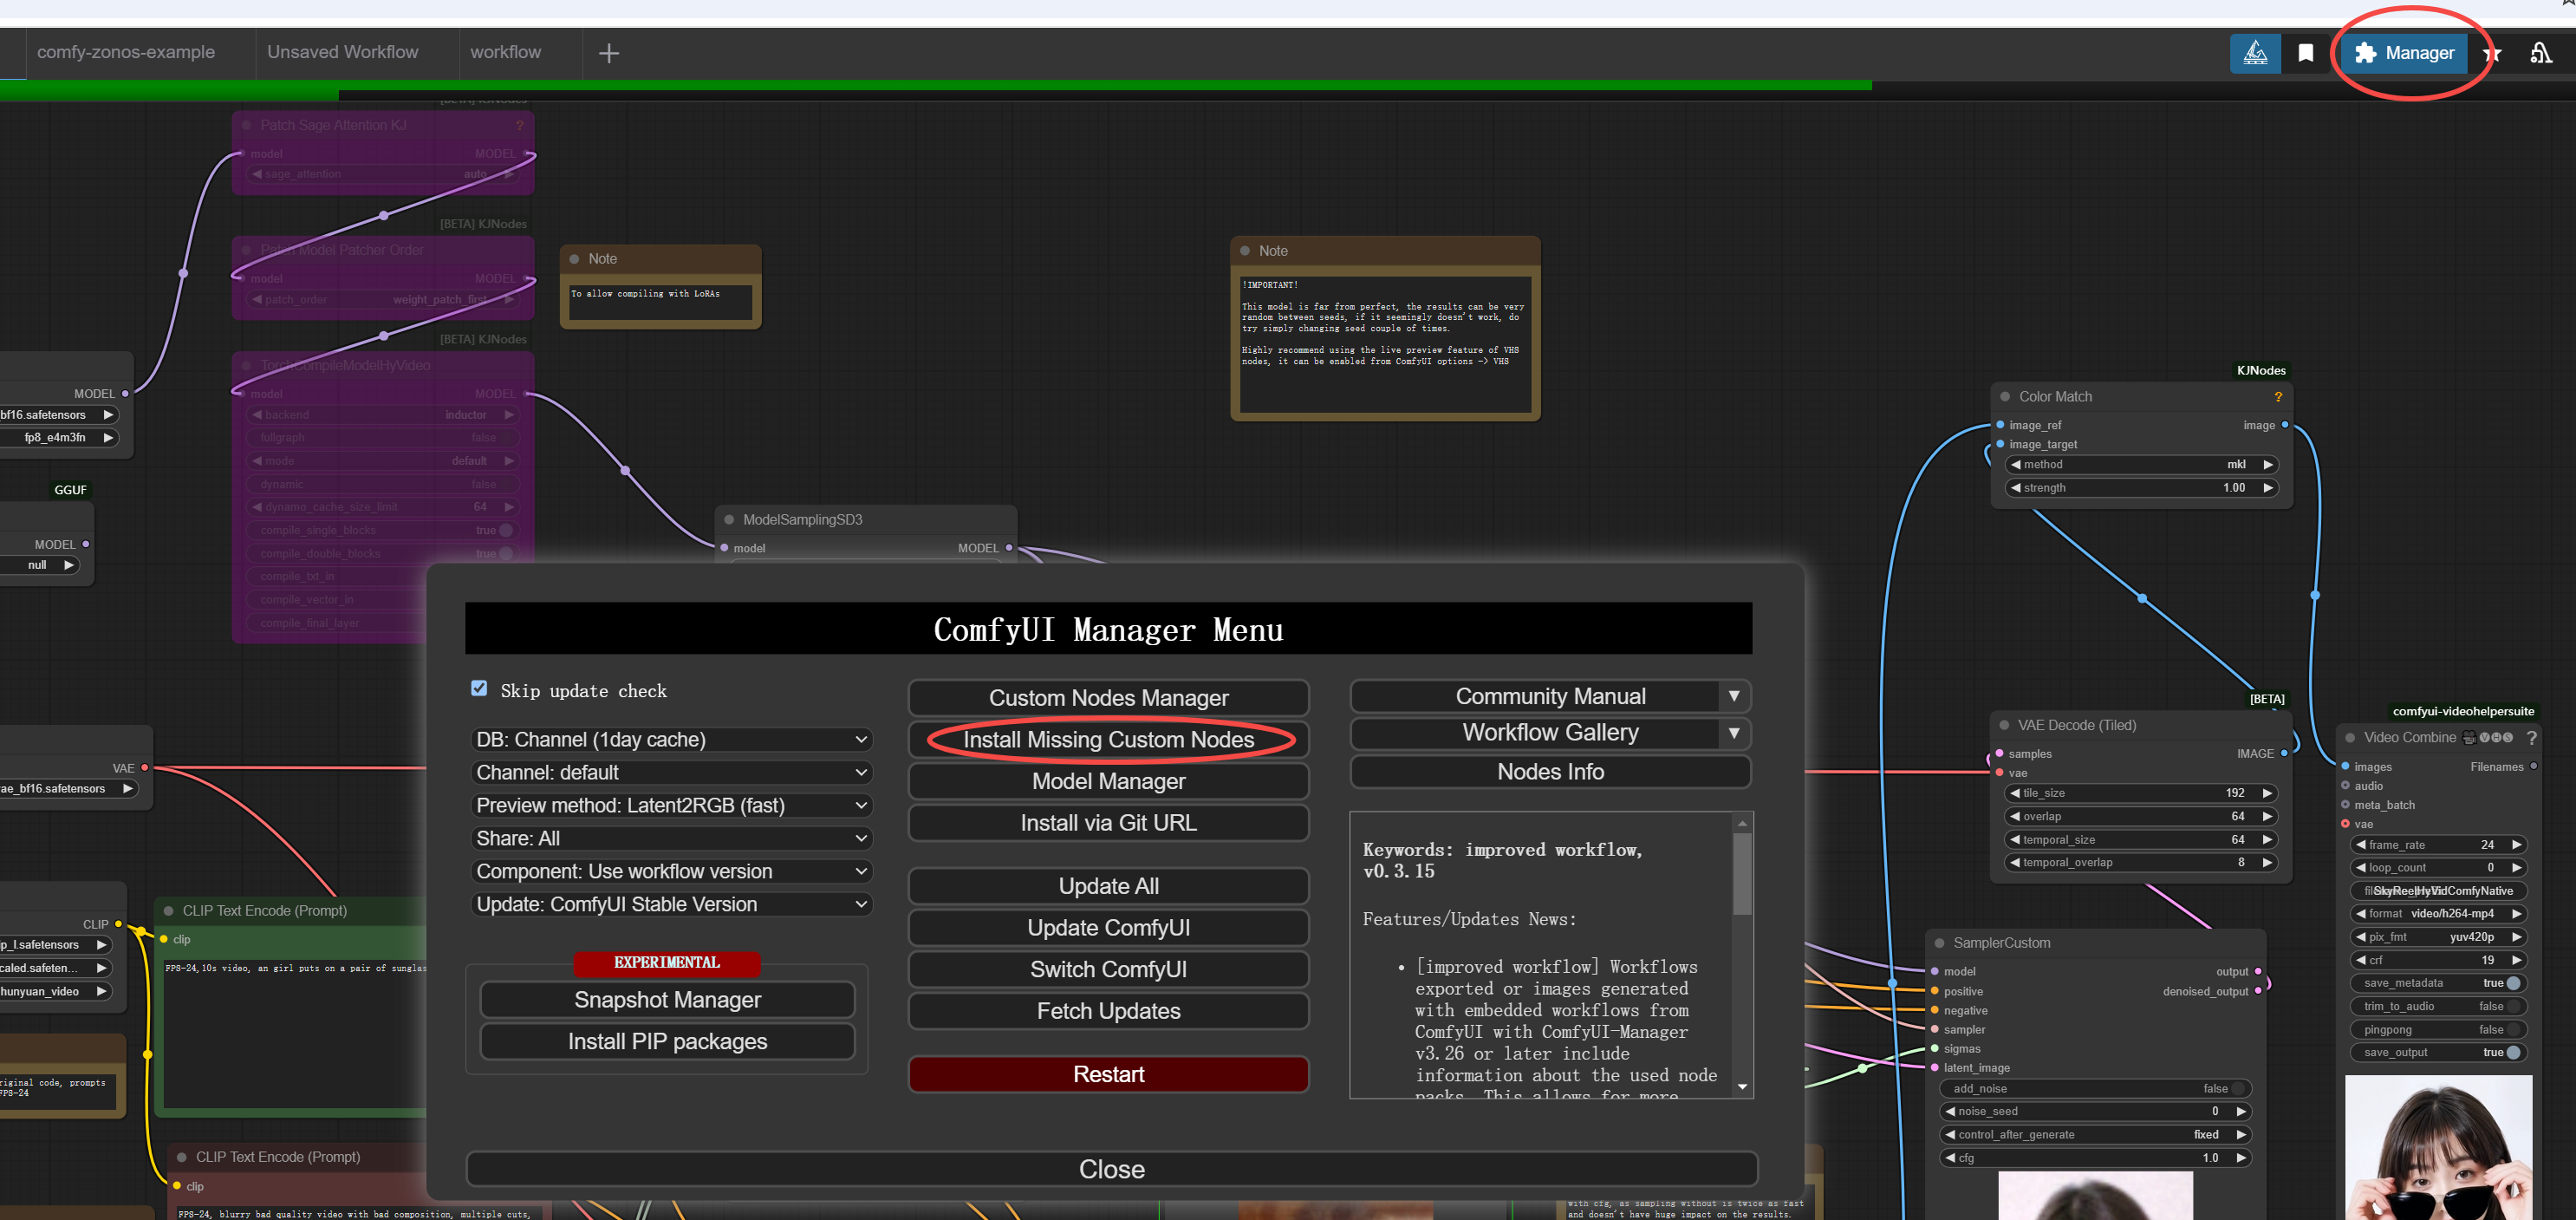
我这安装完后,依然会提示缺失节点TorchCompileModelHyVideo,如果你也有同样的错误。
或者模型文件hunyuan_video_vae_bf16.safetensors,clip_l.safetensors, llava_llama3_fp8_scaled.safetensors找不到
可以关注下方公众号回复skyreels


 1万+
1万+

 被折叠的 条评论
为什么被折叠?
被折叠的 条评论
为什么被折叠?
 到【灌水乐园】发言


