


 本文详细介绍了如何使用SwiftUI来设置视图的边框,包括颜色和宽度,以及如何调整透明度。此外,还深入探讨了不同情况下的阴影设置,包括阴影的颜色、范围、水平和垂直偏移,对于有背景和透明背景的视图都有具体说明。
前言
xcode 13.3
iOS 15.4
1、设置边框
1.1 设置边框颜色
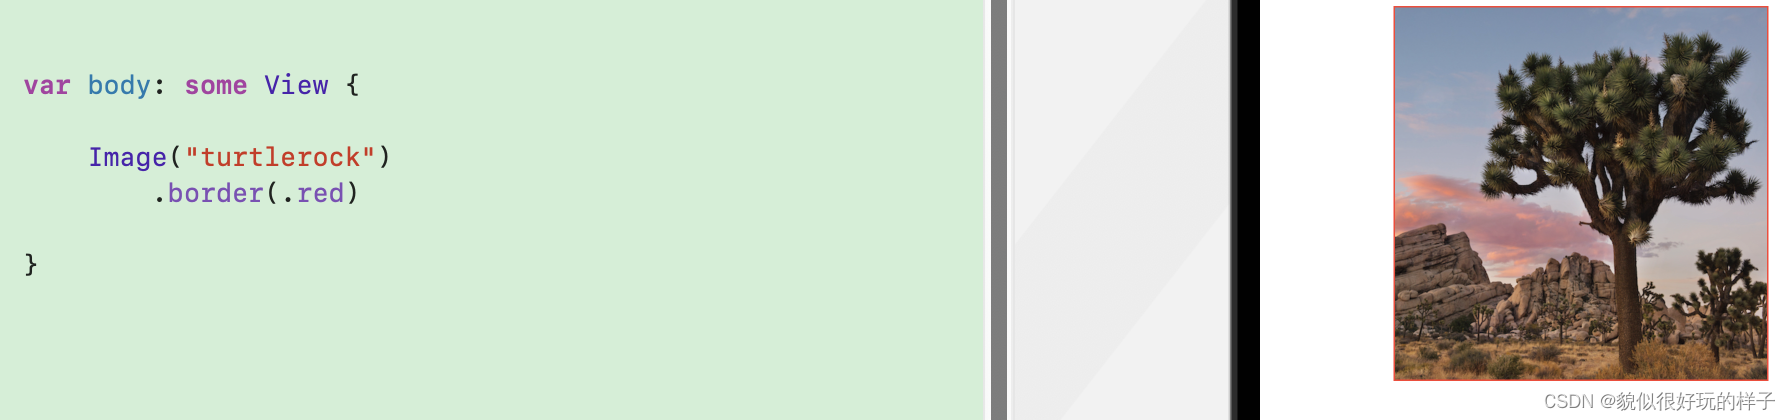
默认为1的边框
Image("turtlerock")
   .border(.red)
解释
    /// - Parameters:
    ///   - content: A value that conforms to the ``ShapeStyle`` protocol,
    ///     like a ``Color`` or ``HierarchicalShapeStyle``, that SwiftUI
    ///     uses to fill the border.
    ///   - width: The thickness of the border. The default is 1 pixel.
    ///
    /// - Returns: A view that adds a border with the specified style and width
    ///   to this view.
    @inlinable public func border<S>(_ content: S, width: CGFloat = 1) -> some View where S : ShapeStyle
1.2 设置边框颜色、宽度
设置边框颜色、宽度
Image("turtlerock")
   .bor
最低0.47元/天 解锁文章


 2131
2131


 被折叠的 条评论
为什么被折叠?
被折叠的 条评论
为什么被折叠?
 到【灌水乐园】发言


