


今天带来最火的下拉刷新,上拉加载控件实战: Android PullToRefresh
github地址:https://github.com/chrisbanes/Android-PullToRefresh
因为git上面下载的项目是在eclipes中编译的,那么我们首先解决将library包导入Android Studio的问题。
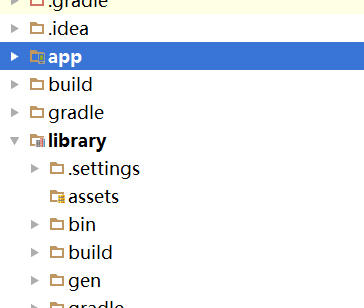
首先将下载的library包导入eclipes中,然后Export ,选择Build方式,下一步完成build的创建,这样在library的源文件目录下就会生成一个build.gradle文件,之后我们就可以使用Android studio将library文件当作Model导入我们的工程里面,如图:
ok,接下来我们先来看listview的使用。
第一种:只有下拉刷新,不支持上拉加载更多
activity_main.xml布局文件
<RelativeLayout xmlns:android="http://schemas.android.com/apk/res/android"
    xmlns:tools="http://schemas.android.com/tools"
    android:layout_width="match_parent"
    android:layout_height="match_parent"
    tools:context=".MainActivity">

    <com.handmark.pulltorefresh.library.PullToRefreshListView
        android:layout_width="match_parent"
        android:layout_height="match_parent"
        android:id="@+id/pull_refresh_list"
        android:divider="#19000000"
        android:dividerHeight="4dp"
        android:fadingEdge="none"
        android:fastScrollEnabled="false"
        android:footerDividersEnabled="false"
        android:headerDividersEnabled="false"
        android:smoothScrollbar="true"
        />

</RelativeLayout>
所有属性都是listView自带的属性,如果有属性不是很清楚的,大家可以自行Google一把。
MainActivity中
public class MainActivity extends AppCompatActivity {


    private PullToRefreshListView mListView;
    private ArrayAdapter<String> mAdapter;
    private LinkedList<String> mDatas;

    private int mItemCount = 9;

    @Override
    protected void onCreate(Bundle savedInstanceState) {
 最低0.47元/天 解锁文章


 597
597


 被折叠的 条评论
为什么被折叠?
被折叠的 条评论
为什么被折叠?
 到【灌水乐园】发言


