


我们可以在QML应用中直接使用QML WebView来装载我们的HTML应用,但是如果我们的HTML文件中使用到alert及confirm,我们的应用可能并不能弹出我们需要的alert及confirm。这时,我们需要对WebView中的alertDialog及confirmDialog进行设计才可以起到作用。
我们在下面来展示如何去做:
index.html
<html>
<head>
<script type="text/javascript">
<!--
function getConfirmation(){
var retVal = confirm("Do you want to continue ?");
if( retVal == true ){
return true;
}
else{
return false;
}
}
//-->
<!--
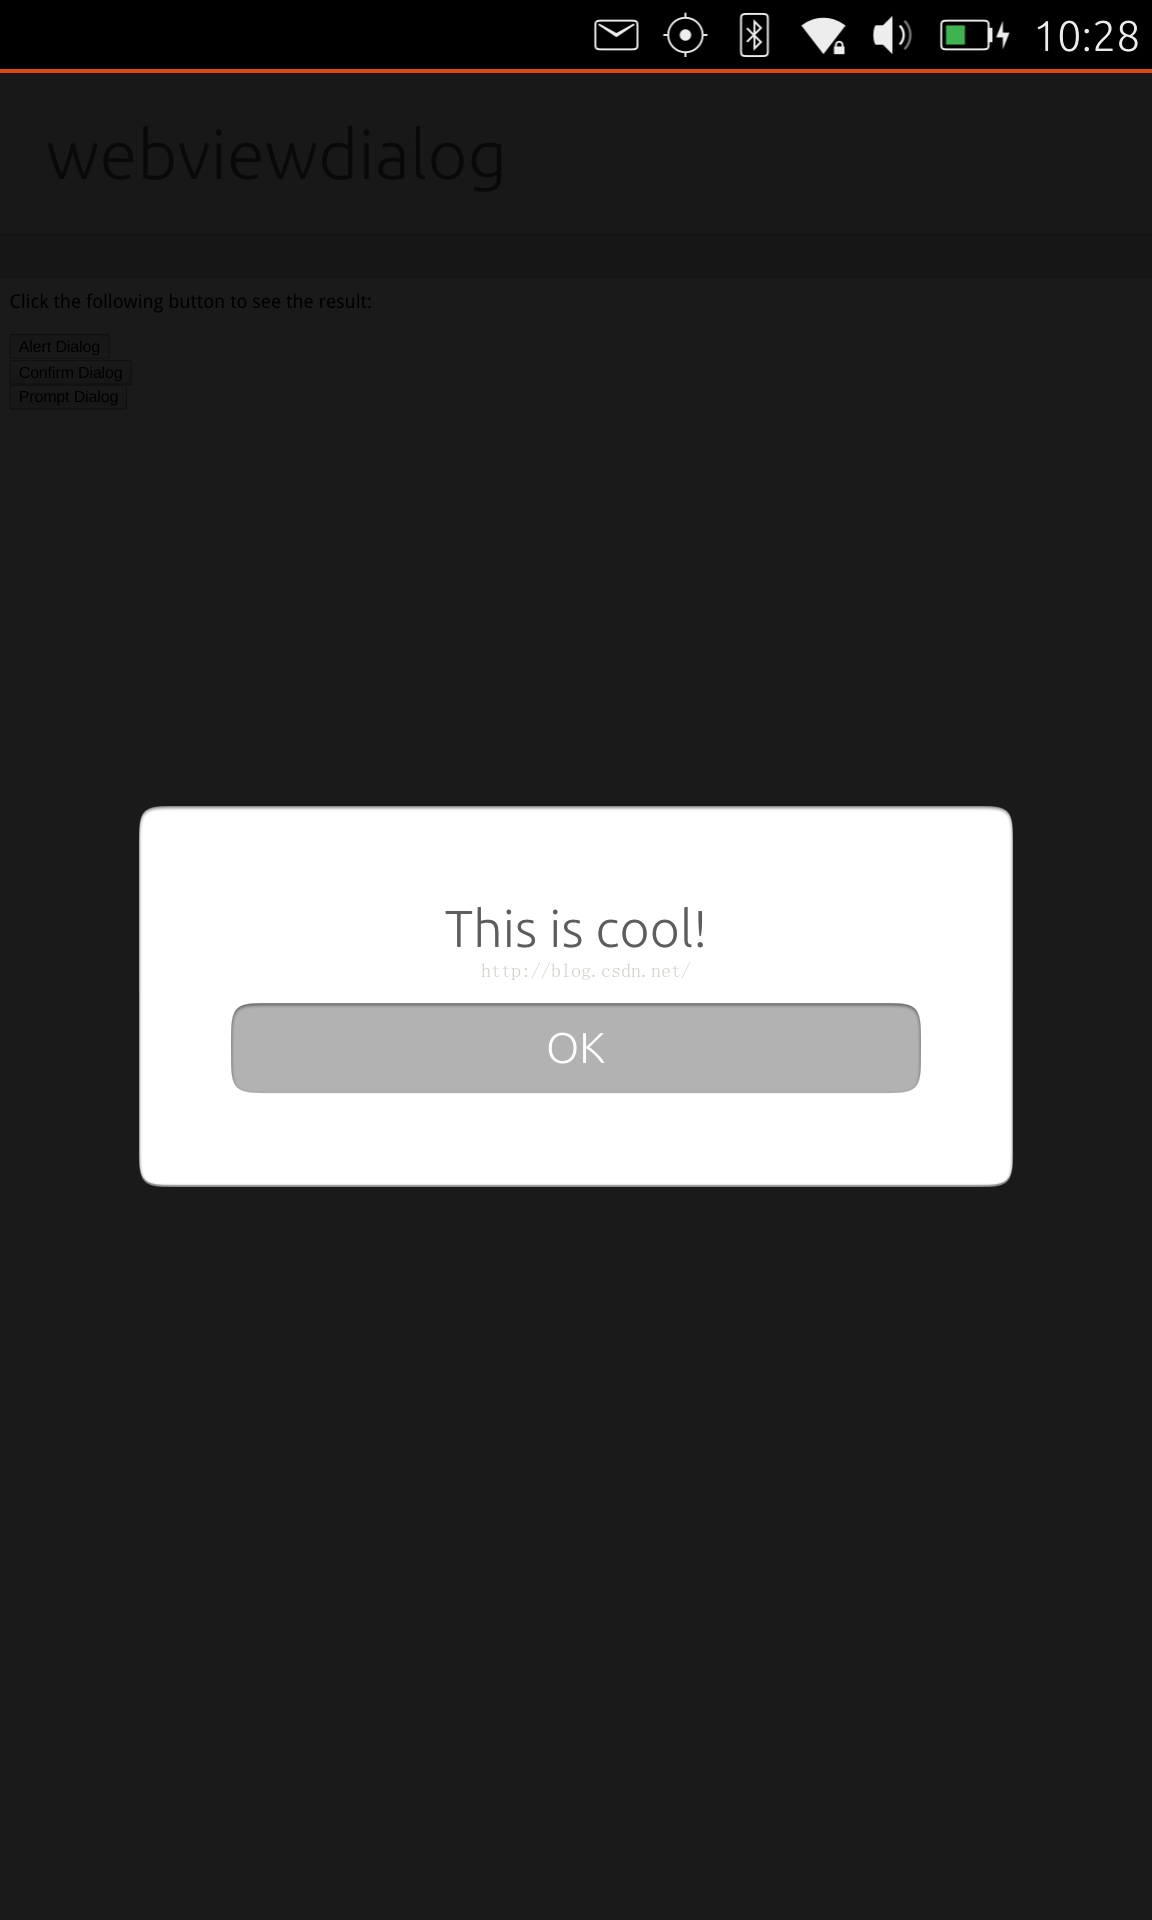
function getAlert(){
alert("This is cool!");
}
//-->
<!--
function getPrompt(){
var retVal = prompt("Enter your name : ", "your name here");
// console.log("retVal: + " + retVal);
}
//-->
</script>
</head>
<body>
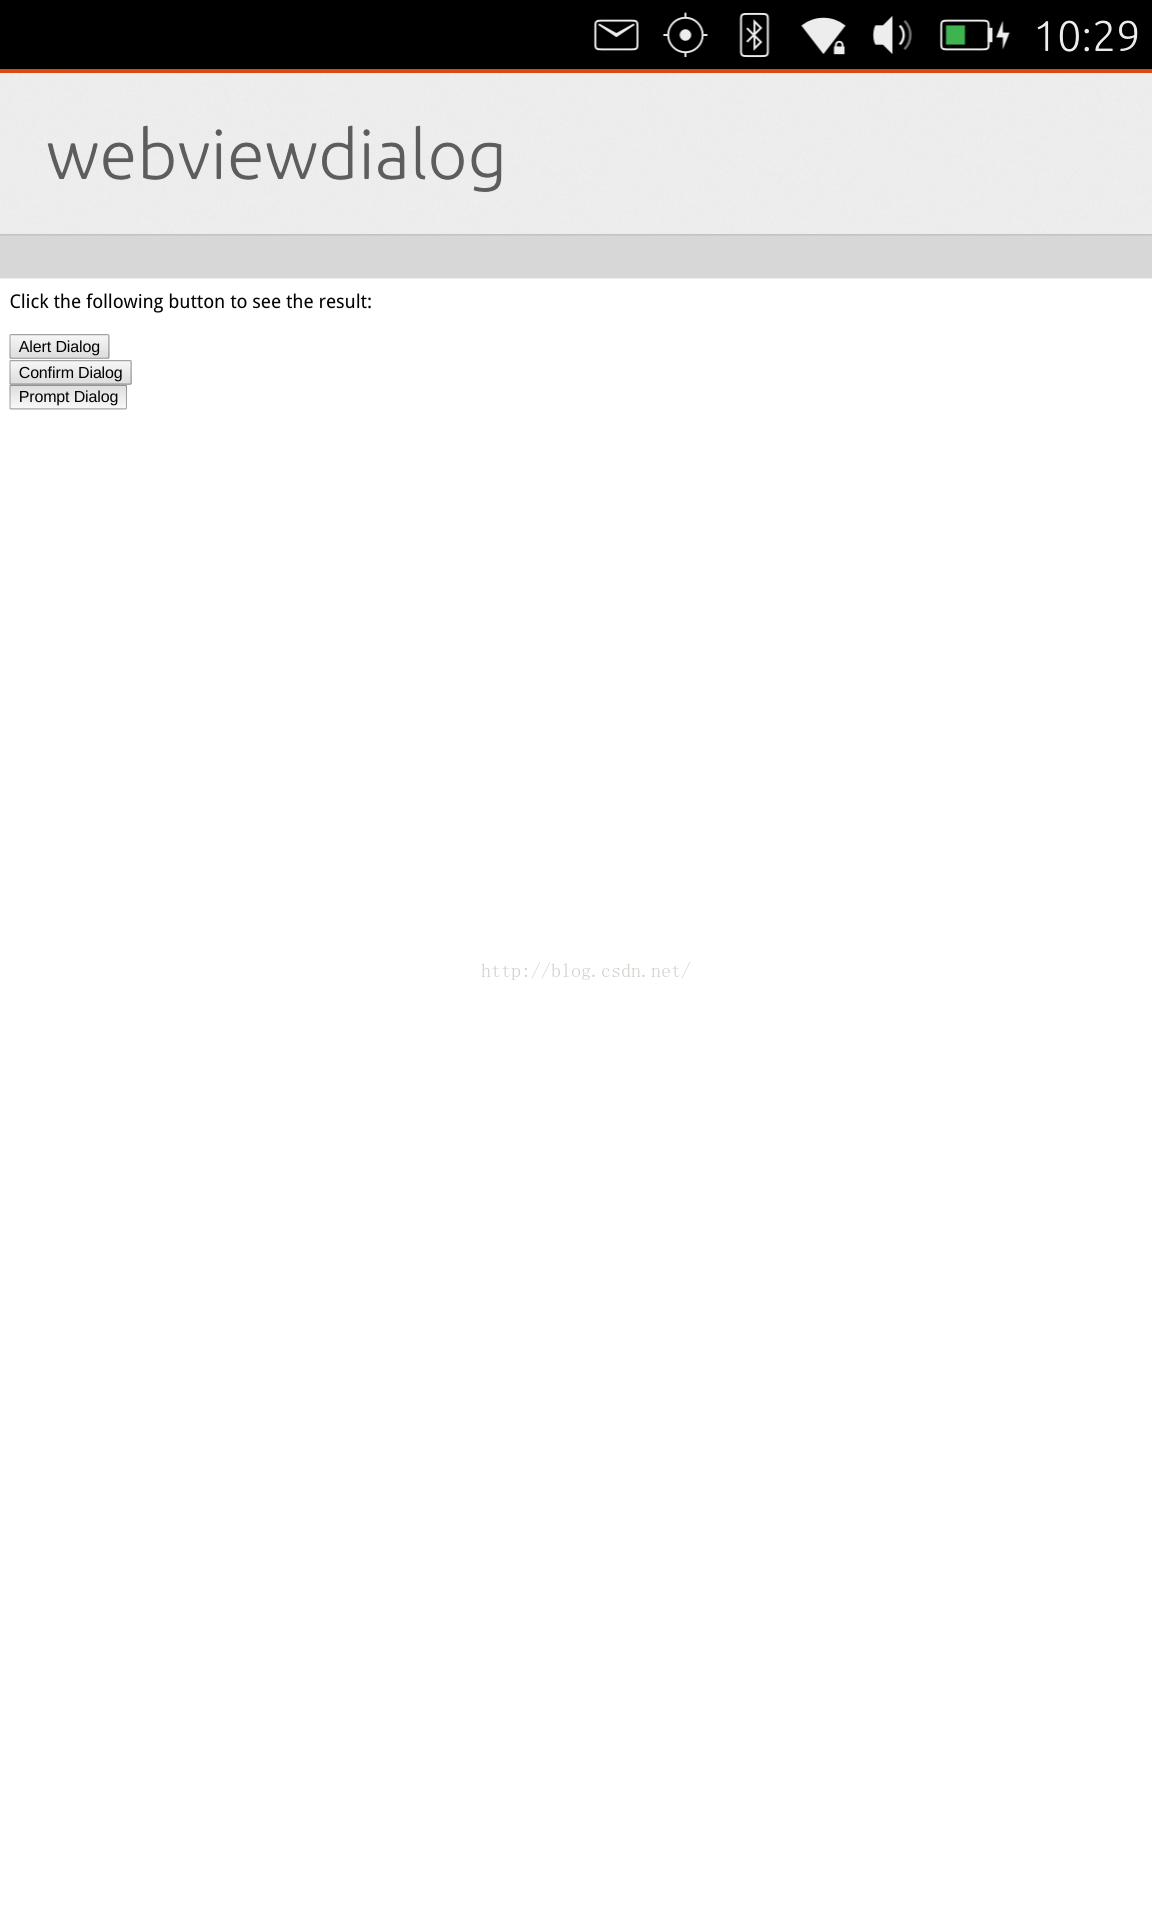
<p>Click the following button to see the result: </p>
<form>
<input type="button" value="Alert Dialog" οnclick="getAlert();" /> <br>
<input type="button" value="Confirm Dialog" οnclick="getConfirmation();" /> <br>
<input type="button" value="Prompt Dialog" οnclick="getPrompt();" />
</form>
</body>
</html>
Main.qml
import QtQuick 2.0
import Ubuntu.Components 1.1
import Ubuntu.Web 0.2
import Ubuntu.Components.Popups 1.0

/*!
    \brief MainView with a Label and Button elements.
*/

MainView {
    // objectName for functional testing purposes (autopilot-qt5)
    objectName: "mainView"

    // Note! applicationName needs to match the "name" field of the click manifest
    applicationName: "webviewdialog.liu-xiao-guo"

    /*
     This property enables the application to change orientation
     when the device is rotated. The default is false.
    */
    //automaticOrientation: true

    // Removes the old toolbar and enables new features of the new header.
    useDeprecatedToolbar: false

    width: units.gu(60)
    height: units.gu(85)

    Page {
        title: i18n.tr("webviewdialog")

        Component {
            id: confirmDlg

            Dialog {
                title: i18n.tr("JavaScript Confirmation")

                Button {
                    text: i18n.tr("OK")
                    onClicked: model.accept()
                }

                Button {
                    text: i18n.tr("Cancel")
                    onClicked: model.reject()
                }

                Component.onCompleted: show()
            }
        }

        Component {
            id: alertDlg

            Dialog {
                title: model.message

                Button {
                    text: i18n.tr("OK")
                    onClicked: model.accept()
                }

                Component.onCompleted: show()
            }
        }

        Component {
            id: promptDlg

            Dialog {
                TextField {
                    id: input
                    text: model.defaultValue
                    onAccepted: model.accept(input.text)
                }

                Button {
                    text: i18n.tr("OK")
                    color: "green"
                    onClicked: model.accept(input.text)
                }

                Button {
                    text: i18n.tr("Cancel")
                    color: UbuntuColors.coolGrey
                    onClicked: model.reject()
                }

                Binding {
                    target: model
                    property: "currentValue"
                    value: input.text
                }

                Component.onCompleted: show()
            }
        }

        WebView {
            anchors.fill: parent
            url: "www/index.html"
            confirmDialog: confirmDlg
            alertDialog: alertDlg
            promptDialog: promptDlg
        }
    }
}
在这里,我们对alertDialog及confirmDialog进行了初始化,这样当我们在index.html中使用alert及confirm时,我们可以得到我们需要的Dialog:


 1374
1374

 被折叠的 条评论
为什么被折叠?
被折叠的 条评论
为什么被折叠?
 到【灌水乐园】发言


