


一、矩阵上的效果
言简意赅地介绍下这个函数的使用方法:
import numpy as np
from scipy import ndimage

c = np.zeros([10, 10]).astype(int)
for i in range(10):
    for j in range(10):
        c[i][j] = 10 * i + j
d = ndimage.rotate(c, 60, reshape=False)
print(c)
print(d)
输出结果:
[[ 0  1  2  3  4  5  6  7  8  9]
 [10 11 12 13 14 15 16 17 18 19]
 [20 21 22 23 24 25 26 27 28 29]
 [30 31 32 33 34 35 36 37 38 39]
 [40 41 42 43 44 45 46 47 48 49]
 [50 51 52 53 54 55 56 57 58 59]
 [60 61 62 63 64 65 66 67 68 69]
 [70 71 72 73 74 75 76 77 78 79]
 [80 81 82 83 84 85 86 87 88 89]
 [90 91 92 93 94 95 96 97 98 99]]
[[ 0  0  7 17 27 36  0  0  0  0]
 [ 0  0 11 22 30 40 49 58  0  0]
 [ 0  6 16 25 35 44 53 62 71 80]
 [ 0 10 21 29 39 48 57 66 75 84]
 [ 5 16 24 34 43 52 61 70 79 89]
 [10 20 29 38 47 56 65 75 83 94]
 [15 24 33 42 51 60 70 78 89  0]
 [19 28 37 46 55 64 74 83 93  0]
 [ 0  0 41 50 59 69 77 88  0  0]
 [ 0  0  0  0 63 72 82 92  0  0]]
可以看出,经过d = ndimage.rotate(c, 60, reshape=False)后,d是由c逆时针旋转60度而得。
二、图片上的效果
这个方法可以使用在图片上面:
ph1 = ndimage.rotate(ph, 60, reshape=False)
plt.subplot(1, 2, 1)
plt.imshow(ph, cmap='gray')
plt.subplot(1, 2, 2)
plt.imshow(ph1, cmap='gray')
plt.show()
输出结果如下:
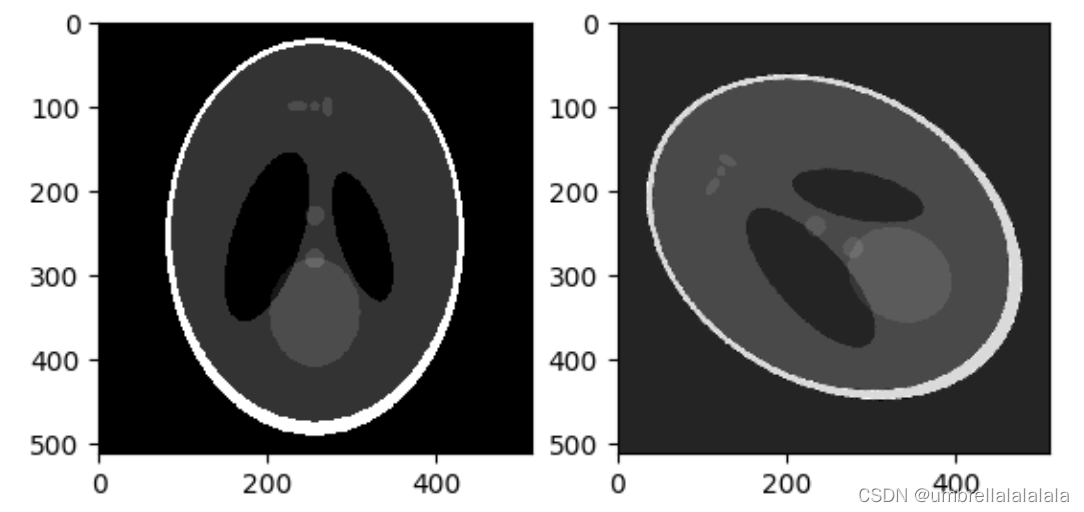
可见在调用ph1 = ndimage.rotate(ph, 60, reshape=False)后,右侧(ph1)是左侧(ph)逆时针旋转60度获得的。


 751
751

 被折叠的 条评论
为什么被折叠?
被折叠的 条评论
为什么被折叠?
 到【灌水乐园】发言


