


一、前言
作为Android开发,我们都知道界面就是Activity,通过实现Activity然后控制其生命周期就能将界面展现给用户。那Activity究竟是如何将界面展示出来的呢?或者说展示界面一定需要Activity吗?这就需要知道今天要说到的WindowManagerService(WMS)了。
二、简单认识
一般情况,我们需要写一个View,都会在activity的XML布局里添加标签对,是的,这也是android默认的实现方式,不过今天为了认识window,我们换一种实现方案,我实现如下代码:
public class MainActivity extends AppCompatActivity {

    @Override
    protected void onCreate(Bundle savedInstanceState) {
        super.onCreate(savedInstanceState);
        setContentView(R.layout.activity_main);

    }

    public void click(View v){
        Button button = new Button(this);
        button.setText("button");
        WindowManager.LayoutParams params = new WindowManager.LayoutParams(ViewGroup.LayoutParams.WRAP_CONTENT, ViewGroup.LayoutParams.WRAP_CONTENT
                , 1110, 0, PixelFormat.TRANSPARENT);
        params.x = 100;
        params.y = 200;
        getWindowManager().addView(button, params);
    }
}
布局文件是一个按钮实现了click函数,就不列出来了。点击效果如下图:
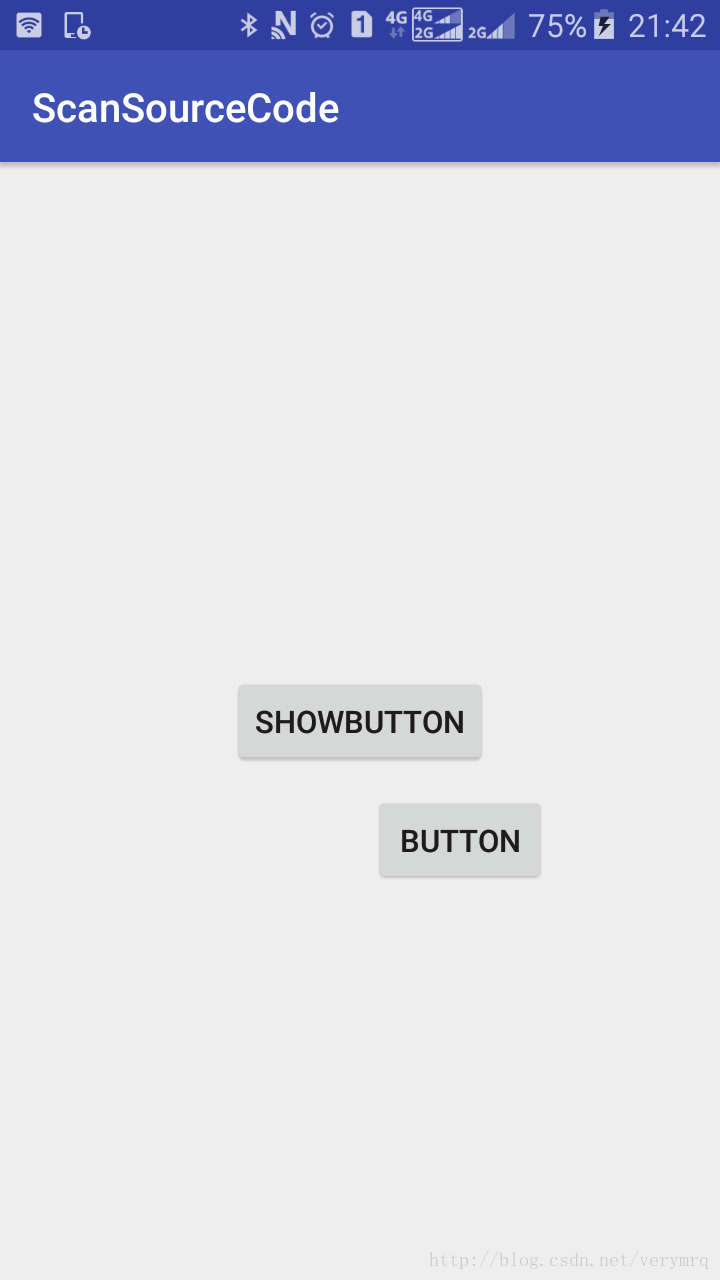
右下方的button是点击中间的button后显示的,也就是执行了click函数显示出来的,这就有意思了,原来还有这种骚操作啊。
我们只关注重点的一行代码:
getWindowManager().addView(button, params);很明显,我们的button是在这里加入视图的,params只是控制button大小等的参数而已。
三、Window、WindowManager
这句神奇的代码究竟是如何做到的,我们来一探究竟,跟进getWindowManager,发现返回了成员变量mWindowManager,其初始化方式是调用mWindow的getWindowManager(),mWindow
是一个Window对象,他在getWindowManager里也返回了mWindowManager,这个变量获取方式是:
mWindowManager = ((WindowManagerImpl)wm).createLocalWindowManager(this);


    public WindowManagerImpl createLocalWindowManager(Window parentWindow) {
        return new WindowManagerImpl(mContext, parentWindow);
    }
可以看到,最后返回的是WindowManagerImpl对象,也就是我们WindowManager的实现类,回到最初,我们调用了他的addView方法:
private final WindowManagerGlobal mGlobal = WindowManagerGlobal.getInstance();

    @Override
    public void addView(@NonNull View view, @NonNull ViewGroup.LayoutParams params) {
        applyDefaultToken(params);
        mGlobal.addView(view, params, mContext.getDisplay(), mParentWindow);
    }
转给了mGlobal,其实WindowManagerImpl很多方法都用了这样的方式,自己本身只是一个壳。我们来看WindowManagerGlobal的addView:
    public void addView(View view, ViewGroup.LayoutParams params,
            Display display, Window parentWindow) {
        //省略数以万计......
        ViewRootImpl root;
        View panelParentView = null;
        //省略...
            //构建ViewRootImpl
            root = new ViewRootImpl(view.getContext(), display);

            view.setLayoutParams(wparams);
            //将view加入列表中
            mViews.add(view);
            //将ViewRootImpl将入列表中
            mRoots.add(root);
            mParams.add(wparams);

            // do this last because it fires off messages to start doing things
            try {
                //真正将View显示出来的方法
                root.setView(view, wparams, panelParentView);
            } catch (RuntimeException e) {
                // BadTokenException or InvalidDisplayException, clean up.
                if (index >= 0) {
                    removeViewLocked(index, true);
                }
                throw e;
            }
        }
    }
addView方法比较长,我将其最重要的部分列出来,然后注释也比较清晰了,通过setView方法将View显示到界面上,他主要做了两件事:
1、调用requestLayout。
2、和WMS跨进程交互
首先说第一步,requestLayout相信大家都很熟悉了,就是(重新)布局、绘制所调用的方法。这里就不深入探讨了,他会执行performTraversal方法,这个方法如果熟悉View的童鞋应该知道,是用于View的测量、布局、绘制的,也就是measure、layout、draw,最终将视图一层一层绘制完毕,详情可以自行搜索或查看相关源码。
而第二步,setView中会IWindowSession的addToDisplay方法,将绘制好的视图添加到window里取,IWindowSession一看就是binder方式的跨进程通信,他的实现在Session里:
    public int addToDisplay(IWindow window, int seq, WindowManager.LayoutParams attrs,
            int viewVisibility, int displayId, Rect outContentInsets, Rect outStableInsets,
            Rect outOutsets, InputChannel outInputChannel) {
        return mService.addWindow(this, window, seq, attrs, viewVisibility, displayId,
                outContentInsets, outStableInsets, outOutsets, outInputChannel);
    }
其他就是代理了WMS而已,调用了WMS的addWindow方法,这个方法听名字就明白是窗口添加的作用,其代码比较复杂,会涉及到与native以及PhoneWindowManager的交互,具体代码这里就不深入了,有兴趣的童鞋可自行查看源码以及相关书籍,我这里只是理清思路,让我们对整个构架清晰而已。
回到最初的目的,到这里我们已经明白了button是如何显示到屏幕上了。所以我们会想:Activity是如何显示的呢,也是相同的方式?没错,同样是通过Window来实现的,下面我们来详细分析。
四、Activity的展示
在【Android源码系列】Activity启动源码解析一文中我们知道当系统检查完毕后,AMS会回调ApplicationThread,然后通过H这个handler转换到主线程执行,H则会调用ActivityThread的handleLaunchActivity方法,然后调用依次调用Activity的生命周期,其中onResume则是通过handleResumeActivity执行:
final void handleResumeActivity(IBinder token,
            boolean clearHide, boolean isForward, boolean reallyResume, int seq, String reason) {
        //省略代码无数.....

        //调用Activity的onResume生命周期
        r = performResumeActivity(token, clearHide, reason);

        //省略代码无数.....
            boolean willBeVisible = !a.mStartedActivity;
            if (!willBeVisible) {
                try {
                    willBeVisible = ActivityManager.getService().willActivityBeVisible(
                            a.getActivityToken());
                } catch (RemoteException e) {
                    throw e.rethrowFromSystemServer();
                }
            }
            if (r.window == null && !a.mFinished && willBeVisible) {
                r.window = r.activity.getWindow();
                View decor = r.window.getDecorView();
                decor.setVisibility(View.INVISIBLE);
                //获取windowManager
                ViewManager wm = a.getWindowManager();
                WindowManager.LayoutParams l = r.window.getAttributes();
                a.mDecor = decor;
                l.type = WindowManager.LayoutParams.TYPE_BASE_APPLICATION;
                l.softInputMode |= forwardBit;
                if (r.mPreserveWindow) {
                    a.mWindowAdded = true;
                    r.mPreserveWindow = false;
                    // Normally the ViewRoot sets up callbacks with the Activity
                    // in addView->ViewRootImpl#setView. If we are instead reusing
                    // the decor view we have to notify the view root that the
                    // callbacks may have changed.
                    ViewRootImpl impl = decor.getViewRootImpl();
                    if (impl != null) {
                        impl.notifyChildRebuilt();
                    }
                }
                if (a.mVisibleFromClient) {
                    if (!a.mWindowAdded) {
                        a.mWindowAdded = true;
                        //将顶级视图decorView加入window
                        wm.addView(decor, l);
                    } else {
                        // The activity will get a callback for this {@link LayoutParams} change
                        // earlier. However, at that time the decor will not be set (this is set
                        // in this method), so no action will be taken. This call ensures the
                        // callback occurs with the decor set.
                        a.onWindowAttributesChanged(l);
                    }
                }
//省略代码无数.....
    }
通过以上代码我们可以知道:
1、onResume执行时视图并没有完全显示
2、decorView是顶级视图
注意看wm.addView(decor, l);这句代码,是不是很眼熟?就是和我们文章开头Demo里的方式一样,就这样将Activity显示到屏幕上。
五、总结
经过层层剖析,终于了解了Android是如何显示视图了,就是通过window全家桶来操作的,下面我们通过一张图来回顾一下流程:

整体还是比较清晰的,不过也涉及到一些问题,比如ViewRootImpl是如何工作的,这也是一个非常重要的类,掌管着View的很多操作,就留在以后再探讨了,读者也可以自行查阅资料学习,毕竟自学能力也是程序猿很重要的一环嘛。


 1211
1211

 被折叠的 条评论
为什么被折叠?
被折叠的 条评论
为什么被折叠?
 到【灌水乐园】发言


