


环境
| 序号 | 主机 | 系统 | 配置 | 备注 |
| 1 | stu1:192.168.3.81 | rockylinux8.6 | 最小化安装 | 监控主机 |
| 2 | stu2:192.168.3.82 | rockylinux8.6 | 最小化安装 | 监控客户端 |
一、yum 安装(zabbix+nginx+mariadb)
1、关闭selinux,firewalld
sed -i 's/SELINUX=enforcing/SELINUX=disabled/g' /etc/selinux/config
systemctl disable firewalld
reboot
2、更改yum源为阿里云
sed -e 's|^mirrorlist=|#mirrorlist=|g' \
    -e 's|^#baseurl=http://dl.rockylinux.org/$contentdir|baseurl=https://mirrors.aliyun.com/rockylinux|g' \
    -i.bak \
    /etc/yum.repos.d/Rocky-*.repo

dnf makecache

vim /etc/yum.repos.d/Rocky-AppStream.repo
填加
[mariadb]
name = MariaDB
baseurl = http://yum.mariadb.org/10.5/centos8-amd64
module_hotfixes=1
gpgkey=https://yum.mariadb.org/RPM-GPG-KEY-MariaDB
gpgcheck=1
3、配置命令补全及vim工具
dnf install -y wget bash-completion vim net-tools
dnf update -y
4、安装zabbix源
rpm -Uvh https://repo.zabbix.com/zabbix/6.2/rhel/8/x86_64/zabbix-release-6.2-3.el8.noarch.rpm
dnf clean all
5、安装php及zabbix
dnf module switch-to php:7.4
dnf install -y zabbix-server-mysql zabbix-web-mysql zabbix-nginx-conf zabbix-sql-scripts zabbix-selinux-policy zabbix-agent
6、安装mariadb(10.5.17)
dnf install -y mariadb-server
systemctl start mariadb
systemctl enable mariadb
mysql_secure_installation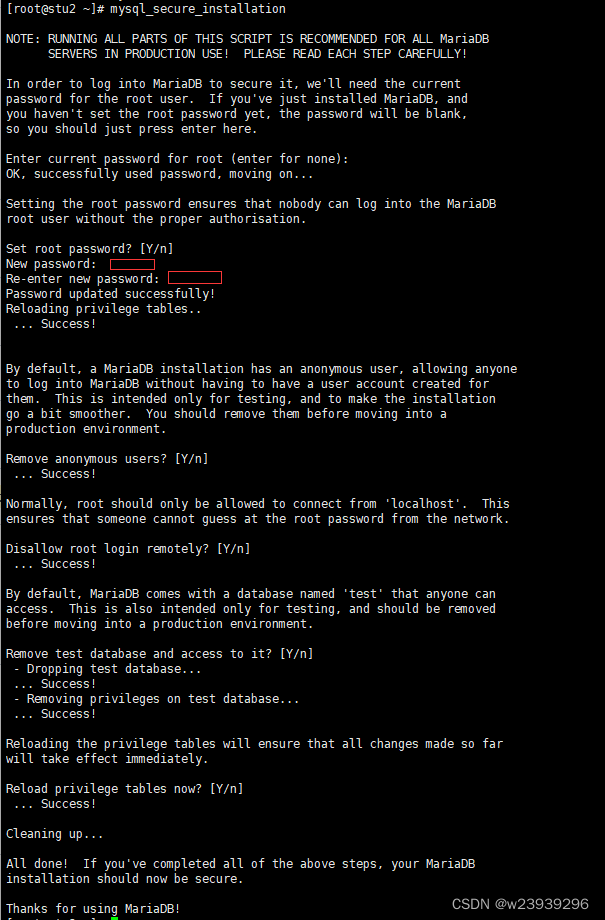
设置数据库密码为password

注:不支持 10.5以下版本
7、初始化数据库
mysql -uroot -ppassword
create database zabbix character set utf8mb4 collate utf8mb4_bin;
create user zabbix@localhost identified by 'password';
grant all privileges on zabbix.* to zabbix@localhost;
set global log_bin_trust_function_creators = 1;
quit;
zcat /usr/share/zabbix-sql-scripts/mysql/server.sql.gz | mysql --default-character-set=utf8mb4 -uzabbix -p zabbix

mysql -uroot -ppassword
set global log_bin_trust_function_creators = 0;
quit;
8、编辑配置文件
vim /etc/zabbix/zabbix_server.conf
将129行改为
DBPassword='password'
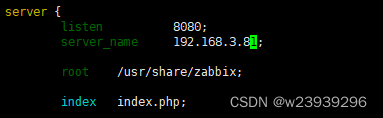
vim /etc/nginx/conf.d/zabbix.conf
将前两行改为
listen 8080;
server_name 192.168.3.81;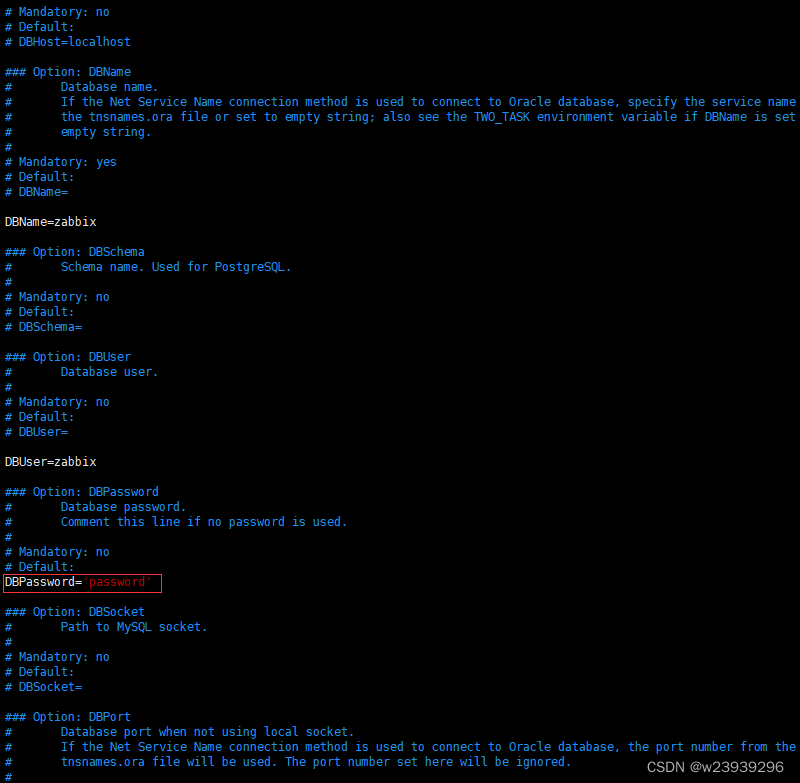
systemctl restart zabbix-server zabbix-agent nginx php-fpm
systemctl enable zabbix-server zabbix-agent nginx php-fpm
9、安装web
浏览器访问http://192.168.3.81


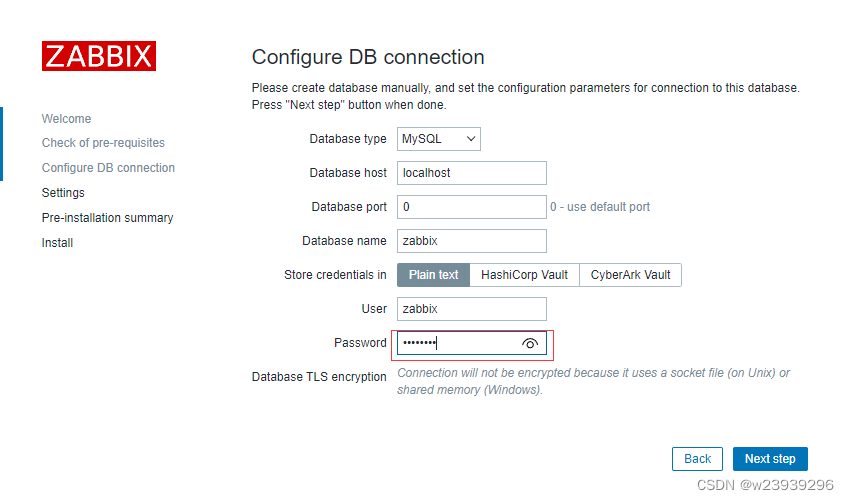
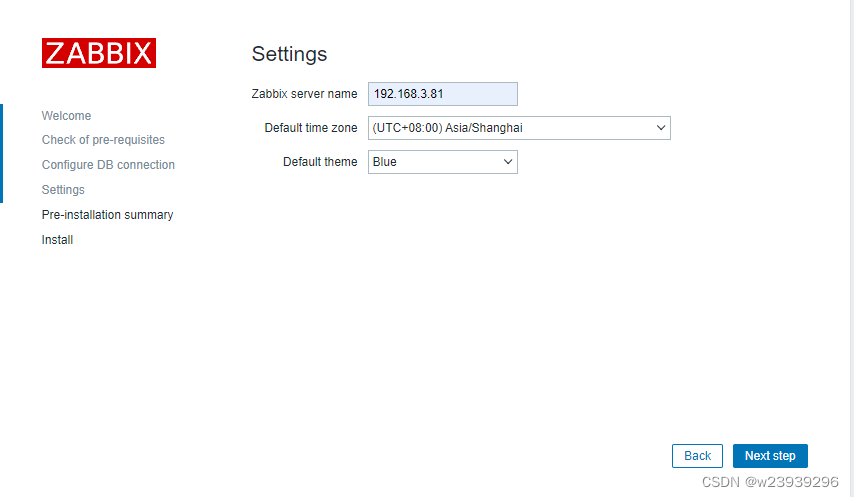

用户名:Admin 密码: zabbix

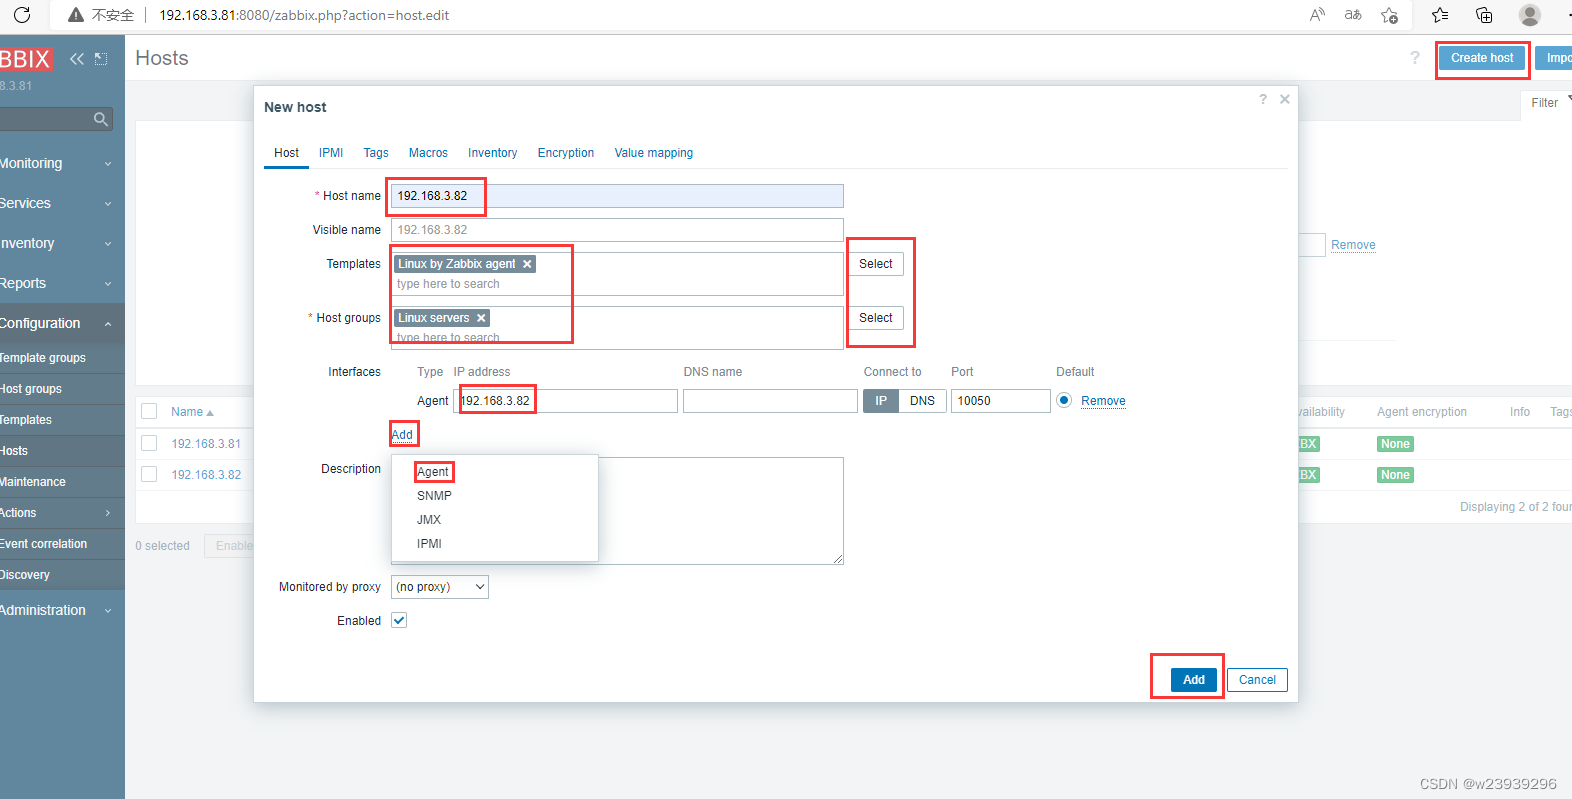
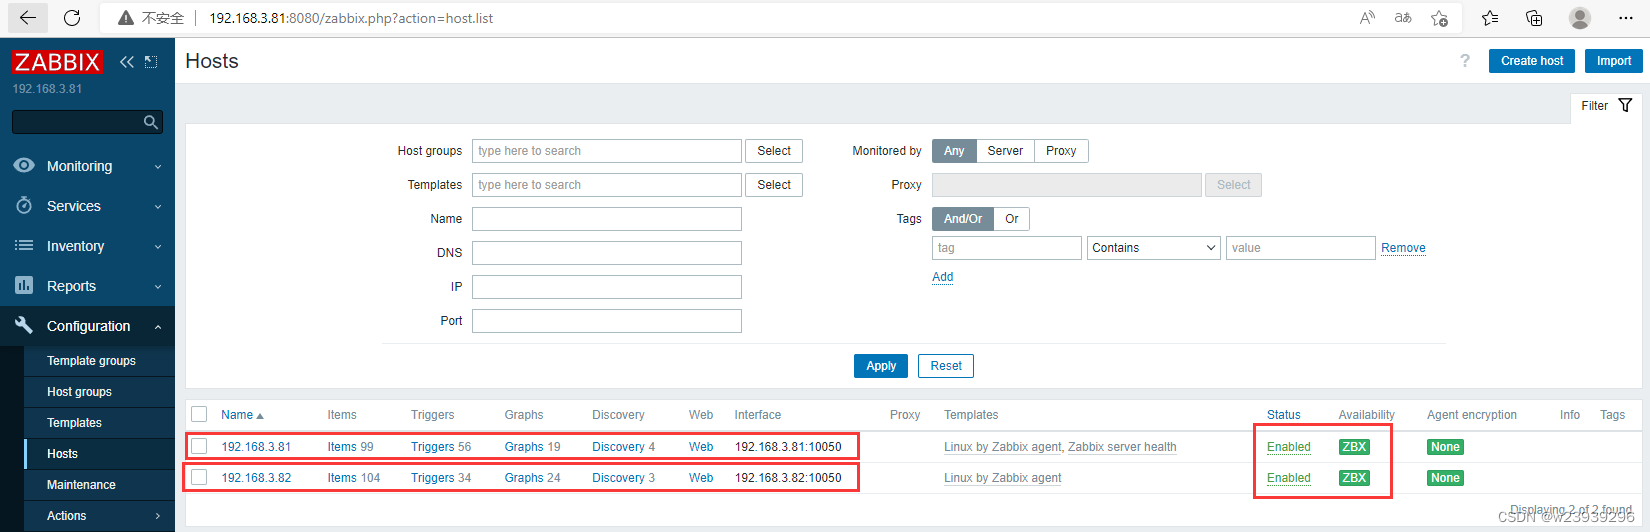
二、安装agent(192.168.3.82)
1、关闭selinux,firewalld
sed -i 's/SELINUX=enforcing/SELINUX=disabled/g' /etc/selinux/config
systemctl disable firewalld
reboot
2、更改yum源为阿里云
sed -e 's|^mirrorlist=|#mirrorlist=|g' \
    -e 's|^#baseurl=http://dl.rockylinux.org/$contentdir|baseurl=https://mirrors.aliyun.com/rockylinux|g' \
    -i.bak \
    /etc/yum.repos.d/Rocky-*.repo

dnf makecache
3、配置命令补全及vim工具
dnf install -y wget bash-completion vim net-tools4、安装zabbix源
rpm -Uvh https://repo.zabbix.com/zabbix/6.2/rhel/8/x86_64/zabbix-release-6.2-3.el8.noarch.rpm
dnf clean all
5、安装zabbix-agent
dnf install -y zabbix-agent改配置文件
vim /etc/zabbix/zabbix_agentd.conf
改117行为  Server=192.168.3.81
改171行为  ServerActive=192.168.3.81
改182行为  Hostname=stu2
systemctl start zabbix-agent.service
systemctl enable zabbix-agent.service
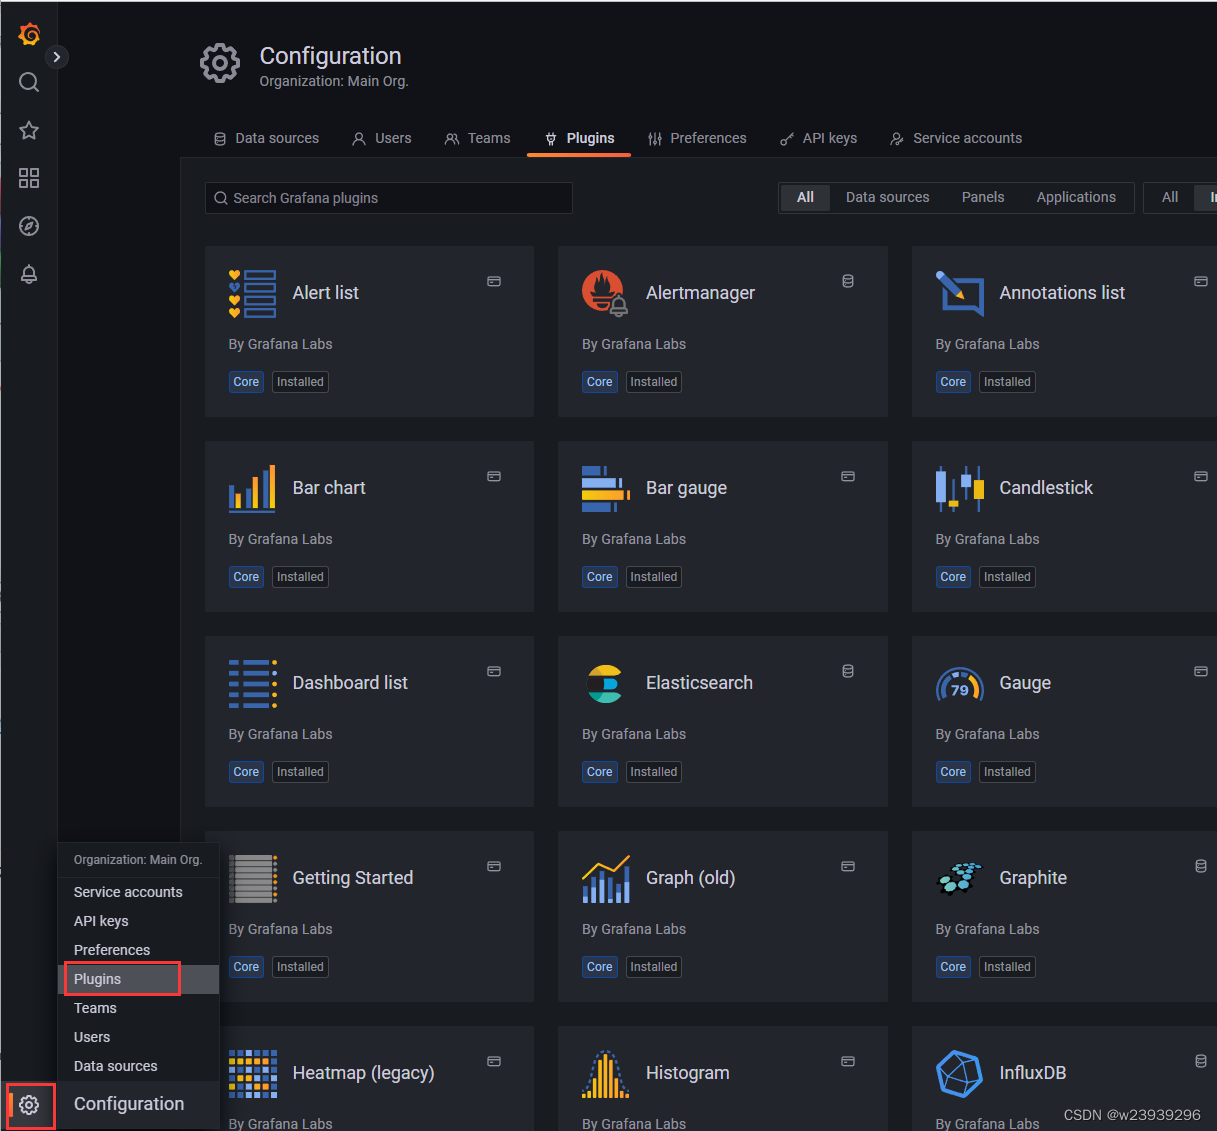
三、安装Grafana
1、下载安装
wget https://dl.grafana.com/enterprise/release/grafana-enterprise-9.1.7-1.x86_64.rpm
yum install grafana-enterprise-9.1.7-1.x86_64.rpm
systemctl start grafana-server.service
2、访问http://192.168.3.81:3000
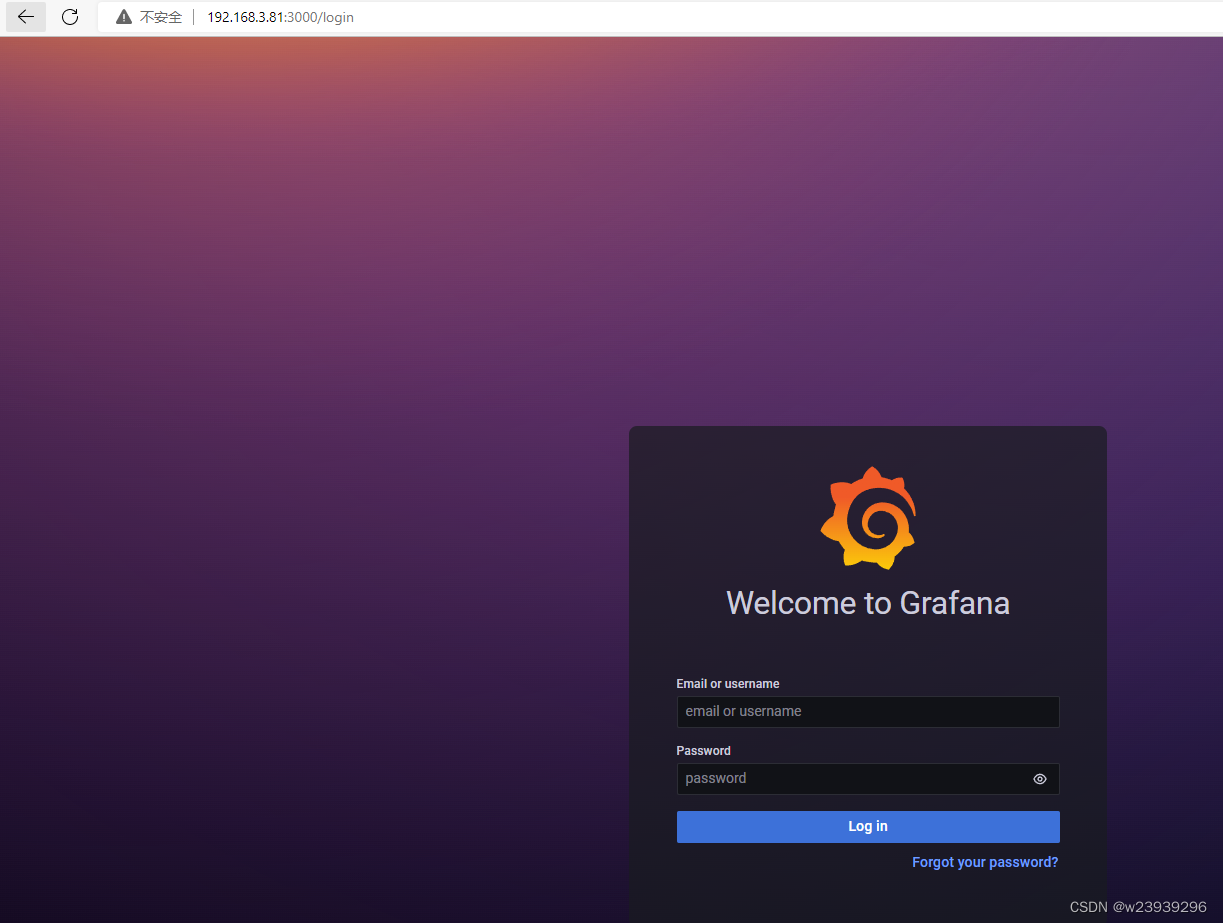
用户名: admin 密码: admin


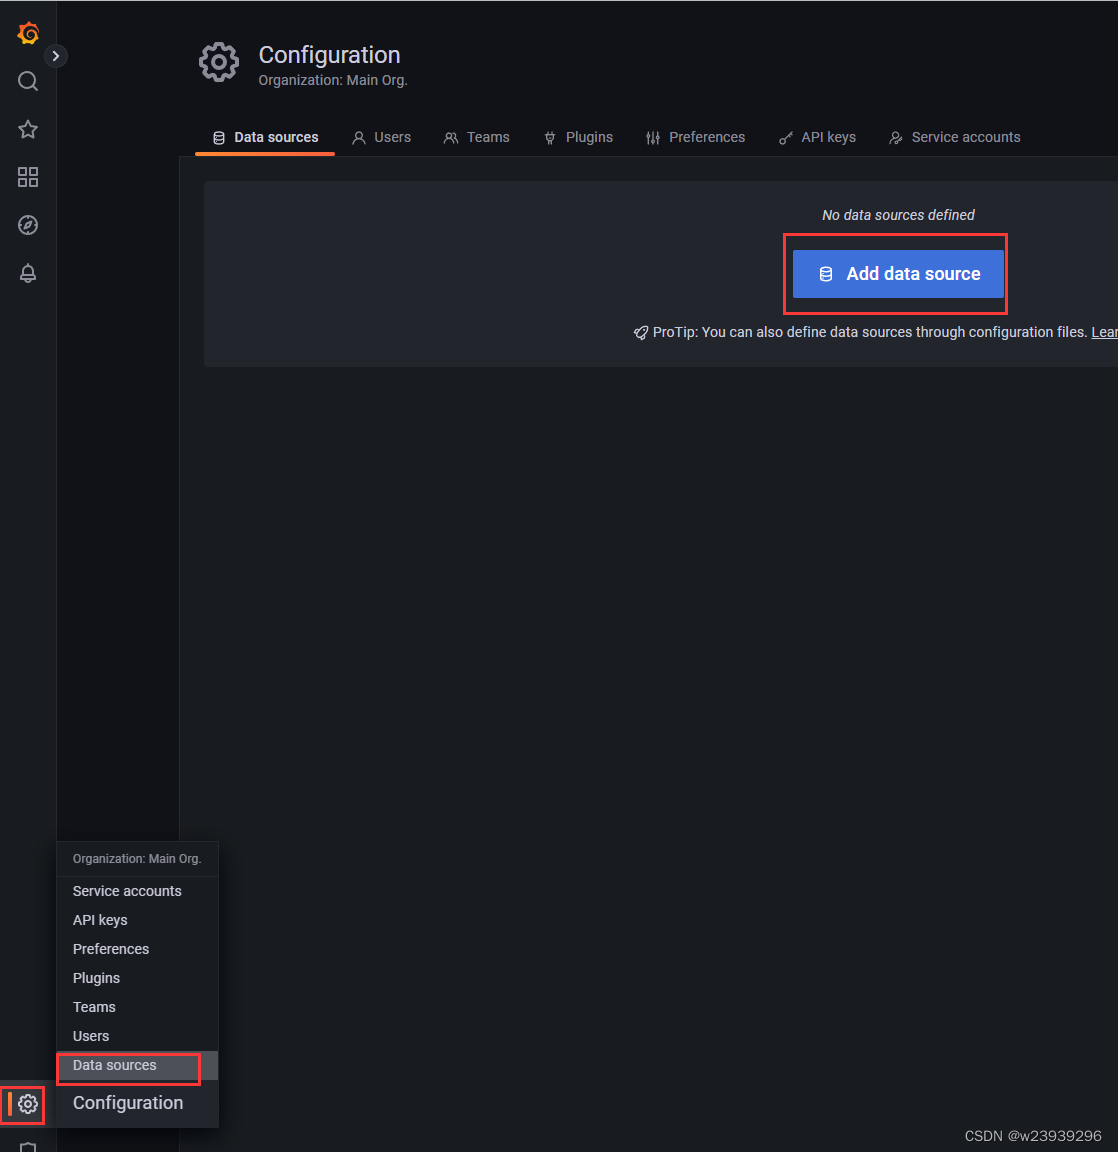

注:地址需填http://192.168.3.81:8080/api_jsonrpc.php

四、源码包安装
1、关闭selinux,firewalld
sed -i 's/SELINUX=enforcing/SELINUX=disabled/g' /etc/selinux/config
systemctl disable firewalld
reboot
2、更改yum源为阿里云
sed -e 's|^mirrorlist=|#mirrorlist=|g' \
    -e 's|^#baseurl=http://dl.rockylinux.org/$contentdir|baseurl=https://mirrors.aliyun.com/rockylinux|g' \
    -i.bak \
    /etc/yum.repos.d/Rocky-*.repo

dnf makecache

vim /etc/yum.repos.d/Rocky-AppStream.repo
填加
[mariadb]
name = MariaDB
baseurl = http://yum.mariadb.org/10.5/centos8-amd64
module_hotfixes=1
gpgkey=https://yum.mariadb.org/RPM-GPG-KEY-MariaDB
gpgcheck=1
3、配置命令补全及vim工具
dnf install -y wget bash-completion vim net-tools
dnf update -y
4、下载安装包
wget https://cdn.zabbix.com/zabbix/sources/stable/6.2/zabbix-6.2.3.tar.gz5、安装php+nginx+mariadb
dnf module switch-to php:7.4
dnf install -y mariadb-server
systemctl start mariadb
systemctl enable mariadb
mysql_secure_installation

mysql -uroot -ppassword
create database zabbix character set utf8mb4 collate utf8mb4_bin;
create user zabbix@localhost identified by 'password';
grant all privileges on zabbix.* to zabbix@localhost;
set global log_bin_trust_function_creators = 1;
quit;

yum install -y make gcc gcc-c++ mysql-devel  libxml2 libxml2-devel xz-devel net-snmp \
net-snmp-devel OpenIPMI OpenIPMI-libs  unixODBC curl-devel pcre-devel libevent-devel
dnf --enablerepo=powertools install -y OpenIPMI-devel
dnf -y install nginx php php-bcmath php-gd php-ldap php-mysqlnd
systemctl enable php-fpm.service
systemctl enable nginx
tar -xvf zabbix-6.2.3.tar.gz
groupadd --system zabbix
useradd --system -g zabbix -d /usr/lib/zabbix -s /sbin/nologin \
-c "Zabbix Monitoring System" zabbix
mkdir -m u=rwx,g=rwx,o= -p /usr/lib/zabbix
chown zabbix:zabbix /usr/lib/zabbix
mysql -uzabbix -ppassword zabbix < zabbix-6.2.3/database/mysql/schema.sql
mysql -uzabbix -ppassword zabbix < zabbix-6.2.3/database/mysql/images.sql
mysql -uzabbix -ppassword zabbix < zabbix-6.2.3/database/mysql/data.sql
mysql -uroot -ppassword
set global log_bin_trust_function_creators = 0;
quit;6、安装zabbix
cd zabbix-6.2.3/
./configure --enable-server --enable-agent --with-mysql --enable-ipv6 --with-net-snmp \
--with-libcurl --with-libxml2 --with-openipmi
make install
./configure --enable-agent
make install
rm -rf /usr/share/nginx/html/*
cp -r ui/* /usr/share/nginx/html/
7、修改配置文件、启动服务
vim /usr/local/etc/zabbix_server.conf
将123行改为
DBPassword='password'

vim /usr/local/etc/zabbix_agentd.conf
改113行为  Server=192.168.3.81
改167行为  ServerActive=192.168.3.81
改178行为  Hostname=stu2
vim /etc/php.ini
改694行 post_max_size = 16M
改388行 max_execution_time = 300
改398行 max_input_time = 300启动服务
zabbix_server
zabbix_agentd
systemctl restart nginx
systemctl restart php-fpm.service
浏览器访问http://192.168.3.81


将下载文件上传至指定目录 


 1万+
1万+


 被折叠的 条评论
为什么被折叠?
被折叠的 条评论
为什么被折叠?
 到【灌水乐园】发言


