


目录
一、 安装 pytorch
首先, 在 Anaconda prompt 中安装 pytorch, 这里我们使用了清华源镜像
pip install --user -i https://pypi.tuna.tsinghua.edu.cn/simple torch
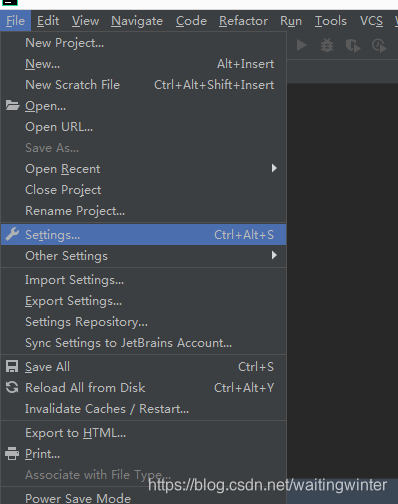
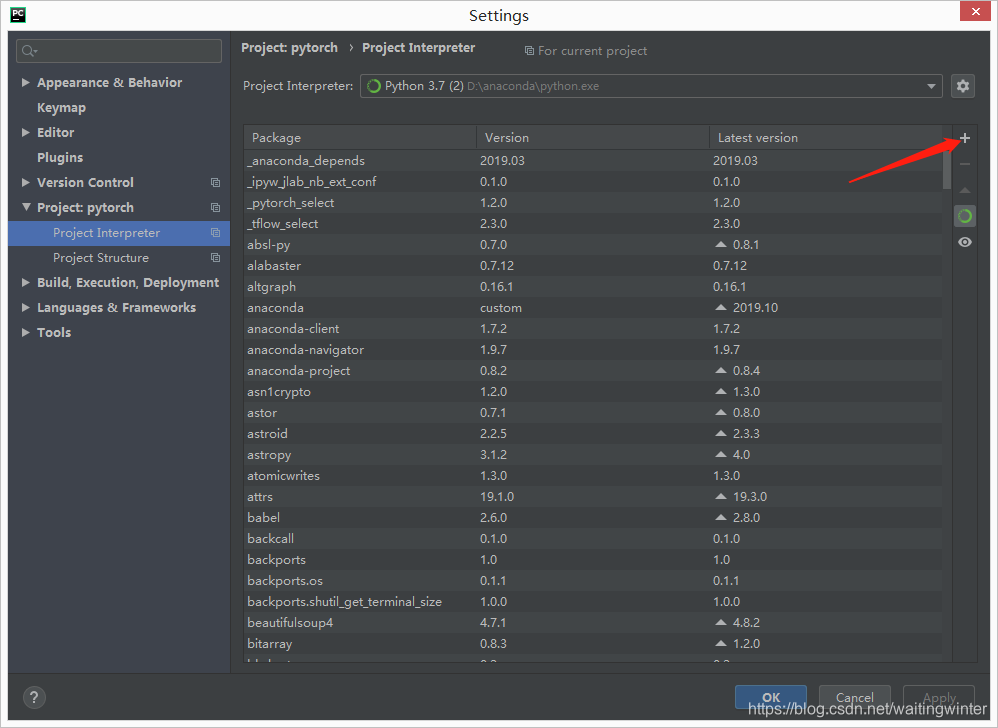
或者是在 pycharm 中点击左上角的File, Setting 中点击 Project Interpreter 右上角的添加, 安装即可

二、 pytorch 基本命令
1. tensor 的生成与设置
首先, 引入 torch
from __future__ import print_function
import torch
其中, 第一句代码的意思是: 即使在python2.X,使用 print 也得像python3.X那样加括号使用。(python2.X中 print 不需要括号,而在 python3.X 中则需要)
我们可以查看 torch 的版本
torch.__version__![]()
构建一个5*3未初始化的矩阵
x = torch.empty(5,3)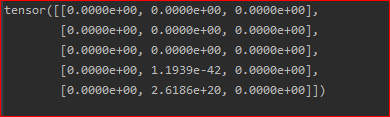
构建一个5*3随机初始化的矩阵
x = torch.rand(5,3)
print(x)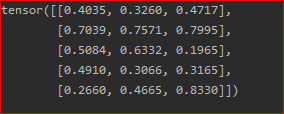
构建一个类型为long的0矩阵
x = torch.zeros(5, 3, dtype=torch.long)
print(x)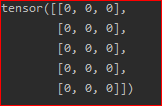
x = torch.eye(3)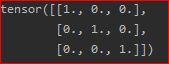
使用 torch.full 来创建所有元素均为一个值的tensor
torch.full(size=(2, 3), fill_value=3.1415926)![]()
直接从数据来定义张量(tensor)
x = torch.tensor([5.5, 3])
print(x)![]()
torch.tensor([[0.1, 1.2], [2.2, 3.1], [4.9, 5.2]])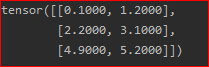
使用 torth.arange 来创建张量
torth.arange(0, 0.5, 4)![]()
使用 torth.linspace 来创建张量
torch.linspace(3, 10, steps=20)
由一个已知的张量来创建另一个张量, 例如类型变化
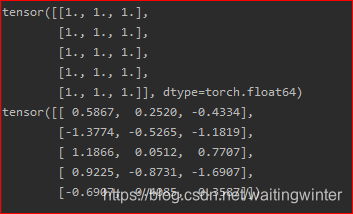
x = torch.ones(5, 3, dtype=torch.double)
print(x)

x = torch.randn_like(x, dtype=torch.float)
print(x)
查看 x 的大小
print(x.shape)![]() 值得注意的是: 这里的 torch.Size 是 tuple 类型
值得注意的是: 这里的 torch.Size 是 tuple 类型
2. tensor 的基本运算
“+”:直接加
y = torch.rand(5, 3)
print(x+y)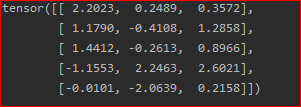
或者是
print(torch.add(x, y))
可以给相加的结果赋给另外一个tensor变量
result = torch.empty(5, 3)
torch.add(x, y, out=result)
print(result)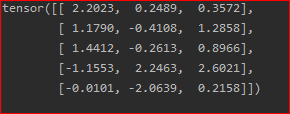
还可以这样来写
y.add_(x)需要注意的是:任何使张量就地变化的操作都要用_固定。
对 tensor, 可以像 Numpy 那样索引
print(x[:,1])![]()
可以使用 torch.view 对tensor 进行排列, 例如
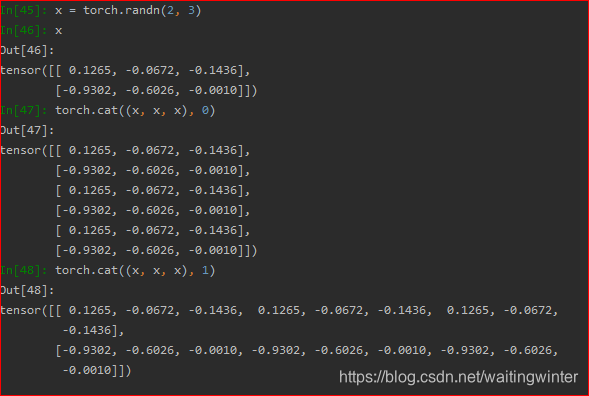
x = torch.randn(4, 4)
y = x.view(16)
z = x.view(-1,8)
print(x.size(), y.size(), z.size())
![]()
使用 .item() 可以将元素张量变为 python 数字
x = torch.randn(1)
print(x)
print(x.item())
![]()
使用 .numel 返回张量的元素总数
x = torch.randn(1, 2, 4, 5)
print(torch.numel(x))
使用 torch.cat() 在给定维度上连接给定序列张量的序列
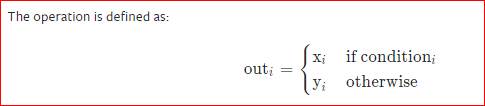
torch.where(condition, x, y)
x = torch.randn(3, 2)
y = torch.ones(3, 2)
print(x)
torch.where(x>0, x, y)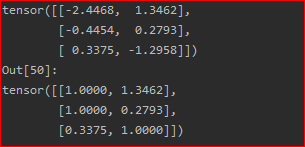
3. tensor 与 Numpy 之间的相互转换
将 tensor 转化为 numpy
a = torch.ones(5)
b = a.numpy()
print(a)
print(b)![]()
将 numpy 转化为 tensor
import numpy as np
a = np.ones(5)
b = torch.from_numpy(a)


 2246
2246

 被折叠的 条评论
为什么被折叠?
被折叠的 条评论
为什么被折叠?
 到【灌水乐园】发言


