


之前已经配置好了Hadoop以及Yarn,可那只是第一步。下面还要在上面运行各种程序,这才是最重要的。
Ubuntu安装时默认已经安装了Python, 可以通过Python –version 查询其版本。
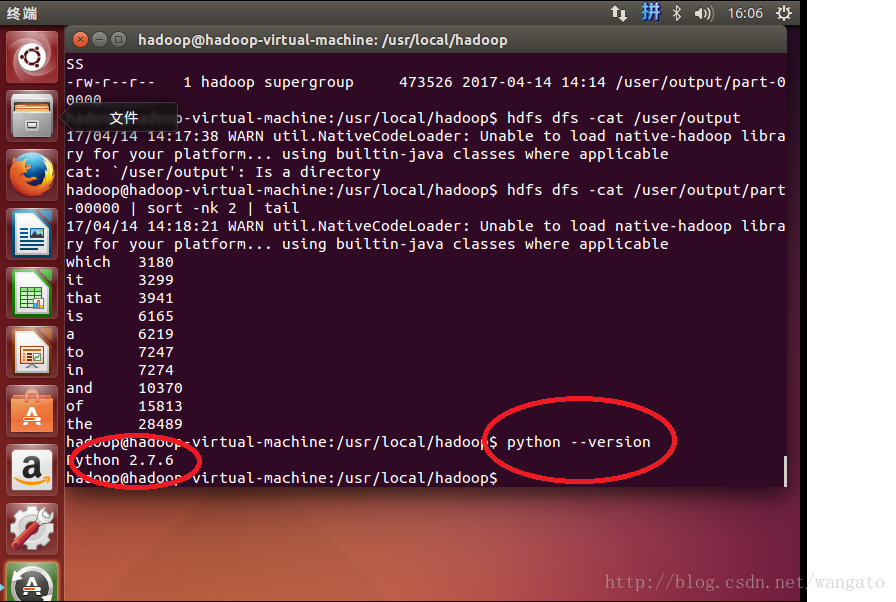
因此我们可以直接运行python的脚本了。
Python MapReduce Code
这里我们要用到 Hadoop Streaming API, 通过STIDN(Standard input)和 STDOUT(Standard output)来向Map代码、Reduce代码传递数据。
Python有sys.stdin可以直接读取数据,sys.stdout来输出数据。
1 . 首先建立mapper.py.
用VIM建立mapper.py, 将文件存在/home/hadoop路径下, 代码如下:
#!/usr/bin/env python

import sys

# input comes from STDIN (standard input)
for line in sys.stdin:
    # remove leading and trailing whitespace
    line = line.strip()
    # split the line into words
    words = line.split()
    # increase counters
    for word in words:
        # write the results to STDOUT (standard output);
        # what we output here will be the input for the
        # Reduce step, i.e. the input for reducer.py
        #
        # tab-delimited; the trivial word count is 1
        print '%s\t%s' % (word, 1)
注意,保存时存为unix编码的,可以参考另一篇文章:
编码问题
文件保存后,请注意将其权限作出相应修改:
chmod a+x /home/hadoop/mapper.py2 . 建立reduce.py
用VIM建立reduce.py, 将文件存在/home/hadoop路径下, 代码如下:
#!/usr/bin/env python

from operator import itemgetter
import sys

current_word = None
current_count = 0
word = None

# input comes from STDIN
for line in sys.stdin:
    # remove leading and trailing whitespace
    line = line.strip()

    # parse the input we got from mapper.py
    word, count = line.split('\t', 1)

    # convert count (currently a string) to int
    try:
        count = int(count)
    except ValueError:
        # count was not a number, so silently
        # ignore/discard this line
        continue

    # this IF-switch only works because Hadoop sorts map output
    # by key (here: word) before it is passed to the reducer
    if current_word == word:
        current_count += count
    else:
        if current_word:
            # write result to STDOUT
            print '%s\t%s' % (current_word, current_count)
        current_count = count
        current_word = word

# do not forget to output the last word if needed!
if current_word == word:
    print '%s\t%s' % (current_word, current_count)
文件保存后,请注意将其权限作出相应修改:
chmod a+x /home/hadoop/reduce.py首先可以在本机上测试以上代码,这样如果有问题可以及时发现:
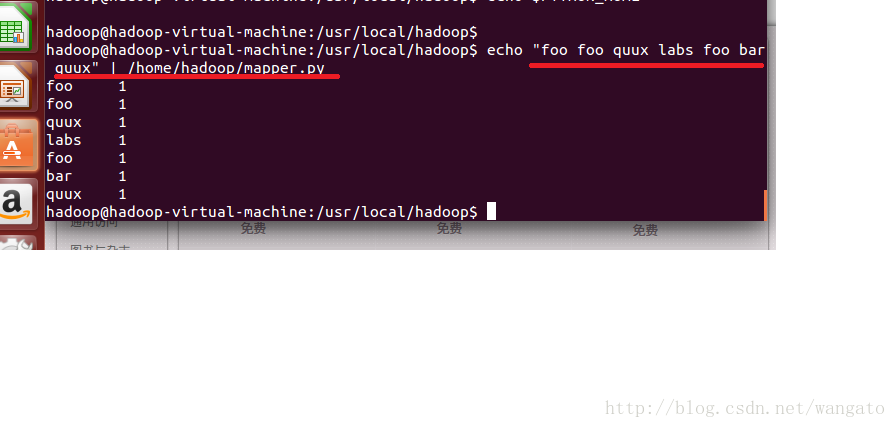
~$ echo "foo foo quux labs foo bar quux" | /home/hduser/mapper.py运行结果如下:
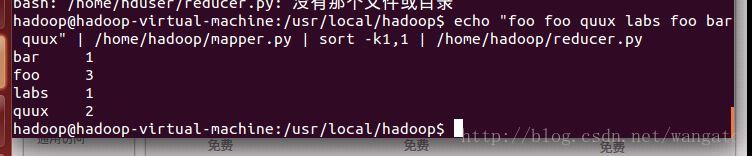
再运行以下包含reducer.py的代码:
~$ echo "foo foo quux labs foo bar quux" | /home/hduser/mapper.py | sort -k1,1 | /home/hduser/reducer.py结果如下:
在Hadoop上运行Python代码
准备工作:
下载文本文件:
~$ mkdir tmp/guteberg
cd tmp/guteberg
 wget http://www.gutenberg.org/files/5000/5000-8.txt
 wget http://www.gutenberg.org/cache/epub/20417/pg20417.txt
然后把这二本书上传到hdfs文件系统上:
$ hdfs dfs -mkdir /user/input # 在hdfs上的该用户目录下创建一个输入文件的文件夹
$ hdfs dfs -put /home/hadoop/tmp/gutenberg/*.txt /user/input # 上传文档到hdfs上的输入文件夹中
寻找你的streaming的jar文件存放地址,注意2.6的版本放到share目录下了,可以进入hadoop安装目录寻找该文件:
$ cd $HADOOP_HOME
$ find ./ -name "*streaming*.jar"
然后就会找到我们的share文件夹中的hadoop-straming*.jar文件:

由于这个文件的路径比较长,因此我们可以将它写入到环境变量:
vi ~/.bashrc  # 打开环境变量配置文件
# 在里面写入streaming路径
export STREAM=$HADOOP_HOME/share/hadoop/tools/lib/hadoop-streaming-*.jar
由于通过streaming接口运行的脚本太长了,因此直接建立一个shell名称为run.sh来运行:
hadoop jar $STREAM \
-files /home/hadoop/mapper.py, /home/hadoop/reducer.py \
-mapper /home/hadoop/mapper.py \
-reducer /home/hadoop/reducer.py \
-input /user/input/*.txt \
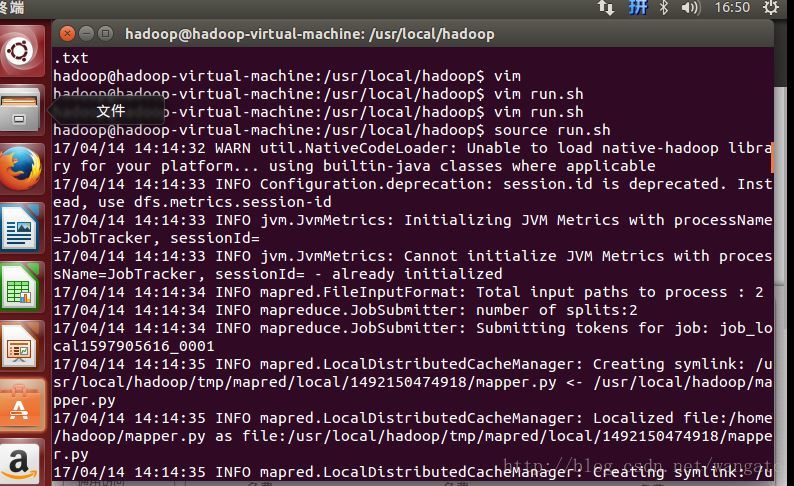
-output /user/output然后”source run.sh”来执行mapreduce。结果就响当当的出来啦。
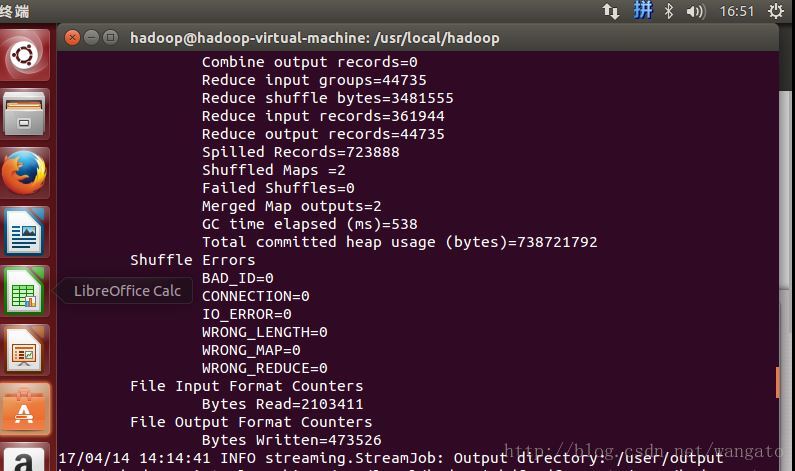
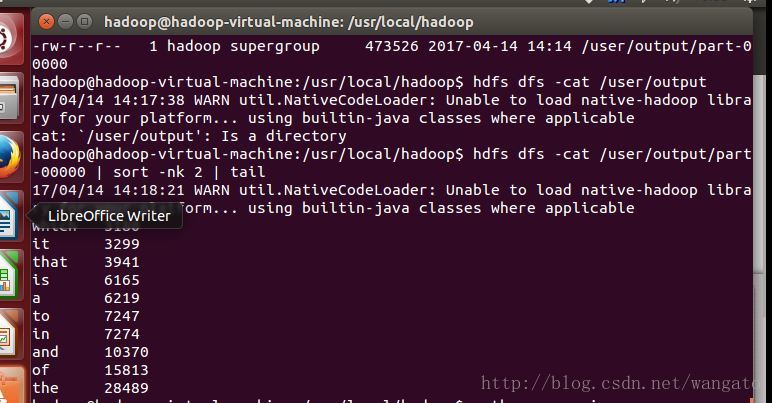
用cat来看一下输出结果如下:
参考 :
http://www.cnblogs.com/wing1995/p/hadoop.html?https://hadoop.apache.org/docs/r1.2.1/streaming.html
http://hustlijian.github.io/tutorial/2015/06/19/Hadoop%E5%85%A5%E9%97%A8%E4%BD%BF%E7%94%A8.html
http://www.michael-noll.com/tutorials/writing-an-hadoop-mapreduce-program-in-python/


 4万+
4万+


 被折叠的 条评论
为什么被折叠?
被折叠的 条评论
为什么被折叠?
 到【灌水乐园】发言


