


uiTextField作为输入框,在很多场景都会使用,一般我们都是对齐默认的布局做一些更改,常用的可能会修改光标的颜色,placeholder的颜色,字体等等,有些修改直接设置uiTextField的属性就可以,有些则没有,需要重写它提供的一些方法才可以,有些则怎么都办不到,例如修改光标的宽度,如果哪位知道,请告诉我下,谢谢。
1. 修改光标的位置
修改光标的位置也就是修改可编辑区域的位置,默认属性是没有,但是可以重写uiTextField,如下:
MESearchTextField.h
#import <UIKit/UIKit.h>

@interface MESearchTextField : UITextField

@end
MESearchTextField.m
#import "MESearchTextField.h"

@implementation MESearchTextField

// 控制placeHolder的位置,左右缩20,但是光标位置不变
/*
-(CGRect)placeholderRectForBounds:(CGRect)bounds
{
    CGRect inset = CGRectMake(bounds.origin.x+100, bounds.origin.y, bounds.size.width -10, bounds.size.height);//更好理解些
    return inset;
}
*/

// 修改文本展示区域,一般跟editingRectForBounds一起重写
- (CGRect)textRectForBounds:(CGRect)bounds
{
    CGRect inset = CGRectMake(bounds.origin.x+10, bounds.origin.y, bounds.size.width-25, bounds.size.height);//更好理解些
    return inset;
}

// 重写来编辑区域,可以改变光标起始位置,以及光标最右到什么地方,placeHolder的位置也会改变
-(CGRect)editingRectForBounds:(CGRect)bounds
{
    CGRect inset = CGRectMake(bounds.origin.x+10, bounds.origin.y, bounds.size.width-25, bounds.size.height);//更好理解些
    return inset;
}

@end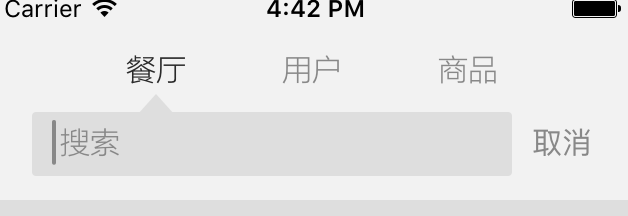
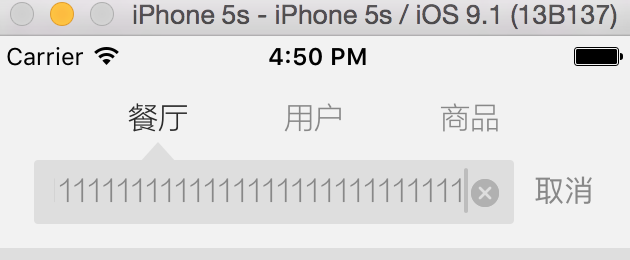 通过上图可以看到,光标初始位置实际上跟输入框边距是x+10起了作用,然后你一直编辑,发现光标不会到最后,会停留在关闭按钮前面,这个是通过bounds.size.width-25来设置的。。。
二、uiTextField的其他属性
  // 搜索框
    _searchFieldText.backgroundColor = UIColorFromHex(0xDEDEDE);
    _searchFieldText.borderStyle = UITextBorderStyleNone;
    _searchFieldText.font = FontLarge;
    _searchFieldText.textColor = ColorTextLight;
    _searchFieldText.placeholder = @" 搜索";
    _searchFieldText.delegate = self;
    _searchFieldText.layer.cornerRadius = 2;
    _searchFieldText.returnKeyType = UIReturnKeySearch;  //设置按键类型
    _searchFieldText.enablesReturnKeyAutomatically = YES; //这里设置为无文字就灰色不可点
    _searchFieldText.clearButtonMode = UITextFieldViewModeWhileEditing; // 出现删除按钮
    // 设置占位文字的颜色为红色
    [_searchFieldText setValue:ColorTextLight forKeyPath:@"_placeholderLabel.textColor"];
    // 光标颜色
    _searchFieldText.tintColor = ColorTextLight;
三、重写的一些方法
– textRectForBounds: //重写来重置文字区域
– drawTextInRect: //改变绘文字属性.重写时调用super可以按默认图形属性绘制,若自己完全重写绘制函数,就不用调用super了.
– placeholderRectForBounds: //重写来重置占位符区域
– drawPlaceholderInRect: //重写改变绘制占位符属性.重写时调用super可以按默认图形属性绘制,若自己完全重写绘制函数,就不用调用super了
– borderRectForBounds: //重写来重置边缘区域
– editingRectForBounds: //重写来重置编辑区域
– clearButtonRectForBounds: //重写来重置clearButton位置,改变size可能导致button的图片失真
– leftViewRectForBounds:
– rightViewRectForBounds:


 3849
3849

 被折叠的 条评论
为什么被折叠?
被折叠的 条评论
为什么被折叠?
 到【灌水乐园】发言


