


网络设备的维护
华为设备的配置文件为current-configuration和saved-configuration。current-configuration 是设备当前运行的文件,如果断电,它是不会被保存的。saved-confguration 是启动配置文件。也就是说,设备启动经历了加电自检、加载IOS、加载saved-confguration 文件。所以,在配置完网络设备时,需要保存配置文件,否则,当设备重启后,原先在网络设备上做好的配置将全部丢失。
网络维护人员需要对网络设备进行管理,而远程管理极大地提高了用户操作的灵活性远程管理主要分为 Telnet 和 STelnet 两种方式。由于 Telnet 缺少安全的认证方式,而且在传输过程中采用TCP协议进行明文传输,存在很大的安全隐患,因此已经慢慢不被接受。这里使用比较安全的 STelnet 管理方式。
案例:
维护网络设备的网络拓扑结构:

网络管理员的计算机(PC2)用路由器进行模拟,PC1是网络管理员的另外一台计算机。
目的:
1、配置网络设备,实现全网互通
2、配置路由器的console、stlenet等登陆方式的安全访问
3、备份网络设备的配置文件
4、学会通过console接口和安全的远程stelnet方式登入网络设备,学会备份和还原网络设备的配置文件
方法:
配置通过stelnet方式进行远程登录
在这里,利用路由器来代替PC2来进行模拟
<Huawei>sys
Enter system view, return user view with Ctrl+Z.
[Huawei]undo in e
Info: Information center is disabled.
[Huawei]sys PCw2
[PCw2]SYS PC2
配置IP地址
[PC2]int g0/0/0
[PC2-GigabitEthernet0/0/0]ip add 192.168.1.1 24
[PC2-GigabitEthernet0/0/0]q
配置默认路由来充当网关
[PC2]ip route-static 0.0.0.0 0 192.168.1.254
[PC2]q
保存
<PC2>save
  The current configuration will be written to the device.
  Are you sure to continue? (y/n)[n]:y
  It will take several minutes to save configuration file, please wait........
  Configuration file had been saved successfully
  Note: The configuration file will take effect after being activated
<PC2>
交换机的配置
进入管理vlan,vlan1
[S1]int vlan 1
vlan1命名为“manager”,为管理网段
[S1-Vlanif1]description manager
[S1-Vlanif1]q
[S1]q
保存
<S1>save
The current configuration will be written to the device.
Are you sure to continue?[Y/N]y
Info: Please input the file name ( *.cfg, *.zip ) [vrpcfg.zip]:
Now saving the current configuration to the slot 0.
Save the configuration successfully.
<S1>
R1的基本配置
[R1]int g0/0/1
[R1-GigabitEthernet0/0/1]ip address 192.168.1.254 24
[R1-GigabitEthernet0/0/1]return
<R1>
在R1上开启SSH服务和查询SSH服务状态
开启SSH服务
[R1]stelnet server enable
Info: Succeeded in starting the STELNET server.
查询SSH服务状态
[R1]display ssh server status
 SSH version                         :1.99
 SSH connection timeout              :60 seconds
 SSH server key generating interval  :0 hours
 SSH Authentication retries          :3 times
 SFTP Server                         :Disable
 Stelnet server                      :Enable
在R1上配置SSH服务器
SSH是一个网络安全协议,通过对网络数据进行加密,它能够在不安全的网络环境中提供安全的远程登录和其他安全网络服务
在R 1上使用[R1]rsa local-key-pair create 命令来生成本地RSA主机密钥对
<R1>system-view
Enter system view, return user view with Ctrl+Z.
[R1]rsa  local-key-pair create
//生成本地密钥对
The key name will be: Host
% RSA keys defined for Host already exist.
Confirm to replace them? (y/n)[n]:y
The range of public key size is (512 ~ 2048).
NOTES: If the key modulus is greater than 512,
       It will take a few minutes.
Input the bits in the modulus[default = 512]:
Generating keys...
..................................++++++++++++
............++++++++++++
..............++++++++
.++++++++
[R1]
配置SSH用户登录界面
设置用户认证为AAA授权认证方式,用户名为admin,密码为huawei。
指定VTY类型用户界面仅支持SSH协议
[R1]user-interface vty  0 4
[R1-ui-vty0-4]authentication-mode aaa
[R1-ui-vty0-4]protocol inbound ssh
断链时间为为15分钟
[R1-ui-vty0-4]idle-timeout  15
[R1-ui-vty0-4]q
创建本地用户
[R1]aaa
[R1-aaa]local-user admin password cipher huawei privilege level 3
配置本地用户的接入类型为ssh
[R1-aaa]local-user  admin service-type  ssh
[R1-aaa]q
新建SSH用户,认证方式为PASSWORD
[R1]ssh user  admin authentication-type password
 Authentication type setted, and will be in effect next time
保存
<R1>save
  The current configuration will be written to the device.
  Are you sure to continue? (y/n)[n]:y
  It will take several minutes to save configuration file, please wait........
  Configuration file had been saved successfully
  Note: The configuration file will take effect after being activated
在PC2上开启SSH用户端首次认证功能
<PC2>system-view
Enter system view, return user view with Ctrl+Z.
[PC2]ssh client first-time enable
[PC2]q
在PC2上使用stelnet 192.168.1.254命令进行AAA方式登陆测试
[PC2]stelnet 192.168.1.254
Please input the username:admin
//输入用户名“admin”
Trying 192.168.1.254 ...
Press CTRL+K to abort
Connected to 192.168.1.254 ...
The server is not authenticated. Continue to access it? (y/n)[n]:y
//输入“y”
Save the server's public key? (y/n)[n]:y
//输入“y”,保存服务器端密钥
The server's public key will be saved with the name 192.168.1.254. Please wait..
.

Enter password:
//输入密码“huawei”
<R1>system-view
Enter system view, return user view with Ctrl+Z.
[R1]
查看SSH服务器的当前会话连接信息
[R1]display  ssh server session
 --------------------------------------------------------------------
 Conn   Ver   Encry     State  Auth-type        Username
 --------------------------------------------------------------------
 VTY 0  2.0   AES       run    password         admin

 --------------------------------------------------------------------
[R1]
配置通过FTP服务器备份配置文件
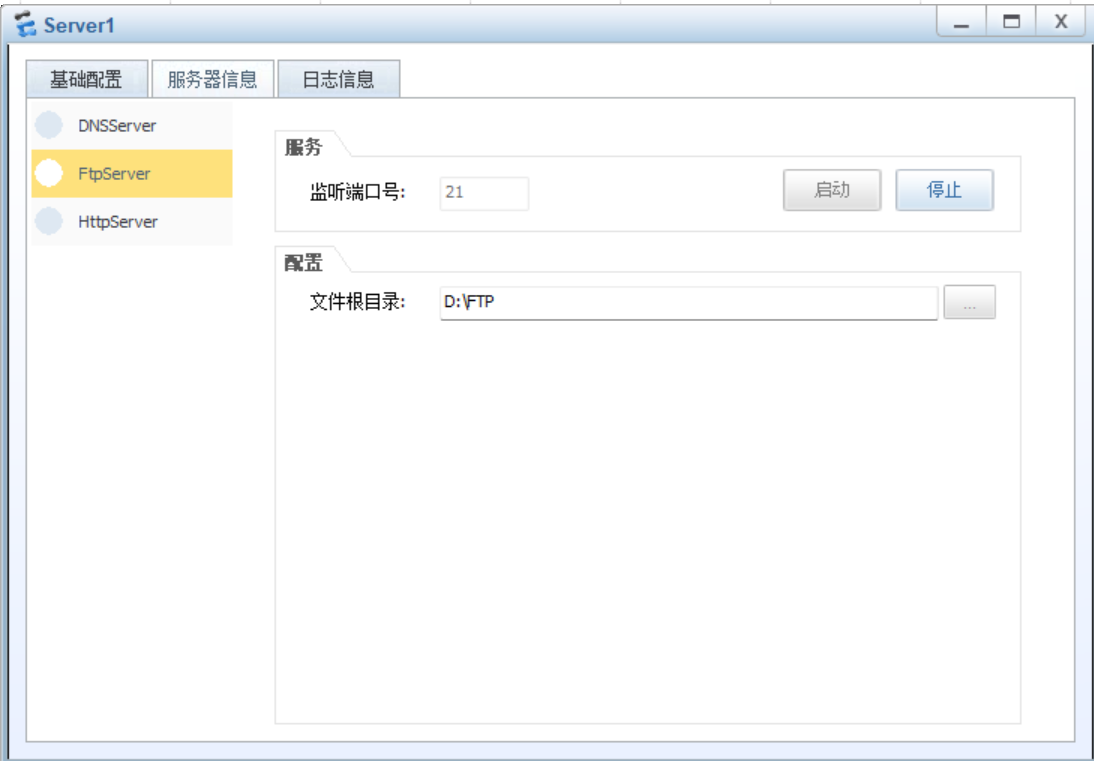
FTP服务器的配置
配置FTP服务器的IP地址
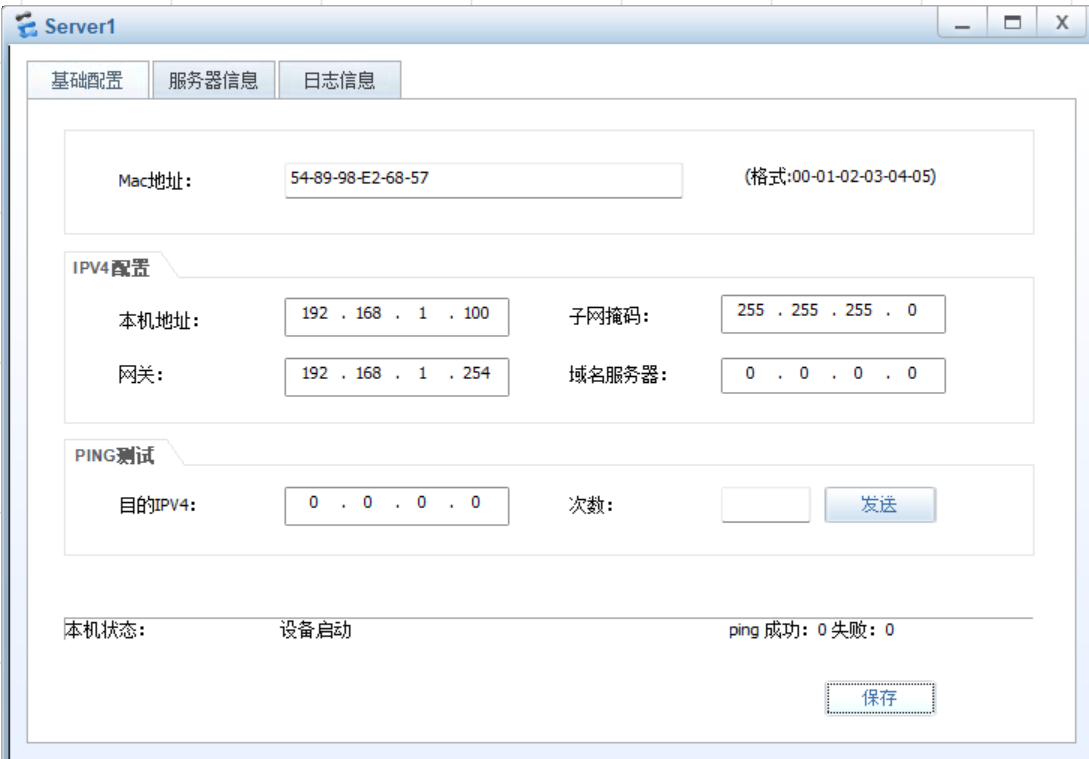
配置FTP服务器上Ftps-Server,设置好文件根目录(需要现在计算机上创建好文件夹),再单击“启动”按钮
所有网络设备和计算机、服务器实现了全网互通
在R1上实现配置文件的备份
将R1上的配置文件备份到FTP服务器
<R1>save R1-backup.cfg
 Are you sure to save the configuration to R1-backup.cfg? (y/n)[n]:y
  It will take several minutes to save configuration file, please wait.......
  Configuration file had been saved successfully
  Note: The configuration file will take effect after being activated
查看R1-backup.cfg文件
<R1>dir
Directory of flash:/

  Idx  Attr     Size(Byte)  Date        Time(LMT)  FileName
    0  drw-              -  Apr 20 2025 11:17:16   dhcp
    1  -rw-        121,802  May 26 2014 09:20:58   portalpage.zip
    2  -rw-            540  Apr 20 2025 11:43:14   rsa_server_key.efs
    3  -rw-            396  Apr 20 2025 11:43:13   rsa_host_key.efs
    4  -rw-          2,263  Apr 20 2025 11:17:10   statemach.efs
    5  -rw-        828,482  May 26 2014 09:20:58   sslvpn.zip
    6  -rw-            249  Apr 20 2025 11:48:24   private-data.txt
    7  -rw-          1,012  Apr 20 2025 12:08:06   r1-backup.cfg
    8  -rw-            629  Apr 20 2025 11:48:24   vrpcfg.zip

1,090,732 KB total (784,440 KB free)
<R1>
在R1上连接FTP服务器
<R1>ftp 192.168.1.100
//连接FTP服务器
Trying 192.168.1.100 ...

Press CTRL+K to abort
Connected to 192.168.1.100.
220 FtpServerTry FtpD for free
User(192.168.1.100:(none)):
//ENTER键,进行匿名登录
331 Password required for  .
Enter password:
ENTER键
230 User  logged in , proceed
在R1上将配置文件上传至FTP服务器上
[R1-ftp]put R1-backup.cfg
在R1上实现配置文件的还原
将FTP上R1的配置文件还原到R1
<R1>delete R1-backup.cfg
//删除路由器本地的R1-backup.cfg 文件
Delete flash:/r1-backup.cfg?(y/n)[n]:y
Info:Deleting file flash:/R1-backup.cfg...succeed.
<Rl>dir
//确认路由器本地的R1-backup.cfg 文件已删除
<R1>ftp 192.168.1.100
Trying 192.168.1.100...
Press Ctrl+K to abort
Connected to 192.168.1.100
.220 FtpServerTry FtpD for free
User(192.168.1.100:(none)):
//直接按Enter键,匿名登录
331 Password required for
//直接按Enter键
Enter password:
230 User logged inproceed
从FTP 服务器上下载R1的配置文件。
[R1-ftp]get R1-backup.cfg
设置R1引导启动R1-backup.cfg配置文件,并新增配置和保存。
<Rl>startup saved-configuration rl-backup.cfg
<R1>sys
Enter system view, return user view with Ctrl+Z.
[R1]int LoopBack 1
//新增配置
[R1-LoopBackllip add 10.10.10.1 24
[R1-LoopBackl]return
<Rl>save
//将新增内容保存到saved-configuration文件中
将R1重启
<R1>rebootInfo: The system is comparing the configuration, please wait.
Warning:All theconfiguration willbe saved to the nextstartupconfiguration.
Continue ?[y/n]:n
System will reboot! Continue ?[y/n]:y
Info:system is rebooting please wait...
需要注意的是,因模拟器的原因,在R1重启后,需要先手动“停止设备”后,再“开启设备”,才能正常使用。
査看R1重启后的配置信息。
<R1>dis current-configuration
[V200R003C00]


//省略部分内容


#interface NULL
//int LoopBack 1的配置没有了,因为r1-backup.cfg 文件中没有这部分配置信息
stelnet server enable


 被折叠的 条评论
为什么被折叠?
被折叠的 条评论
为什么被折叠?
 到【灌水乐园】发言


