


 本文详细介绍了Nginx的功能、稳定性和配置方法,包括如何利用Docker进行Nginx的安装、运行及配置。深入解析了Nginx配置文件的各项参数,如worker_processes、error_log等,以及events和http块的配置细节。
nginx简介
Nginx是lgor Sysoev为俄罗斯访问量第二的rambler.ru站点设计开发的。从2004年发布至今,凭借开源的力量,已经接近成熟与完善。
Nginx功能:
- 可作为HTTP服务器
- 可作为反向代理服务器
- 可作为邮件服务器
- 支持FastCGI、SSL、Virtual Host、URL Rewrite、Gzip等功能
- 支持很多第三方的模块扩展
Nginx的稳定性、功能集、示例配置文件和低系统资源的消耗让他后来居上,在全球活跃的网站中有12.18%的使用比率,大约为2220万个网站。
基于Docker安装以及运行
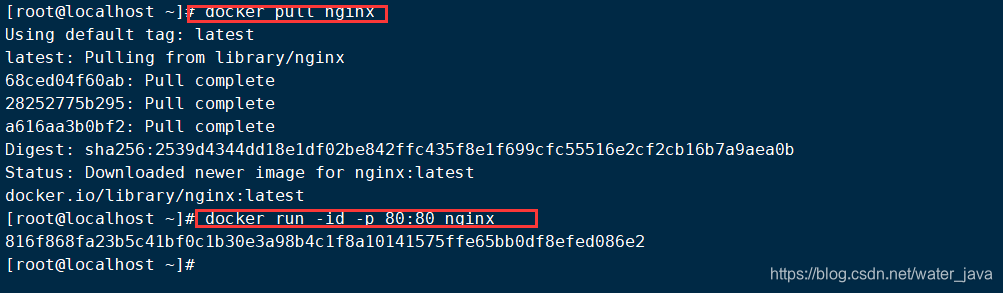
1,下载最新nginx镜像
docker pull nginx
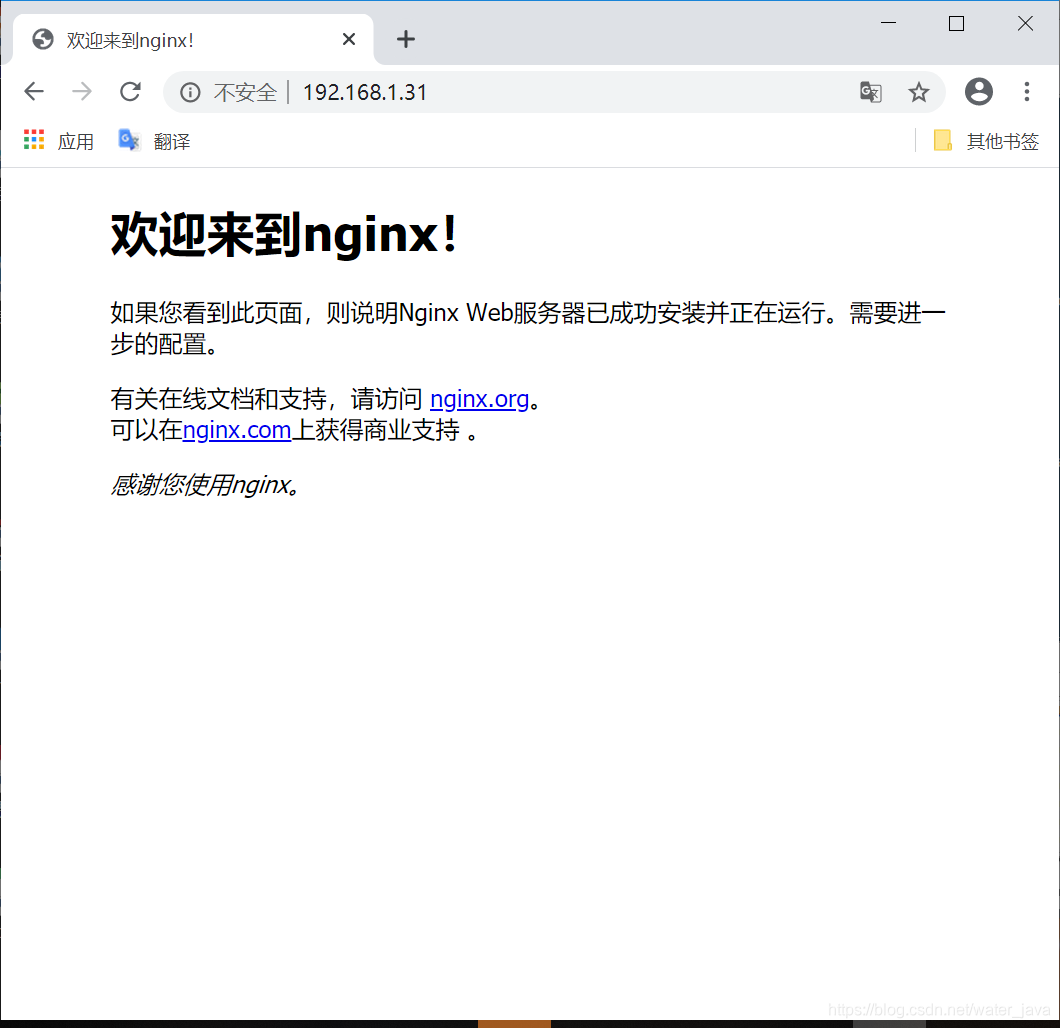
2,运行nginx容器
docker run -id -p 80:80 nginx
3,重启nginx容器:docker restart 容器id
4,关闭nginx容器:docker stop 容器id
Nginx原理以及配置文件讲解
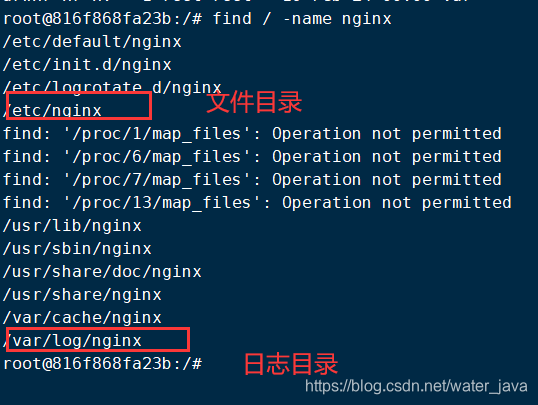
找nginx的安装目录,有两种方法;
第一种:通过dockerfile的定义来看;
第二种,简单粗暴,直接搜索
find / -name nginx

配置文件介绍
nginx.conf配置文件介绍
user  nginx;  #配置worker进程运行用户
worker_processes  1;  #配置工程进程数目,根据硬件配置,一般是和CPU数量一致,或者CPU数量的2倍,能达到最佳性能
error_log  /var/log/nginx/error.log warn;  # 配置全局错误日志文件以及配置级别 [ debug | info | notice | warn | error | crit ]
pid        /var/run/nginx.pid;  #配置进程pid文件


关于日志级别:

在配置nginx.conf 的时候,有一项是指定错误日志的,默认情况下你不指定也没有关系,因为nginx很少有错误日志记录的。但有时出现问题时,是有必要记录一下错误日志的,方便我们排查问题。

error_log 级别分为 debug, info, notice, warn, error, crit  默认为crit, 该级别在日志名后边定义格式如下:

error_log  /your/path/error.log crit;

crit 记录的日志最少,而debug记录的日志最多。如果你的nginx遇到一些问题,比如502比较频繁出现,但是看默认的error_log并没有看到有意义的信息,那么就可以调一下错误日志的级别,当你调成error级别时,错误日志记录的内容会更加丰富。


events配置
events 是配置工作模式和连接数
events {
    worker_connections  1024;  # 配置每个worker进程连接数上限
}

说明:nginx支持得总连接数=worker_processes * worker_connections
444.png


http配置
配置http服务器

http {
    include       /etc/nginx/mime.types;  # 配置nginx支持哪些多媒体类型
    default_type  application/octet-stream; #默认文件类型
    #配置日志格式
    log_format  main  '$remote_addr - $remote_user [$time_local] "$request" '
                      '$status $body_bytes_sent "$http_referer" '
                      '"$http_user_agent" "$http_x_forwarded_for"';
    access_log  /var/log/nginx/access.log  main;  #配置访问日志  ,并使用上面的格式
    sendfile        on; # 开启高效文件传输模式
    #tcp_nopush     on; #开启防止网络阻塞模式
    keepalive_timeout  65; #长连接超时时间,单位秒
    #gzip  on;  #开启gzip压缩输出
    include /etc/nginx/conf.d/*.conf;
}
/etc/nginx/conf.d/*.conf文件介绍
server {
    listen       80;  #监听端口
    server_name  localhost;  # 配置服务名

    #charset koi8-r;  #配置字符集
    #access_log  /var/log/nginx/host.access.log  main;  #配置本虚拟主机访问日志

   # 匹配/请求 ,/是根路径请求,会被该location匹配到并且处理
    location / {
        root   /usr/share/nginx/html;  #root是配置服务器的默认网关根目录位置
        index  index.html index.htm; #配置首页文件的名称
    }


    #error_page  404              /404.html; #配置404页面
    # redirect server error pages to the static page /50x.html
    #

    error_page   500 502 503 504  /50x.html;  #配置50x错误页面

    location = /50x.html {
        root   /usr/share/nginx/html;
    }

    # proxy the PHP scripts to Apache listening on 127.0.0.1:80

    #location ~ \.php$ {
    #    proxy_pass   http://127.0.0.1;
    #}


    # pass the PHP scripts to FastCGI server listening on 127.0.0.1:9000
    #location ~ \.php$ {
    #    root           html;
    #    fastcgi_pass   127.0.0.1:9000;
    #    fastcgi_index  index.php;
    #    fastcgi_param  SCRIPT_FILENAME  /scripts$fastcgi_script_name;
    #    include        fastcgi_params;
    #}


    # deny access to .htaccess files, if Apache's document root
    # concurs with nginx's one
    #location ~ /\.ht {
    #    deny  all;
    #}

}
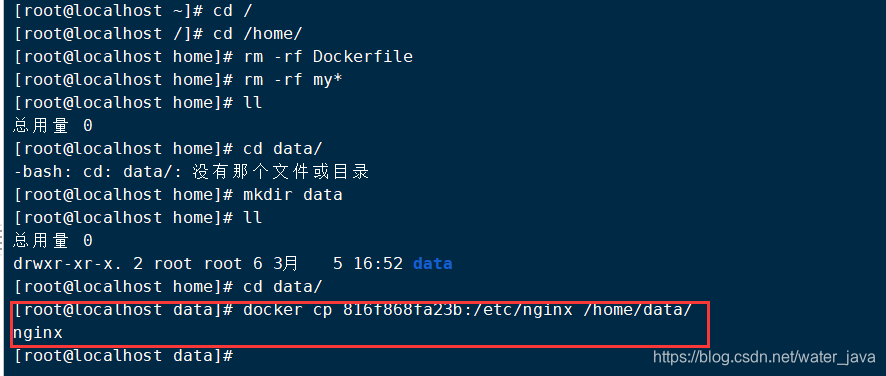
挂载容器目录启动nginx容器
为后续方便修改nginx的配置文件,我们将nginx的配置目录copy到宿主机,将其作为新nginx容器启动的共享目录;
cd /home
mkdir data
docker cp 816f868fa23b:/etc/nginx /home/data/nginx


 594
594

 被折叠的 条评论
为什么被折叠?
被折叠的 条评论
为什么被折叠?
 到【灌水乐园】发言


