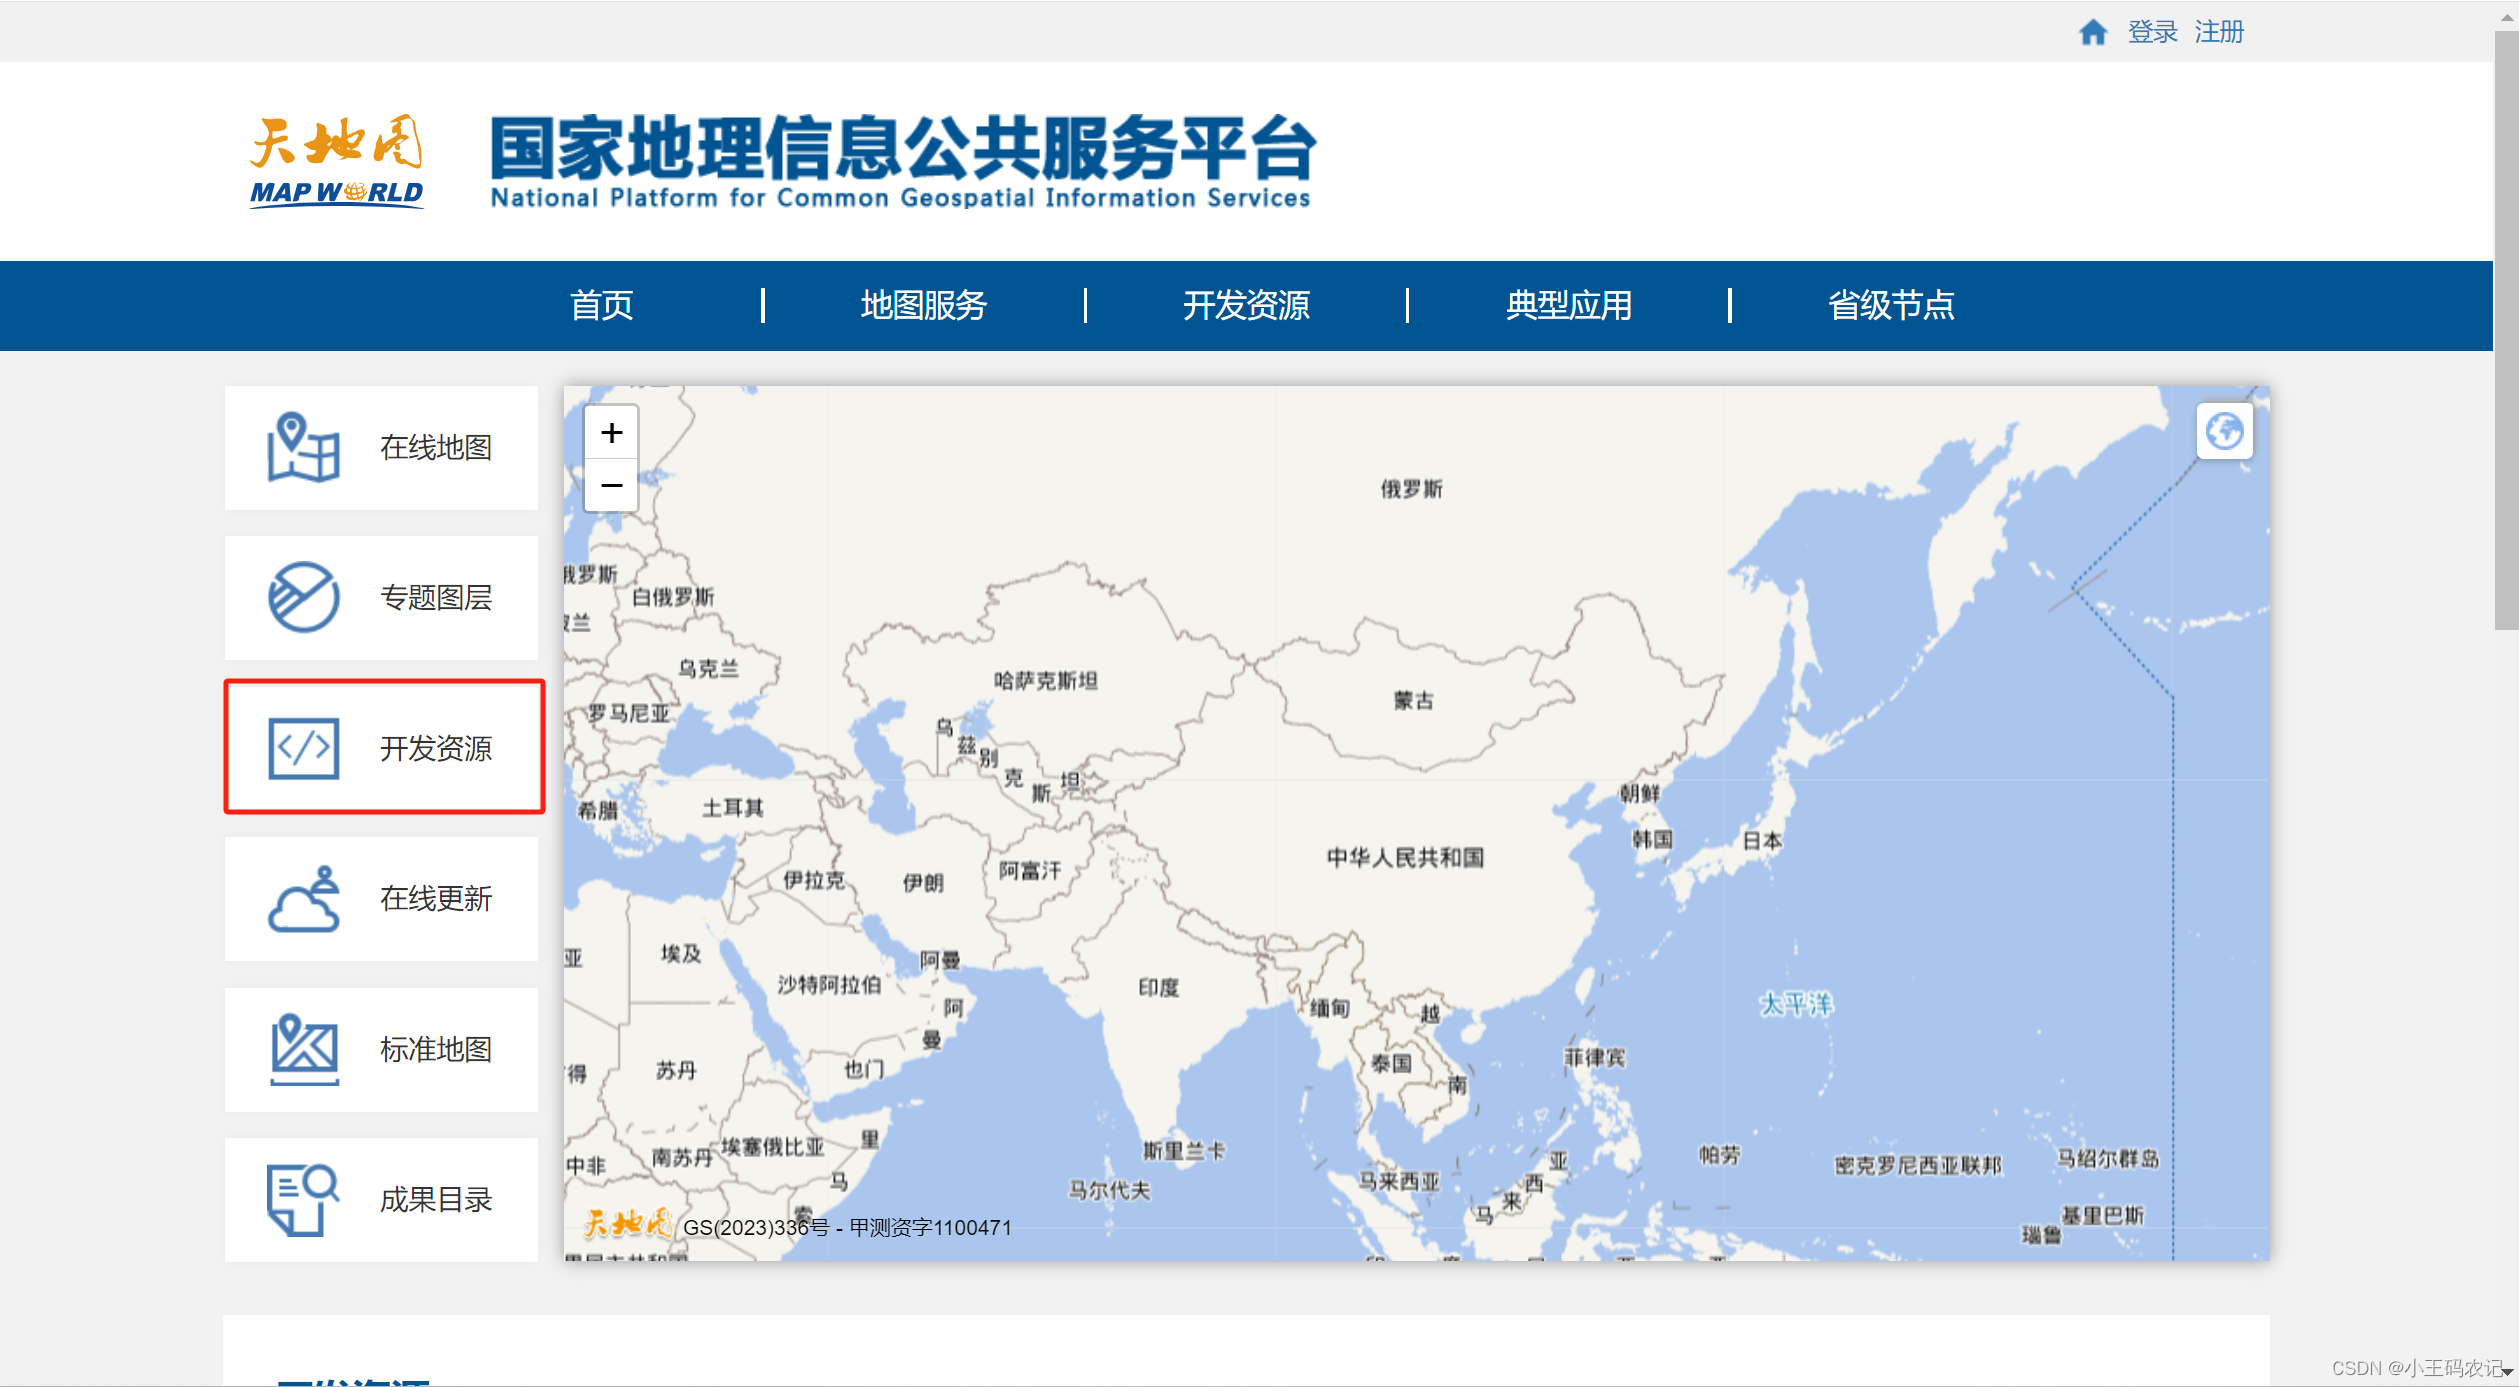
申请天地图key
- 到天地图官网,点击左侧
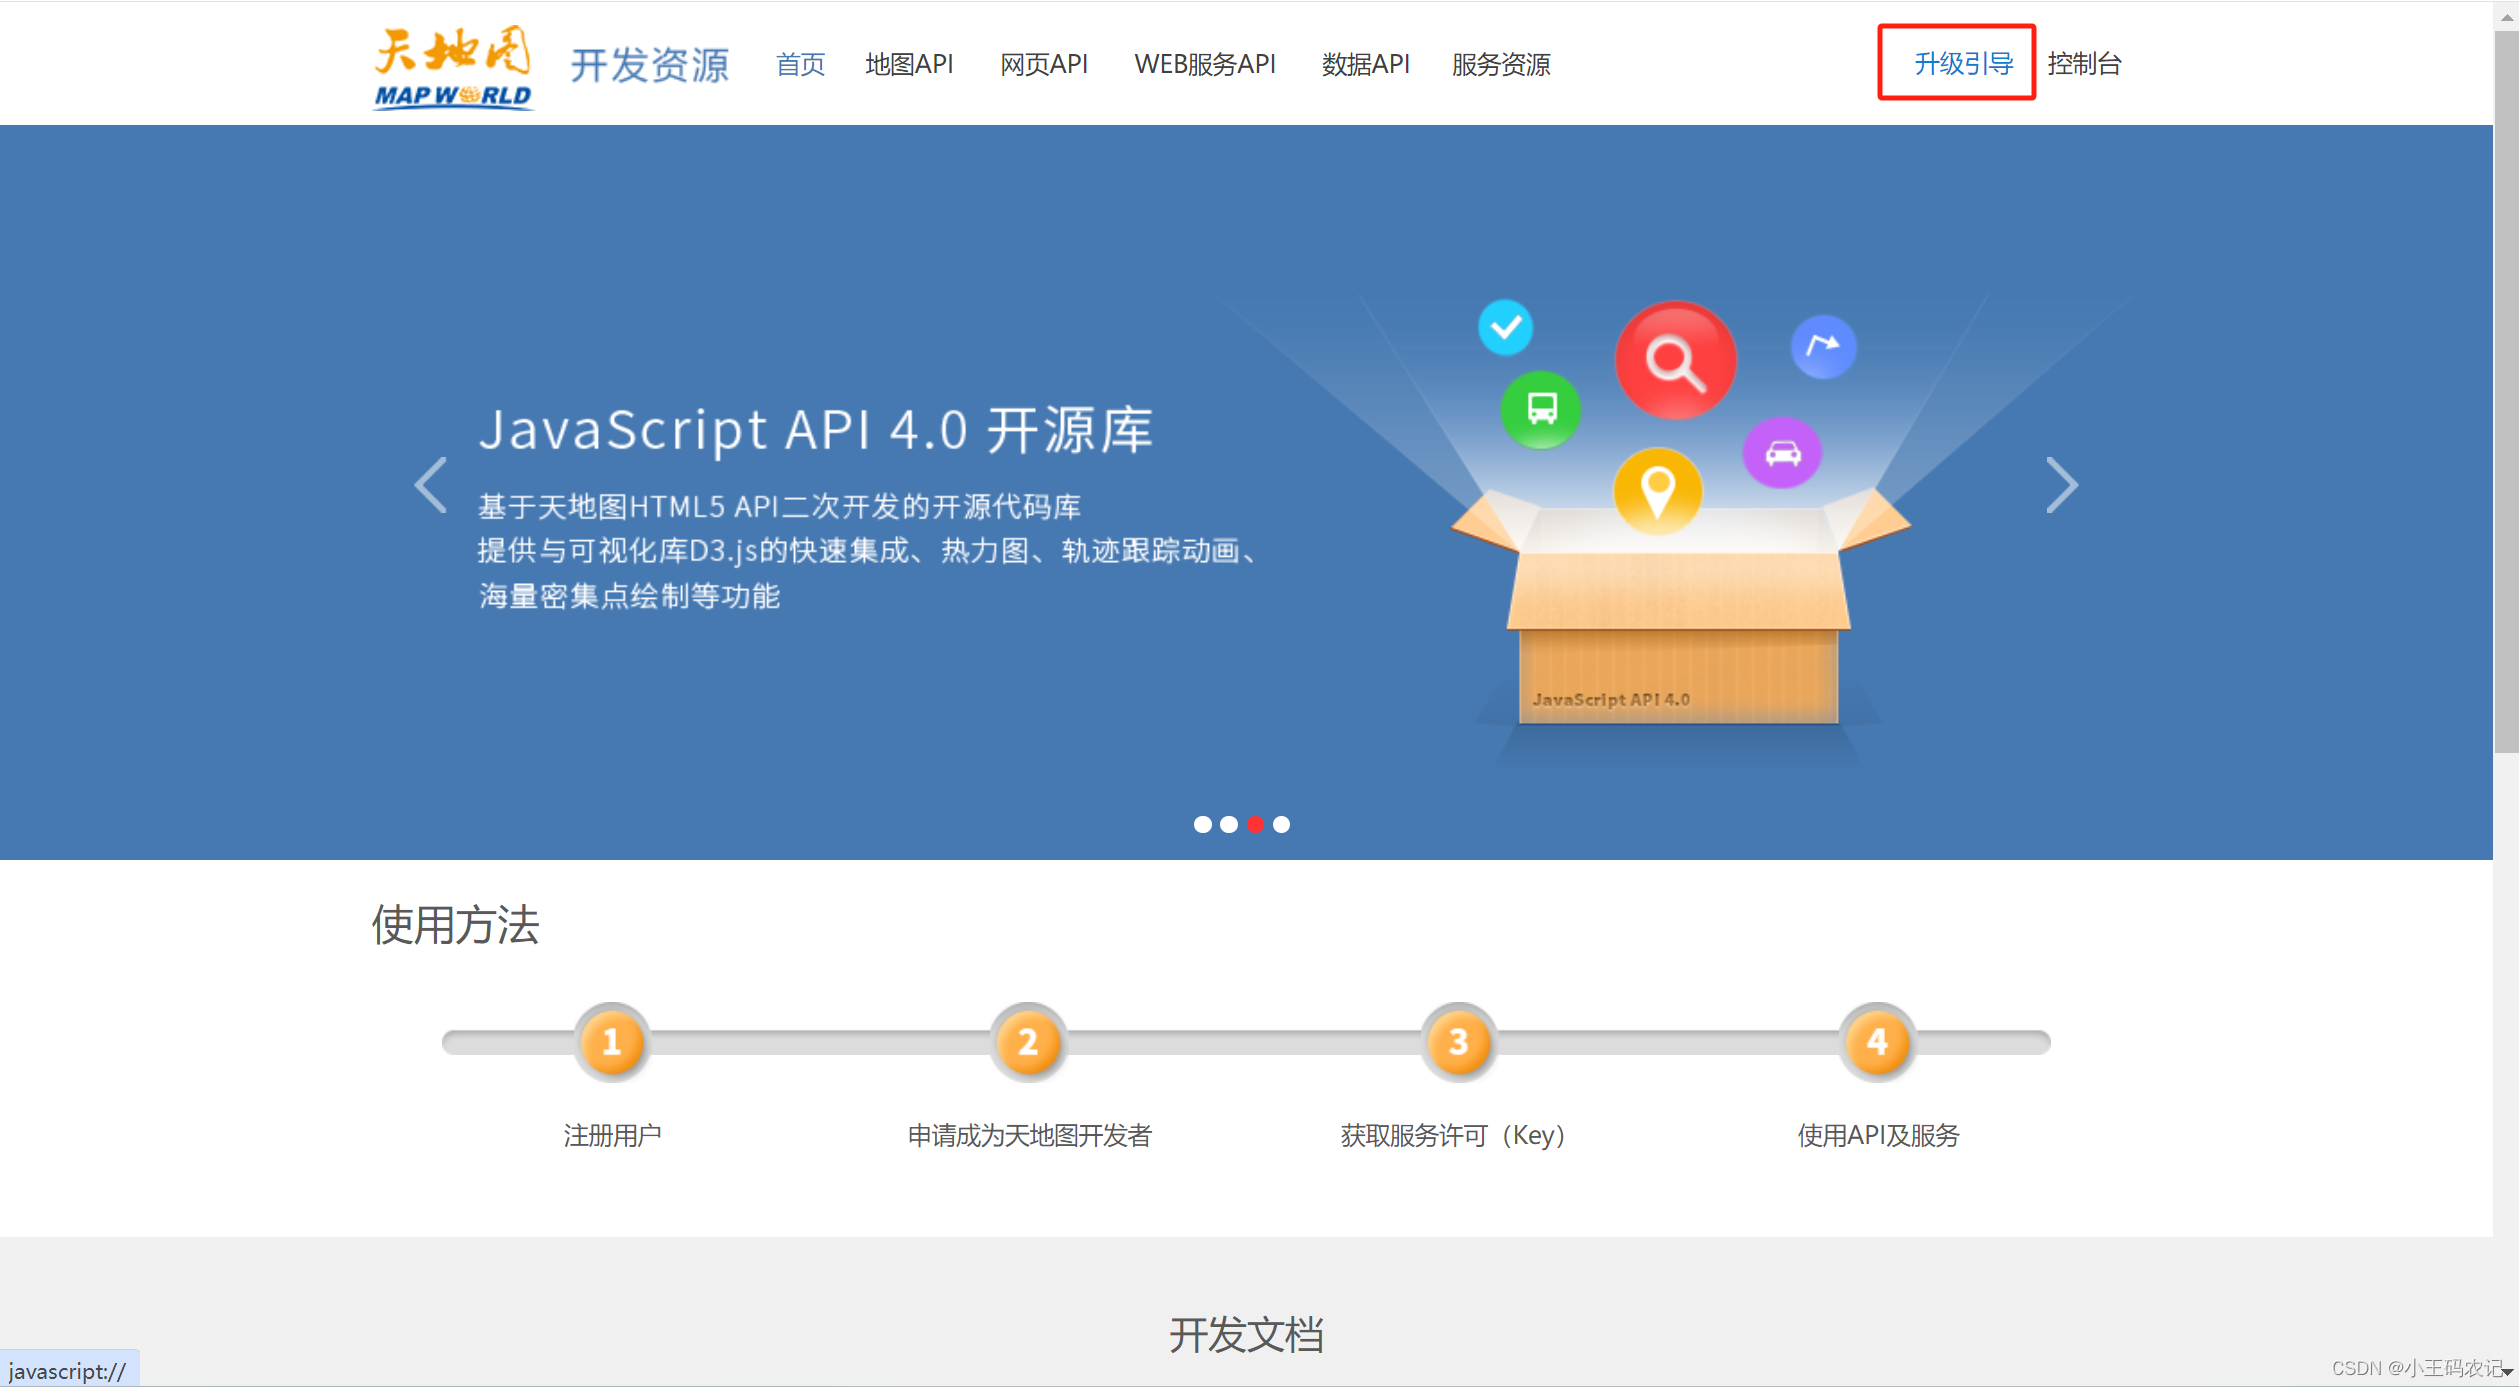
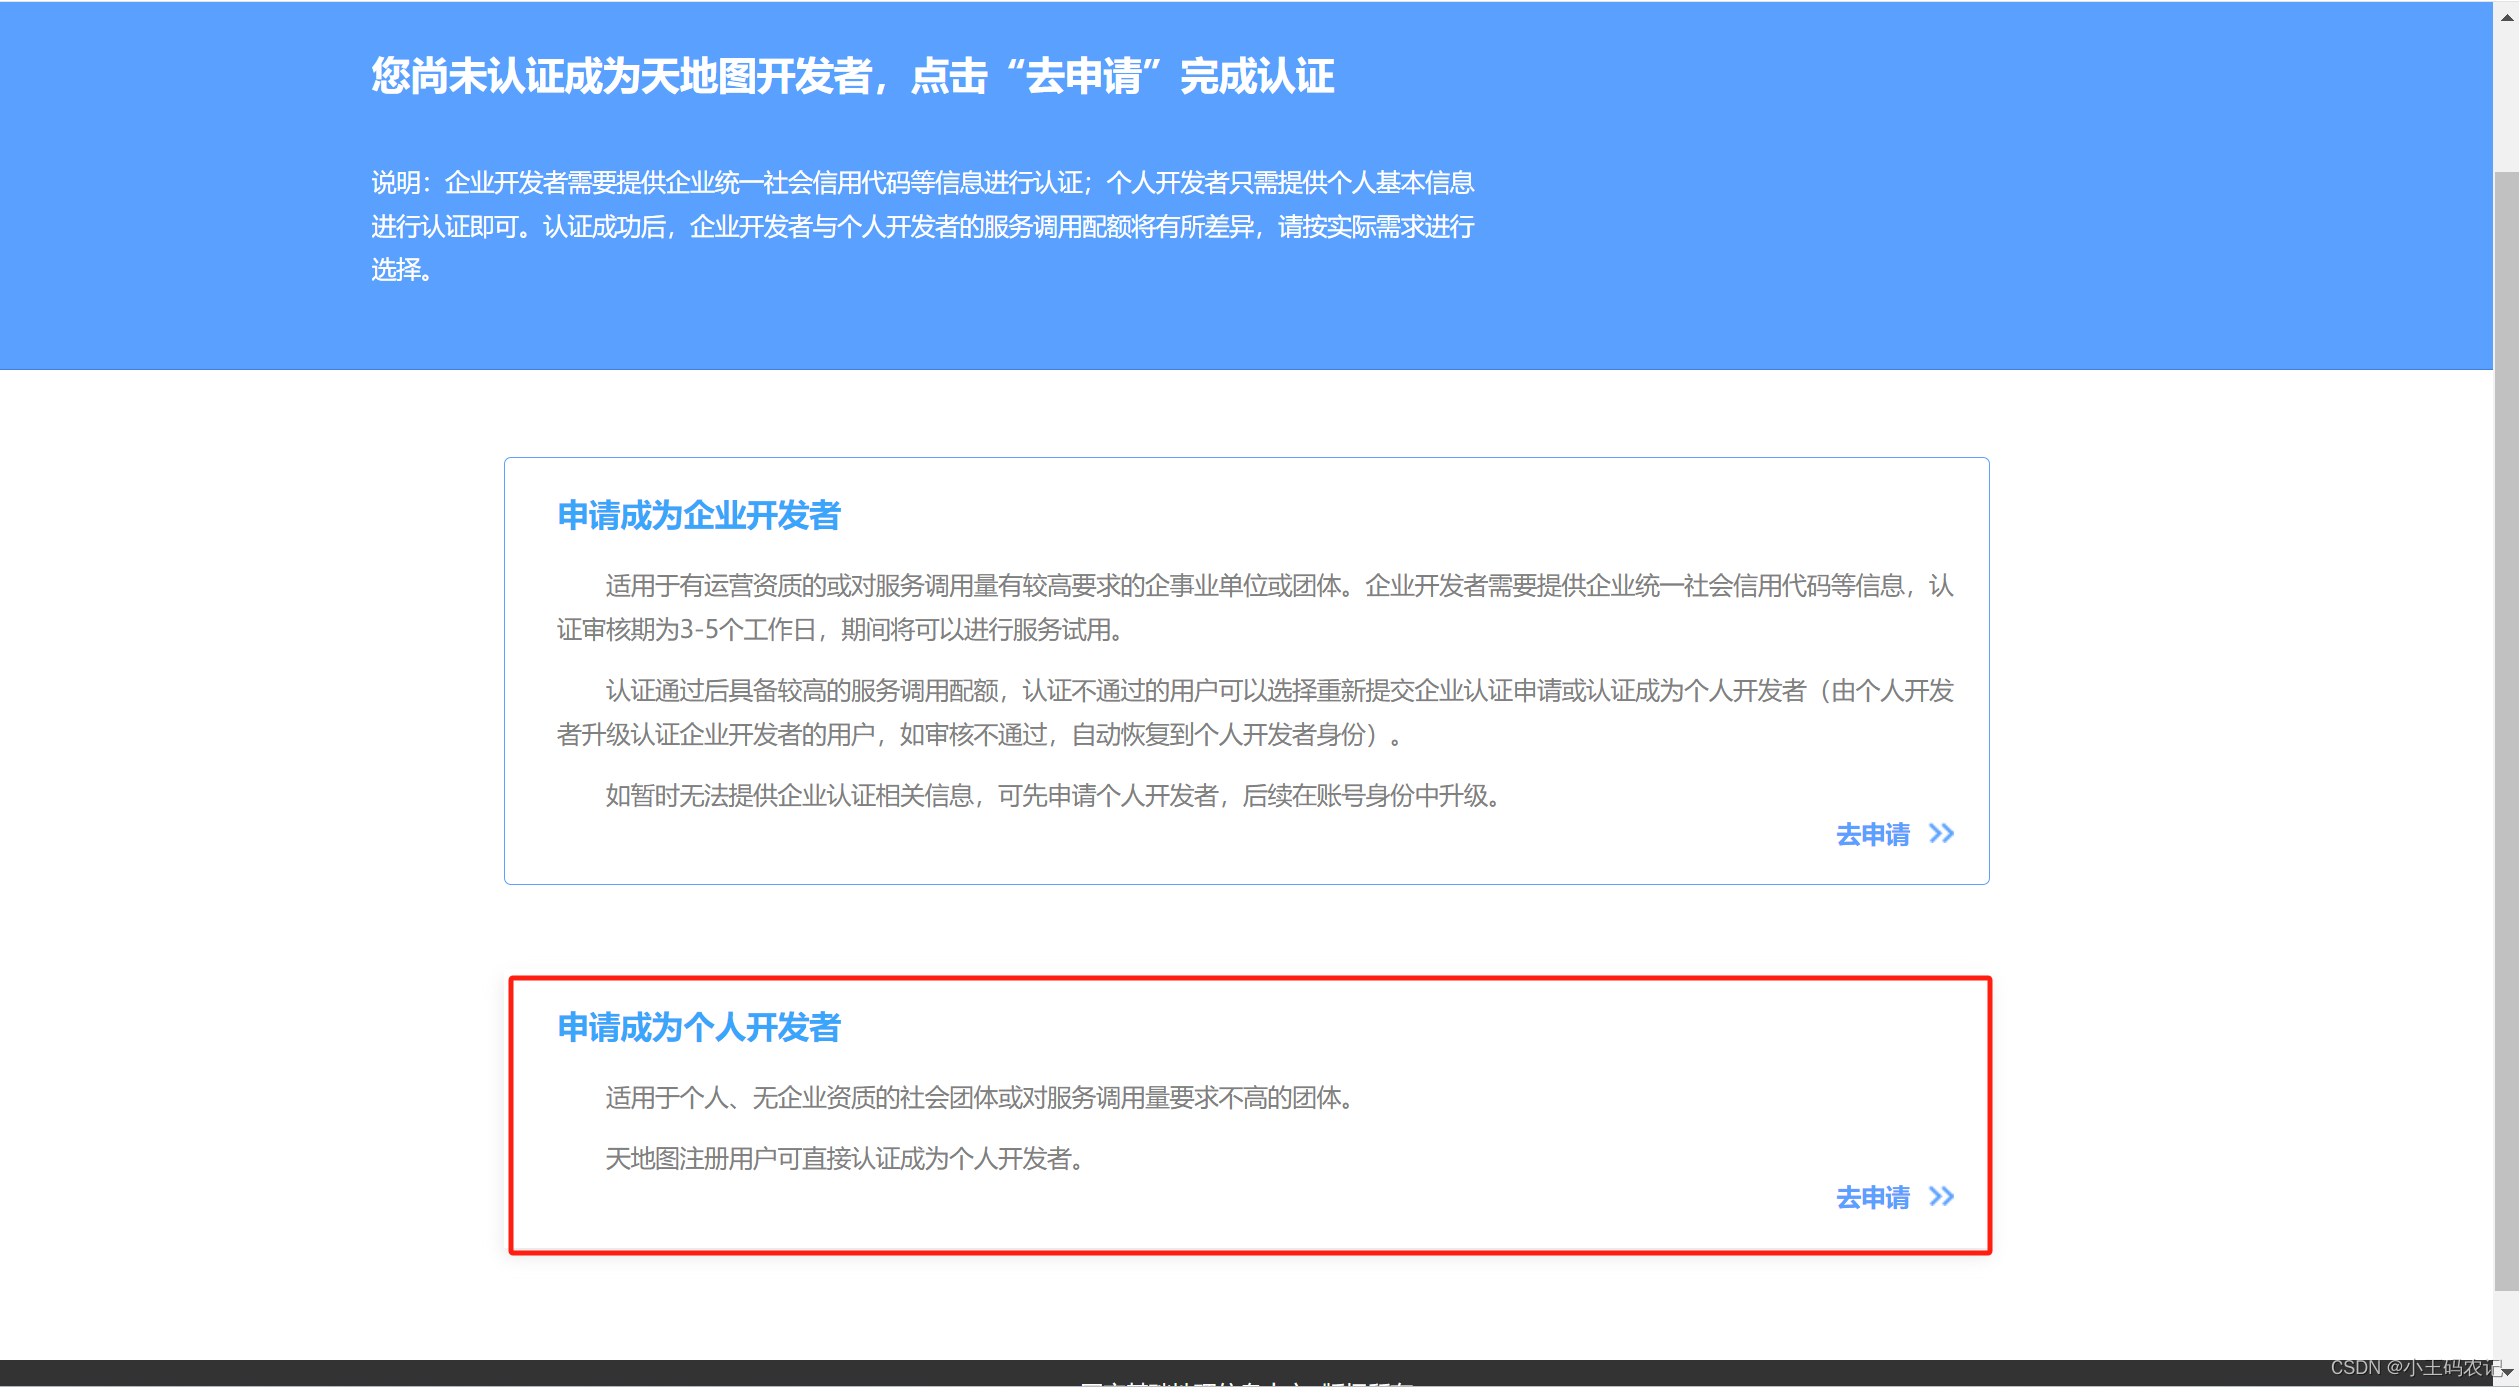
开发资源,再点击右上角的升级引导,根据引导说明进行账号注册。(如下图)
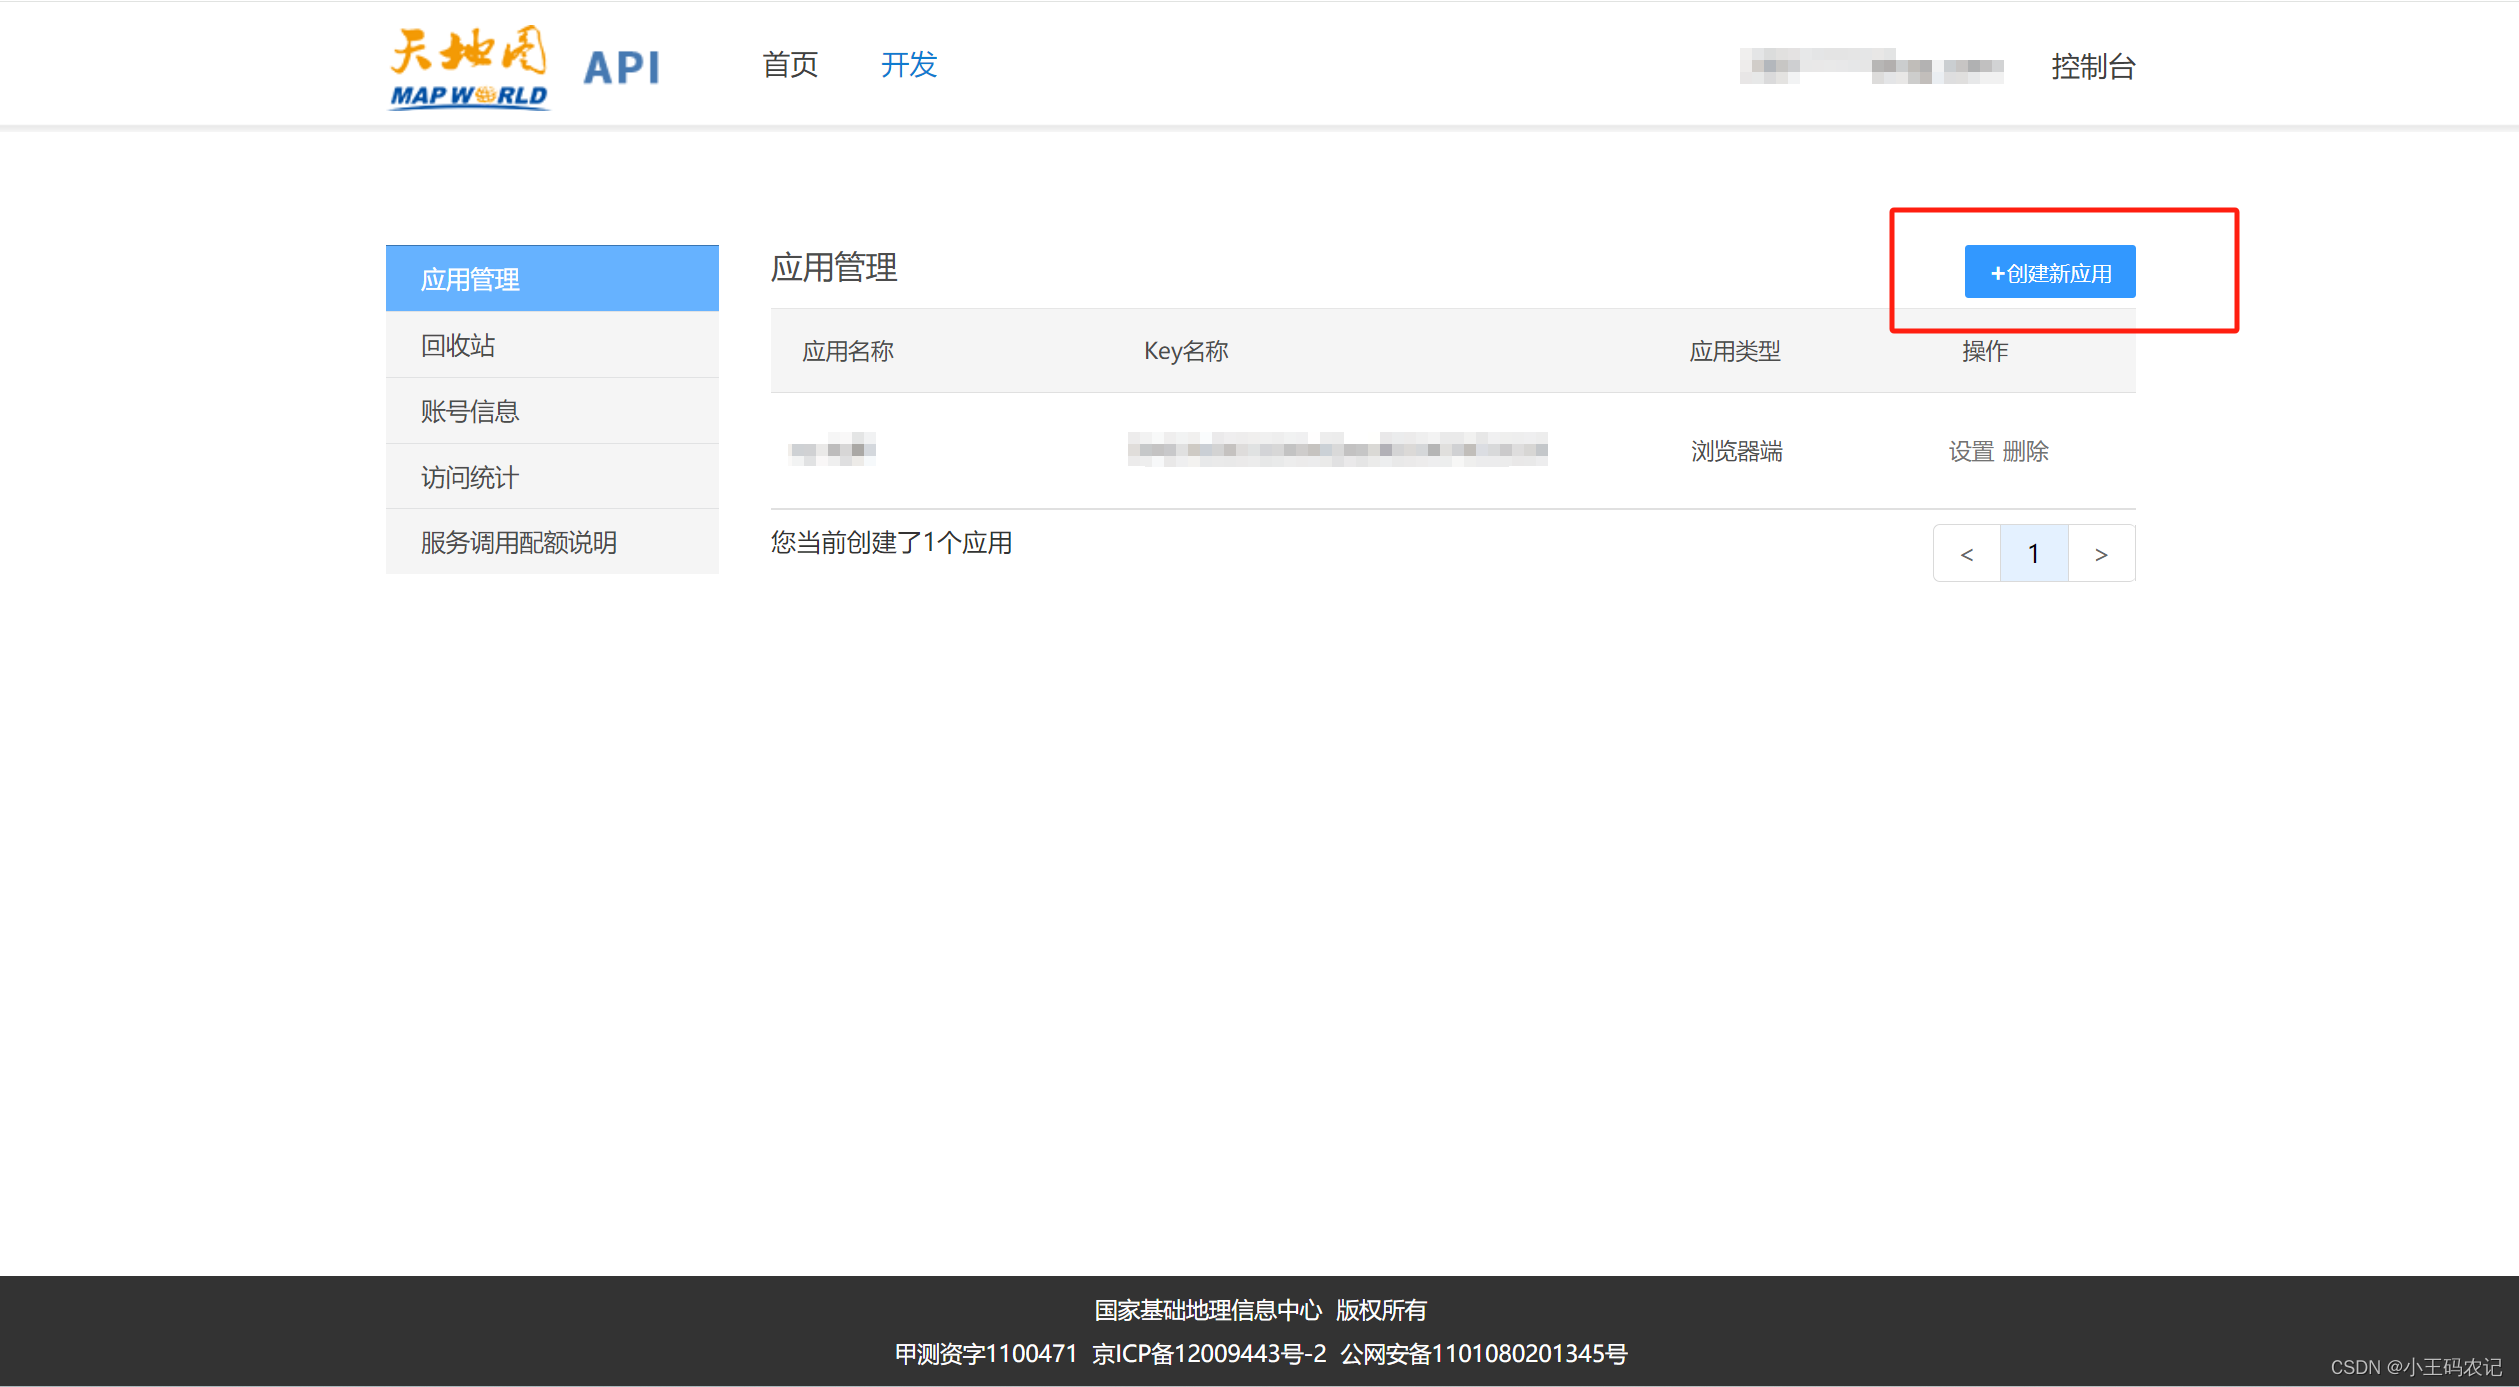
- 上面步骤操作完成后,点击创建新应用,填写相关信息,应用名称随便写,行业类型随便选,应用类型选浏览器,IP白名单不需要写,这样就创建好一个应用了,会看到对应的key。
项目中使用
- 在
index.html中引入天地图资源
<script src="http://api.tianditu.gov.cn/api?v=4.0&tk=刚申请到的应用KEY值"></script>
- VUE页面
<template>
  <div id='mapDiv' style='position: absolute; width: 100%; height: 100%; z-index: 100'></div>
</template>

<script setup>
const props = defineProps({
  data: {
    type: Object,
    default: () => {
      return {}
    }
  },
  title: {
    type: String,
    default: ''
  }
})

const map = ref(null)
const zoom = ref(12)
let longitude = ref('');
let latitude = ref('');


watch(() => props.data, (newValue, oldValue) => {
    initLoad()
})

 const initLoad = () => {
   // 获取经纬度及名称
 longitude.value = props.data.longitude;
 latitude.value = props.data.latitude;
  if (!map.value) {
    const T = window.T
    map.value = new T.Map('mapDiv', {
      zoom: zoom.value,
      center: new T.LngLat(longitude.value, latitude.value)
    })

    // 添加地图类型控件
    const ctrl = new T.Control.MapType([{
      title: '地图',
      icon: 'http://api.tianditu.gov.cn/v4.0/image/map/maptype/vector.png',
      layer: window.TMAP_NORMAL_MAP
    },
    {
      title: '卫星',
      icon: 'http://api.tianditu.gov.cn/v4.0/image/map/maptype/satellite.png',
      layer: window.TMAP_SATELLITE_MAP
    }
  ]);
    map.value.addControl(ctrl)
  } else {
    map.value.panTo(new T.LngLat(longitude.value, latitude.value));
    map.value.clearOverLays();
  }

  addMarkers();
}

// 添加标记点
const addMarkers = () => {
  // 添加或更新覆盖物(标记点)
  const point = new T.LngLat(longitude.value, latitude.value)
  const icon = new T.Icon({
    iconUrl: 'src/assets/images/projectKanban/btn-bg-border.svg',
    iconSize: new T.Point(27, 27),
    iconAnchor: new T.Point(10, 25)
  });
  const marker = new T.Marker(point, icon)
  map.value.addOverLay(marker)

  var label = new T.Label({
    text: props.title,
    position: new T.LngLat(longitude.value, latitude.value),
    offset: new T.Point(-25, 20)
  })
  map.value.addOverLay(label);
}

onMounted(async () => {
  await nextTick()
  initLoad()
})
</script>
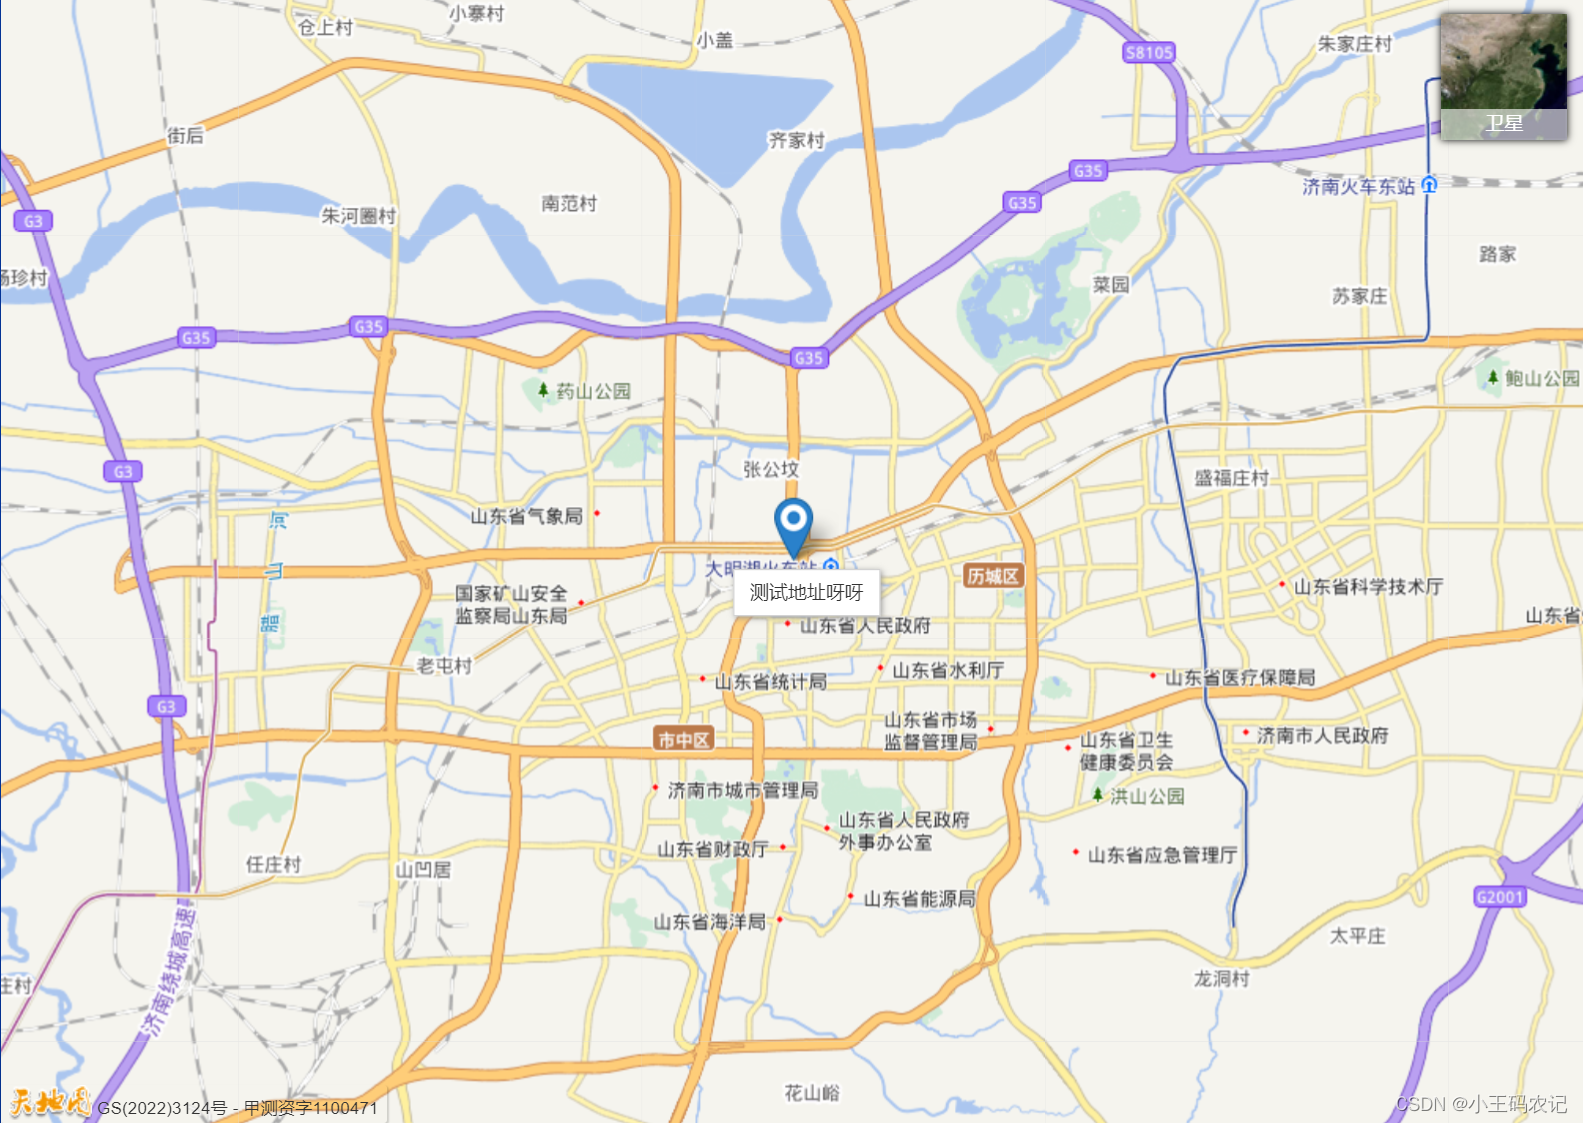
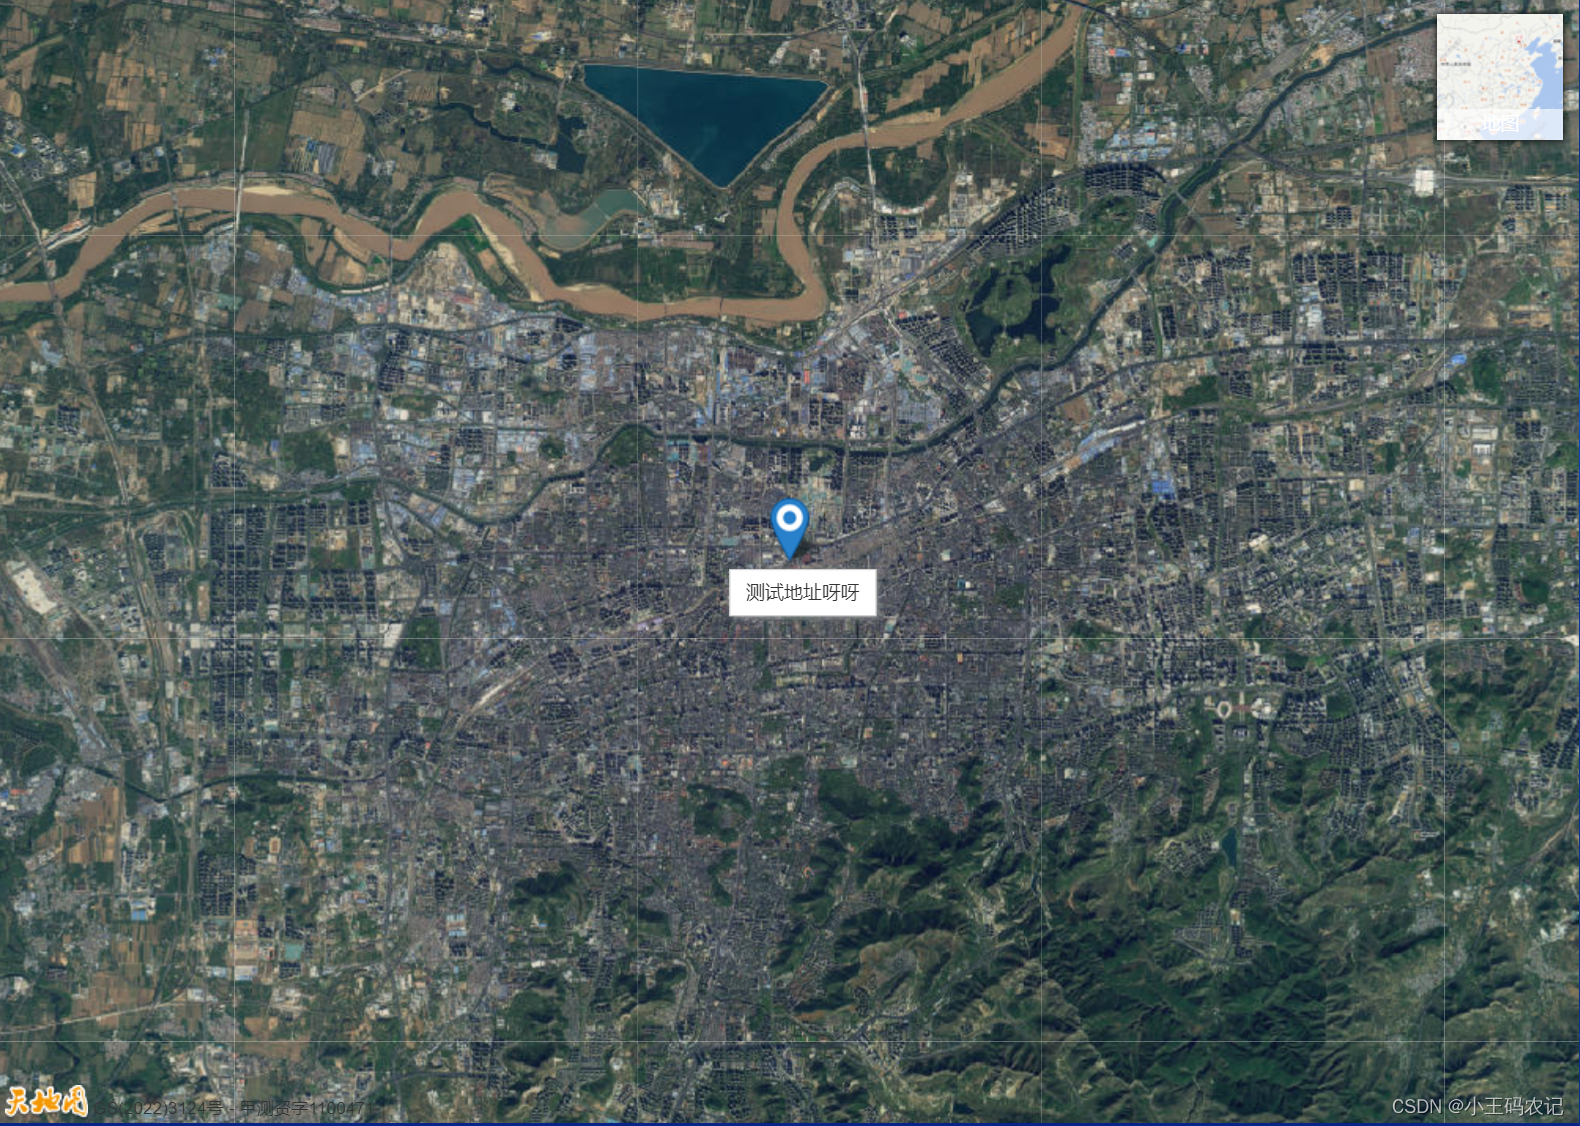
- 完成效果如下图:


 298
298

 被折叠的 条评论
为什么被折叠?
被折叠的 条评论
为什么被折叠?
 到【灌水乐园】发言


