


Glide、Picasso、Fresco已逐渐成为Android主流的图片加载工具(个人见解,使用Volley、ImageLoader、xUtils的大佬们请勿喷~),在多数Android程序员的印象中,它们只是加载图片和缓存图片的工具,其实它们还有很多强大的功能没有被发掘...
今天,小编向各位介绍一下这些工具的新功能:图像转换
图像转换开源库(附:GitHub链接)
// Glide Transformations
https://github.com/wasabeef/glide-transformations
// Picasso Transformations
https://github.com/wasabeef/picasso-transformations
// Fresco Processors
https://github.com/wasabeef/fresco-processors
下面是小编配合Glide,以Glide Transformations为例,写的一个图像转化的Demo :
GitHub地址:https://github.com/sinawangnan/GlideTransformation
Glide Transformations为Glide提供了图像剪裁、模糊、蒙版、色彩过滤等功能。
接下来,小编用另一个简单的事例说明Glide Transformations相关方法的使用~
详解开始(小司机开车了~)
1.创建一个Android工程。
2.导入 [Glide Transformations] 库。
dependencies {

    ......

    // Glide
    compile 'com.github.bumptech.glide:glide:3.7.0'

    // Glide图形转换工具
    compile 'jp.wasabeef:glide-transformations:2.0.1'

    // GPUImage
    compile 'jp.co.cyberagent.android.gpuimage:gpuimage-library:1.3.0'

}
3.在activity_main.xml添加两个ImageView,一个显示原图片,一个显示转换后的图片。
4.在Activity中使用Glide为两个ImageView加载同一张图片,但第2个ImageView会添加额外的位图转换方法。(举例:加载方法如下)
    Glide.with(this)
            .load(url)
            .into(mImageView1);

    Glide.with(this)
            .load(url)
            .bitmapTransform(new CropTransformation(this))
            .into(mImageView2);
对于没有使用过Glide的同学,小编做下简要说明:
- Glide.with(this) :使用Glide需要一个Context传入。
- Glide.load(url) :加载图片的地址,可以是本地图片资源id、File对象、网络图片地址(别忘记联网权限)等等。
- Glide.into(mImageView1) :加载完图片后需要在哪个ImageView中显示。
- Glide.bitmapTransform(new CropTransformation(this)) :位图转换,也是小编接下来要使用的方法。
运行下程序,界面大概是这个样子:
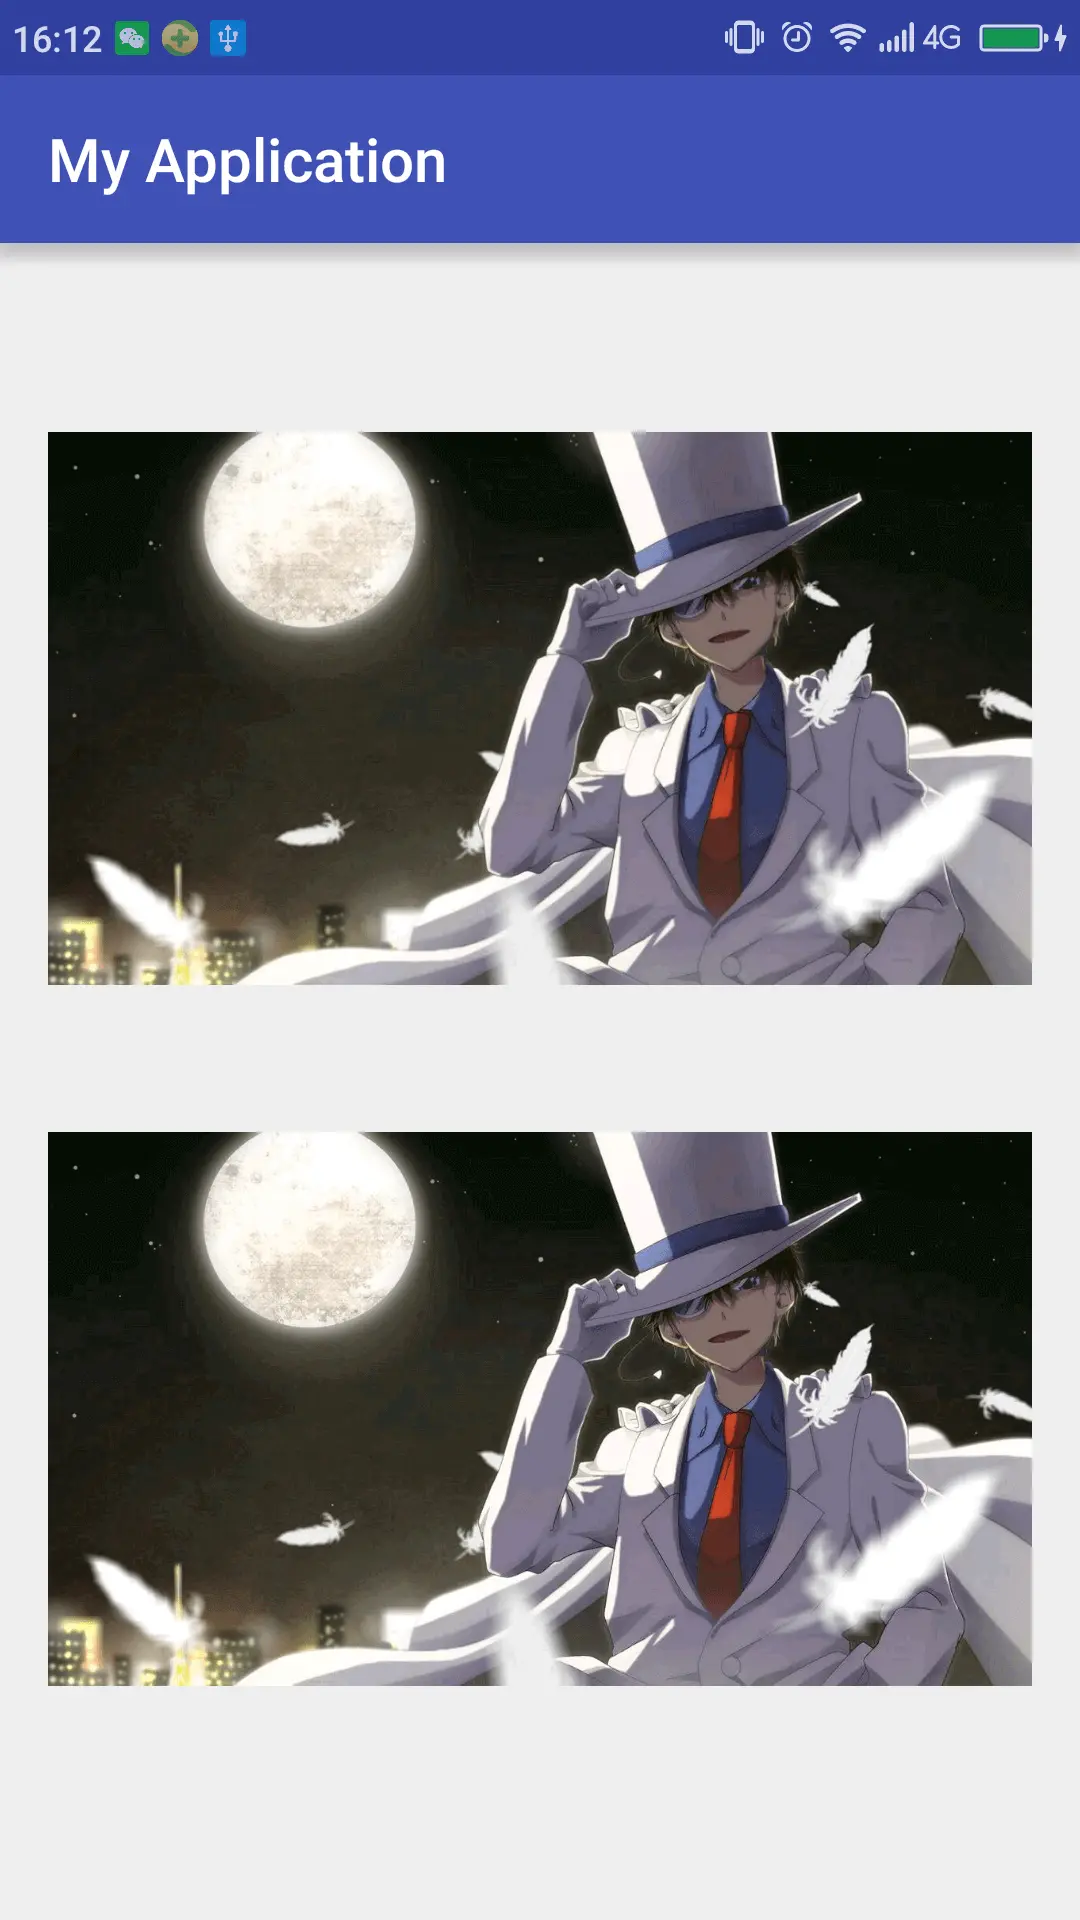
现在,看起来两张图片是一样的,这是因为我们的转换方法执行后和原图片的显示效果是一样的。
接下来,开始进入正题,我们开始根据类别介绍Glide Transformations提供的图片转换方法:
1.图片剪裁
-
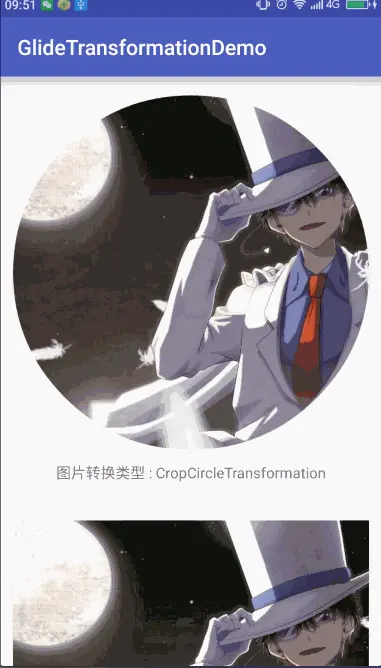
CropCircleTransformation (圆形剪裁显示)
  // 原图片加载省略
      ......

  // 使用构造方法 CropCircleTransformation(Context context)
     Glide.with(this)
      .load(url)
      .bitmapTransform(new CropCircleTransformation(this))
      .into(mImageView2);
CropCircleTransformation.png -
CropSquareTransformation (正方形剪裁)
  // 原图片加载省略
      ......

  // 使用构造方法 CropSquareTransformation(Context context)
  Glide.with(this)
          .load(url)
          .bitmapTransform(new CropSquareTransformation(this))
          .into(mImageView2);
CropSquareTransformation.png -
RoundedCornersTransformation (圆角剪裁)
  // 使用构造方法 RoundedCornersTransformation(Context context, int radius, int margin, CornerType cornerType)
  // radius :圆角半径
  // margin :填充边界
  // cornerType :边角类型(可以指定4个角中的哪几个角是圆角,哪几个不是)
  Glide.with(this)
          .load(url)
          .bitmapTransform(new RoundedCornersTransformation(this, 100, 0, RoundedCornersTransformation.CornerType.ALL))
          .into(mImageView2);
RoundedCornersTransformation.png -
CropTransformation (自定义矩形剪裁)
  // 使用构造方法 CropTransformation(Context context, int width, int height, CropType cropType)
  // width : 剪裁宽度
  // height : 剪裁高度
  // cropType : 剪裁类型(指定剪裁位置,可以选择上、中、下其中一种)
  Glide.with(this)
          .load(url)
          .bitmapTransform(new CropTransformation(this, 600, 200, CropTransformation.CropType.CENTER))
          .into(mImageView2);
CropTransformation.pngPS:如果使用CropTransformation一个参数的构造方法:只填入一个Context,后续会使用图片原本的宽高进行剪裁,这实际上和没有剪裁是一样的。
2.颜色转换
-
ColorFilterTransformation (颜色滤镜)
  // 使用构造方法 ColorFilterTransformation(Context context, int color)
  // Color :蒙层颜色值
  Glide.with(this)
          .load(url)
          .bitmapTransform(new ColorFilterTransformation(this, 0x7900CCCC))
          .into(mImageView2);
ColorFilterTransformation.png -
GrayscaleTransformation(灰度级转换)
  // 使用构造方法 GrayscaleTransformation(Context context)
  Glide.with(this)
          .load(url)
          .bitmapTransform(new GrayscaleTransformation(this))
          .into(mImageView2);
GrayscaleTransformation.png
3.模糊处理
-
BlurTransformation
  // 使用构造方法 BlurTransformation(Context context, int radius, int sampling)
  // radius : 离散半径/模糊度(单参构造器 - 默认25)
  // sampling : 取样(单参构造器 - 默认1) 如果取2,横向、纵向都会每两个像素点取一个像素点(即:图片宽高变为原来一半)
  Glide.with(this)
          .load(url)
          .bitmapTransform(new BlurTransformation(this, 100, 2))
          .into(mImageView2);
BlurTransformation.png
PS: 模糊处理是做过兼容的,当API>=18时使用RenderScript,API<18时使用FastBlur。
4.遮罩掩饰(视图叠加处理)
-
MaskTransformation
  // 使用构造方法 MaskTransformation(Context context, int maskId)
  // maskId :遮罩物文件ID
  Glide.with(this)
          .load(url)
          .bitmapTransform(new MaskTransformation(this, R.mipmap.ic_launcher))
          .into(mImageView2);
MaskTransformation.png
5.GPU过滤(需要依赖GPUImage库)
-
ToonFilterTransformation (卡通滤波器)
  // 使用构造方法 ToonFilterTransformation(Context context, float threshold, float quantizationLevels)
  // threshold :阀值(单参构造器 - 默认0.2F)影响色块边界的描边效果
  // quantizationLevels :量化等级(单参构造器 - 默认10.0F)影响色块色彩
  Glide.with(this)
          .load(url)
          .bitmapTransform(new ToonFilterTransformation(this, 0.2F, 10F))
          .into(mImageView2);
ToonFilterTransformation.png -
SepiaFilterTransformation (乌墨色滤波器)
  // 使用构造方法 SepiaFilterTransformation(Context context, float intensity)
  // intensity 渲染强度(单参构造器 - 默认1.0F)
  Glide.with(this)
          .load(url)
          .bitmapTransform(new SepiaFilterTransformation(this, 1.0F))
          .into(mImageView2);
SepiaFilterTransformation.png -
ContrastFilterTransformation (对比度滤波器)
  // 使用构造方法 ContrastFilterTransformation(Context context, float contrast)
  // contrast 对比度 (单参构造器 - 默认1.0F)
  Glide.with(this)
          .load(url)
          .bitmapTransform(new ContrastFilterTransformation(this, 3F))
          .into(mImageView2);
ContrastFilterTransformation.png -
InvertFilterTransformation (反转滤波器)
  // 使用构造方法 InvertFilterTransformation(Context context)
  Glide.with(this)
          .load(url)
          .bitmapTransform(new InvertFilterTransformation(this))
          .into(mImageView2);
InvertFilterTransformation.png -
PixelationFilterTransformation (像素化滤波器)
  // 使用构造方法 PixelationFilterTransformation(Context context, float pixel)
  // pixel 像素值(单参构造器 - 默认10F)数值越大,绘制出的像素点越大,图像越失真
  Glide.with(this)
          .load(url)
          .bitmapTransform(new PixelationFilterTransformation(this, 20F))
          .into(mImageView2);
PixelationFilterTransformation.png -
SketchFilterTransformation (素描滤波器)
  // 使用构造方法 SketchFilterTransformation(Context context)
  Glide.with(this)
          .load(url)
          .bitmapTransform(new SketchFilterTransformation(this))
          .into(mImageView2);
SketchFilterTransformation.png -
SwirlFilterTransformation (旋转滤波器)
  // 使用构造方法 SwirlFilterTransformation(Context context, float radius, float angle, PointF center)
  // radius 旋转半径[0.0F,1.0F] (单参构造器 - 默认0.5F)
  // angle 角度[0.0F,无穷大)(单参构造器 - 默认1.0F)视图表现为旋转圈数
  // center 旋转中心点 (单参构造器 - 默认new PointF(0.5F,0.5F))
  Glide.with(this)
          .load(url)
          .bitmapTransform(new SwirlFilterTransformation(this, 1.0F, 0.4F, new PointF(0.5F, 0.5F)))
          .into(mImageView2);
SwirlFilterTransformation.png -
BrightnessFilterTransformation (亮度滤波器)
  // 使用构造方法 BrightnessFilterTransformation(Context context, float brightness)
  // brightness 光亮强度[-1F,1F](单参构造器 - 默认0.0F)小于-1F纯黑色,大于1F纯白色
  Glide.with(this)
          .load(url)
          .bitmapTransform(new BrightnessFilterTransformation(this, 0.5F))
          .into(mImageView2);
BrightnessFilterTransformation.png -
KuwaharaFilterTransformation (Kuwahara滤波器)
  // 使用构造方法 KuwaharaFilterTransformation(Context context, int radius)
  // radius 半径 (单参构造器 - 默认25)
  Glide.with(this)
          .load(url)
          .bitmapTransform(new KuwaharaFilterTransformation(this, 10))
          .into(mImageView2);
KuwaharaFilterTransformation.png -
VignetteFilterTransformation (装饰图滤波器)
  // 使用构造方法 VignetteFilterTransformation(Context context, PointF center, float[] color, float start, float end)
  // center 装饰中心 (单参构造器 - 默认new PointF(0.5F, 0.5F))
  // color 颜色组合 (单参构造器 - 默认new float[0.0F,0.0F,0.0F]) 3个颜色值分别对应RGB3种颜色,取值范围都为[0.0F,1.0F]
  // start 起始点 (单参构造器 - 默认0.0F)
  // end 终止点 (单参构造器 - 默认0.75F)
  Glide.with(this)
          .load(url)
          .bitmapTransform(new VignetteFilterTransformation(this, new PointF(0.5F, 0.5F), new float[]{0.0F, 0.0F, 0.0F}, 0.0F, 0.5F))
          .into(mImageView2);
VignetteFilterTransformation.png
Picasso Transformations 与 Glide Transformations用法基本一致,可以类比使用。
小编使用Fresco较少,对Fresco Processors就不再添油加醋了,各位可以参照GitHub链接进行学习。


 3880
3880

 被折叠的 条评论
为什么被折叠?
被折叠的 条评论
为什么被折叠?
 到【灌水乐园】发言


