


Hello readers, in this blog i will be deploying the Wordpress application on Kubernetes locally and using AWS RDS as database for our application by using Terraform.
读者好,在本博客中,我将在本地Kubernetes上部署Wordpress应用程序,并通过Terraform将AWS RDS用作我们应用程序的数据库。
Necessary Requirements:
必要要求:
AWS CLI software configured with a profile. You can get from here.
使用配置文件配置的AWS CLI软件。 你可以从这里得到。
- Knowledge of AWS Cloud Computing and Terraform. 了解AWS云计算和Terraform。
Terraform setup. You can get from here.
地形设置。 你可以从这里得到。
Minikube setup with kubectl. You can install minikube using this guide from here and kubectl from here.
You can get my code from here.
你可以从我的代码 在这里 。
Steps while performing our project:
执行我们的项目的步骤:
- Write an Infrastructure as code using terraform, which automatically deploy the Wordpress application. 使用terraform以代码形式编写基础结构,该结构会自动部署Wordpress应用程序。
- From above code , also deploy RDS service for the relational database for Wordpress application. 从以上代码中,还可以为Wordpress应用程序的关系数据库部署RDS服务。
- Also create Load Balancer so that our application is accessible from our workstation. 还要创建负载均衡器,以便可以从工作站访问我们的应用程序。
Below are the steps how you can successfully execute my code:
以下是成功执行我的代码的步骤:
Step 1: Start your minikube machine.
第1步:启动minikube机器。
minikube startStep 2: Configure your aws profile with below cmd
步骤2:使用以下cmd配置您的AWS配置文件
aws configure
Step 3: Now below will be steps for code completion. If you are not interested then you may skip to Step 4.
步骤3:现在下面是代码完成的步骤。 如果您不感兴趣,则可以跳到步骤4。
- For providing provider info of kubernetes and aws. 用于提供kubernetes和aws的提供商信息。
provider "kubernetes" {
  config_context = "minikube"
}


provider "aws" {
   region = "ap-south-1"
   profile = "apeksh"
}
For creating rds db instance. In this case db instance will be created in default vpc. To get more options and control according to your desire you can refer here.
用于创建rds数据库实例。 在这种情况下,数据库实例将在默认vpc中创建。 要根据您的需求获得更多选项和控制,可以在这里参考。
resource "aws_db_instance" "DataBase" {
  allocated_storage    = 20
  max_allocated_storage = 100
  storage_type         = "gp2"
  engine               = "mysql"
  engine_version       = "5.7.28"
  instance_class       = "db.t2.micro"
  name                 = var.mysql_db_name
  username             = var.mysql_username
  password             = var.mysql_password
  parameter_group_name = "default.mysql5.7"
  publicly_accessible = true
  skip_final_snapshot = true


}- For creating k8s resources like secrets, deployments and service for load balancer. 用于为负载均衡器创建k8s资源,例如机密,部署和服务。
resource "kubernetes_secret" "mysql" {
  metadata {
    name = "mysql-pass"
  }


  data = {
    password = var.mysql_password
    username = var.mysql_username
    dbname = var.mysql_db_name
    dbhost= aws_db_instance.DataBase.endpoint
  }
}


resource "kubernetes_deployment" "web_service" {
  depends_on = [aws_db_instance.DataBase]
  metadata {
    name = "wordpressdeployment"
    labels = {
      app = "wordpress"
      tier = "frontend"
    }
  }


  spec {
    replicas = 2


    selector {
      match_labels = {
        app = "wordpress"
        tier = "frontend"
      }
    }


    template {
      metadata {
        labels = {
           app = "wordpress"
           tier = "frontend"
        }
      }


      spec {
        container {
           image = "wordpress"
           name  = "web-app"
           env  {
               name = "WORDPRESS_DB_HOST"
               value_from {
                 secret_key_ref {
                   name = kubernetes_secret.mysql.metadata[0].name
                   key  = "dbhost"
                 }
                }
               }


           env  {
               name = "WORDPRESS_DB_PASSWORD"
               value_from {
                 secret_key_ref {
                   name = kubernetes_secret.mysql.metadata[0].name
                   key  = "password"
            }
          }
        }


           env  {
               name = "WORDPRESS_DB_USER"
                value_from {
                 secret_key_ref {
                   name = kubernetes_secret.mysql.metadata[0].name
                   key  = "username"
                 }
                }
           }


           env  {
               name = "WORDPRESS_DB_NAME"
               value_from {
                 secret_key_ref {
                   name = kubernetes_secret.mysql.metadata[0].name
                   key  = "dbname"
                 }
                }
           }


           port {
            container_port = 80
          }
        }
      }
    }
  }
}


resource "kubernetes_service" "k8s_service" {
  depends_on = [kubernetes_deployment.web_service]
  metadata {
    name = "nodeportsvc"
  }
  spec {
    selector = {
      app = "wordpress"
      tier = "frontend"
    }
    session_affinity = "ClientIP"
    port {
      port        = 8080
      target_port = 80
    }


    type = "NodePort"
  }
}- For getting inputs from user like database name, username and password a variables file was created to take input from user while running code. 为了从数据库名称,用户名和密码等用户获取输入,创建了一个变量文件以在运行代码时从用户获取输入。
variable "mysql_db_name" {
    type = string
    description = "Please enter your database name"
}


variable "mysql_username" {
    type = string
    description = "Please enter your database username"
}


variable "mysql_password" {
    type = string
    description = "Please input mysql password"
}
That’s it for coding part. Now execution part resumes.
仅此而已。 现在执行部分恢复。
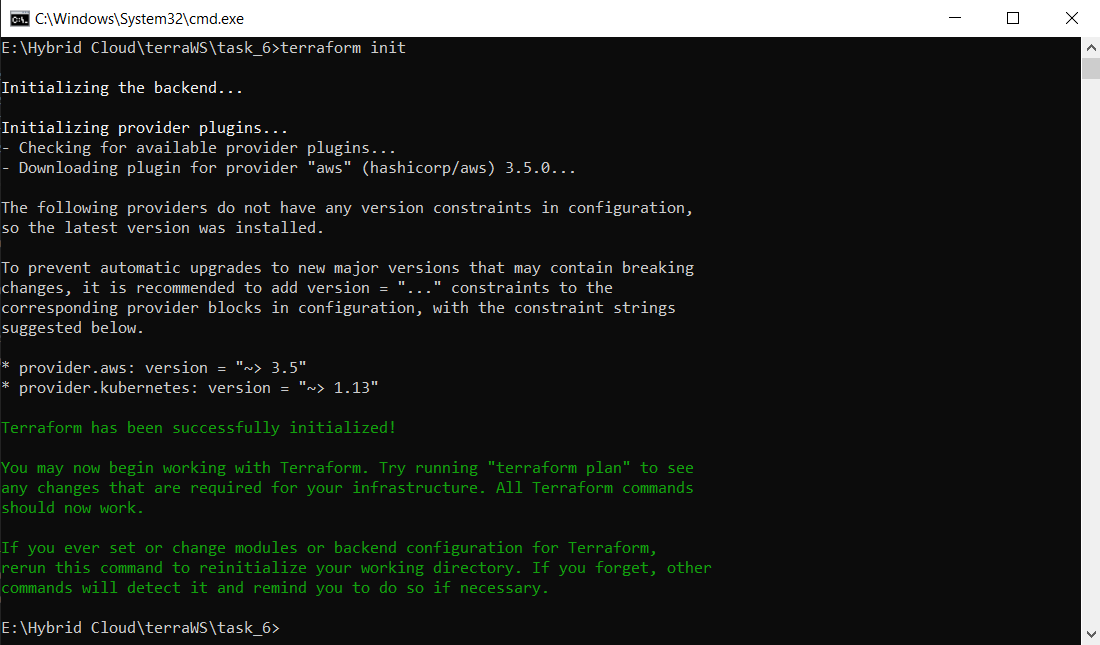
Step 4: Go inside directory where your terraform files are present and run
第4步:进入存在terraform文件的目录并运行
terraform initIt will install all the necessary plugins for your code.
它将为您的代码安装所有必需的插件。
Step 5: Now run
步骤5:现在执行
terraform apply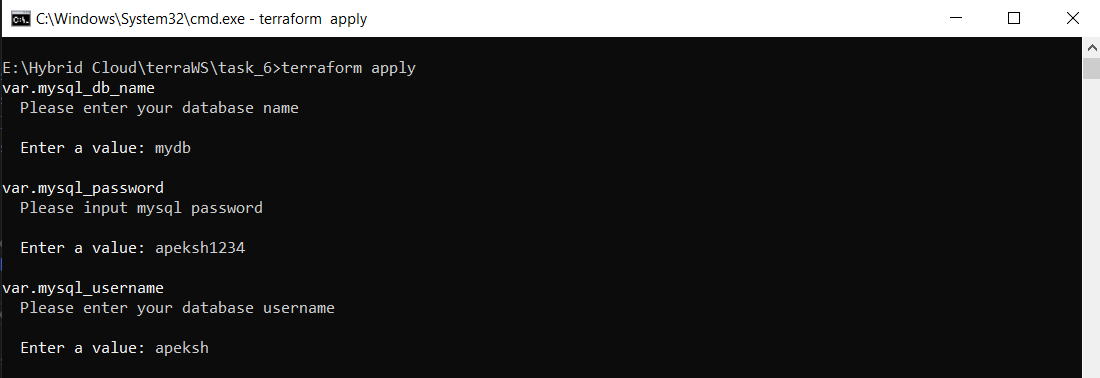
Then it will ask to enter the database name, username and password and after that it will validate and prompt to enter yes to deploy whole setup.
然后它将要求输入数据库名称,用户名和密码,然后将进行验证并提示输入yes,以部署整个安装程序。

Note: Databse creation takes around 5 minutes so be patient.
注意:创建数据库大约需要5分钟,因此请耐心等待。
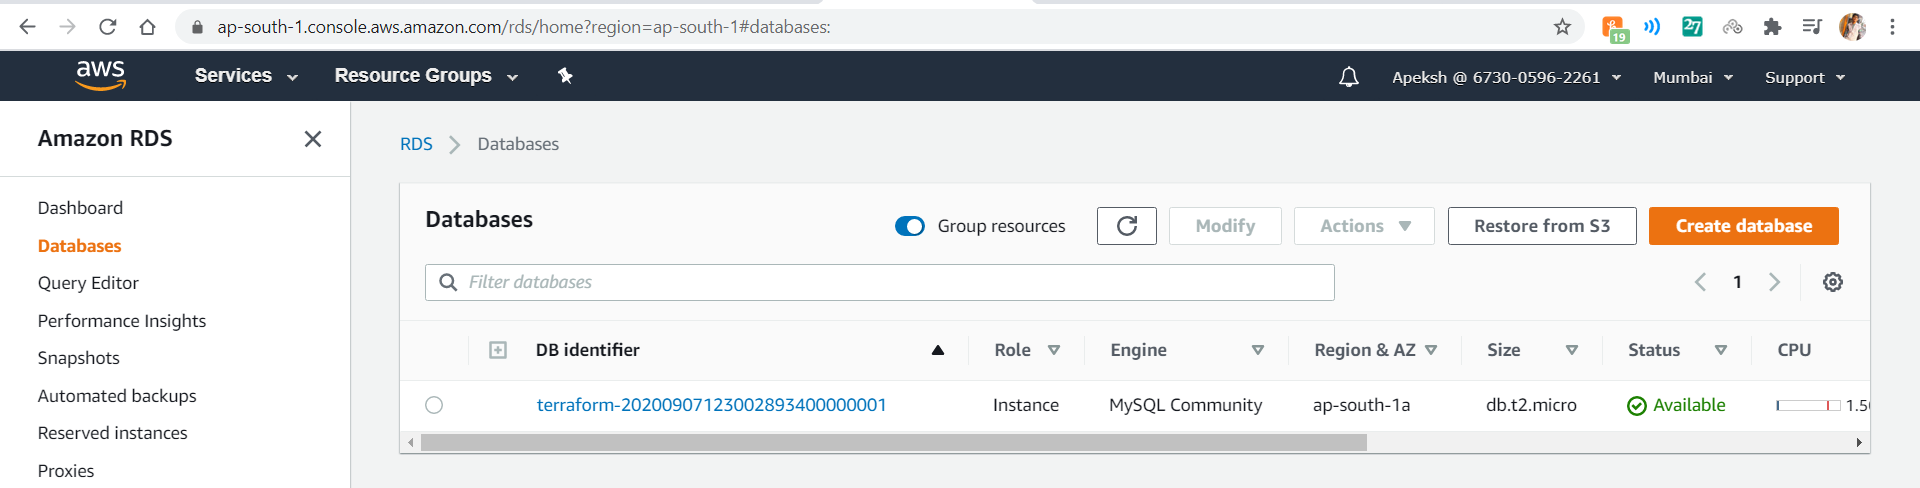
Step 6: You can verify your k8s infrastructure using
步骤6:您可以使用以下方法验证您的k8s基础架构
kubectl get all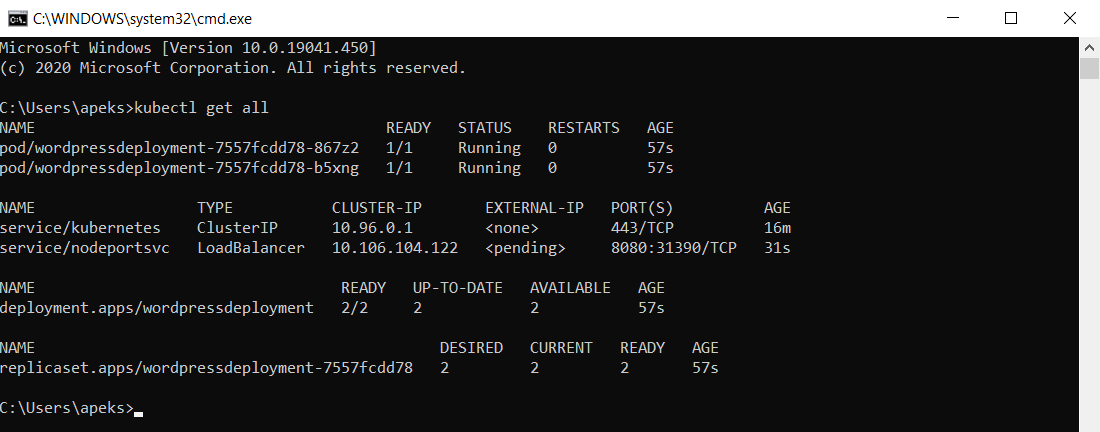

and AWS RDS database from AWS console.
和来自AWS控制台的AWS RDS数据库。
Step 7: Now enter your minikube ip along with Load Balancer port no. in your browser.To get minikube ip use below command
步骤7:现在输入您的minikube ip以及Load Balancer端口号。 在浏览器中。要获取minikube ip,请使用以下命令
minikube ipand to get port no, you can see from kubectl get all command
并获取端口号,您可以从kubectl中获取所有命令
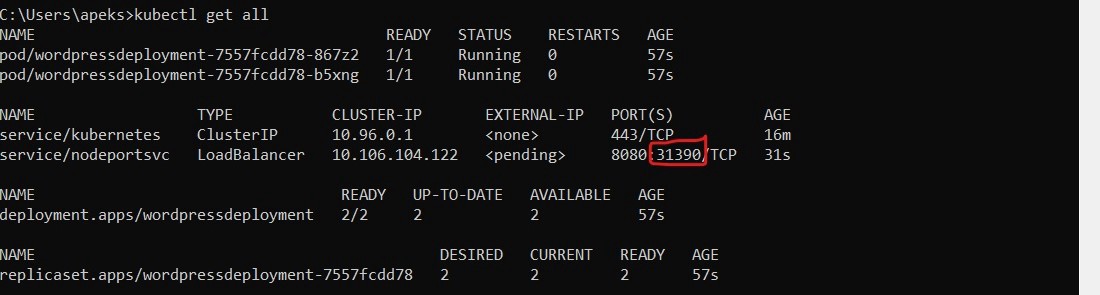
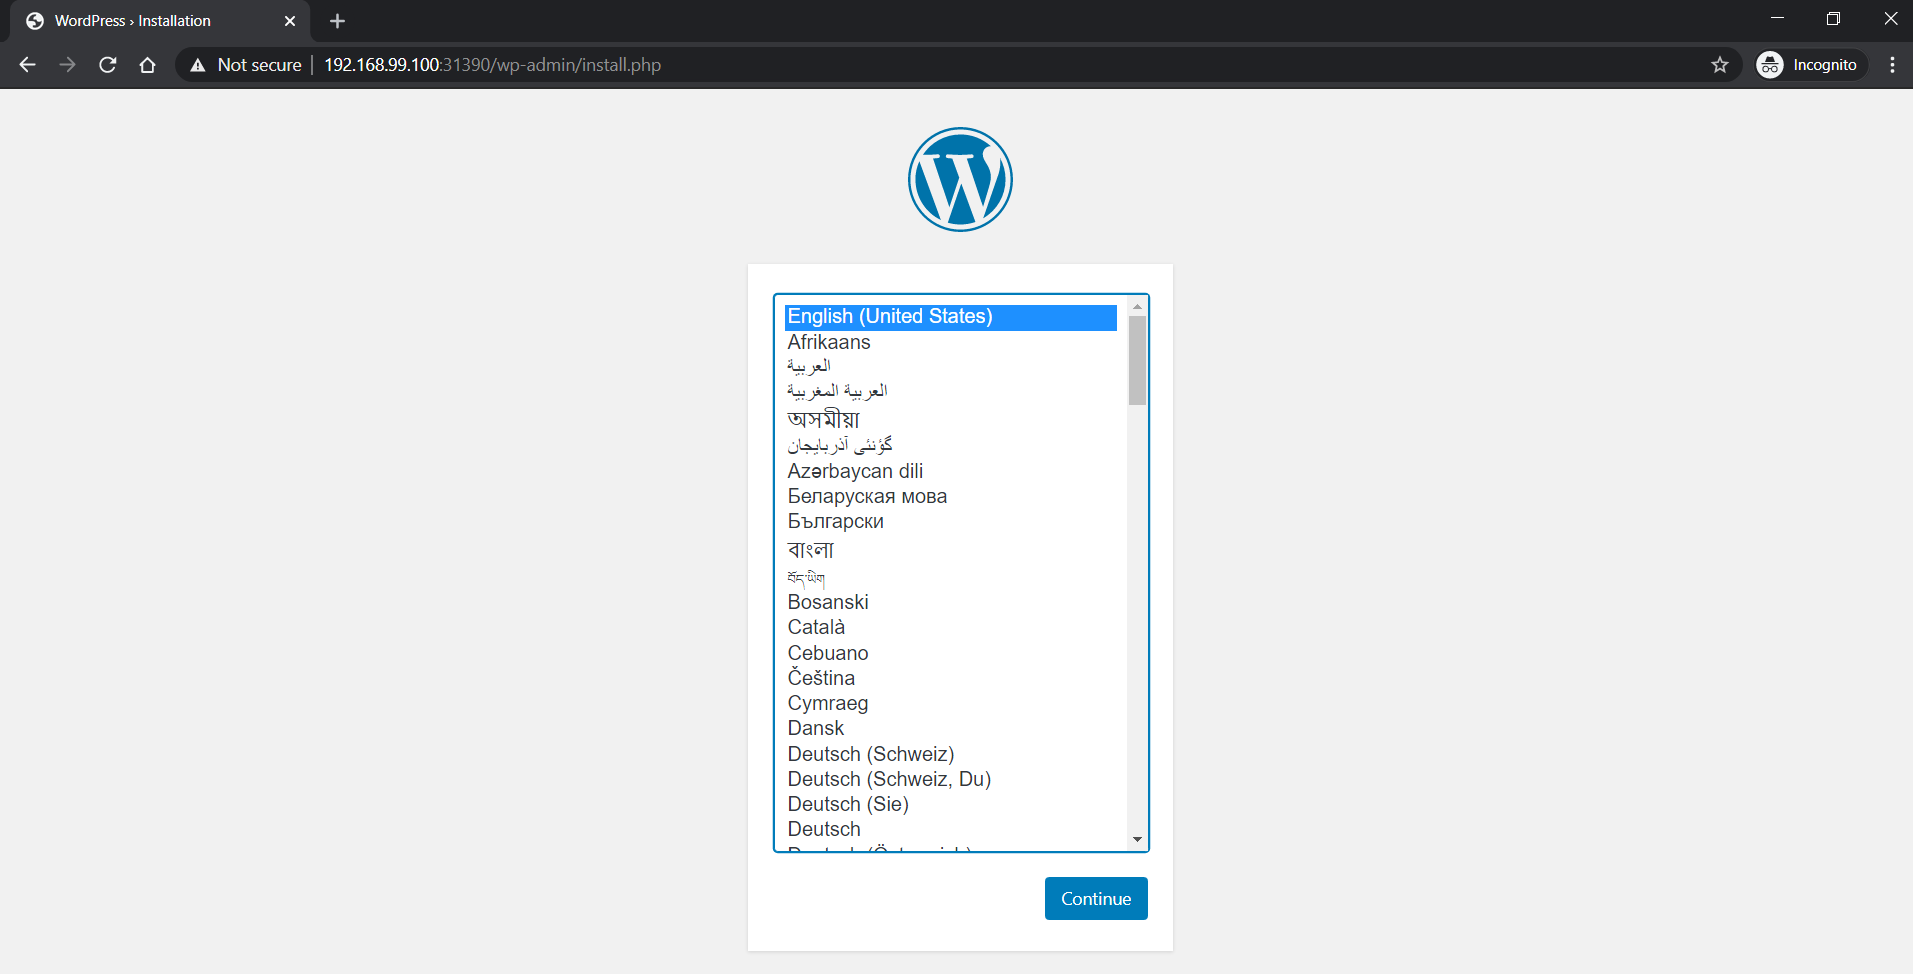
Step 8: After entering correct url, you will be able to see WordPress installation page if all went successfully.
步骤8:输入正确的网址后,如果一切顺利,您将能够看到WordPress安装页面。

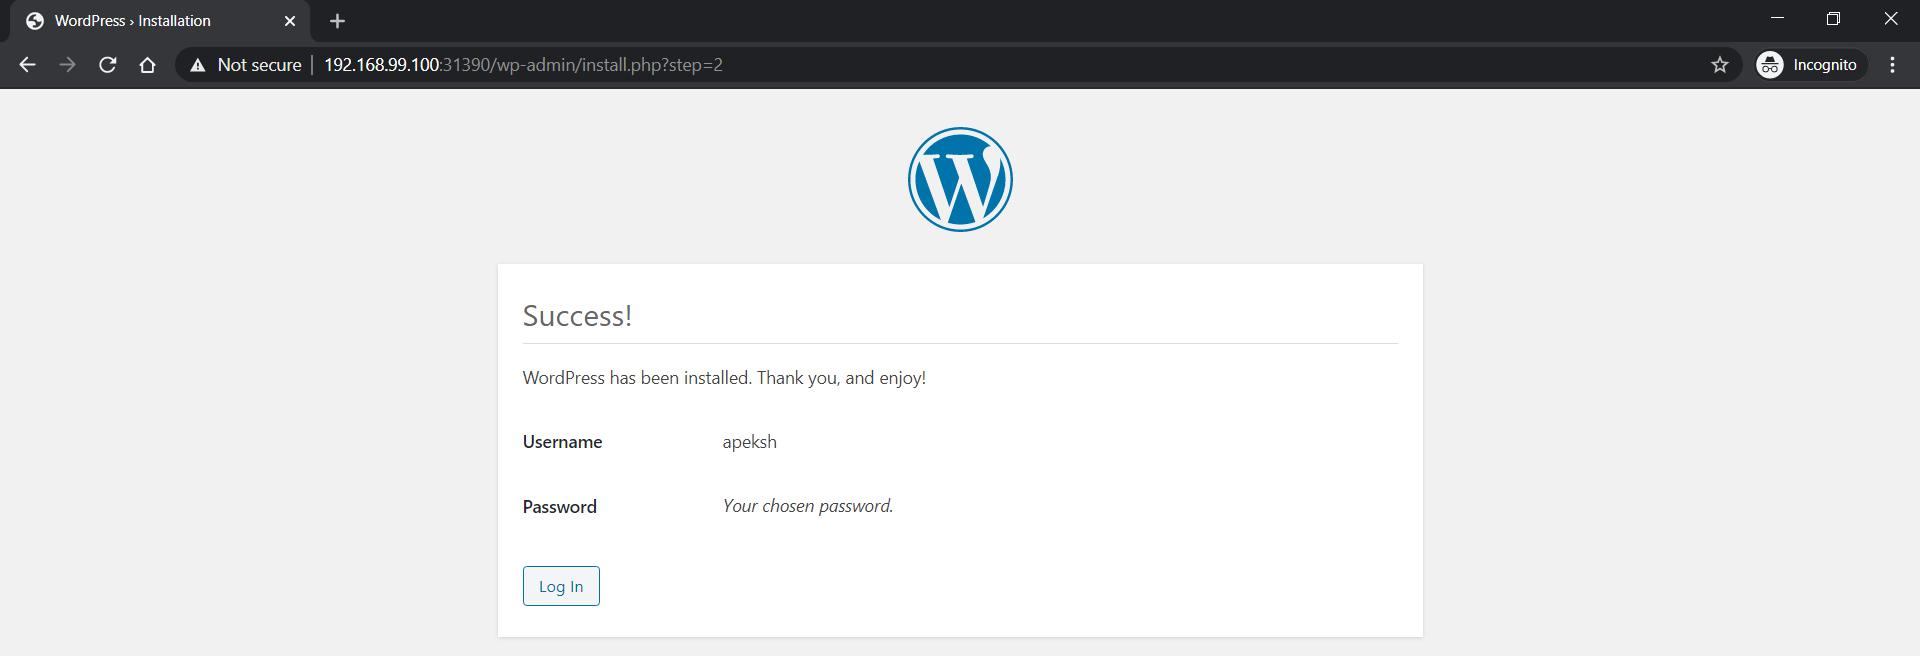

Step 9: After Logging in, you will be able to see WordPress Dashboard and you can do anything with it.
第9步:登录后,您将能够看到WordPress仪表板,并且可以执行任何操作。
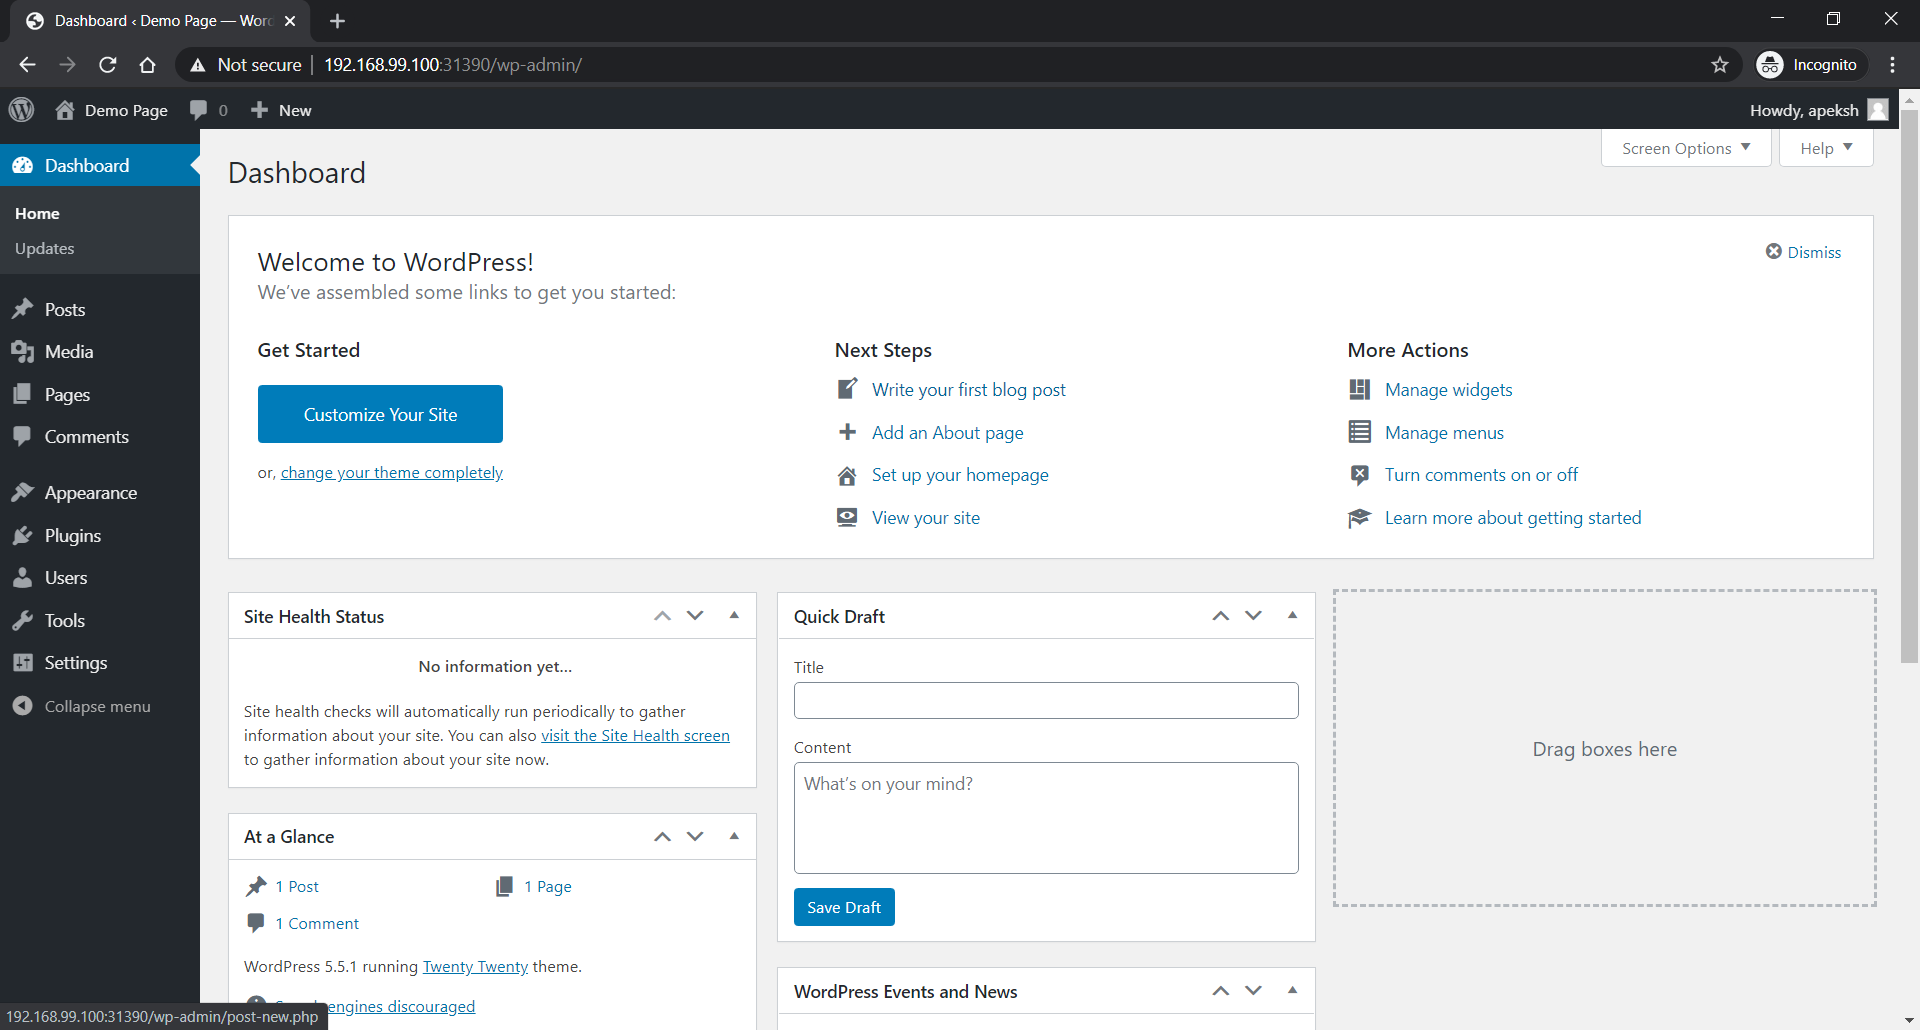
Here’s a demo blog published using WordPress
这是使用WordPress发布的演示博客

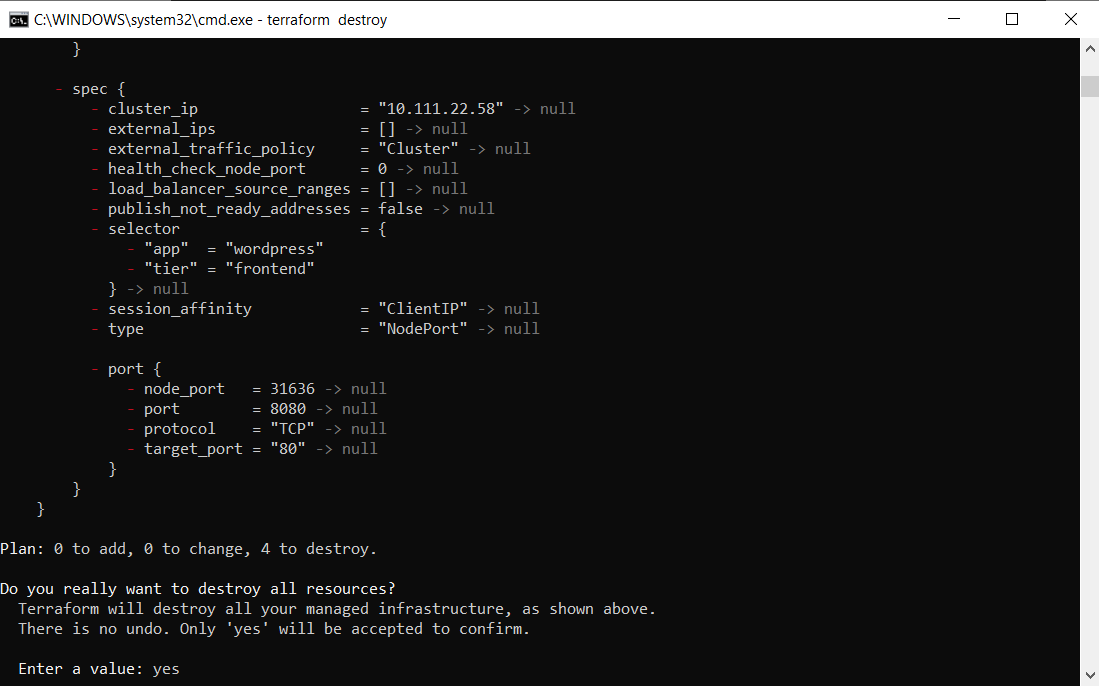
Step 10: For removing all your setup use command
步骤10:删除所有设置使用命令
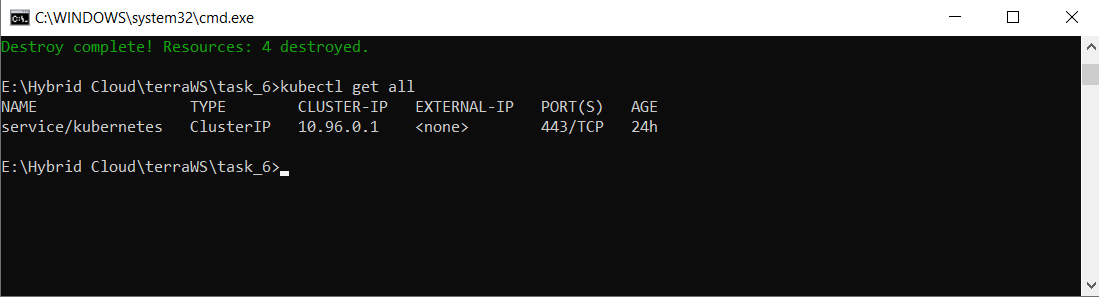
terraform destroythen it will prompt to say yes, enter yes to delete your whole setup in one go. Again it will take some time to destroy your whole setup. So be patient.
然后它会提示您说是 ,输入是一次删除整个设置。 同样,这将需要一些时间来破坏整个设置。 所以要耐心点。


Note: You can cross-verify your resources by kubectl get all command also don’t forget to turn off your minikube by command minikube stop.
注意:您可以通过kubectl get all命令交叉验证资源,也不要忘记通过命令minikube stop关闭minikube。
So that’s it folks for this blog. Hope you liked it. See you in next blog.
就是这个博客的人们。 希望你喜欢。 下一个博客见。
Github repo: https://github.com/Apeksh742/Terraform_for_wordpress_on_k8s_with_rds_db
Github仓库 : https : //github.com/Apeksh742/Terraform_for_wordpress_on_k8s_with_rds_db
LinkedIn Profile: https://www.linkedin.com/in/apeksh-agarwal-0543bb192/
领英简介: https : //www.linkedin.com/in/apeksh-agarwal-0543bb192/


 635
635


 被折叠的 条评论
为什么被折叠?
被折叠的 条评论
为什么被折叠?
 到【灌水乐园】发言


