


Exordium(Exordium)
In a previous post, I wrote about setting up Core Location in a UIKit application. I covered adding the usage descriptions to the Info.plist file, requesting location authorization, and pulling the location from the CLLocationManager. If you need some help setting up Core Location in your UIKit app, take a look at that post: https://rustynailsoftware.com/dev-blog/core-location-setting-up-core-location-with-uikit.
在上一篇文章中,我写过关于在UIKit应用程序中设置“核心位置”的信息。 我介绍了将用法说明添加到Info.plist文件,请求位置授权以及从CLLocationManager中提取位置。 如果需要在UIKit应用程序中设置“核心位置”的帮助,请查看以下文章: https : //rustynailsoftware.com/dev-blog/core-location-setting-up-core-location-with-uikit。
In this post, I’ll be going over how to implement CLGeocoder — a class in Core Location that helps developers produce human-readable versions of geographic coordinates in their iOS apps. I’ll also briefly cover the CLLocation object, as I failed to do so in my first Core Location post. You can follow along with the code I’ve hosted on GitHub: https://github.com/andrew-lundy/core-location-tutorial
在本文中,我将介绍如何实现CLGeocoder ,它是Core Location中的一个类,可帮助开发人员在其iOS应用中生成易于理解的地理坐标版本。 我还将简要介绍CLLocation对象,因为我在第一篇Core Location文章中没有这样做。 您可以遵循我在GitHub上托管的代码: https : //github.com/andrew-lundy/core-location-tutorial
Let’s dive in.
让我们潜入。
CLLocation类 (The CLLocation Class)
An essential aspect of Core Location is the CLLocation class. It’s so essential that I forgot to write about it in my first Core Location series blog post. The CLLocation class is an object that holds the device’s location information — including the altitude and course information. The course info is the speed and direction of a device. In Core Location, you obtain the location details via the CLLocationManager class. Here, I’ve stored the information in the currentLocation variable:
核心位置的一个基本方面是CLLocation类。 如此重要,以至于我忘了在我的第一篇“核心位置”系列博客文章中写过。 CLLocation类是一个对象,用于保存设备的位置信息,包括高度和路线信息。 课程信息是设备的速度和方向。 在“核心位置”中,您可以通过CLLocationManager类获取位置详细信息。 在这里,我将信息存储在currentLocation变量中:
let locationManager = CLLocationManager()
let currentLocation = locationManager.location
With this, we have gained access to the location details and the ability to pull those details. For example, to obtain the coordinates of the location, use the location manager’s coordinate attribute:
这样,我们就可以访问位置详细信息并能够提取这些详细信息。 例如,要获取位置的坐标,请使用位置管理器的坐标属性:
let locationManager = CLLocationManager()
let currentLocation = locationManager.location
// Print the location details.
// Ex: <+37.78735352, -122.40822700> +/- 5.00m (speed - 1.99 mps / course - 1.00) @ 9/5/20, 5:13:46 PM Central Daylight Time
print(currentLocation)let locationCoordinate = currentLocation.coordinate
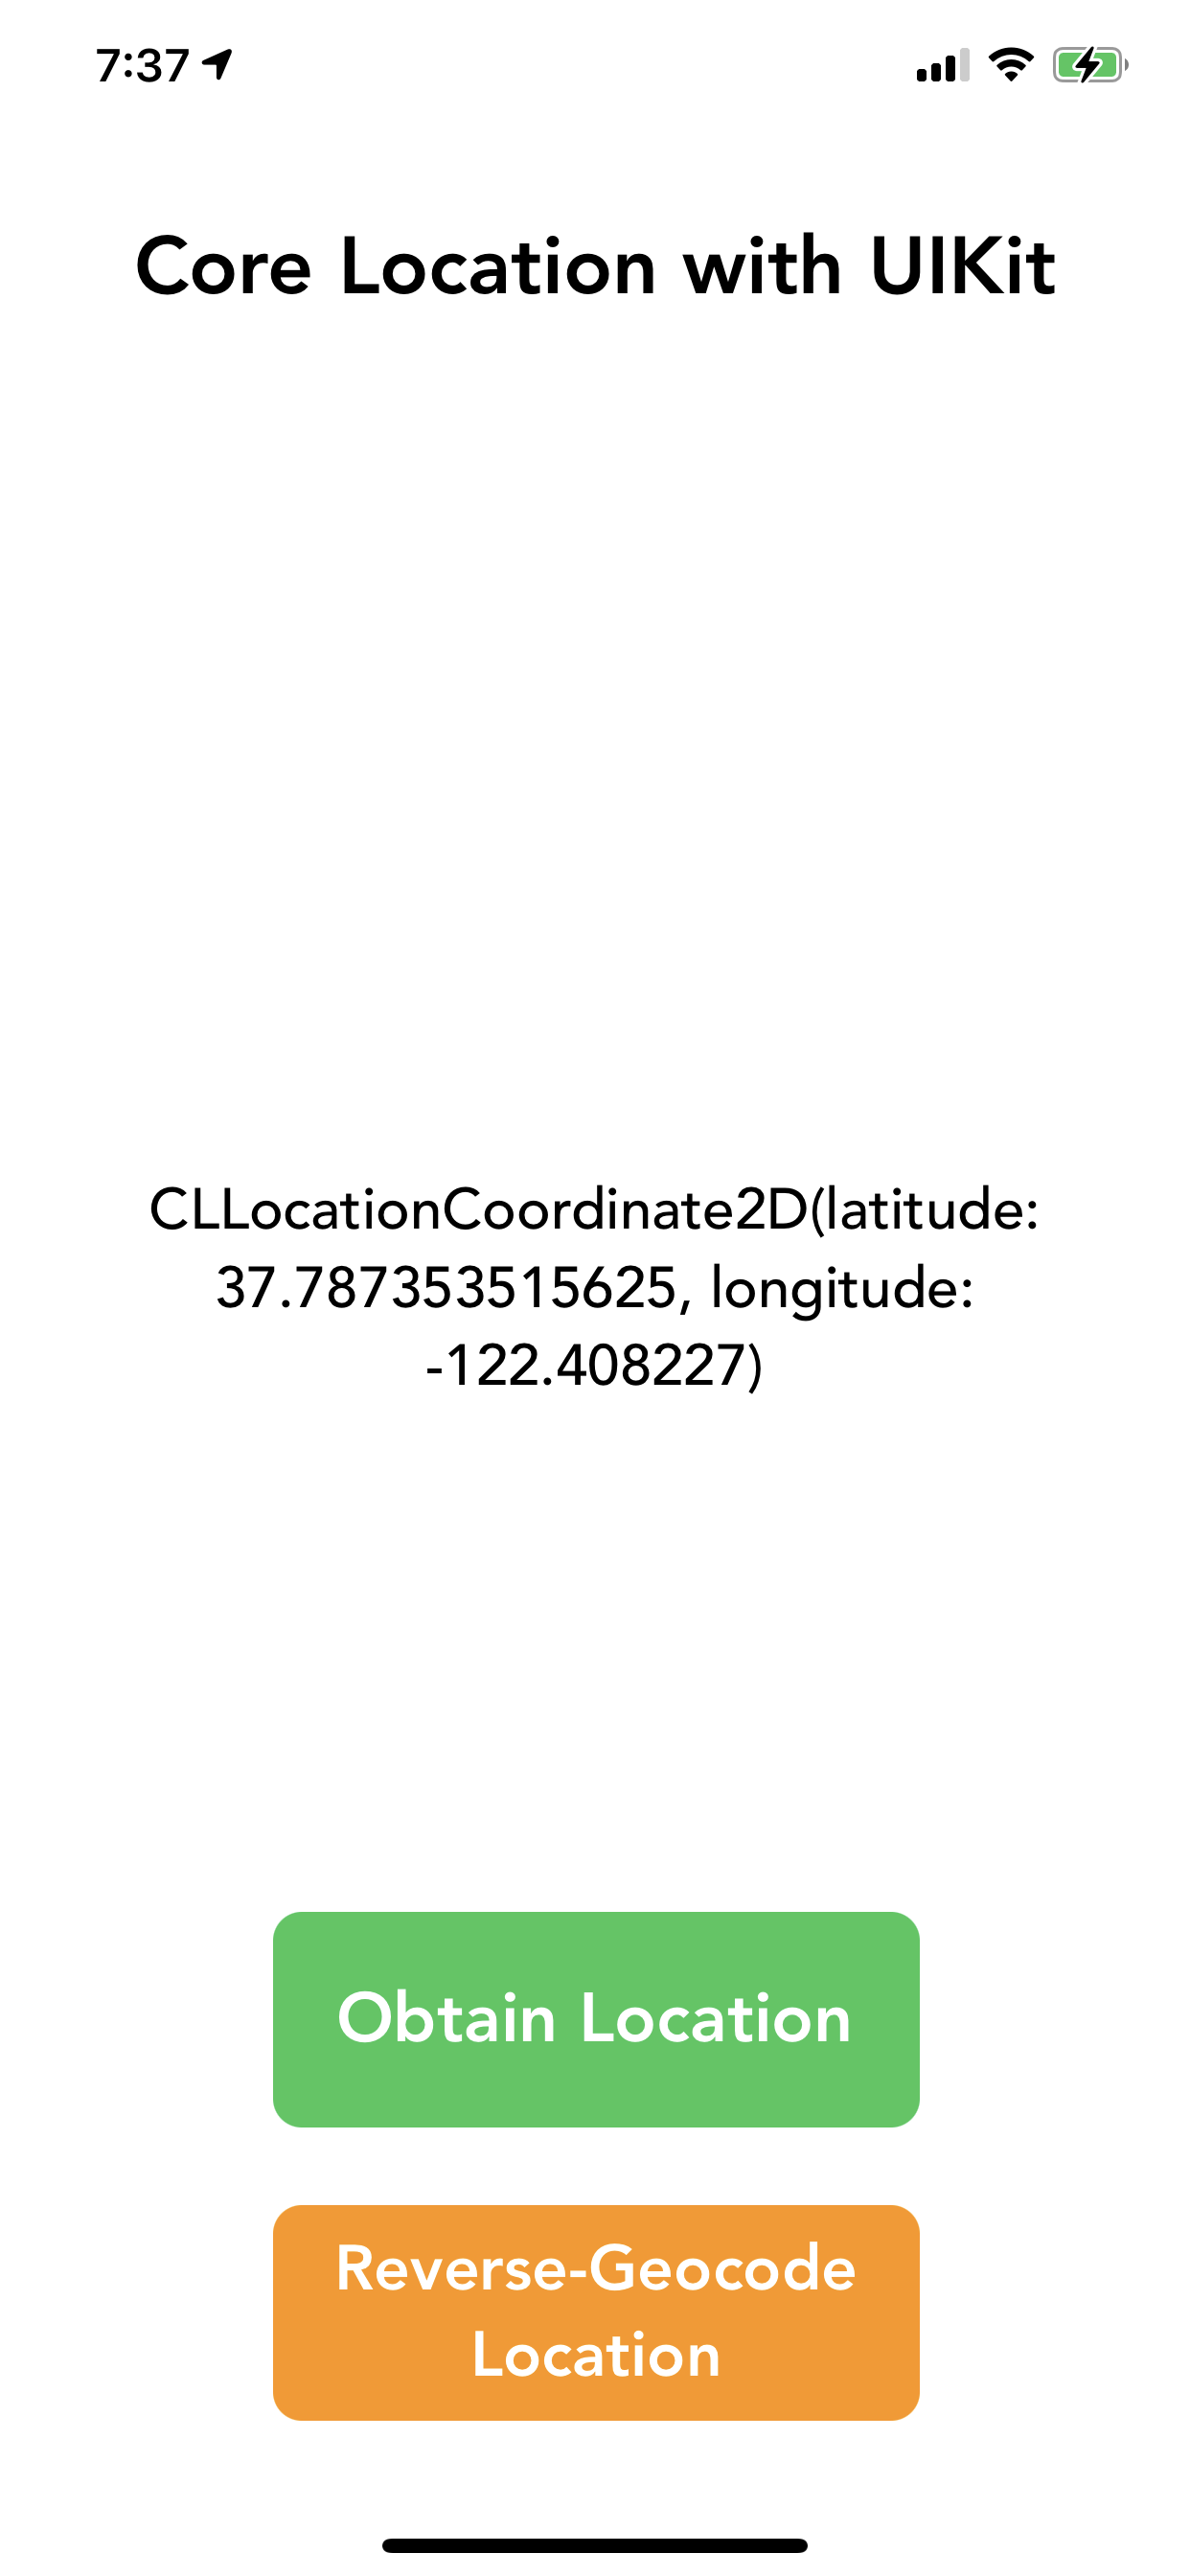
// Print the coordinate value of the location as a CLLocationCoordinate2D.
// Ex: CLLocationCoordinate2D(latitude: 37.787353515625, longitude: -122.408227)
print(locationCoordinate)使用CLGeocoder进行反向地理编码 (Reverse-Geocoding with CLGeocoder)
As seen above, the CLLocation class returns the location’s information in a pretty much non-usable format. Sure, we can pull the geographic coordinates and the speed at which the device is moving. But, this information can only be useful in certain situations. What happens when we need to display the location info to users who don’t want to read and convert coordinates? The answer is found in Apple’s CLGeocoder class.
如上所示, CLLocation类以几乎不可用的格式返回位置的信息。 当然,我们可以拉出地理坐标和设备移动的速度。 但是,此信息仅在某些情况下有用。 当我们需要向不想读取和转换坐标的用户显示位置信息时会发生什么? 答案可在Apple的CLGeocoder类中找到。
As of now, the ViewController class holds the following objects and IBOutlets:
到目前为止, ViewController类包含以下对象和IBOutlets:
@IBOutlet weak var changeLocationBttn: UIButton!
@IBOutlet weak var reverseGeocodeLocation: UIButton!
@IBOutlet weak var locationDataLbl: UILabel!private var locationManager: CLLocationManager!
private var currentLocation: CLLocation!
private var geocoder: CLGeocoder!
I am going to go ahead and initialize the CLGeocoder in the viewDidLoad method of the ViewController class:
我将继续在ViewController类的viewDidLoad方法中初始化CLGeocoder :
override func viewDidLoad() {
  super.viewDidLoad()
  changeLocationBttn.layer.cornerRadius = 10
  reverseGeocodeLocation.layer.cornerRadius = 10
  reverseGeocodeLocation.titleLabel?.textAlignment = .center

  locationManager = CLLocationManager()
  locationManager.delegate = self

  // Initialize the Geocoder
  geocoder = CLGeocoder()
}
All of the work that the CLGeocoder will be doing is going to happen in the reverseGeocodeLocationBttnTapped method. The first thing we are going to do is make sure that the currentLocation variable is not empty. This is set up to hold the device’s location information and is given a value when the app requests authorization status. We need to make this check because there is nothing to reverse-geocode if there is no location value.
CLGeocoder将要完成的所有工作都将在reverseGeocodeLocationBttnTapped方法中进行。 我们要做的第一件事是确保currentLocation变量不为空。 它被设置为保存设备的位置信息,并在应用程序请求授权状态时被赋予一个值。 我们需要进行此检查,因为如果没有位置值,则无需进行反向地理编码。
@IBAction func reverseGeocodeLocationBttnTapped(_ sender: Any) {
    guard let currentLocation = self.currentLocation else {
        print("Unable to reverse-geocode location.")
        return
    }
}
To start the process of reverse-geocoding coordinates, you must call the reverseGeocodeLocation method on the CLGeocoder. This method takes two parameters — a CLLocation object and a CLGeocodeCompletionHandler. The completion handler also has two parameters — an array of CLPlacemark and an Error.
要启动反向地理编码坐标的过程中,必须呼吁CLGeocoder的reverseGeocodeLocation方法。 这种方法有两个参数-一个CLLocation对象和CLGeocodeCompletionHandler。 完成处理程序还具有两个参数-CLPlacemark数组和Error 。
// The method that does the reverse-geocoding.
geocoder.reverseGeocodeLocation(location: CLLocation, completionHandler: CLGeocodeCompletionHandler)// Here is the method when in use.
geocoder.reverseGeocodeLocation(currentLocation) { (placemarks, error) in

}
The CLPlacemark class is new, so let’s take a look at it. A CLPlacemark, or ‘placemark,’ holds the human-readable version of a coordinate and gives developers access to information such as the name of a place, the city, state, zip code, and more. You can read more about the CLPlacemark class in Apple’s docs: https://developer.apple.com/documentation/corelocation/clplacemark
CLPlacemark类是新的,让我们来看一下。 CLPlacemark或“地标”保存了人类可读的坐标版本,并为开发人员提供了访问信息的信息,例如地点名称,城市,州,邮政编码等。 您可以在Apple的文档中阅读有关CLPlacemark类的更多信息: https : //developer.apple.com/documentation/corelocation/clplacemark
Here are the steps we’ll perform in the completion handler:
以下是我们将在完成处理程序中执行的步骤:
geocoder.reverseGeocodeLocation(currentLocation) { (placemarks, error) in
    // 1
    if let error = error {
        print(error)
    }

    // 2
    guard let placemark = placemarks?.first else { return }
    print(placemark)
    // Geary & Powell, Geary & Powell, 299 Geary St, San Francisco, CA 94102, United States @ <+37.78735352,-122.40822700> +/- 100.00m, region CLCircularRegion (identifier:'<+37.78735636,-122.40822737> radius 70.65', center:<+37.78735636,-122.40822737>, radius:70.65m)

    // 3
    guard let streetNumber = placemark.subThoroughfare else { return }
    guard let streetName = placemark.thoroughfare else { return }
    guard let city = placemark.locality else { return }
    guard let state = placemark.administrativeArea else { return }
    guard let zipCode = placemark.postalCode else { return }

    // 4
    DispatchQueue.main.async {
        self.locationDataLbl.text = "\(streetNumber) \(streetName) \n \(city), \(state) \(zipCode)"
    }
}- Check if the handler produces an error. If so, print it to the console. In a real app, you’d handle the error more efficiently. 检查处理程序是否产生错误。 如果是这样,请将其打印到控制台。 在真实的应用中,您可以更有效地处理错误。
- Use a guard statement to obtain the first placemark returned from the completion handler. For most geocoding requests, the array of placemarks should only contain one entry. I went ahead and printed the placemark data. 使用保护语句获取从完成处理程序返回的第一个地标。 对于大多数地理编码请求,地标数组应仅包含一个条目。 我继续打印了地标数据。
- Pull specific data out of the placemark, depending on the use case. In this instance, I’ve pulled the street number, street name, city, state, and zip code. 根据使用情况,将特定数据从地标中拉出。 在这种情况下,我提取了街道编号,街道名称,城市,州和邮政编码。
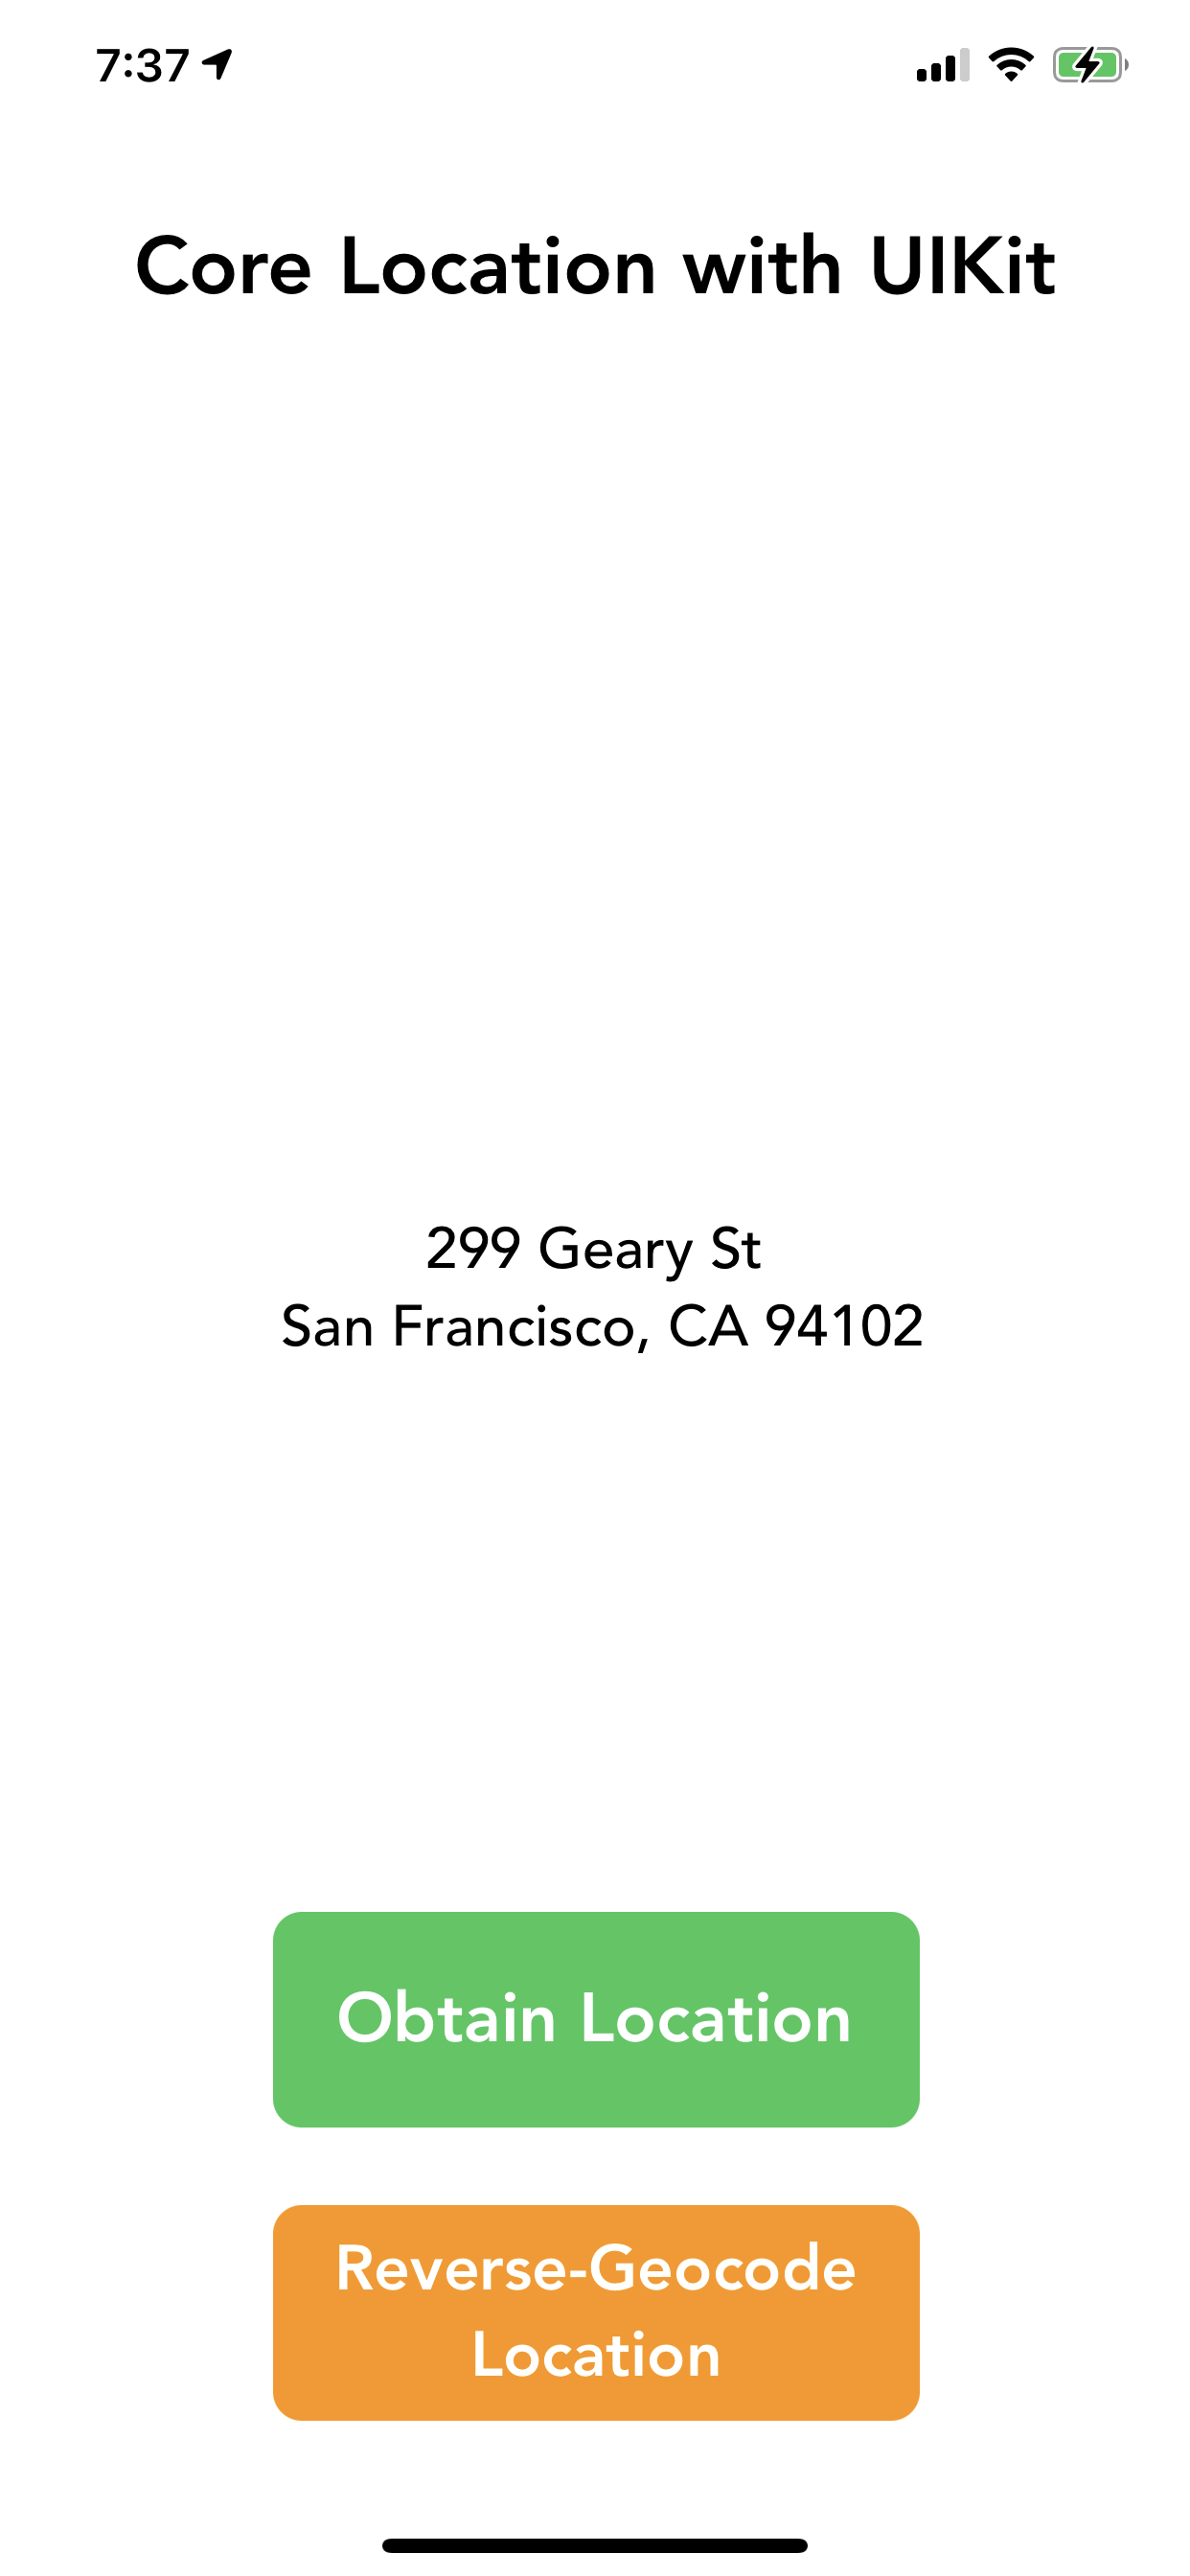
Finally, I’ve updated the label in the app with the placemark data. Since this is changing the user interface, I have done this on the main thread using the DispatchQueue class.
最后,我使用地标数据更新了应用程序中的标签。 由于这正在更改用户界面,因此我已经使用DispatchQueue类在主线程上完成了此操作。
The reverseGeocodeLocationBttnTapped IBAction should now look like this:
reverseGeocodeLocationBttnTapped IBAction现在应如下所示:
@IBAction func reverseGeocodeLocationBttnTapped(_ sender: Any) {
    guard let currentLocation = self.currentLocation else {
        print("Unable to reverse-geocode location.")
        return
    }

    geocoder.reverseGeocodeLocation(currentLocation) { (placemarks, error) in
        if let error = error {
            print(error)
        }

        guard let placemark = placemarks?.first else { return }
        guard let streetNumber = placemark.subThoroughfare else { return }
        guard let streetName = placemark.thoroughfare else { return }
        guard let city = placemark.locality else { return }
        guard let state = placemark.administrativeArea else { return }
        guard let zipCode = placemark.postalCode else { return }

        DispatchQueue.main.async {
            self.locationDataLbl.text = "\(streetNumber) \(streetName) \n \(city), \(state) \(zipCode)"
        }
    }
}
整理起来 (Finishing Up)
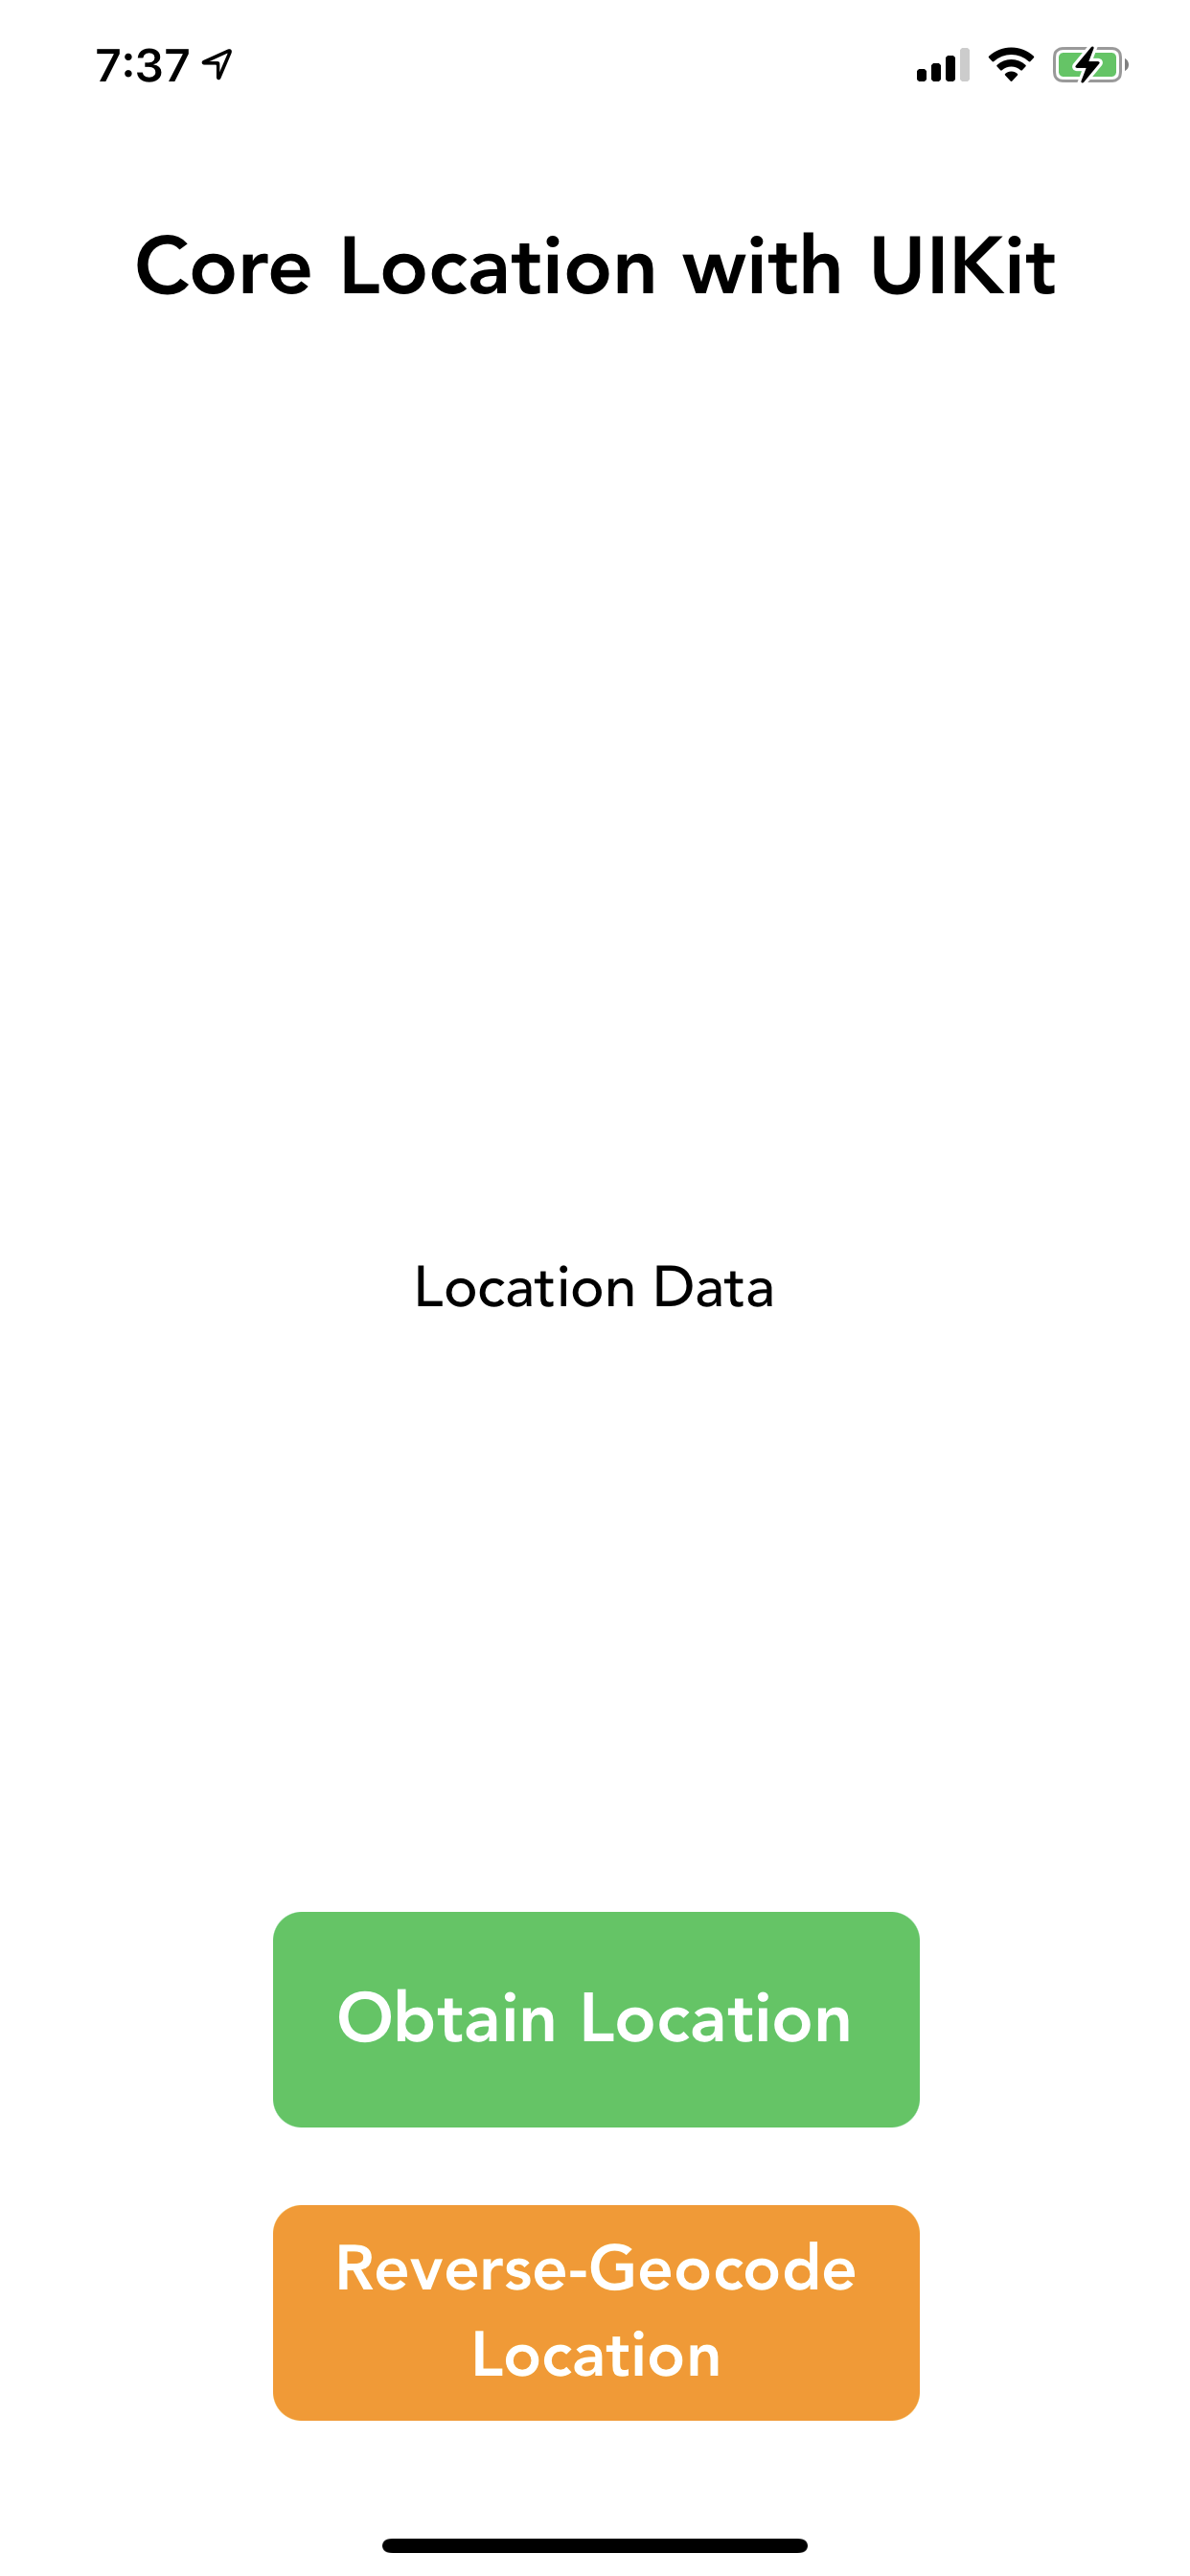
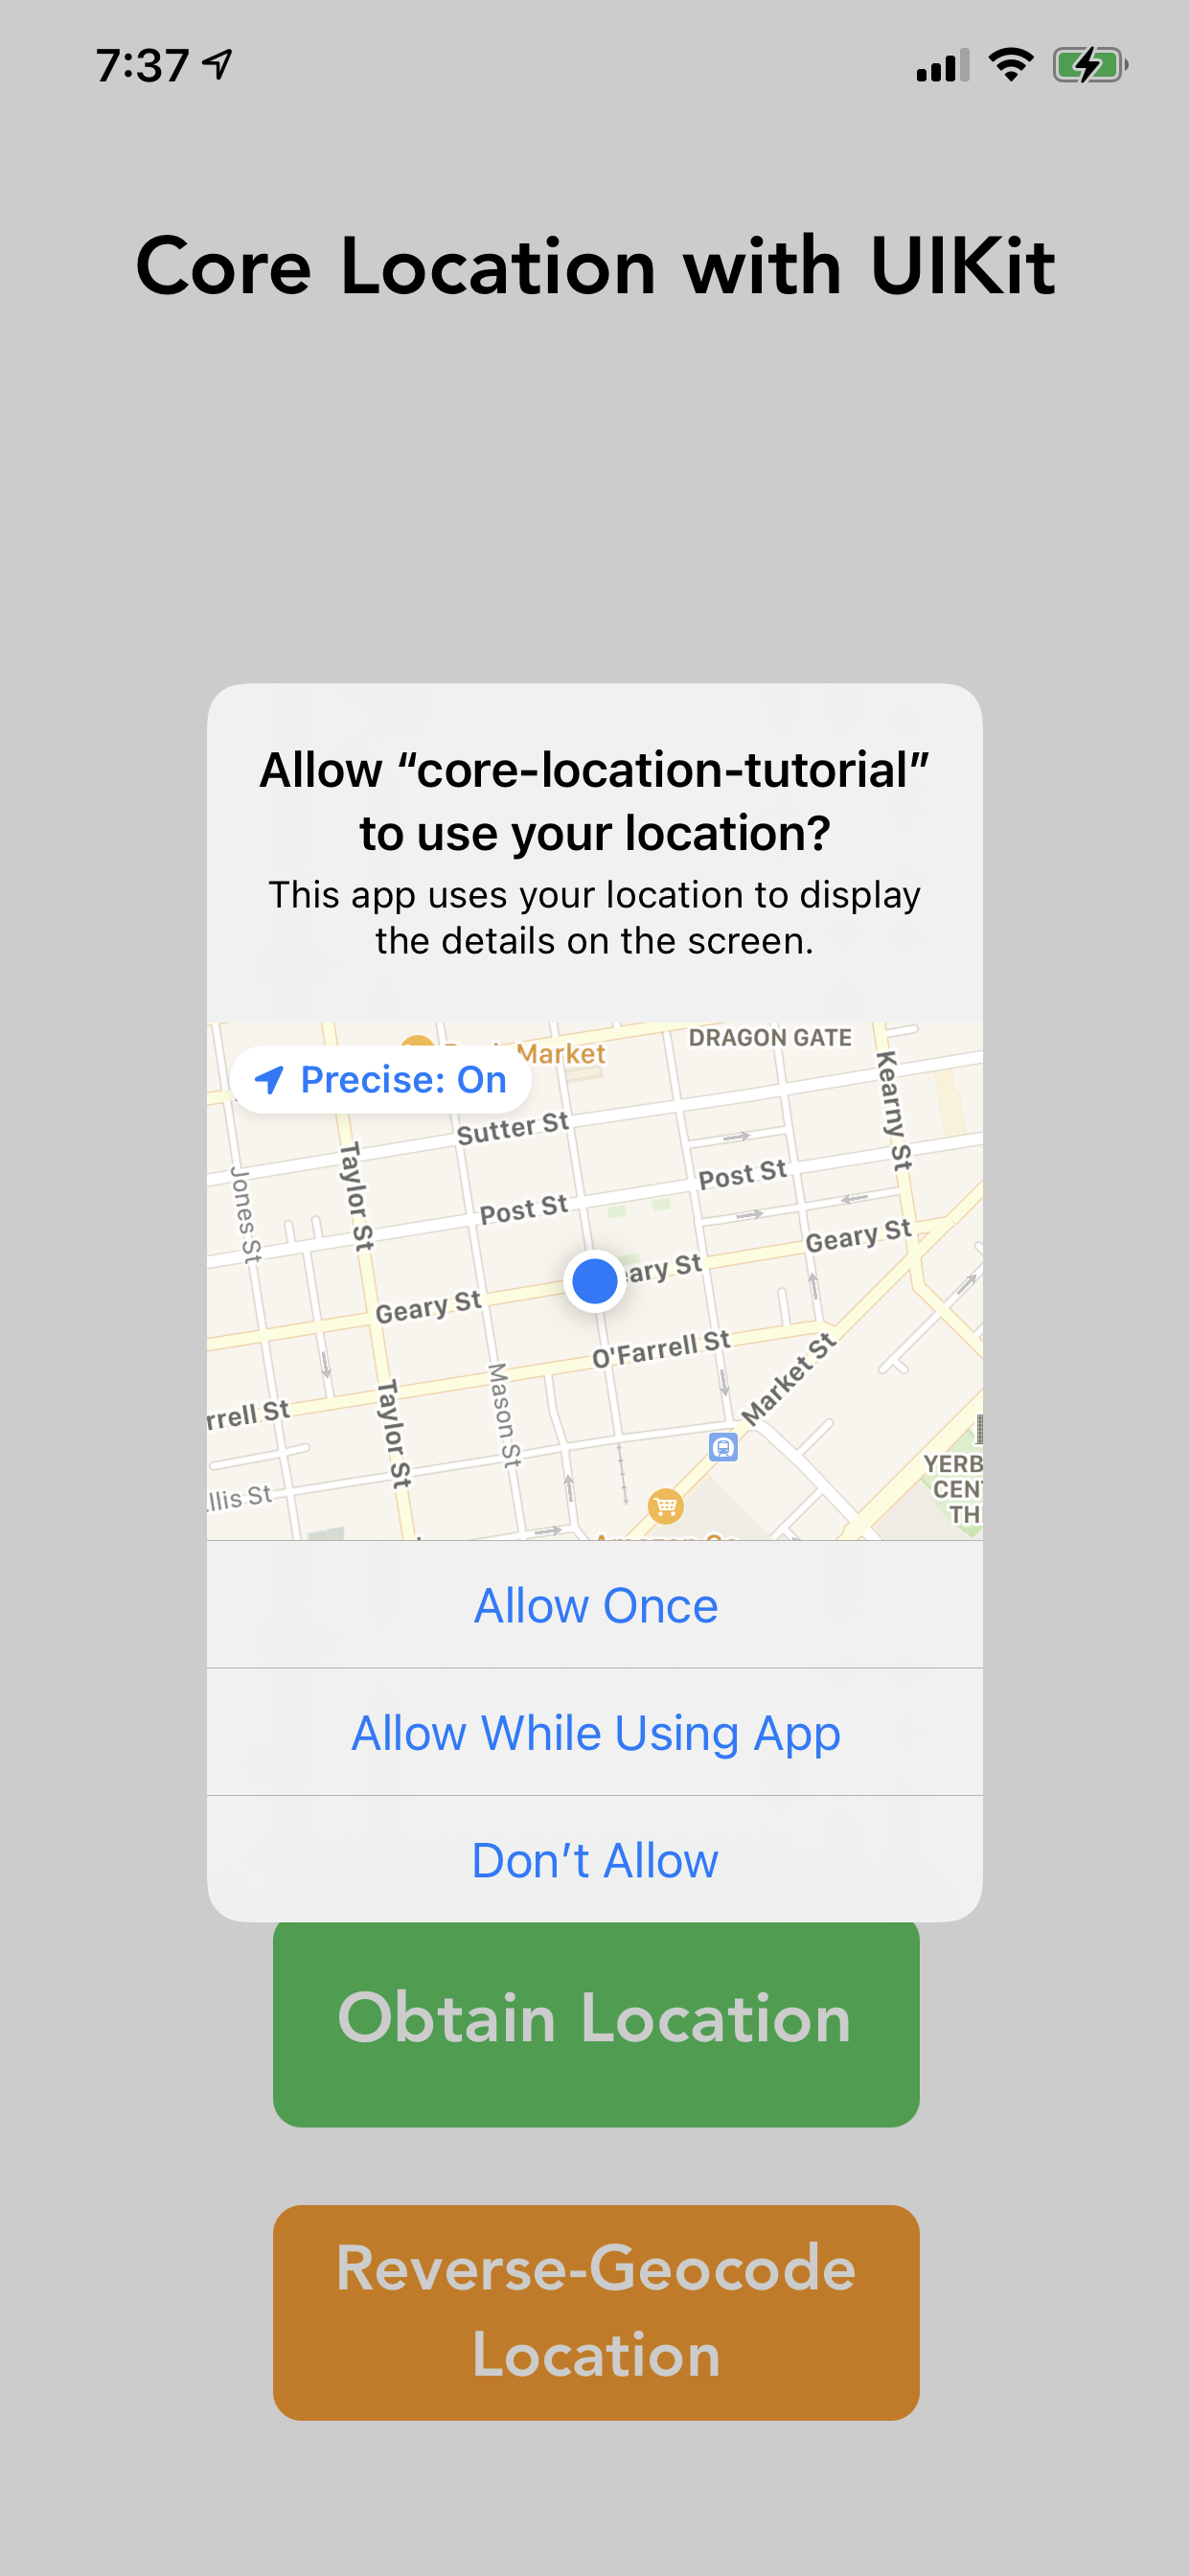
The application can now request location authorization, obtain the device’s location, and — the newest functionality — reverse-geocode the location. Here is the flow of the app:
该应用程序现在可以请求位置授权,获取设备的位置,以及-最新功能-对位置进行反向地理编码。 这是应用程序的流程:
Thank you for taking some time out of your day and reading through this walkthrough. Core Location is the key to building any location-based iOS app, and I hope you learned something new. Feel free to connect with me on Twitter and help grow the iOS development community: https://twitter.com/andrewlundydev.
感谢您抽出宝贵的时间来阅读本演练。 核心位置是构建任何基于位置的iOS应用程序的关键,我希望您学到了一些新知识。 随时在Twitter上与我联系并帮助发展iOS开发社区: https : //twitter.com/andrewlundydev。
You can read the original version on my blog: https://rustynailsoftware.com/dev-blog/core-location-reverse-geocoding-locations-using-clgeocoder
您可以在我的博客上阅读原始版本: https : //rustynailsoftware.com/dev-blog/core-location-reverse-geocoding-locations-using-clgeocoder
Setting Up Core Location with UIKit: https://rustynailsoftware.com/dev-blog/core-location-setting-up-core-location-with-uikit
使用UIKit设置核心位置: https : //rustynailsoftware.com/dev-blog/core-location-setting-up-core-location-with-uikit
CLLocation Docs: https://developer.apple.com/documentation/corelocation/cllocation
CLLocation Docs : https : //developer.apple.com/documentation/corelocation/cllocation
CLGeocoder Docs: https://developer.apple.com/documentation/corelocation/clgeocoder
CLGeocoder文件: https : //developer.apple.com/documentation/corelocation/clgeocoder
CLGeocodeCompletionHandler Docs: https://developer.apple.com/documentation/corelocation/clgeocodecompletionhandler
CLGeocodeCompletionHandler文件: https : //developer.apple.com/documentation/corelocation/clgeocodecompletionhandler
CLPlacemark Docs: https://developer.apple.com/documentation/corelocation/clplacemark
CLPlacemark文件: https : //developer.apple.com/documentation/corelocation/clplacemark
DispatchQueue Docs: https://developer.apple.com/documentation/dispatch/dispatchqueue
DispatchQueue Docs : https : //developer.apple.com/documentation/dispatch/dispatchqueue


 1万+
1万+

 被折叠的 条评论
为什么被折叠?
被折叠的 条评论
为什么被折叠?
 到【灌水乐园】发言


