


python 起泡
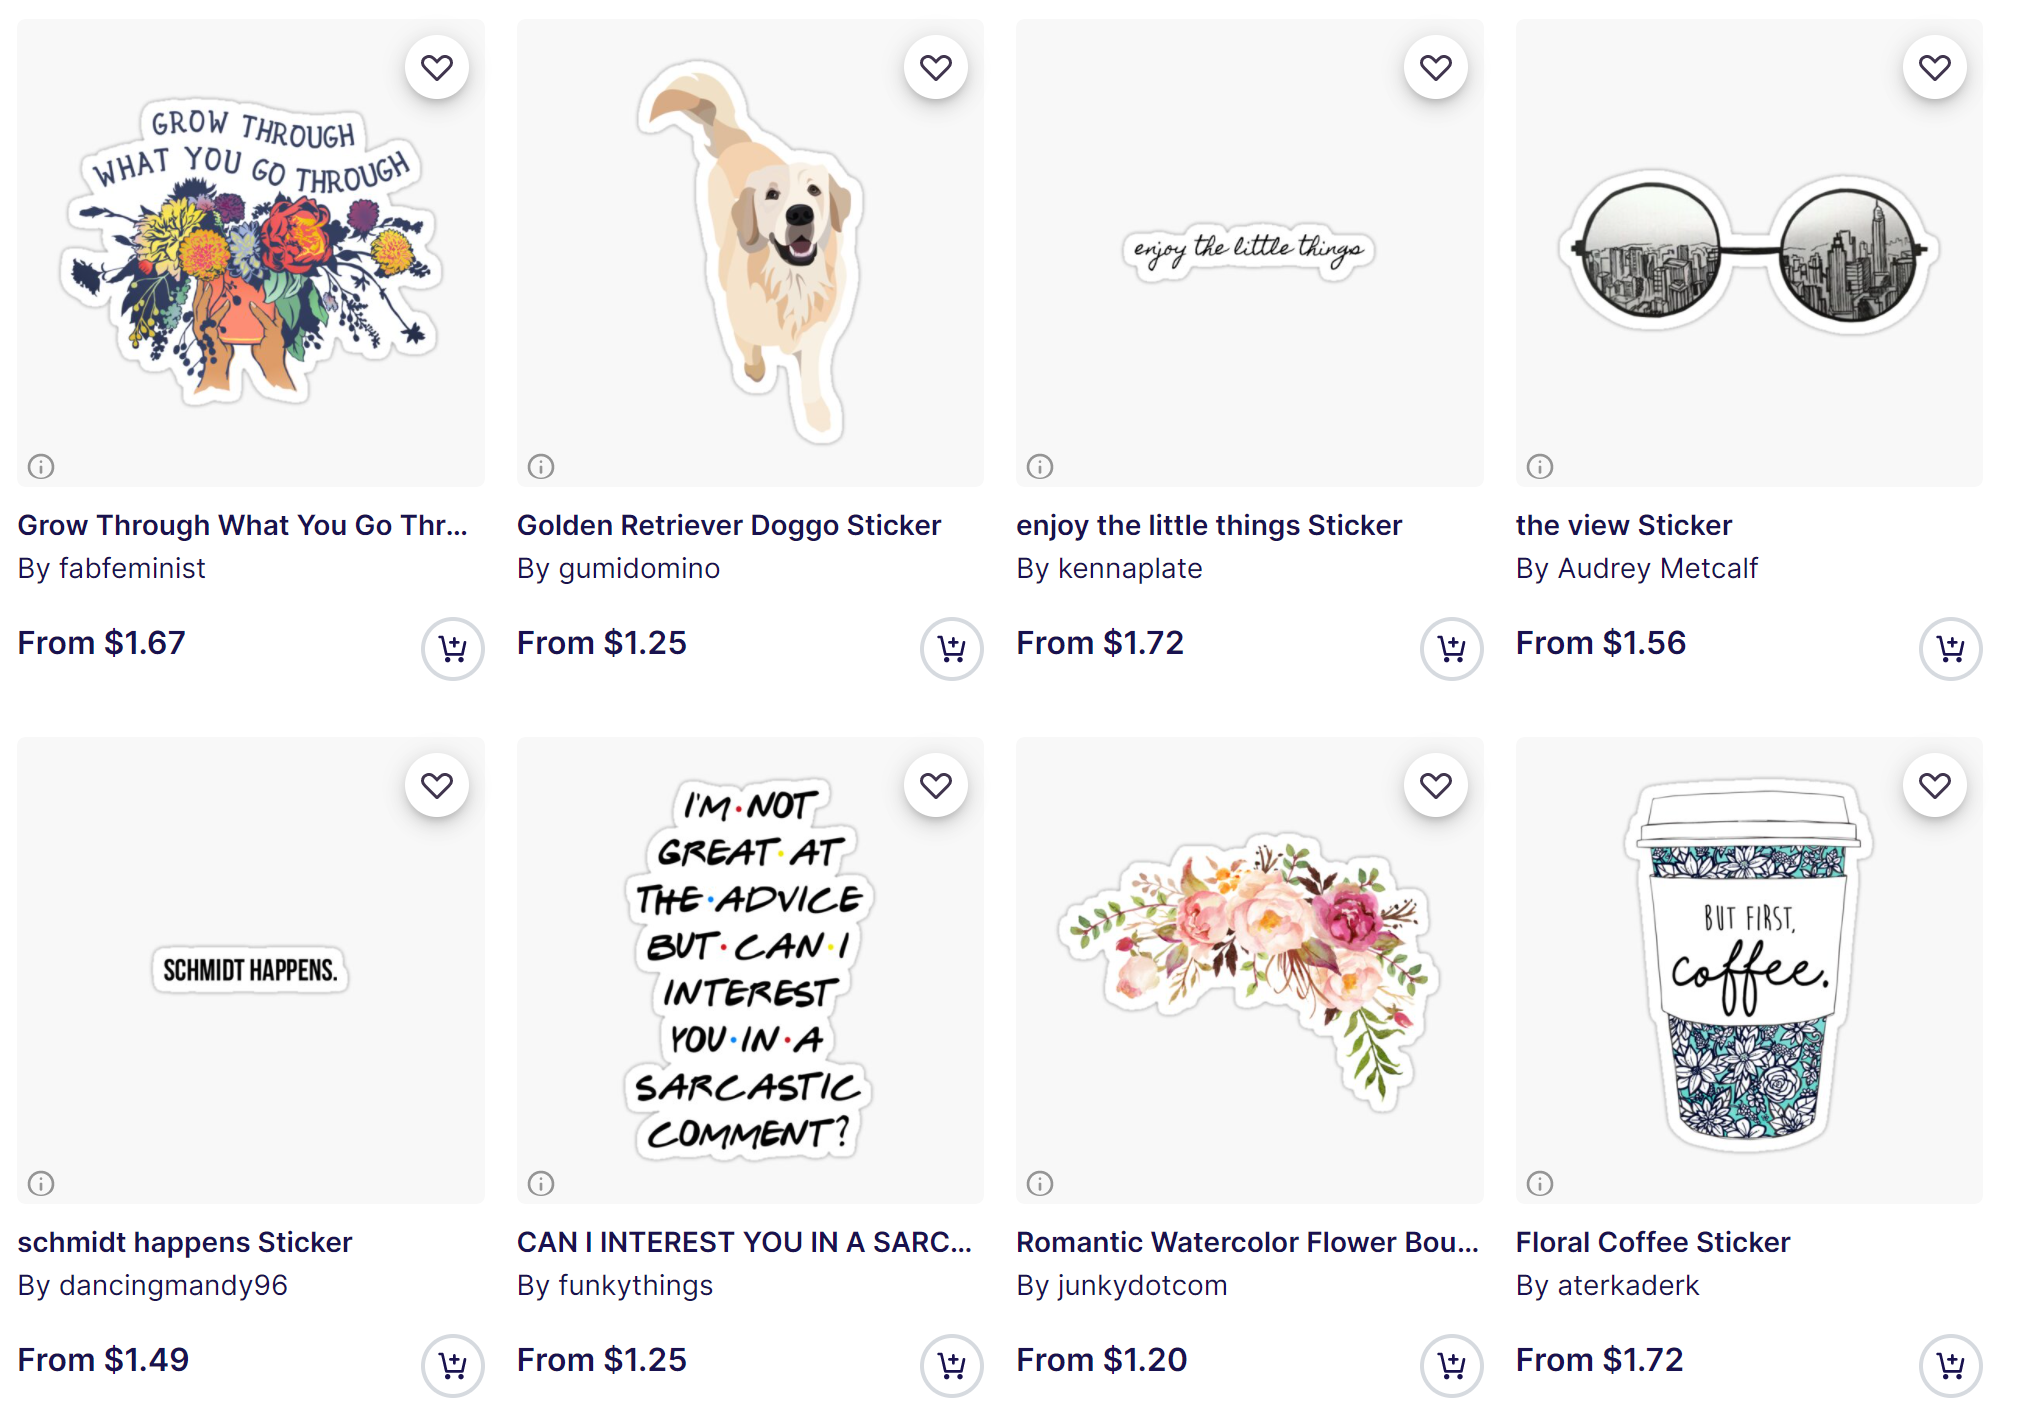
Print on demand (POD) websites like Redbubble rely on its artists to create designs which are then bought by customers on various products (Usually t-shirts and stickers) and the profit is split between these POD websites and the artist. Uploading designs to Redbubble is free, and you can upload as many as you want, but the catch is that there are millions of other designs on the website and uploading design after design becomes a very tedious and time consuming task for artwork that has good chance of never being seen.
像Redbubble这样的按需印刷(POD)网站依靠其艺术家来创建设计,然后由客户购买各种产品(通常是T恤和贴纸),然后在这些POD网站和艺术家之间分配利润。 将设计上传到Redbubble是免费的,您可以根据需要上传任意数量,但是要注意的是,网站上还有数百万其他设计,并且在设计成为一件非常有机会的艺术品之后变得非常乏味且耗时的任务之后,上传设计从未被看到。
This is where Python comes into play. With Python, we can completely automate the design and upload process, and essentially get rid of the biggest risk factor involved in using POD websites… time. This can create a powerful passive income stream as you’ll be able to effortlessly upload tens of thousands of designs with just a little bit of up front work.
这就是Python发挥作用的地方。 使用Python,我们可以完全自动化设计和上传过程,并从根本上摆脱了使用POD网站(时间)所涉及的最大风险因素。 这可以创建强大的被动收入来源,因为您只需一点点前期工作就可以毫不费力地上传成千上万的设计。
At this point you are probably wondering how we could possibly use Python to create designs that customers would actually want to buy. If you’ve spent any time browsing Redbubble or you know people that have purchased something off of Redbubble, you’ll probably notice that most of the purchases come from stickers, a lot of which just contain text.
在这一点上,您可能想知道我们如何使用Python来创建客户实际想要购买的设计。 如果您花了任何时间浏览Redbubble或知道有人从Redbubble那里购买了东西,您可能会注意到大部分购买都是来自贴纸,其中很多都包含文字。
So we will do exactly this — transform text with stylish fonts into images and upload the result to RB.
因此,我们将完全做到这一点-将具有时尚字体的文本转换为图像,然后将结果上传到RB。
Requirements:
要求:
Python Modules:
Python模块:
- beautifulsoup4 美丽的汤4
- requests 要求
- pyautoguipyautogui
- selenium Selenium
- pil皮尔
The key players in this script is the Python module: Pillow, for creating the designs and the module: Selenium for uploading the designs and the modules Requests and BeautifulSoup4 (BS4) for grabbing text off of the internet.
该脚本的主要角色是Python模块:Pillow,用于创建设计和模块:Selenium,用于上传设计和模块Requests和BeautifulSoup4(BS4),用于从互联网上获取文本。
To start we need to actually find text to fuel our Redbubble bot. To do this we will use Requests to send our script to a quote website and we will use BS4 to parse the quotes. But before we do that, lets define a function that takes in any URL and will give us a BS4 object in return so that we can easily connect to a website and get data that we can parse.
首先,我们需要实际查找文本来为我们的Redbubble机器人加油。 为此,我们将使用“请求”将脚本发送到报价网站,并使用BS4解析报价。 但是在执行此操作之前,让我们定义一个函数,该函数可以接受任何URL并作为回报提供BS4对象,以便我们可以轻松地连接到网站并获取可以解析的数据。
from bs4 import BeautifulSoup
import requestsdef get_soup(url):
    r = requests.get(url, headers={'User-Agent': 'Mozilla/5.0 (X11; Linux x86_64)'})
    return BeautifulSoup(r.content, 'html.parser')
Now lets parse the quotes from this website and get a Python list of quotes:
现在,让我们解析此网站上的引号,并获取引号的Python列表:
def get_quotes():
    quotes = []
    soup = get_soup('https://versionweekly.com/news/instagram/best-unique-instagram-captions-for-girls-in-2020/')
    for item in soup.find_all('ol'):
        for quote in item.find_all('li'):
            try:
                quote = quote.text.replace('”', '')
                quote = quote.replace('“', '')
                quotes.append(quote)
            except UnicodeEncodeError:
                pass
    return quotes[4:]
Just from that one page we managed to get over 400 quotes, now we’ll use Pillow to turn that text into a PNG file. For these types of quotes, I’ll use the timothy font. Create a folder in your working directory called “fonts” and another one “quotes”. Put the Timothy.tff version in the fonts folder.
仅从这一页,我们就获得了400多个报价,现在我们将使用Pillow将文本转换为PNG文件。 对于这些类型的引号,我将使用timothy font 。 在工作目录中创建一个名为“ fonts”的文件夹,另一个为“ quotes”。 将Timothy.tff版本放在fonts文件夹中。
When we upload our design to Redbubble, we are going to have to fill out information such as the title of the design, the location its stored at, tags, and a description. Lets create a quote class so that we can easily organize the data.
当我们将设计上传到Redbubble时,我们将不得不填写信息,例如设计的标题,其存储位置,标签和描述。 让我们创建一个报价类,以便我们可以轻松地组织数据。
class quote_image:
    def __init__(self, location, title, tags, desc):
        self.location = location
        self.title = title
        self.tags = tags
        self.desc = desc
Now lets create a function that takes in a text quote as input and outputs a quote object:
现在让我们创建一个将文本引号作为输入并输出引号对象的函数:
import os
from PIL import Image, ImageDraw, ImageFont
import randomdef generate_image(quote):
    x1 = 1500
    y1 = 1500
    fnt = ImageFont.truetype('fonts/Timothy.ttf', 150)
    img = Image.new('RGBA', (x1, y1), (0, 0, 0, 0))
    d = ImageDraw.Draw(img)
    sum = 0
    for letter in quote:
        sum += d.textsize(letter, font=fnt)[0]
    average_length_of_letter = sum / len(quote)
    number_of_letters_for_each_line = (x1 / 1.618) / average_length_of_letter
    incrementer = 0
    fresh_sentence = ''
    for letter in quote:
        if letter == '-':
            fresh_sentence += '\n\n' + letter
        elif incrementer < number_of_letters_for_each_line:
            fresh_sentence += letter
        else:
            if letter == ' ':
                fresh_sentence += '\n'
                incrementer = 0
            else:
                fresh_sentence += letter
        incrementer += 1
    dim = d.textsize(fresh_sentence, font=fnt)
    x2 = dim[0]
    y2 = dim[1]
    qx = (x1 / 2 - x2 / 2)
    qy = (y1 / 2 - y2 / 2)
    d.text((qx, qy), fresh_sentence, align="center", font=fnt, fill=(100, 100, 100))
    location = os.getcwd() + f'\\quotes\\{quote.split()[0]}_{random.randint(0, 1000)}.png'
    img.save(location)
    title = quote
    tags = ', '.join(title.split())
    desc = f'A very inspirational quote: {quote}'
    return quote_image(location, title, tags, desc)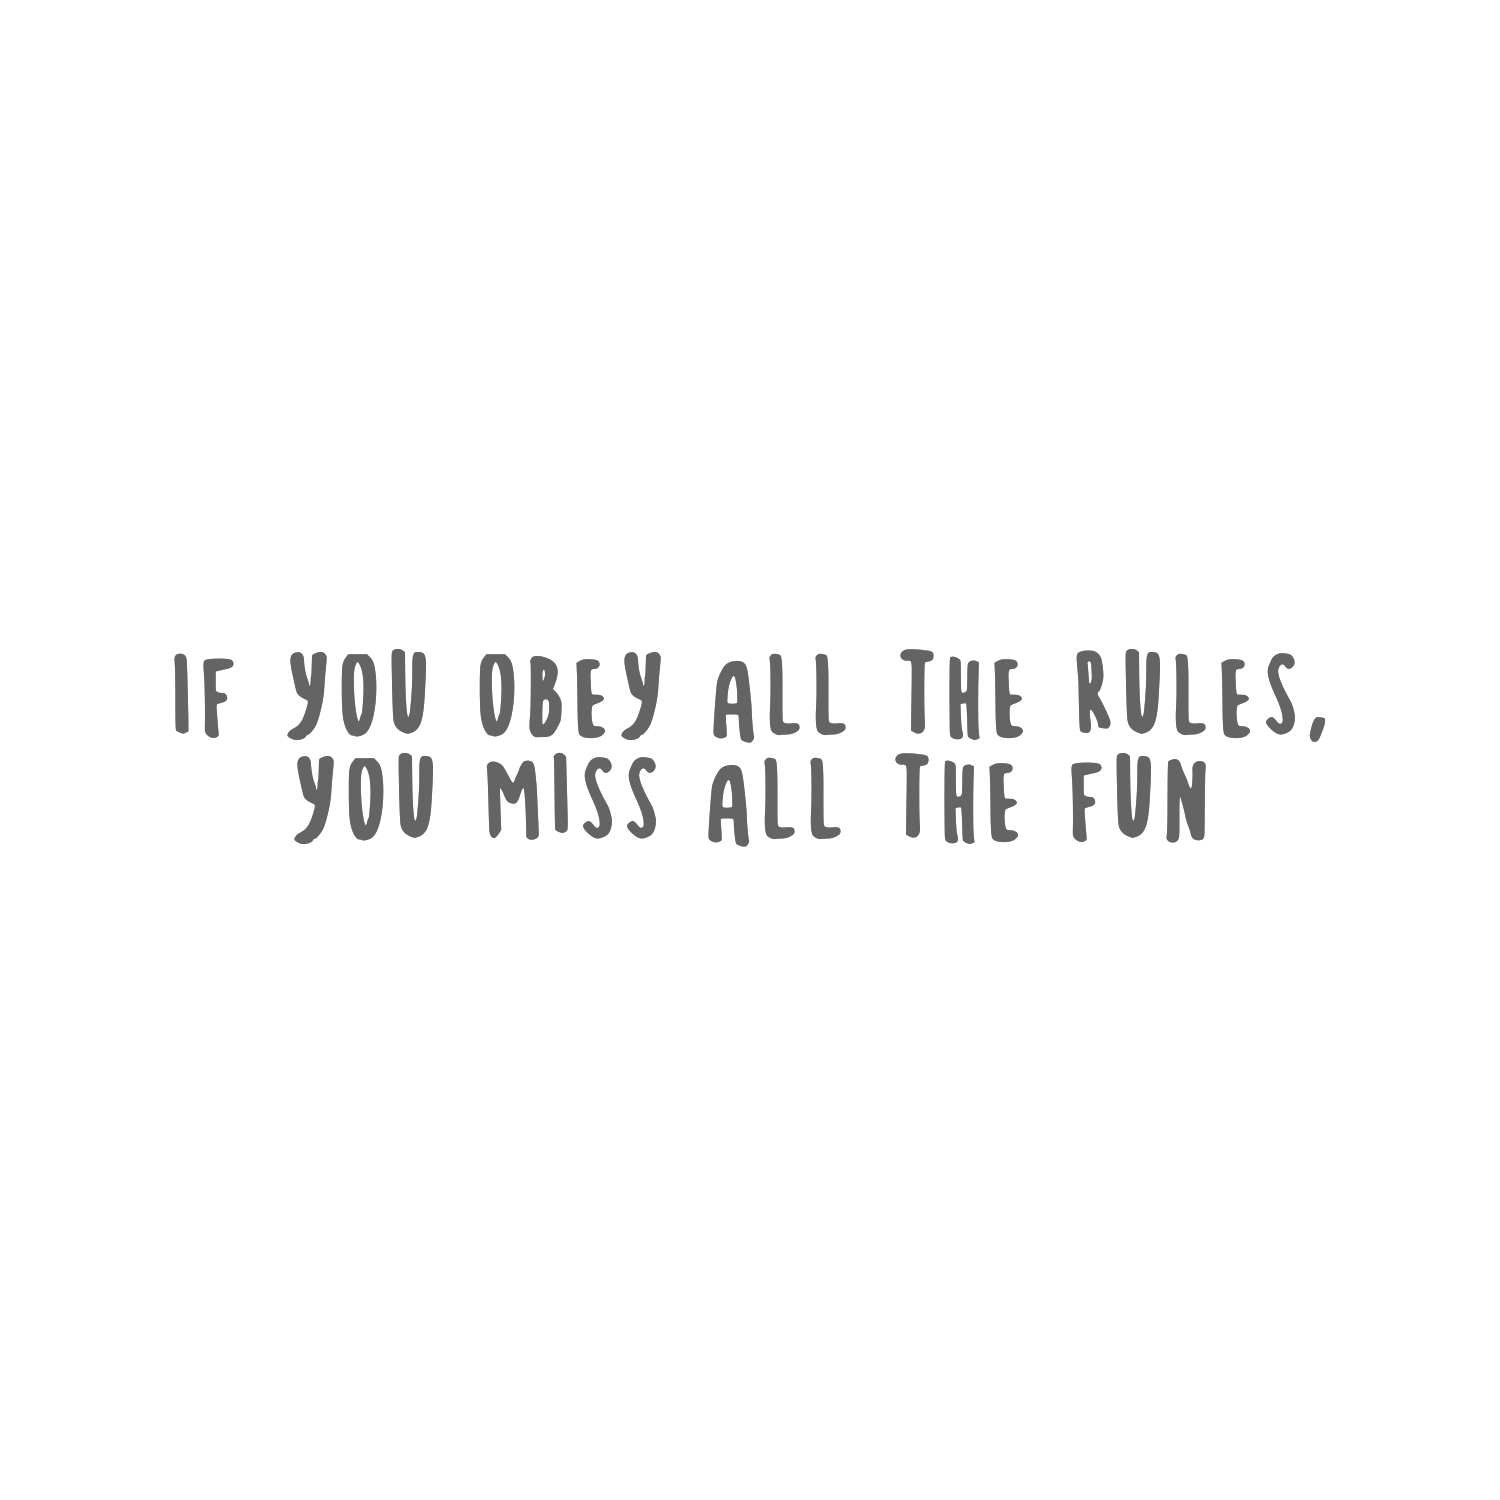
Now that we have designs, we can start on uploading them to Redbubble. The first thing we need to do is download a web driver so that our bot can go onto and interact with websites. For this tutorial, I’ll be using Chrome. Download the web driver here. Make sure you download the driver that matches with you current version of Chrome which can be found at the “About Chrome” section in your Chrome settings. Move the driver you just downloaded into your working directory.
现在我们有了设计,我们可以开始将它们上传到Redbubble。 我们要做的第一件事是下载网络驱动程序,以便我们的机器人可以访问网站并与网站进行交互。 对于本教程,我将使用Chrome。 在此处下载Web驱动程序。 确保下载与您当前版本的Chrome匹配的驱动程序,该驱动程序可以在Chrome设置的“关于Chrome”部分中找到。 将刚刚下载的驱动程序移到工作目录中。
Now lets make a function to launch the Chrome driver with a specific profile that remembers cookies so that our bot can access our Redbubble account without having to login every time. You’ll have to specify where you want your chrome profile stored by filling out the chrome_profile_location variable, it doesn’t matter where its at, as long as there is a location for it. When you run the function, the profile will be made automatically.
现在,让我们执行一个功能,以具有可记住Cookie的特定配置文件启动Chrome驱动程序,以便我们的机器人无需每次登录即可访问我们的Redbubble帐户。 您必须通过填写chrome_profile_location变量来指定要存储chrome配置文件的位置,只要位于该变量的位置即可。 运行该功能时,将自动创建配置文件。
def create_driver():
    chrome_profile_location = ''
    options = webdriver.ChromeOptions()
    options.add_argument(f'user-data-dir={chrome_profile_location}')
    return webdriver.Chrome(
        executable_path=os.getcwd() + '\\chromedriver.exe',
        options=options
    )
Now, we need to set our Rebubble account up (if you haven’t already) and log into Redbubble on the Chrome profile we created. Make sure cookies are on. Simply do this by calling the create_driver function and assigning it to a variable so the window doesn’t close.
现在,我们需要设置我们的Rebubble帐户(如果您尚未注册),然后在我们创建的Chrome配置文件中登录Redbubble。 确保打开了Cookie。 只需调用create_driver函数并将其分配给变量,以使窗口不会关闭即可。
driver = create_driver()The next step is to upload a single design to Redbubble manually. We are going to upload the first design manually so that we can select all the options we want for our designs and use that design as a template for any other designs we upload in the future. I highly recommend using a template because it will make our script much more simple to code and will reduce the chances of our script crashing because it couldn’t find a button on the website. You can call the generate_image function to create an image in your quotes folder that you can use to upload. Make the default product “Sticker” on the upload page.
下一步是将单个设计手动上传到Redbubble。 我们将手动上载第一个设计,以便我们可以选择我们想要的所有设计选项,并将该设计用作将来我们上载的任何其他设计的模板。 我强烈建议您使用模板,因为它会使我们的脚本的编写更加简单,并且会因为无法在网站上找到按钮而减少脚本崩溃的机会。 您可以调用generate_image函数在您的引号文件夹中创建可用于上传的图像。 在上传页面上将默认产品设为“ Sticker”。
generate_image('Some quote I thought of')After you upload the image, you’ll want to grab the template link, so that our bot can use it moving forward. To find the template link, go into your Redbubble account, click ‘Manage Portfolio’, click the settings icon in the top right corner of design you previously uploaded and click ‘Copy Settings’. Wait for the page to load then copy the URL at the top of your browser. It should look something like this
上传图像后,您将需要获取模板链接,以便我们的机器人可以继续使用它。 要找到模板链接,请进入您的Redbubble帐户,单击“管理投资组合”,单击先前上传的设计右上角的设置图标,然后单击“复制设置”。 等待页面加载,然后在浏览器顶部复制URL。 它应该看起来像这样
https://www.redbubble.com/portfolio/images/12345678-my-artwork/duplicate
https://www.redbubble.com/portfolio/images/12345678-my-artwork/duplicate
Our last step is to create our bot class, which will actually upload our designs. Make sure to fill out the template_link variable with the link you copied in the last step.
最后一步是创建bot类,该类实际上将上传我们的设计。 确保使用在上一步中复制的链接填写template_link变量。
from selenium import webdriver
import time
from bs4 import BeautifulSoup
from selenium.webdriver.common.keys import Keys
import requests
import os
from PIL import Image, ImageDraw, ImageFont
import random
import pyautoguiclass bot:
    def __init__(self, quote):
        self.quote = quote
        self.driver = create_driver()
    def upload(self):
        template_link = ''
        self.driver.get(template_link)
        element = self.driver.find_element_by_css_selector('#work_title_en')
        element.send_keys(Keys.CONTROL, 'a')
        element.send_keys(Keys.BACKSPACE)
        element.send_keys(self.quote.title)
        element = self.driver.find_element_by_css_selector('#work_tag_field_en')
        element.send_keys(Keys.CONTROL, 'a')
        element.send_keys(Keys.BACKSPACE)
        element.send_keys(self.quote.tags)
        element = self.driver.find_element_by_css_selector('#work_description_en')
        element.send_keys(Keys.CONTROL, 'a')
        element.send_keys(Keys.BACKSPACE)
        element.send_keys(self.quote.desc)
        self.driver.find_element_by_css_selector('#add-new-work > div > div.duplicate > div.upload-button-wrapper.replace-all-images').click()
        time.sleep(1.5)
        pyautogui.typewrite(self.quote.location)
        time.sleep(1)
        pyautogui.hotkey('ENTER')
        time.sleep(20)
        self.driver.find_element_by_css_selector('#rightsDeclaration').click()
        self.driver.find_element_by_css_selector('#submit-work').click()
        time.sleep(23)
        self.driver.close()
Now lets put everything together in our run() function:
现在,将所有内容放到我们的run()函数中:
def run():
    for quote in get_quotes():
        print(f'Uploading: {quote}')
        design = generate_image(quote)
        bot(design).upload()
        time.sleep(60)
Now you can simply call the run() function to upload all of the quotes gathered from the get_quotes() function. I used these quotes and fonts as an example. I recommend you go out and find different sources for your quotes and fonts so that you can create your own unique designs.
现在,您只需调用run()函数即可上传从get_quotes()函数收集的所有报价。 我以这些引号和字体为例。 我建议您出去寻找引号和字体的不同来源,以便您可以创建自己的独特设计。
Here is the full script:
这是完整的脚本:
from selenium import webdriver
import time
from bs4 import BeautifulSoup
from selenium.webdriver.common.keys import Keys
import requests
import os
from PIL import Image, ImageDraw, ImageFont
import random
import pyautogui
def get_soup(url):
    r = requests.get(url, headers={'User-Agent': 'Mozilla/5.0 (X11; Linux x86_64)'})
    return BeautifulSoup(r.content, 'html.parser')
def create_driver():
    chrome_profile_location = ''
    options = webdriver.ChromeOptions()
    options.add_argument(f'user-data-dir={chrome_profile_location}')
    return webdriver.Chrome(
        executable_path=os.getcwd() + '\\chromedriver.exe',
        options=options
    )
def get_quotes():
    quotes = []
    soup = get_soup('https://versionweekly.com/news/instagram/best-unique-instagram-captions-for-girls-in-2020/')
    for item in soup.find_all('ol'):
        for quote in item.find_all('li'):
            try:
                quote = quote.text.replace('”', '')
                quote = quote.replace('“', '')
                quotes.append(quote)
            except UnicodeEncodeError:
                pass
    return quotes[4:]
def generate_image(quote):
    x1 = 1500
    y1 = 1500
    fnt = ImageFont.truetype('fonts/Timothy.ttf', 150)
    img = Image.new('RGBA', (x1, y1), (0, 0, 0, 0))
    d = ImageDraw.Draw(img)
    sum = 0
    for letter in quote:
        sum += d.textsize(letter, font=fnt)[0]
    average_length_of_letter = sum / len(quote)
    number_of_letters_for_each_line = (x1 / 1.618) / average_length_of_letter
    incrementer = 0
    fresh_sentence = ''
    for letter in quote:
        if letter == '-':
            fresh_sentence += '\n\n' + letter
        elif incrementer < number_of_letters_for_each_line:
            fresh_sentence += letter
        else:
            if letter == ' ':
                fresh_sentence += '\n'
                incrementer = 0
            else:
                fresh_sentence += letter
        incrementer += 1
    dim = d.textsize(fresh_sentence, font=fnt)
    x2 = dim[0]
    y2 = dim[1]
    qx = (x1 / 2 - x2 / 2)
    qy = (y1 / 2 - y2 / 2)
    d.text((qx, qy), fresh_sentence, align="center", font=fnt, fill=(100, 100, 100))
    location = os.getcwd() + f'\\quotes\\{quote.split()[0]}_{random.randint(0, 1000)}.png'
    img.save(location)
    title = quote
    tags = ', '.join(title.split())
    desc = f'A very inspirational quote: {quote}'
    return quote_image(location, title, tags, desc)
class quote_image:
    def __init__(self, location, title, tags, desc):
        self.location = location
        self.title = title
        self.tags = tags
        self.desc = desc
class bot:
    def __init__(self, quote):
        self.quote = quote
        self.driver = create_driver()
    def upload(self):
        template_link = ''
        self.driver.get(template_link)
        element = self.driver.find_element_by_css_selector('#work_title_en')
        element.send_keys(Keys.CONTROL, 'a')
        element.send_keys(Keys.BACKSPACE)
        element.send_keys(self.quote.title)
        element = self.driver.find_element_by_css_selector('#work_tag_field_en')
        element.send_keys(Keys.CONTROL, 'a')
        element.send_keys(Keys.BACKSPACE)
        element.send_keys(self.quote.tags)
        element = self.driver.find_element_by_css_selector('#work_description_en')
        element.send_keys(Keys.CONTROL, 'a')
        element.send_keys(Keys.BACKSPACE)
        element.send_keys(self.quote.desc)
        self.driver.find_element_by_css_selector(
            '#add-new-work > div > div.duplicate > div.upload-button-wrapper.replace-all-images').click()
        time.sleep(1.5)
        pyautogui.typewrite(self.quote.location)
        time.sleep(1)
        pyautogui.hotkey('ENTER')
        time.sleep(20)
        self.driver.find_element_by_css_selector('#rightsDeclaration').click()
        self.driver.find_element_by_css_selector('#submit-work').click()
        time.sleep(23)
        self.driver.close()
def run():
    for quote in get_quotes():
        print(f'Uploading: {quote}')
        design = generate_image(quote)
        bot(design).upload()
run()
翻译自: https://medium.com/@jcalbrecht85/creating-and-uploading-art-to-redbubble-with-python-1109df0b9393
python 起泡


 2258
2258


 被折叠的 条评论
为什么被折叠?
被折叠的 条评论
为什么被折叠?
 到【灌水乐园】发言


