


In my adventures of finding a great hosting service for my research projects at Georgia Tech, I was almost always given a preconfigured virtual machine by my advisor or the department I was building an app for. However, this is not a luxury experienced by all students and can also be a hassle to set up and configure by yourself.
在为Georgia Tech的研究项目寻找出色的托管服务的冒险过程中,我的顾问或我正在为其构建应用程序的部门几乎总是为我提供预配置的虚拟机。 但是,这并不是所有学生都能体验到的奢侈品,也可能是您自己设置和配置的麻烦。
Little might you know, Georgia Tech web hosting (https://hosting.gatech.edu) actually provides a decent hosting service you can use for research/class projects under your advisor, assuming you’re working with a Node tech stack. You may not notice it because of it’s name: “Plesk.” It took some digging for me to discover this, which is why I’m writing this article: to save you time that you might otherwise waste. There are already many tutorials on the web for creating Express APIs with SQL databases, so I’ll let you set that up in your own time. Once you have your app ready, follow the steps below to deploy it.
您可能几乎不知道,乔治亚理工大学的虚拟主机( https://hosting.gatech.edu )实际上提供了不错的托管服务,您可以在顾问的指导下使用它进行研究/课程项目,前提是您正在使用Node技术堆栈。 您可能不会注意到它的名字,因为它是“ Plesk”。 我花了一些时间才发现这一点,这就是为什么我写这篇文章的原因:为您节省时间,否则您可能会浪费。 网上已经有许多教程可以使用SQL数据库创建Express API,因此,我将让您自行设置。 准备好应用程序后,请按照以下步骤进行部署。
Note: Make sure you’re on the GT VPN before continuing
注意:在继续之前,请确保您已使用GT VPN
1-请求Plesk网站 (1 — Requesting a Plesk Site)
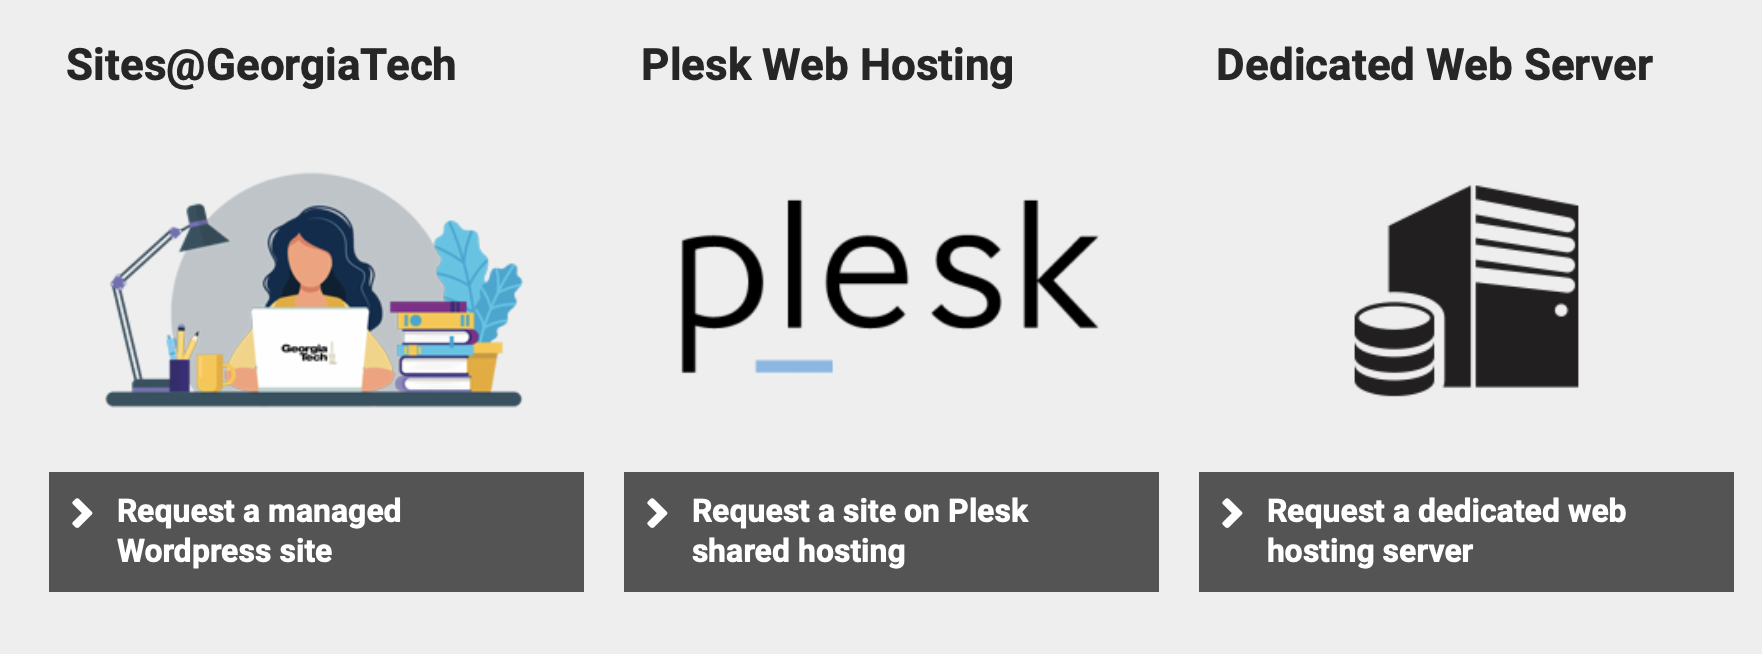
To start, you’re going to need to request a Plesk site from https://hosting.gatech.edu. Navigate to the section that say’s “Request a site on Plesk shared hosting.”
首先,您需要从https://hosting.gatech.edu请求一个Plesk网站。 导航到“请求在Plesk共享主机上的网站”部分。
You’ll be asked to fill out a form and you’ll have to wait a few days before it’s approved, but it’s generally quick. A few important points about the form:
系统会要求您填写一张表格,并且需要等待几天才能获得批准,但这通常很快。 有关表单的一些重要点:
- Your GT account is your username for GT sign in, not your email 您的GT帐户是您登录GT的用户名,而不是您的电子邮件
- If your project is within the school of computer science, for example, you’d use the domain name “myproject.scs.gatech.edu.” The “myproject” phrase can be replaced with the name of your website, and “scs” stands for school of computer science. If you don’t know your school’s abbreviation, visit their website on gatech.edu and look at the beginning of the url. For example: 例如,如果您的项目在计算机科学学院内,则可以使用域名“ myproject.scs.gatech.edu”。 “ myproject”短语可以替换为您的网站名称,“ scs”代表计算机科学学院。 如果您不知道学校的缩写,请访问其网站gatech.edu并查看URL的开头。 例如:
- Make sure to enable NodeJS support 确保启用NodeJS支持
- Check “No, do not install Drupal Express.” It’s unnecessary software. 选中“否,不要安装Drupal Express。” 这是不必要的软件。
- It doesn’t matter which “preferred host server” you pick. 选择哪个“首选主机服务器”都没有关系。
- Include your sponsoring professor’s name in the description textbook of the “Policy Compliance” section, along with a blurb about your project. You’ll need this in order to be approved since the websites are ultimately tied to faculty and staff members. 在“政策合规”部分的描述教科书中包括您的资助教授的名字,以及有关您的项目的简介。 由于网站最终与教职员工联系在一起,因此您需要获得批准。
Finally, once your site is approved, your sponsoring professor must add you as an admin to the site using your GT username so you can manage it. Direct them to this FAQ to set that up.
最后,一旦您的网站获得批准,您的资助教授必须使用您的GT用户名将您添加为该网站的管理员,以便您进行管理。 将他们引导至此常见问题解答进行设置。
2 —设置服务器 (2 — Setting Up the Server)
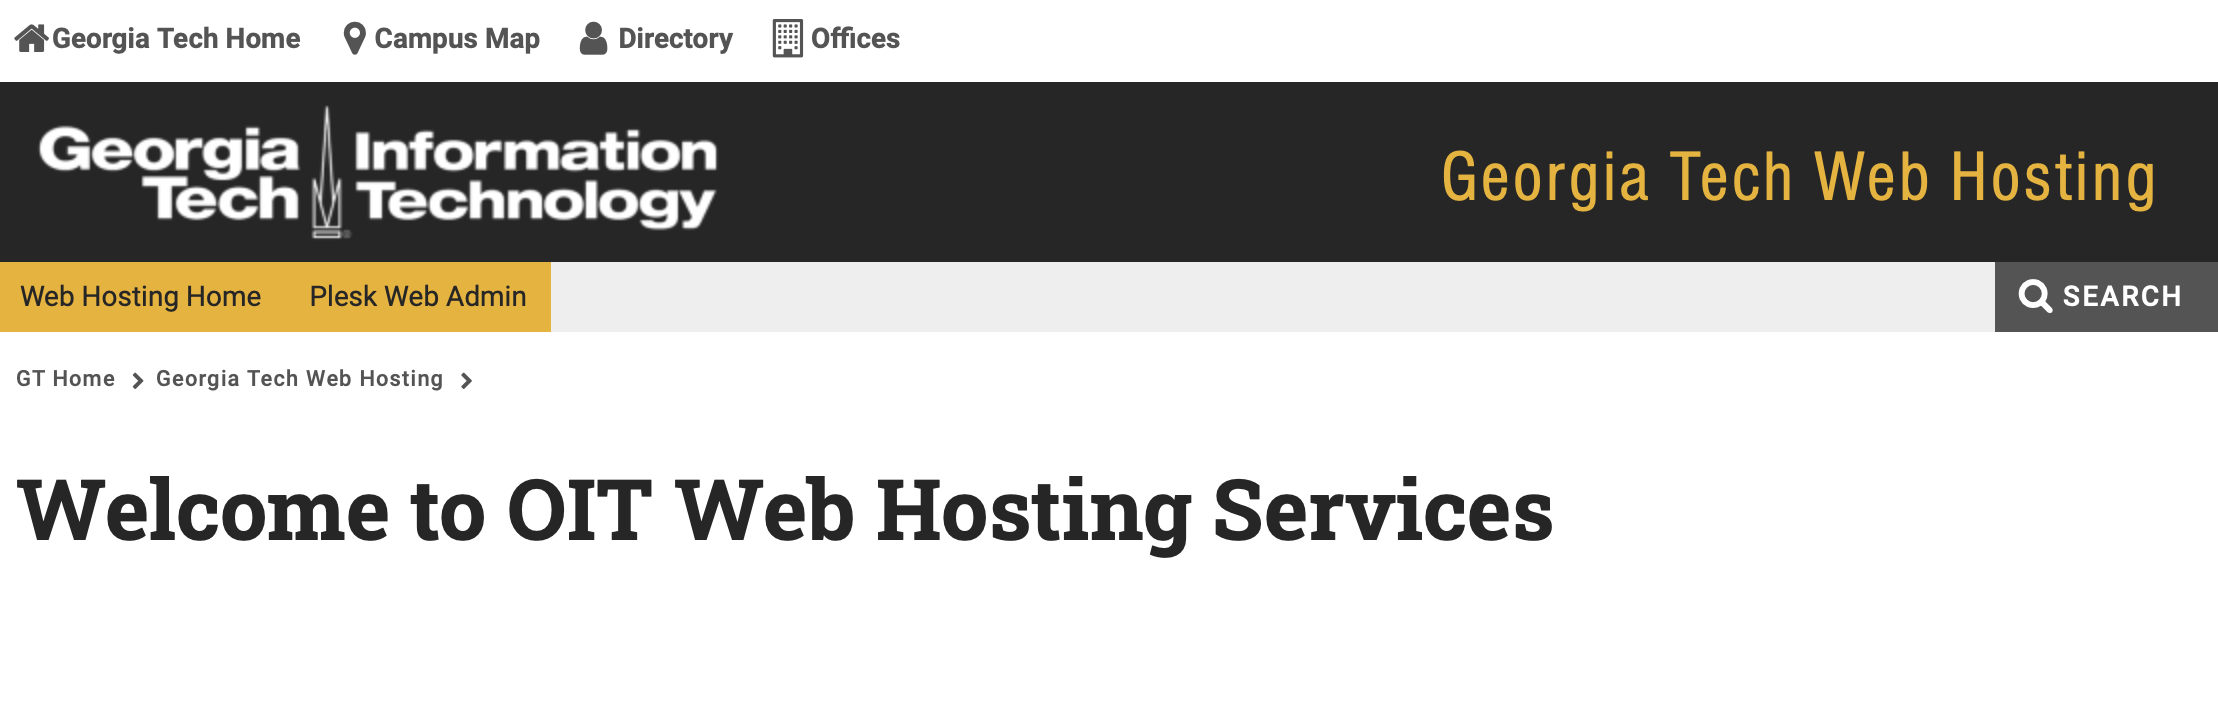
Now that you’re an admin, it’s time for you to set up your server. Navigate back to https://hosting.gatech.edu and login. If your professor added you as an admin correctly, you should see a link at the top banner that says “Plesk Web Admin.”
现在您是管理员,是时候设置服务器了。 导航回https://hosting.gatech.edu并登录。 如果您的教授正确地将您添加为管理员,您应该在顶部横幅上看到一个链接,上面显示“ Plesk Web Admin”。
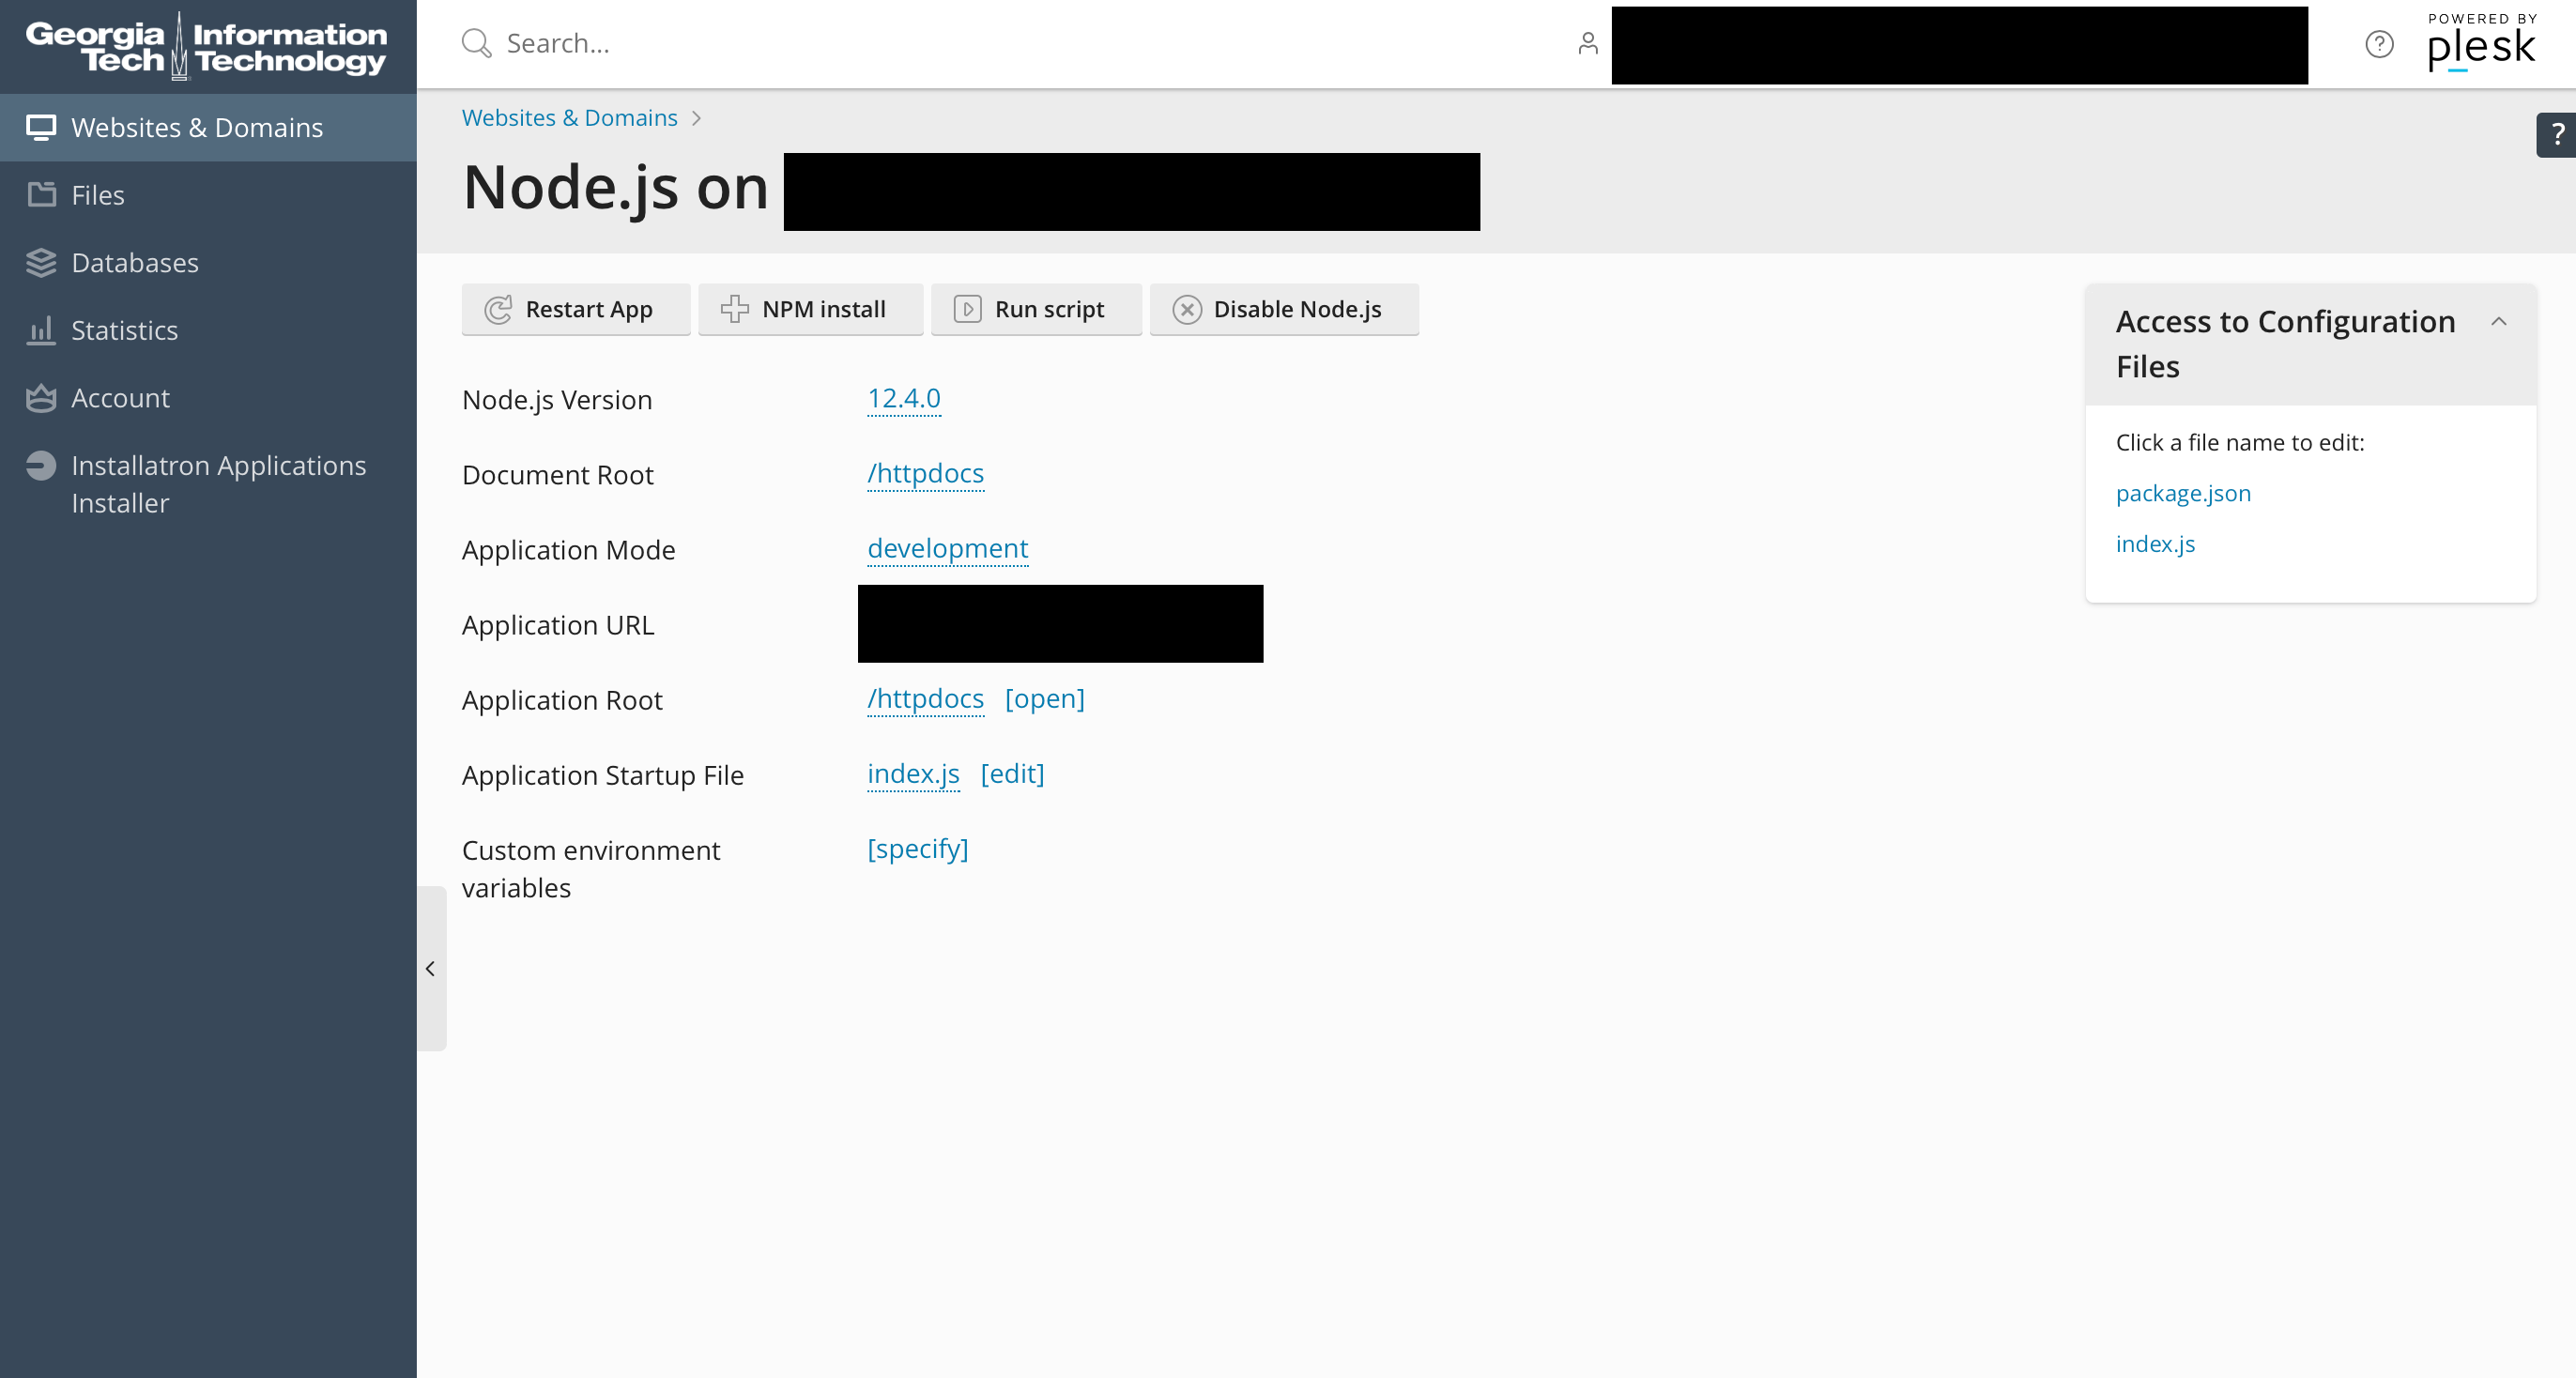
When you click on that link you’ll see a list of sites you are an admin for on the left. Click on that link and it should take you to a Plesk admin page that looks similar to this:
当您点击该链接时,您会在左侧看到您是管理员的网站列表。 单击该链接,它将带您进入一个类似于以下内容的Plesk管理页面:
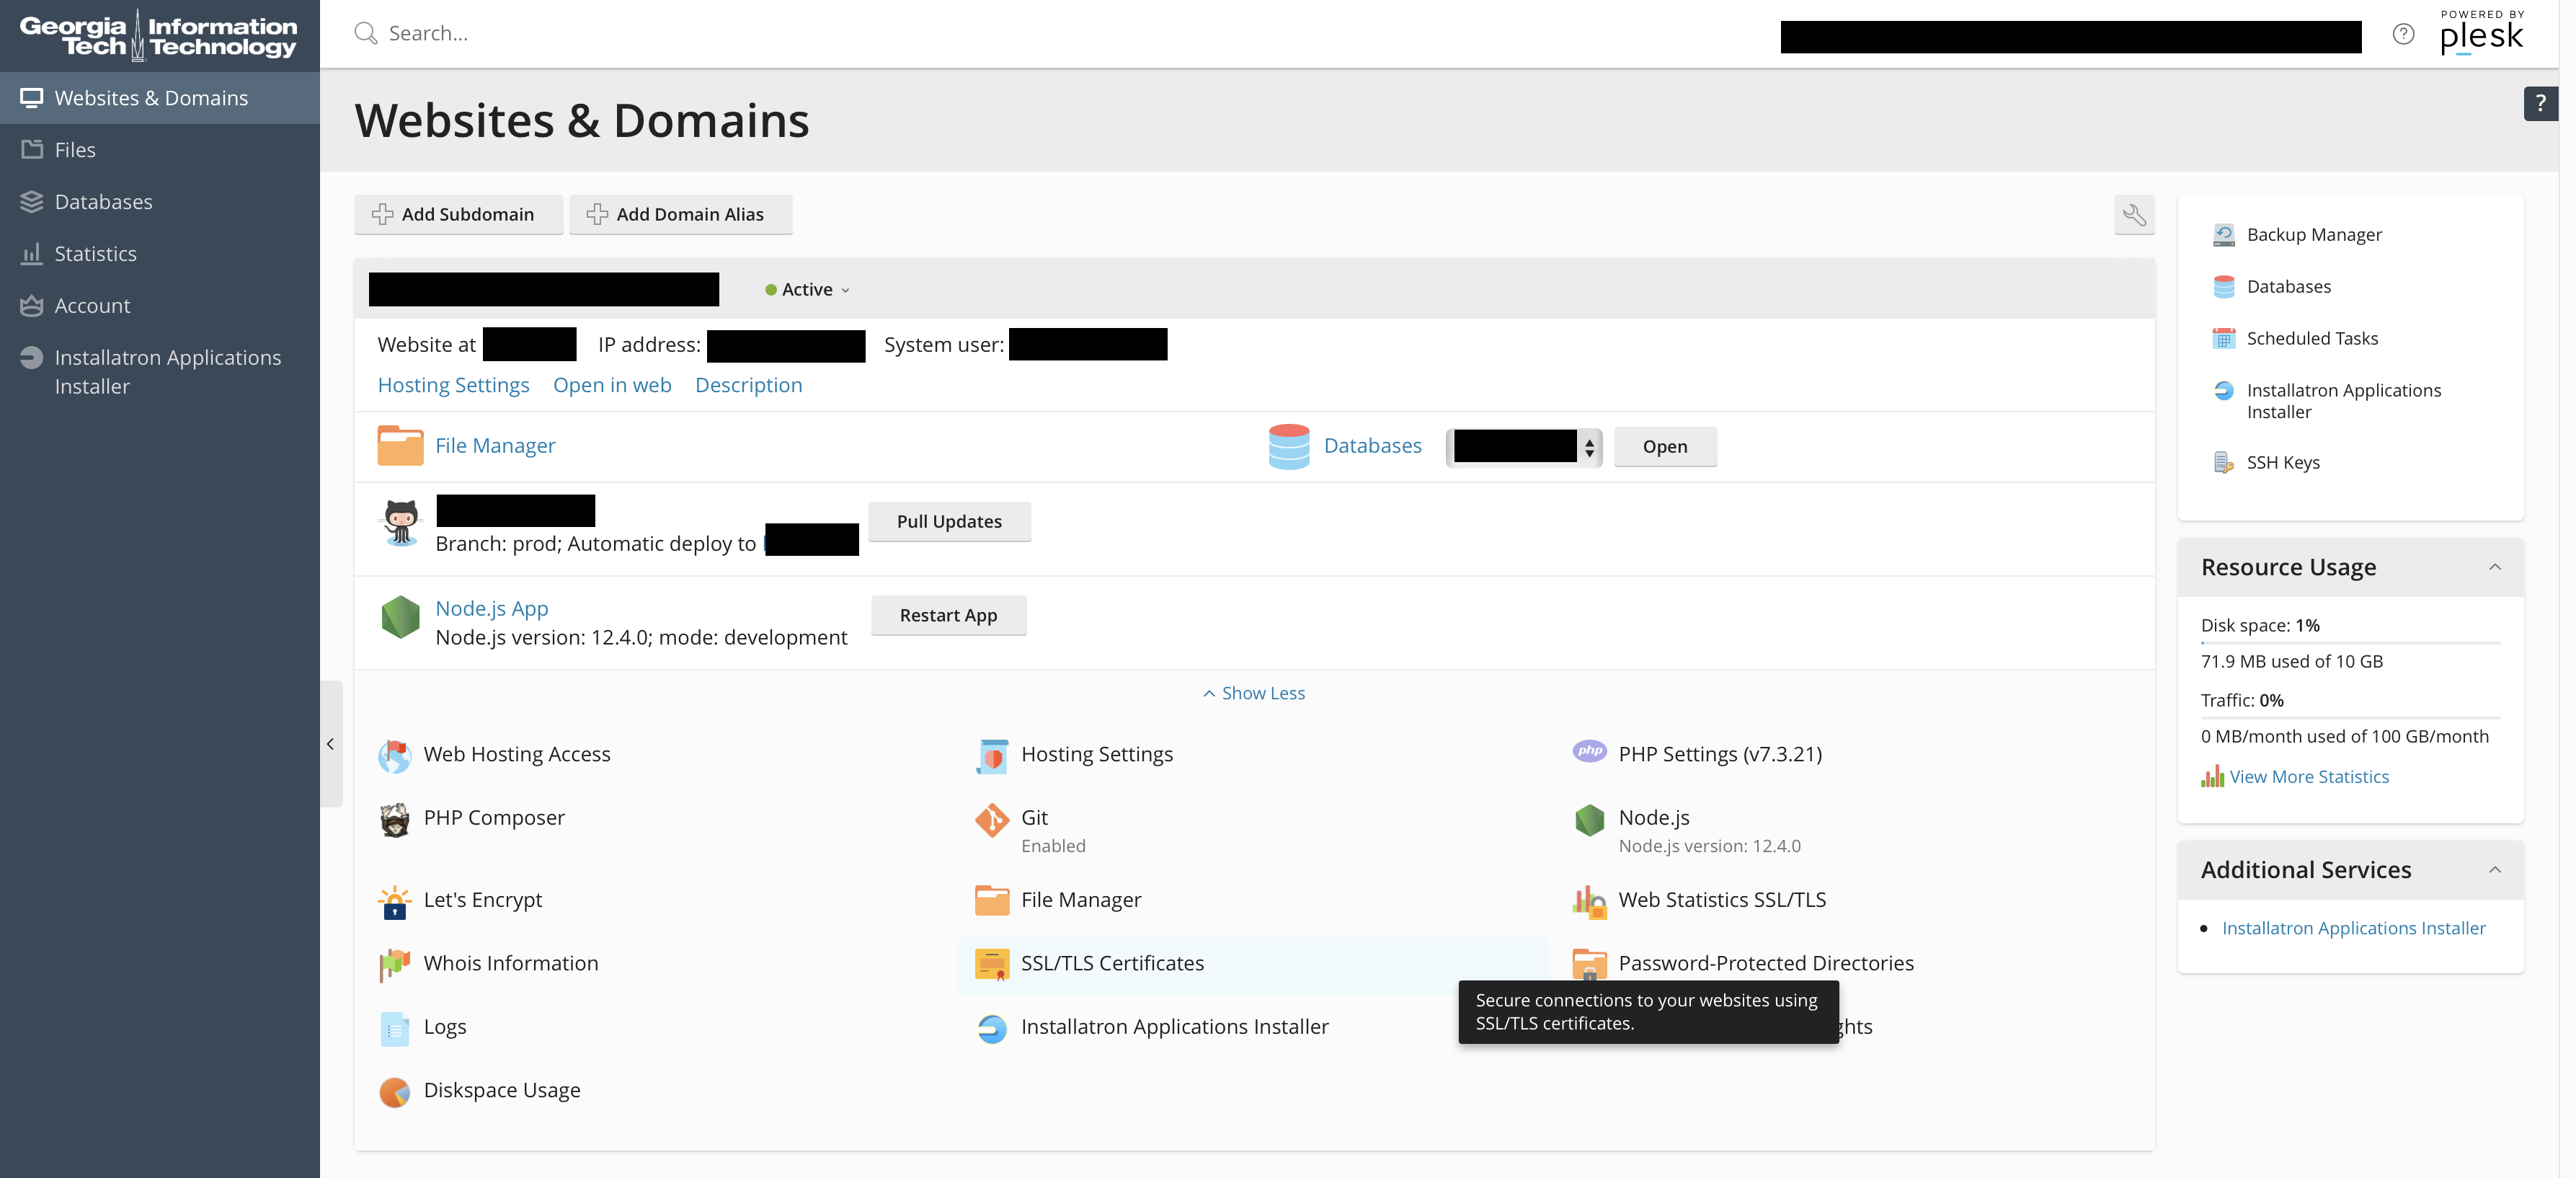
You’re good to go! Now the last step is to get your app onto the server. In my experience, manual file uploading has been a pain. So, I highly recommend using the Git feature on the server to set up a continuous integration / continuous development environment. That way all you have to do is push your code to GitHub and it will automatically get deployed to the server.
你很好! 现在,最后一步是将您的应用程序放到服务器上。 以我的经验,手动文件上传一直很痛苦。 因此,我强烈建议使用服务器上的Git功能来设置持续集成/持续开发环境。 这样,您所需要做的就是将代码推送到GitHub,它将自动部署到服务器。
However, it’s not really that simple. You need to deploy a production build of the Express app to the server rather than the raw source code. The way I made this process as smooth and painless as possible was by separating my code into two branches on GitHub: master and prod . The master branch holds all my source code, while the prod branch holds the production build of the app, which is what gets deployed to the server (you can set up Git on the server to pull from a specific branch).
但是,这并不是那么简单。 您需要将Express应用程序的生产版本部署到服务器,而不是原始源代码。 我使此过程尽可能顺利且轻松的方法是将代码分成GitHub上的两个分支: master和prod 。 master分支保存了我所有的源代码,而prod分支保存了应用程序的生产版本,这就是部署到服务器的内容(您可以在服务器上设置Git以从特定分支中提取)。
So, how do we accomplish this? Well I found a library that can facilitate this process called gh-pages. It’s popular for hosting React apps on GitHub Pages by handling the build process and deployment process for your app. We can use it here to deploy a production build of our Express app to the server.
那么,我们如何做到这一点呢? 好吧,我发现了一个名为gh-pages可以促进此过程的库。 通过处理应用程序的构建过程和部署过程,将React应用程序托管在GitHub Pages上很受欢迎。 我们可以在这里使用它来将Express应用的生产版本部署到服务器。
First, you should move all the files currently in your project folder into an app folder. Then, create a deployment folder next to the app folder. This is where you’ll store your deployment scripts. Now you should have 2 folders in your project folder: deployment and app. Open your terminal and ensure you are in your top-level project folder:
首先,您应该将项目文件夹中当前的所有文件移动到app文件夹中。 然后,在app文件夹旁边创建一个deployment文件夹。 您将在此处存储部署脚本。 现在,您的项目文件夹中应该有2个文件夹: deployment和app 。 打开终端,并确保您位于顶级项目文件夹中:
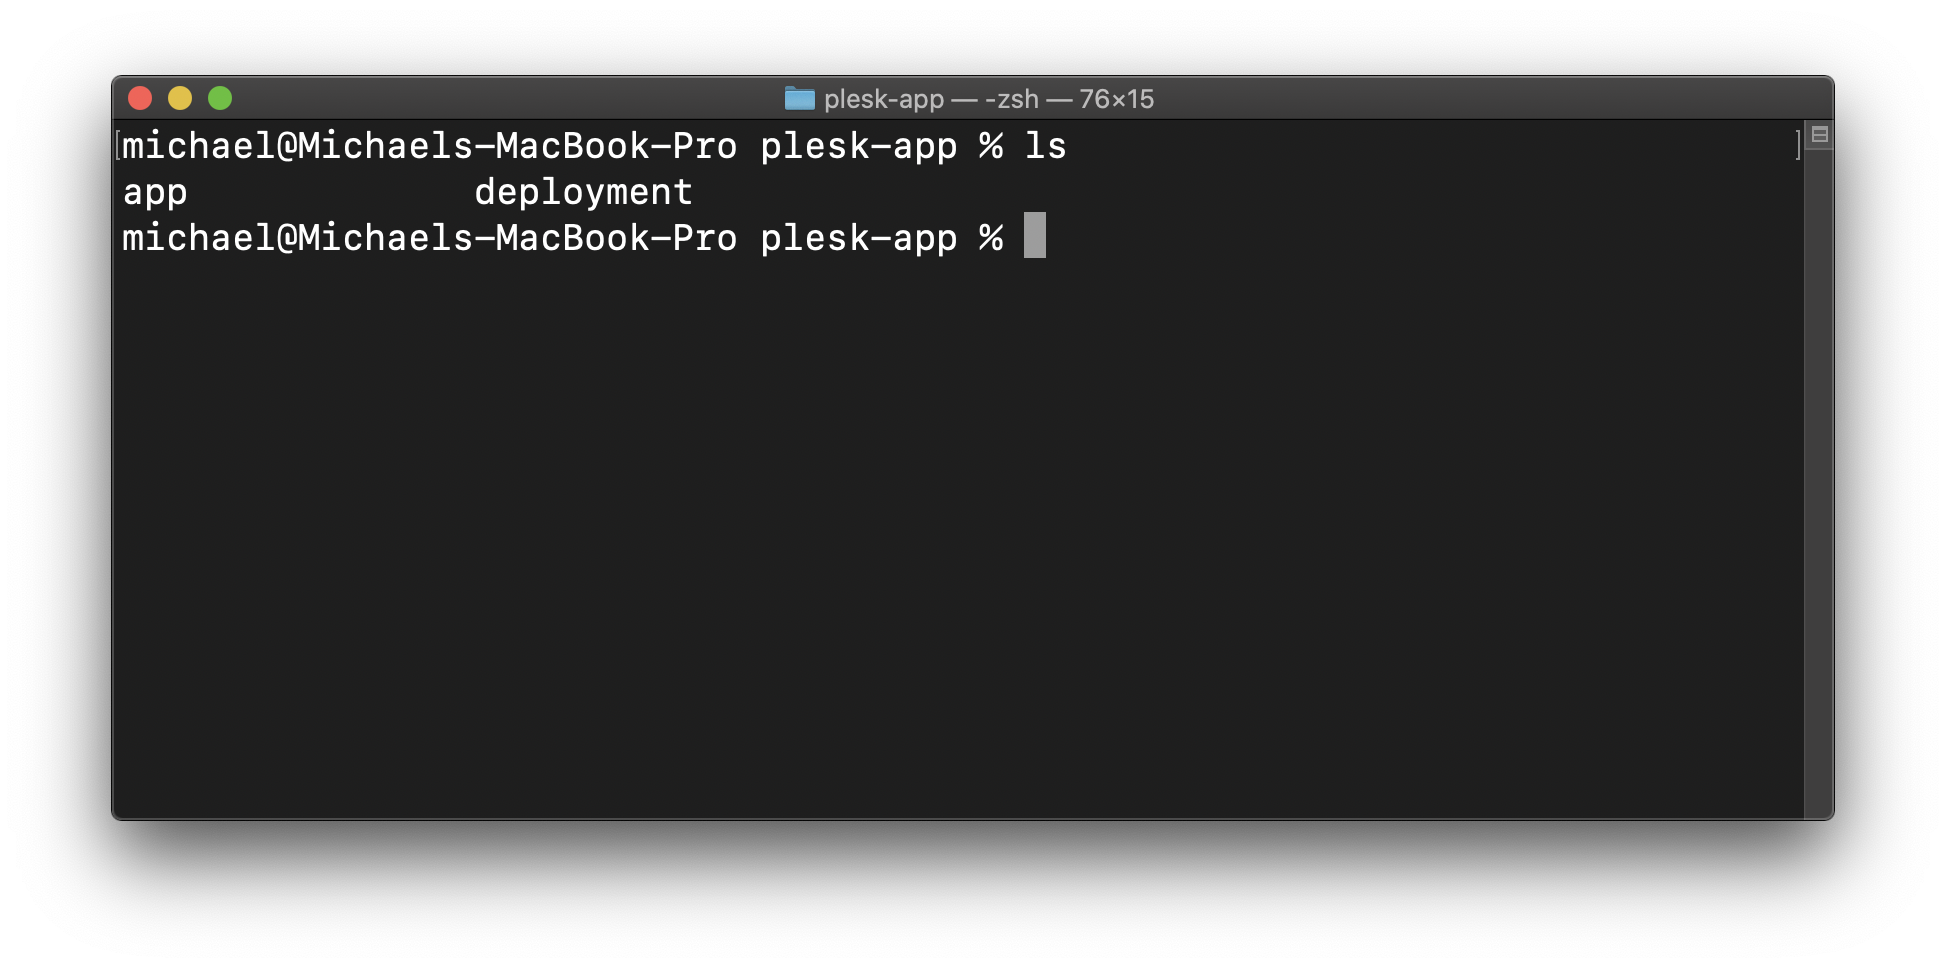
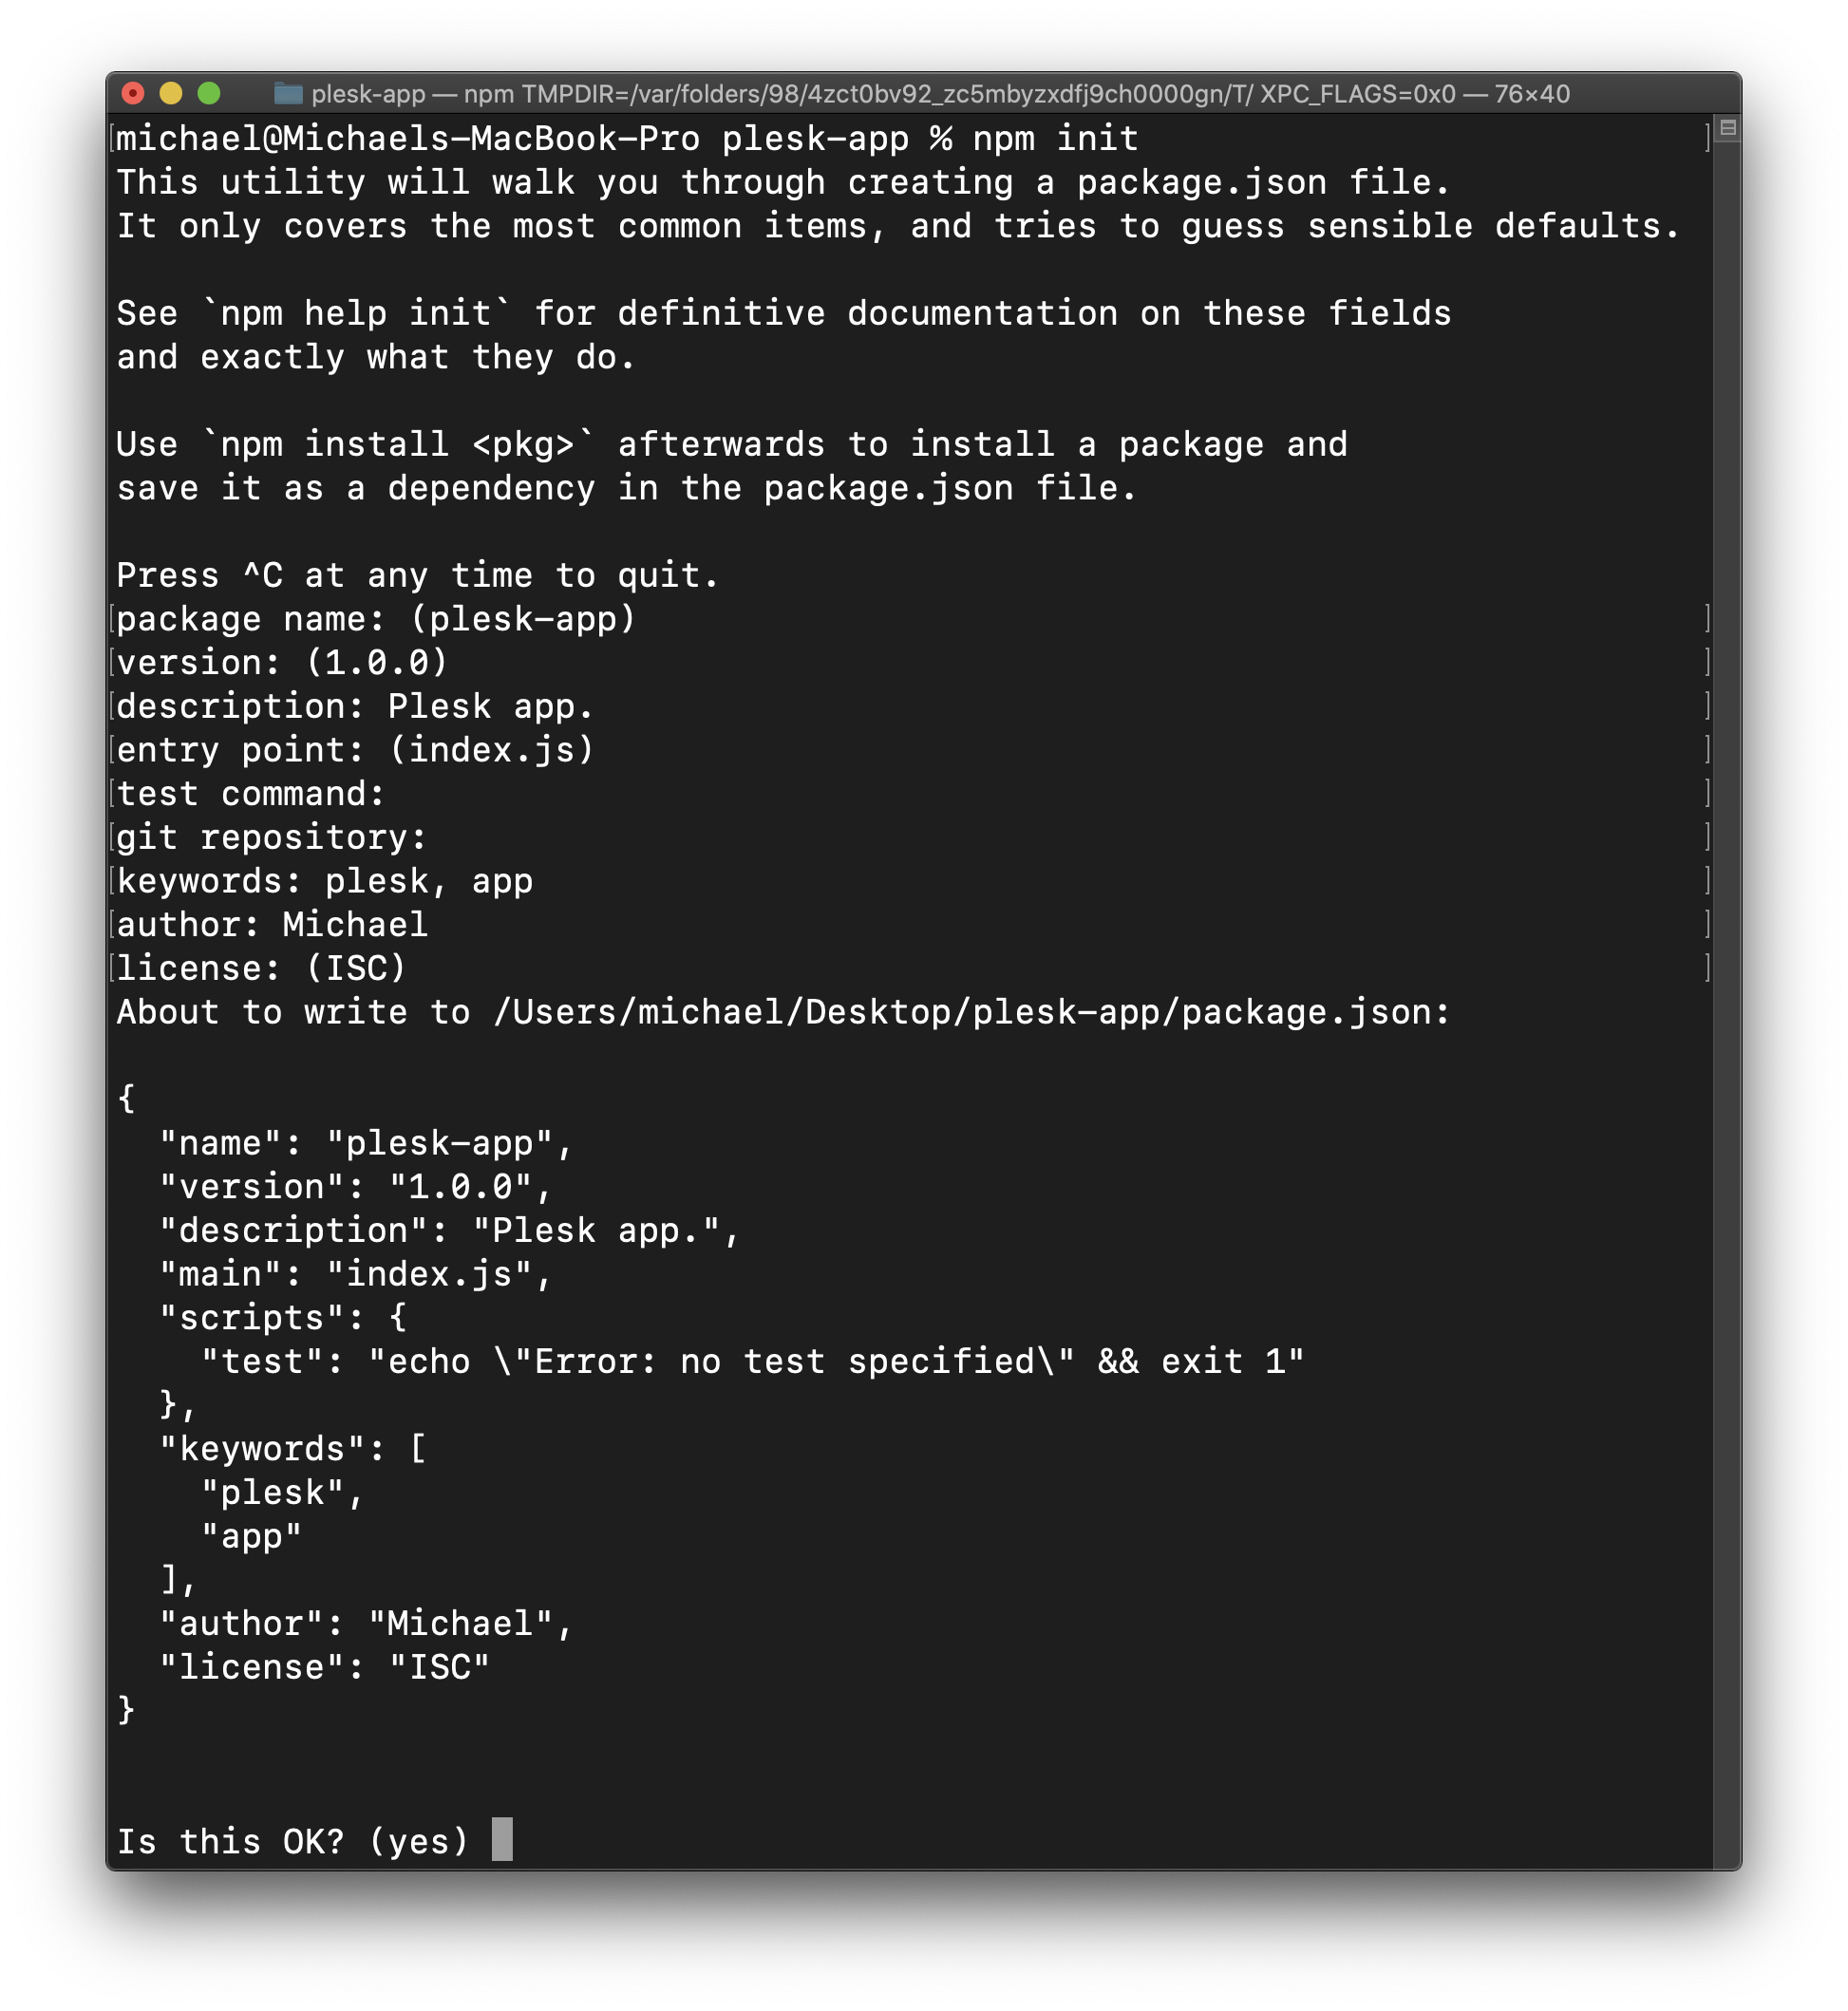
Run npm initto initialize the repository.
运行npm init初始化存储库。
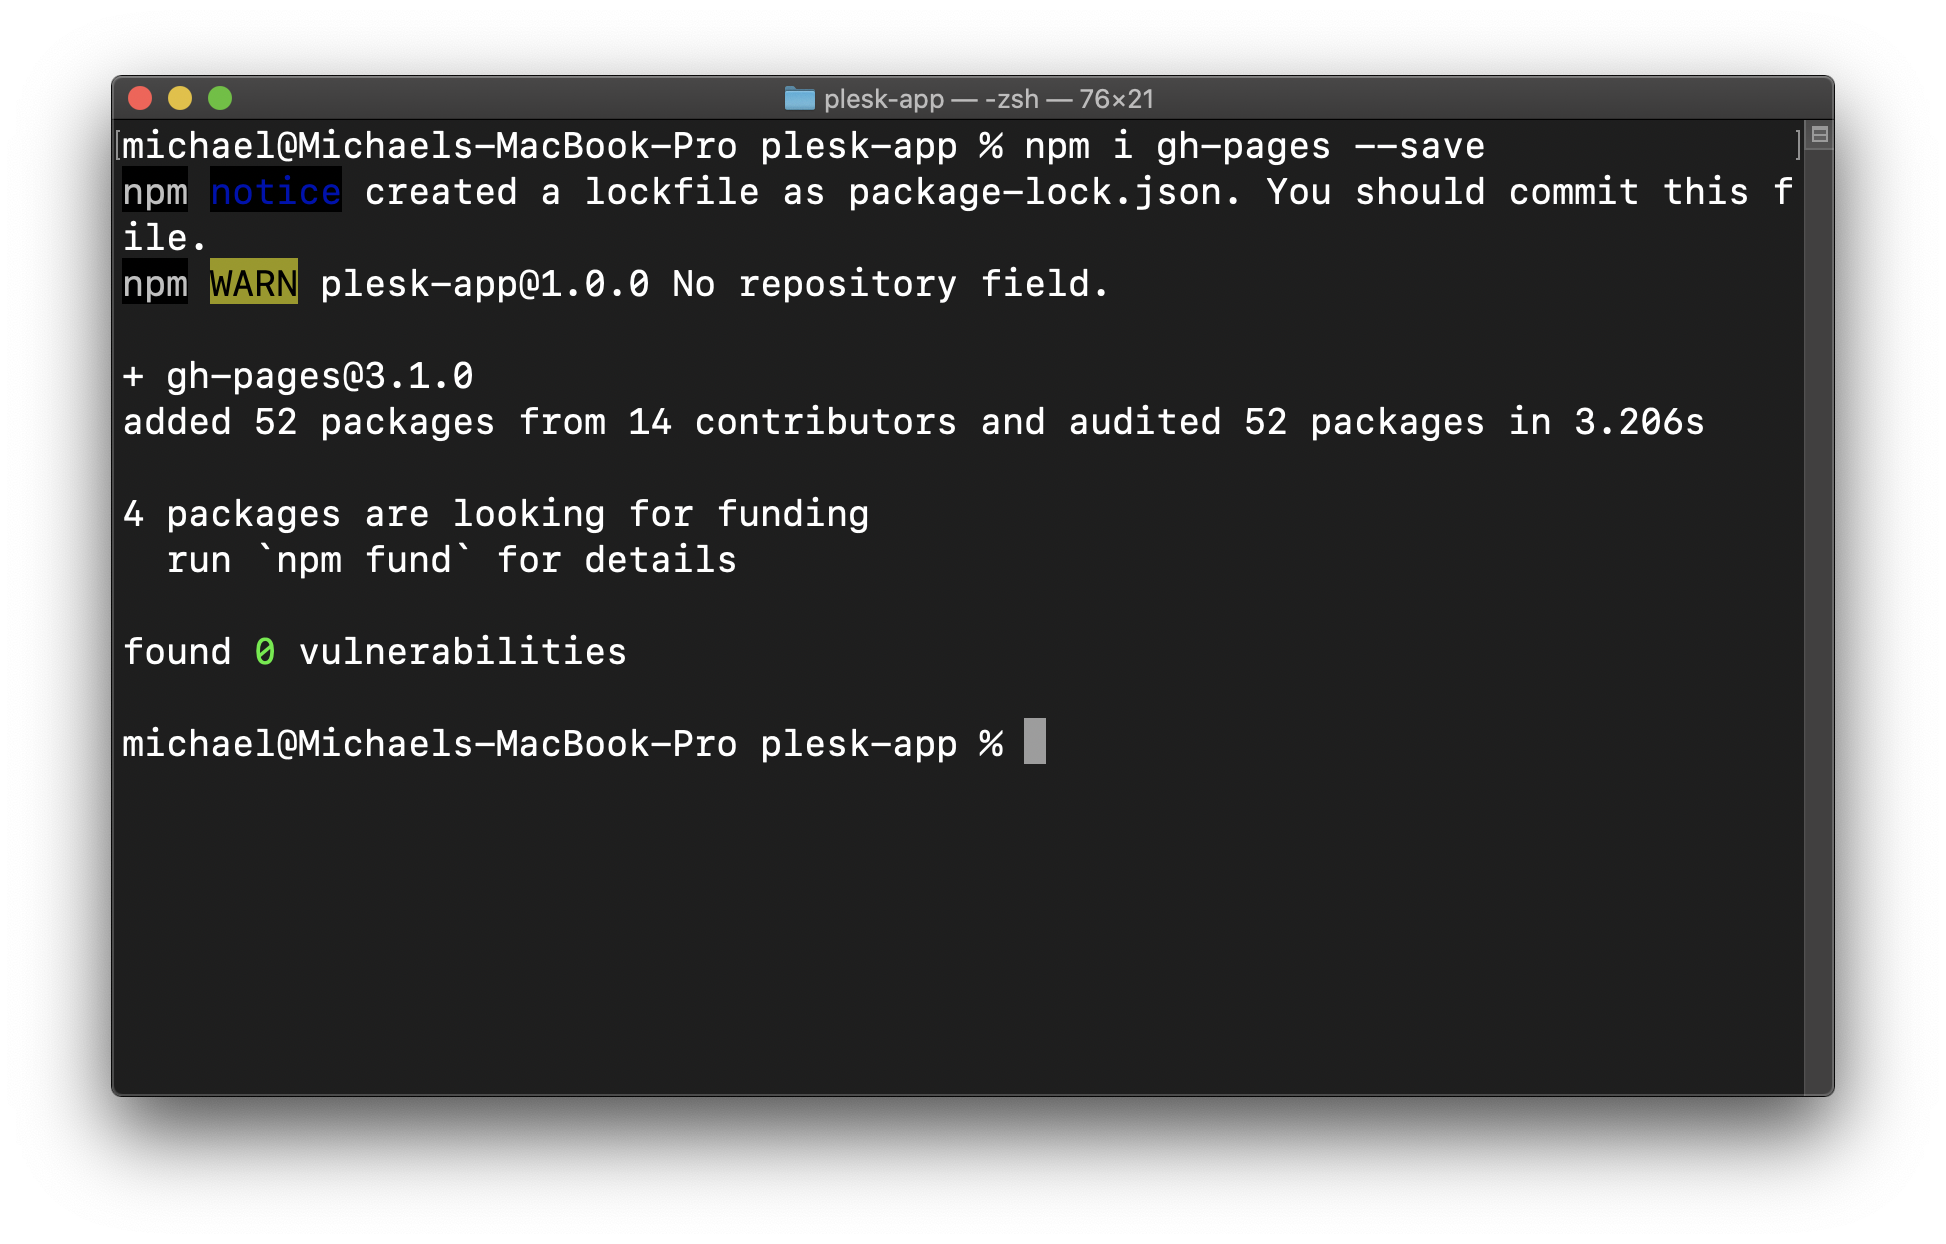
Run npm i gh-pages --save to install gh-pages.
运行npm i gh-pages --save安装gh-pages。
Then create a deploy.js file and place it inside of the deployment folder.
然后创建一个deploy.js文件,并将其放置在deployment文件夹中。
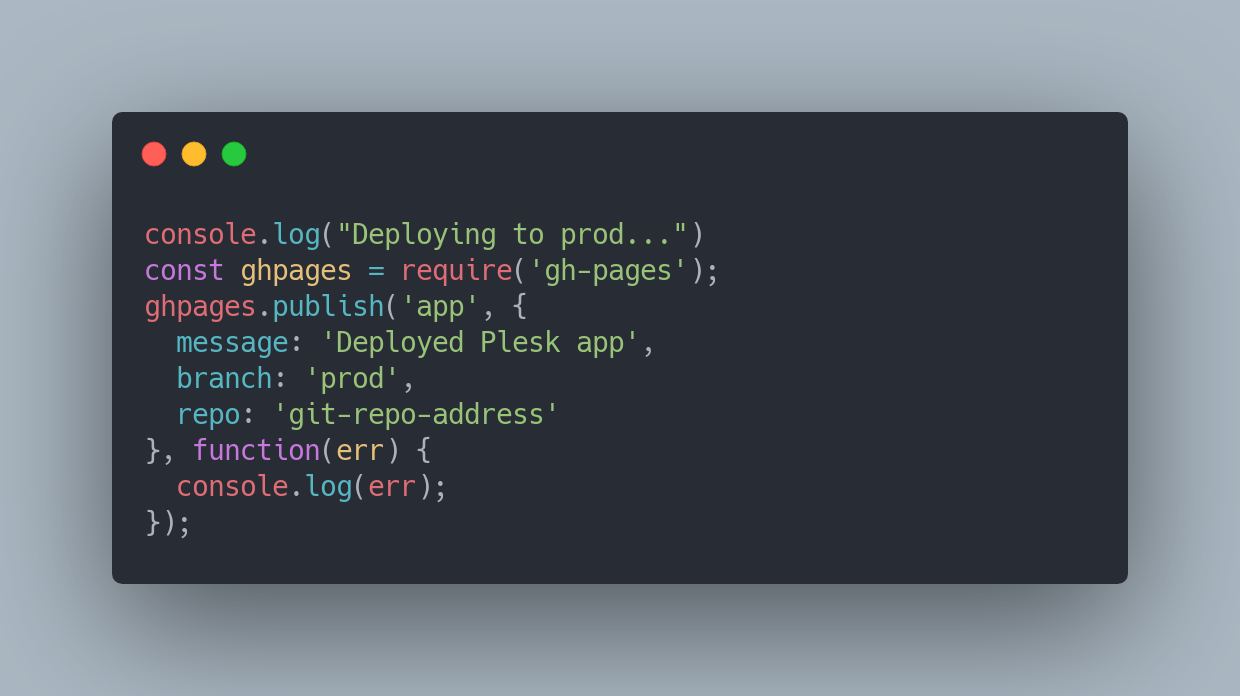
Make sure to change the repo field with the HTTPS address for your GitHub repo. Finally, create a deploy.sh file and place it inside of the deployment folder.
确保使用GitHub存储库的HTTPS地址更改存储repo字段。 最后,创建一个deploy.sh文件并将其放置在deployment文件夹内。
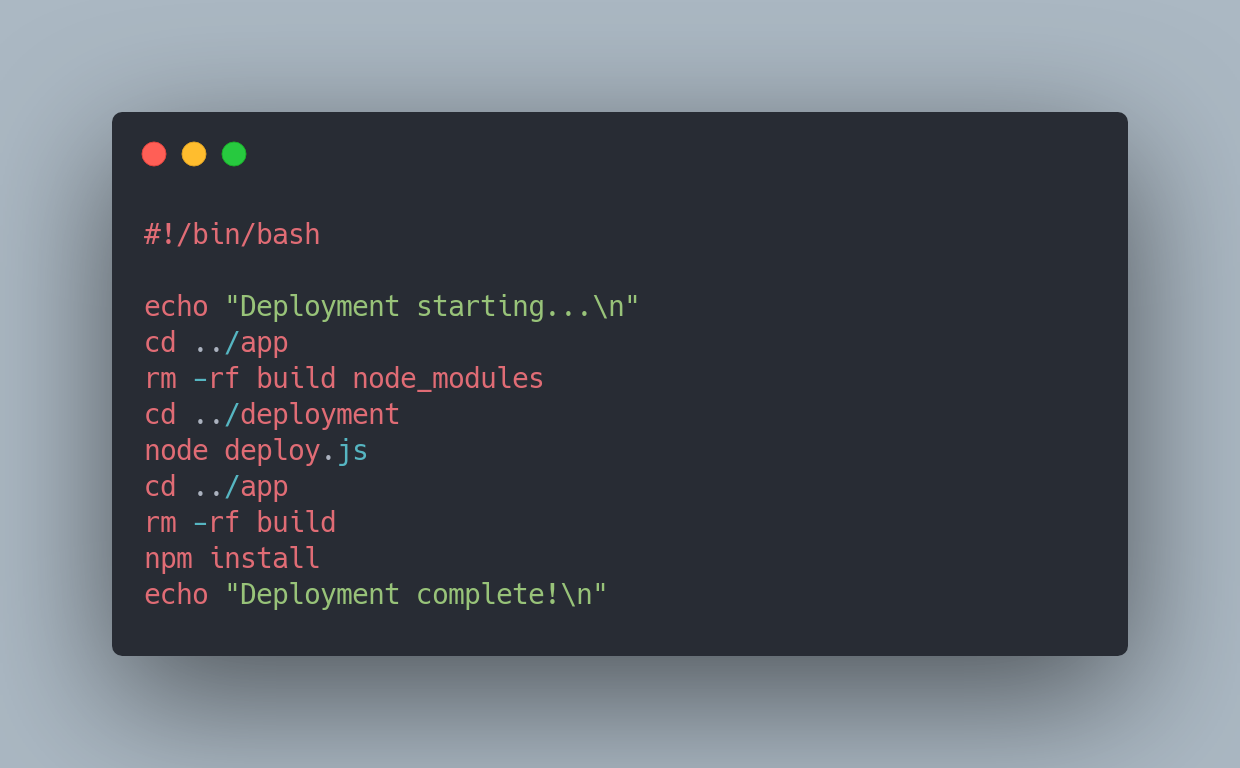
This file just allows you to run one script instead of executing all these commands individually to deploy the app.
该文件仅允许您运行一个脚本,而不是单独执行所有这些命令以部署应用程序。
Once you’re ready, run sh deploy.sh and watch your production build appear in your GitHub repo “prod” branch and your app start running on Plesk 😁 The only other thing you need to do is manually go to Plesk, navigate the “Node” menu and click the “npm install” button so that the server installs the appropriate packages for your app to work. You need to do this every time you deploy so the app on the server has the most up-to-date packages.
准备就绪后,运行sh deploy.sh并观看生产版本出现在GitHub repo“ prod”分支中,并且您的应用程序开始在Plesk上运行😁您需要做的唯一另一件事是手动转到Plesk,浏览“节点”菜单,然后单击“ npm install”按钮,以便服务器为您的应用安装适当的程序包。 每次部署时都需要执行此操作,以便服务器上的应用程序具有最新的程序包。
Then visit the URL and feast your eyes on your newly deployed Node app 🤓 Leave comments/questions below if you have any!
然后访问URL并大饱眼福,您的新部署的Node应用程序🤓如果有任何意见/问题,请在下面留下!


 195
195


 被折叠的 条评论
为什么被折叠?
被折叠的 条评论
为什么被折叠?
 到【灌水乐园】发言


