


android初学者
Since the very early years of computers, we started getting familiar with the term ‘pop-up’. Back then it was something you wanted to block by all means. Most of the time it was related to publicity or malware. Now in the era of smartphones, we have alerts and dialogs, in which I created a three-part tutorial previously. In this tutorial, we will learn of Android pop-up messages.
从计算机的早期开始,我们就开始熟悉“弹出”一词。 那时,您一定要阻止它。 大多数时候,它与宣传或恶意软件有关。 如今,在智能手机时代,我们有了警报和对话框,之前我在其中创建了一个由三部分组成的教程 。 在本教程中,我们将学习Android弹出消息。
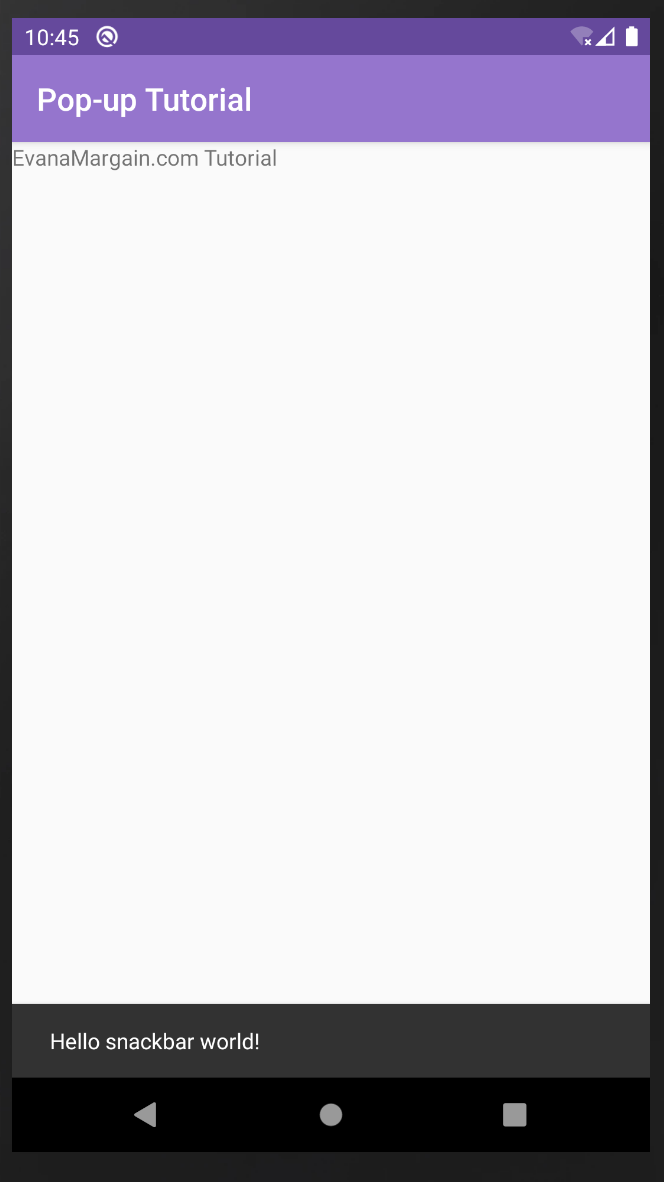
Android gave a new meaning to the term pop-up. In my opinion, their definition is way more accurate, and it is related to showing a message that pops from the bottom of the screen. This is better described with an image, so take a look below.
Android为术语pop-up赋予了新的含义。 在我看来,它们的定义更加准确,并且与显示从屏幕底部弹出的消息有关。 最好用图像来描述,因此请看下面。
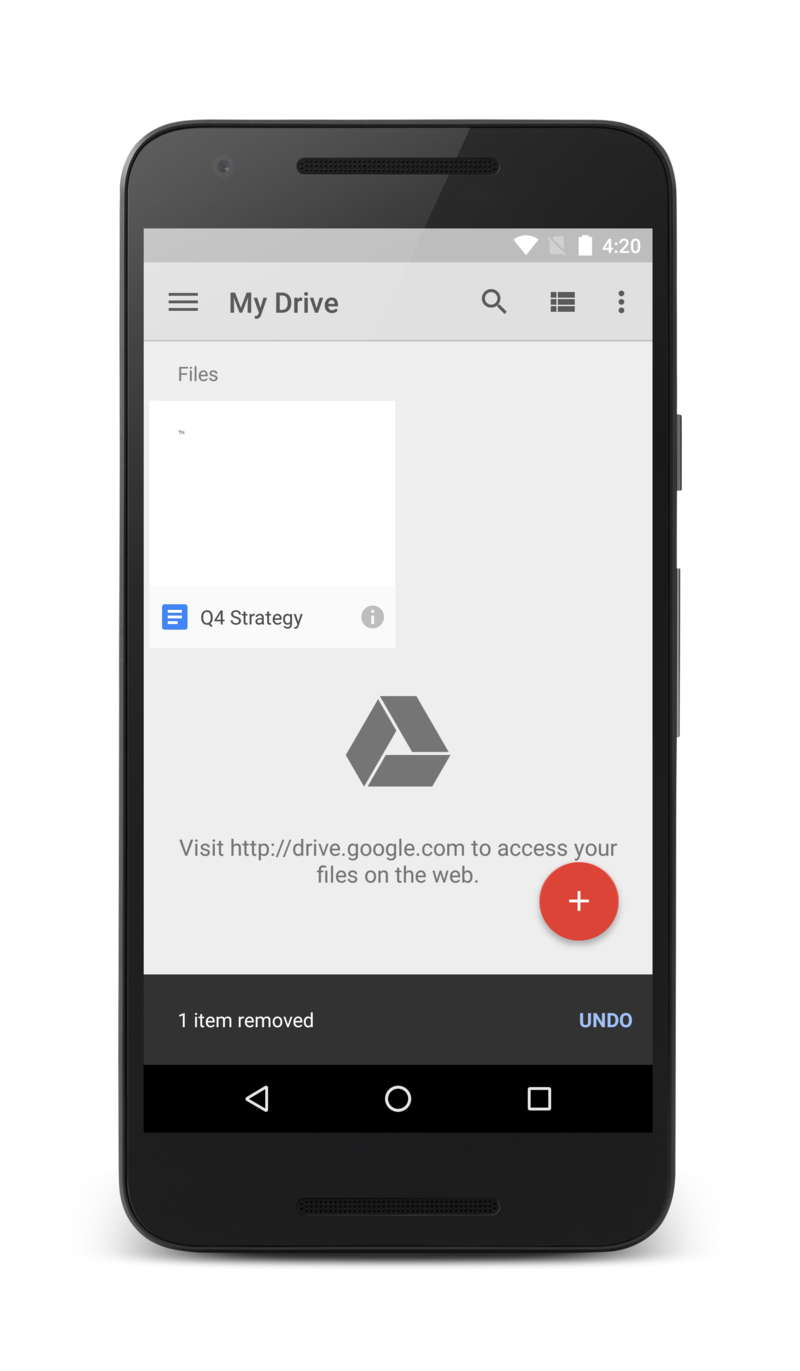
Snackbars were introduced alongside material design in 2015. Before that, the preferred method for showing a brief message was a toast (Here in part 2 of Android Alert Dialogs in Kotlin I explain briefly what Toasts are). An advantage of Snackbars over Toasts, is that they can contain buttons.
小吃栏是在2015年与材料设计一起引入的。在此之前,显示简短消息的首选方法是祝酒( 在Kotlin的Android Alert Dialogs的第2部分中,我简要解释了Toasts是什么)。 与Toasts相比,Snackbars的一个优点是它们可以包含按钮。
In this tutorial, I will teach you how to create these pop-ups to integrate with your app. As in all the previous tutorials, we will use it as a starting point the project explained in the “New Android Studio project for Kotlin and Java” resulting file.
在本教程中,我将教您如何创建这些弹出窗口以与您的应用程序集成。 与之前的所有教程一样,我们将以它作为起点,该结果在“ 针对Kotlin和Java的新Android Studio项目 ”结果文件中说明。
If you need the file you can download it here:
如果需要文件,可以在这里下载:
Download: Starter project
下载: 入门项目
This project is written in:
该项目用以下语言编写:
- Android Studio 3.6.1 Android Studio 3.6.1
- Kotlin 1.3 Kotlin 1.3
- Compat Library: AndroidX 兼容库:AndroidX
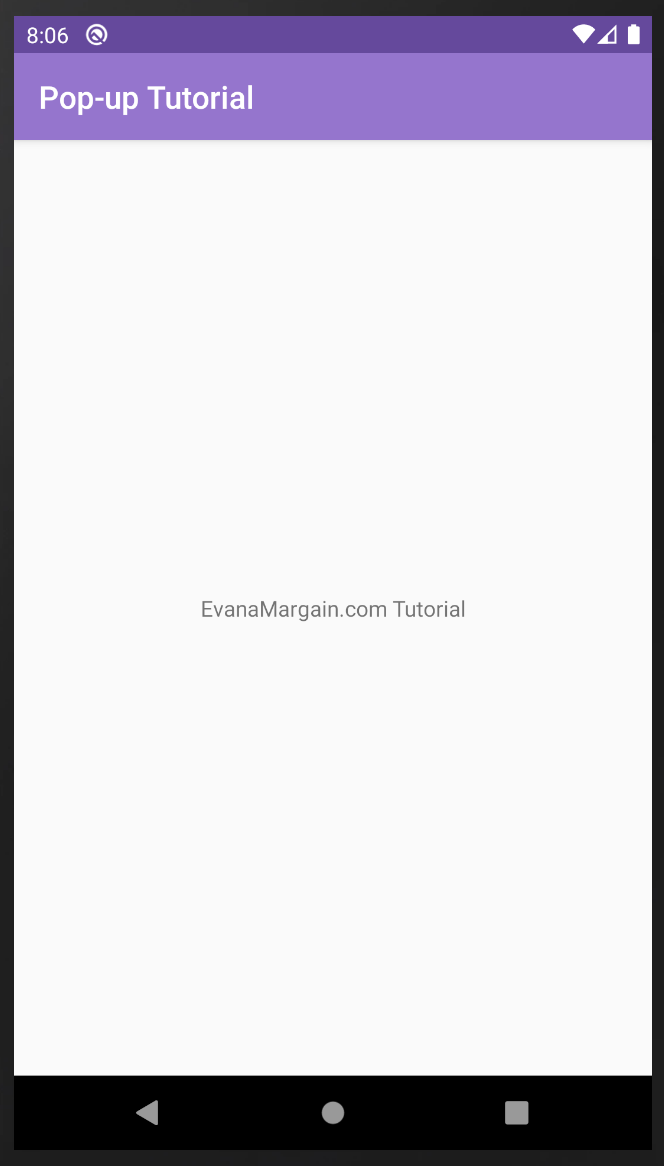
It is a good starting point to build and run the starter app before starting the tutorial for ensuring everything is working correctly. The screen that you should be seeing is illustrated below in Image 2.
这是在开始教程之前构建和运行starter应用程序的一个很好的起点,以确保一切正常。 您应该看到的屏幕如下图2所示。
在协调器布局中使用Snackbar (Using a Snackbar in a coordinator layout)
Android recommends using snackbars inside coordinator layouts. You will still be able to use a snackbar in any other kind of layout, but according to Android’s documentation, the coordinator gives two advantages:
Android建议在协调器布局内使用小吃店。 您仍然可以在任何其他类型的布局中使用快餐栏,但是根据Android的文档 ,协调器具有两个优点:
- Snackbars can only be dismissed if they are in a coordinator layout. 小吃车只有在协调器布局中才能被关闭。
- The coordinator layout takes care of pushing some UI elements to the top when the snackbar appears so that you have a clean layout. 小吃栏出现时,协调器布局负责将一些UI元素推到顶部,以便您获得干净的布局。
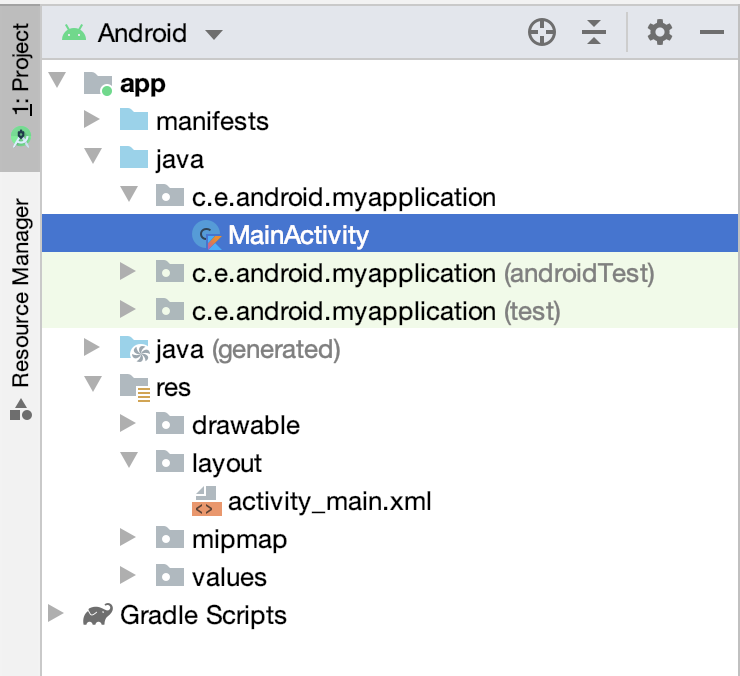
By default, this project and most Android starter projects, have a Constraint Layout. The first thing you need to do is change it by opening activity_main.xml, you can find it in app > res > layout > activity_main.xml as shown in Image 3.
默认情况下,该项目和大多数Android入门项目都具有约束布局。 您需要做的第一件事是通过打开activity_main.xml对其进行更改,您可以在app> res> layout> activity_main.xml中找到它,如图3所示。

Once you open the file you will be able to see the root tag of the XML which is a ConstraintLayout (Image 4).
打开文件后,您将可以看到XML的根标签,即ConstraintLayout(图4)。

Replace the constraint layout with the following code:
用以下代码替换约束布局:
<androidx.coordinatorlayout.widget.CoordinatorLayout
  android:id="@+id/myCoordinatorLayout"
  xmlns:android="http://schemas.android.com/apk/res/android"
  xmlns:app="http://schemas.android.com/apk/res-auto"
  xmlns:tools="http://schemas.android.com/tools"
  android:layout_width="match_parent"
  android:layout_height="match_parent"
  tools:context=".MainActivity"> ... </androidx.coordinatorlayout.widget.CoordinatorLayout>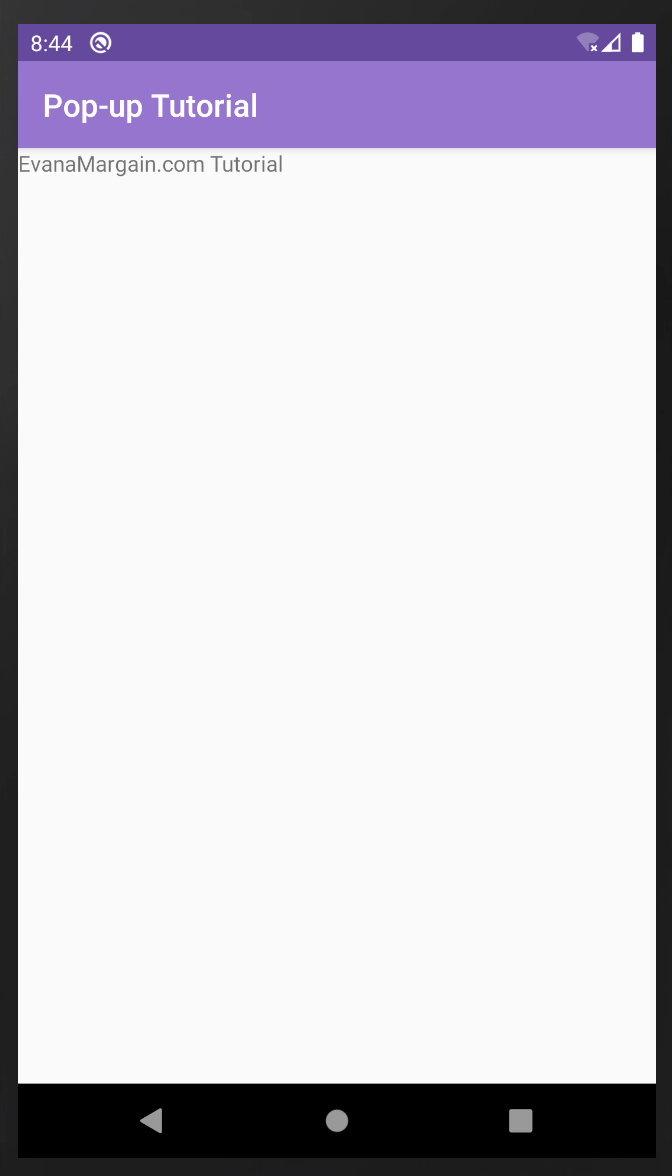
If you run the app after this change you will notice the label changed places (Image 5). Actually, all the constraints are useless now, so you can go ahead and delete the following lines:
如果您在此更改后运行该应用程序,您会注意到标签的位置已更改(图5)。 实际上,所有约束现在都没有用,因此您可以继续删除以下几行:
app:layout_constraintBottom_toBottomOf="parent" app:layout_constraintLeft_toLeftOf="parent" app:layout_constraintRight_toRightOf="parent" app:layout_constraintTop_toTopOf="parent"In case you have errors take a look below (Image 6) at how your code should look after these changes.
如果您有错误,请在下面(图6)查看代码在执行这些更改后的外观。

向项目添加材料设计 (Adding material design to the project)
In order to use snackbars in any project you first need to add the material design dependency in your app’s Gradle file. The file can be found in Gradle Scripts > build.gradle(Module: app), you can see it in the image below.
为了在任何项目中使用小吃店,您首先需要在应用程序的Gradle文件中添加材质设计依赖项。 该文件可以在Gradle脚本> build.gradle(Module:app)中找到,您可以在下图中看到它。

Once you have that file open at the bottom, inside dependencies add the following code.
在底部打开该文件后,在依赖关系中添加以下代码。
implementation 'com.google.android.material:material:1.0.0'Android Studio will request to Sync the project, go ahead and do it. Nothing will change, but now you will be able to use Snackbars.
Android Studio将请求同步项目,然后继续进行。 一切都不会改变,但是现在您将能够使用Snackbars。
在MainActivity中创建一个Snackbar (Create a Snackbar in MainActivity)
With all this setup done you can now add your snackbar. Open MainActivity.kt, located in app > java > c.e.android.myapplication > MainActivity.kt as shown in the image below.
完成所有这些设置后,您现在可以添加您的快餐吧。 打开位于应用程序> java> ceandroid.myapplication> MainActivity.kt中的MainActivity.kt,如下图所示。
At the top of the file we will need to import the dependency for Android Snackbars with the following code:
在文件的顶部,我们需要使用以下代码导入Android Snackbars的依赖项:
import com.google.android.material.snackbar.SnackbarThen create the snackbar and show it with the code below:
然后创建小吃栏,并使用以下代码显示它:
//1
val snackbar = Snackbar.make(findViewById(R.id.myCoordinatorLayout), "Hello snackbar world!", Snackbar.LENGTH_LONG) //2
snackbar.show()
Let’s review this code:
让我们看一下这段代码:
You will store the snackbar in a
valvariable. Then you use the Snackbar.make, the method to create a snackbar, it receives three parameters:您将把快餐栏存储在
val变量中。 然后,您使用Snackbar.make这个创建快餐栏的方法,它接收三个参数:
- The parent view, which as mentioned above is recommended to be a CoordinatorLayout, but could also be a LinearLayout, ConstraintLayout, or any other you could think of. 父视图(如上所述)建议为CoordinatorLayout,但也可以为LinearLayout,ConstraintLayout或您可能想到的任何其他视图。
- The text you want it to have — in this case, “Hello snackbar world!” 您想要的文本-在这种情况下为“ Hello快餐栏世界!”
The length of time in which the snackbar will be shown which can be LENGTH_LONG, LENGTH_INDEFINITE, or LENGTH_SHORT
快餐栏显示的时间长度可以是LENGTH_LONG , LENGTH_INDEFINITE或LENGTH_SHORT
2. You tell the snackbar to show.
2.您告诉小吃栏显示。
Notice you could do instructions one and two in only one line, but for clarity, we are separating it in two lines here.
请注意,您只能在一行中执行指令一和二,但是为清楚起见,我们在此处将其分为两行。
After these changes, you can run the app and will see the snackbar appear for a couple of seconds after the launch of the app.
完成这些更改后,您可以运行该应用程序,并在启动该应用程序几秒钟后看到小吃栏出现。
向小吃栏添加动作 (Adding an action to the Snackbar)
As mentioned in the beginning, Android Snackbars can also have an action button. So in this part of the tutorial, we will be adding one.
如开头所述,Android Snackbars也可以具有操作按钮。 因此,在本教程的这一部分中,我们将添加一个。
First of all, go to activity_main.xml and in the TextView tag add an id:
首先,转到activity_main.xml并在TextView标记中添加一个ID:
android:id="@+id/text_view_welcome"Then go back to MainActivity.kt and import the ‘View’ class which is needed to manipulate the snackbar.
然后返回MainActivity.kt并导入操作“小吃车”所需的“视图”类。
Next, inside the onCreate method, add the snackbar button with this code:
接下来,在onCreate方法中,使用以下代码添加小吃栏按钮:
snackbar.setAction("Click me", View.OnClickListener {
text_view_welcome.text = "I changed the text!"
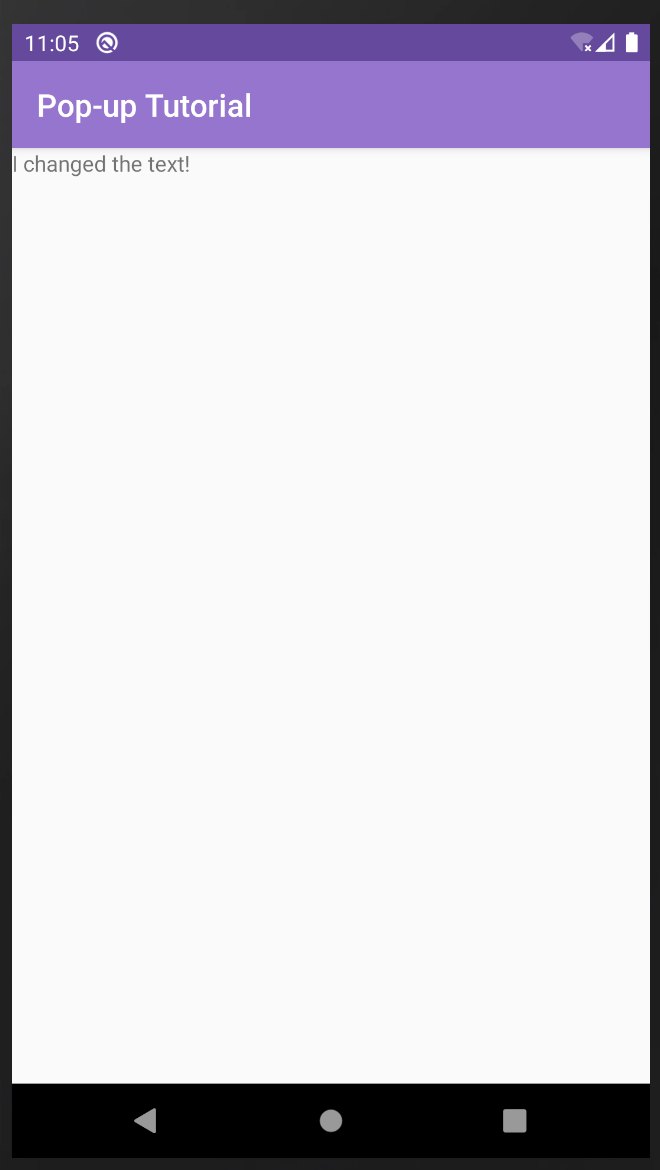
})This code has two parts. First, you set the action and the text of the button, which in this case will be “Click me”. Then you create an onClickListener, which will make reference to the id added to the text view. By setting this property you will be changing the text in the screen by clicking in the button of the Snackbar.
此代码分为两部分。 首先,设置按钮的动作和文本,在这种情况下为“ Click me”。 然后,创建一个onClickListener,它将引用添加到文本视图中的ID。 通过设置此属性,您将通过单击Snackbar的按钮来更改屏幕上的文本。
Run the app and click the button, you can see the result below in images ten and eleven.
运行该应用程序,然后单击按钮,您可以在图10和11中看到以下结果。

This is it! You have covered everything you need for Snackbars. If you want to see how the project should work at the end you can download the finished project here:
就是这个! 您已经满足了Snackbars所需的一切。 如果您想查看项目的最终运行方式,可以在此处下载完成的项目:
Download: Finished project
下载: 完成的项目
If you have any doubts don’t hesitate to leave a comment and I will reply as soon as possible.
如有任何疑问,请随时发表评论,我会尽快答复。
Until next time!
直到下一次!
Evana Margain Puig
伊凡娜·玛金·普伊格(Evana Margain Puig)
翻译自: https://levelup.gitconnected.com/android-pop-up-messages-tutorial-for-beginners-51b15ddd68ce
android初学者


 930
930

 被折叠的 条评论
为什么被折叠?
被折叠的 条评论
为什么被折叠?
 到【灌水乐园】发言


