


fabric节点部署
介绍 (Introduction)
While I was deploying my new portfolio website on AWS this weekend, I find it quite troublesome for people without too much AWS experience, like me. As I was also preparing to get an AWS developer certification, I figure, Why not document everything down as part of my preparation for the test.
当我本周末在AWS上部署新的投资组合网站时,我发现对于像我这样没有太多AWS经验的人来说,这很麻烦。 我还准备获得AWS开发人员认证,所以我想,为什么不记录所有内容作为我准备测试的一部分。
So here comes this tutorial on how you can deployed your Node.js project (all web application in any other frameworks as long as you deployed it on using Elastic Beanstalk). This tutorial will cover everything you need to know about getting your web app online with your custom domain and SSL certification.
因此,本教程介绍了如何部署Node.js项目(只要使用Elastic Beanstalk进行部署,任何其他框架中的所有Web应用程序)。 本教程将涵盖您通过自定义域和SSL认证使Web应用程序联机所需的所有知识。
This tutorial can be divided into three parts, feel free to jump into any one of them:
本教程可以分为三个部分,您可以随意跳入其中任何一个:
- Deploying Your Web App with Elastic Beanstalk and Code Pipeline 使用Elastic Beanstalk和代码管道部署Web应用
- Register Custom Domain with Route 53 and Add it to Your Site 使用Route 53注册自定义域并将其添加到您的站点
- Apply for a SSL Certification and Redirect HTTP request to HTTPS 申请SSL认证并将HTTP请求重定向到HTTPS
在Elastic Beanstalk上部署Web应用程序 (Web Application Deployment on Elastic Beanstalk)
Now let’s get to the first part: How we can deploy our web app in cloud? I’ve been using both AWS Elastic Beanstalk and Heroku for my websites before, overall they offer similar services but AWS obviously have a more powerful platform as Heroku is more specialized in web application hosting.
现在让我们进入第一部分:如何在云中部署Web应用程序? 之前,我一直在网站上同时使用AWS Elastic Beanstalk和Heroku,总体而言,它们提供类似的服务,但是AWS显然具有更强大的平台,因为Heroku更专注于Web应用程序托管。
First you will need an AWS account, which I’m not going to explain in detail. After getting your AWS account, simply search for Elastic Beanstalk and we can start our journey from there:
首先,您将需要一个AWS账户,我将不对其进行详细说明。 获得您的AWS帐户后,只需搜索Elastic Beanstalk,我们就可以从那里开始旅程:
Elastic Beanstalk配置 (Elastic Beanstalk Configuration)
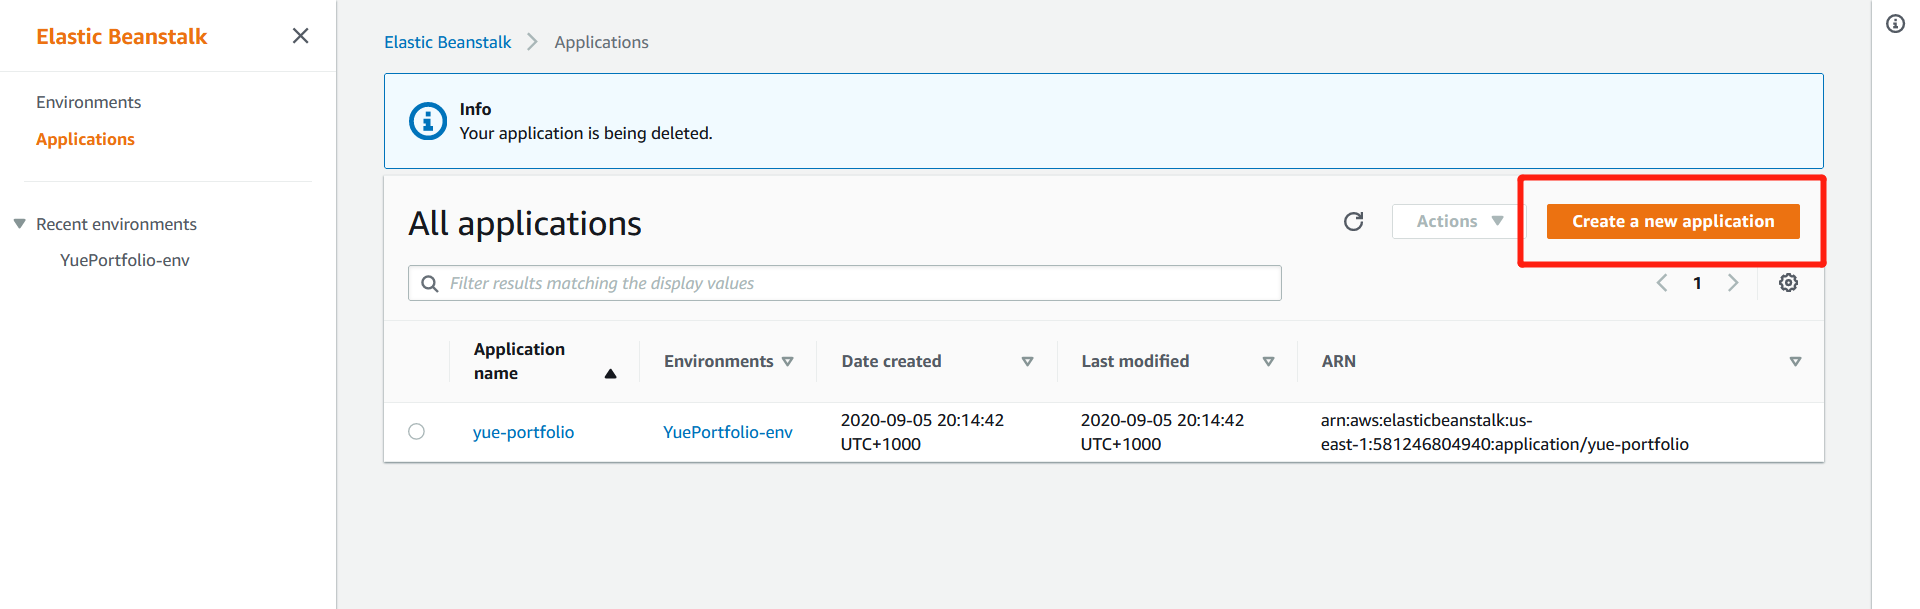
Create a new application as EB will be hosting your app from here:
创建一个新的应用程序,因为EB将在这里托管您的应用程序:

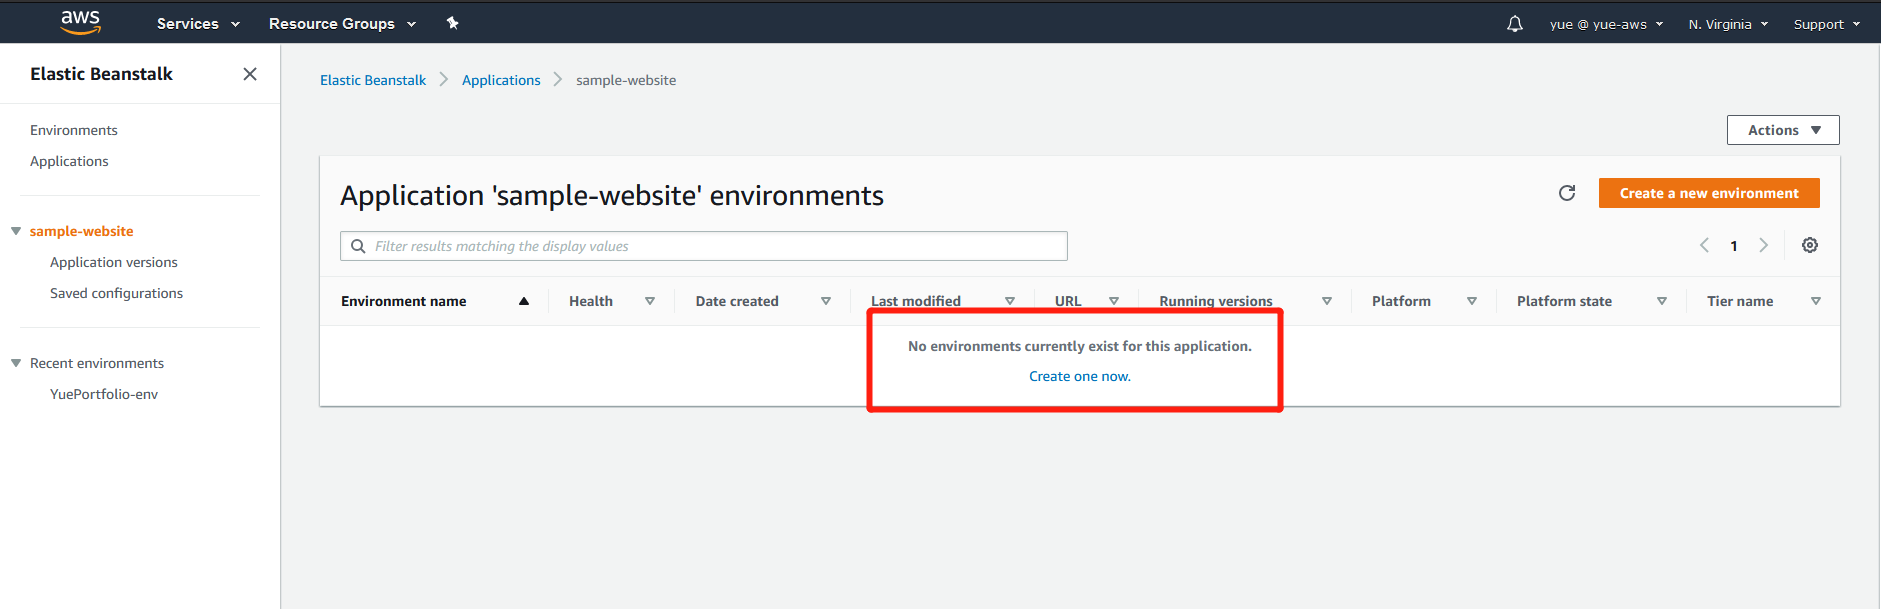
And your will also need to create a new environment for it:
您还需要为其创建一个新的环境:
Select Web server environment and go to next step:
选择Web服务器环境,然后转到下一步:

Choose the type of your web application (I’m deploying a Node.js project for example):
选择您的Web应用程序的类型(例如,我正在部署Node.js项目):
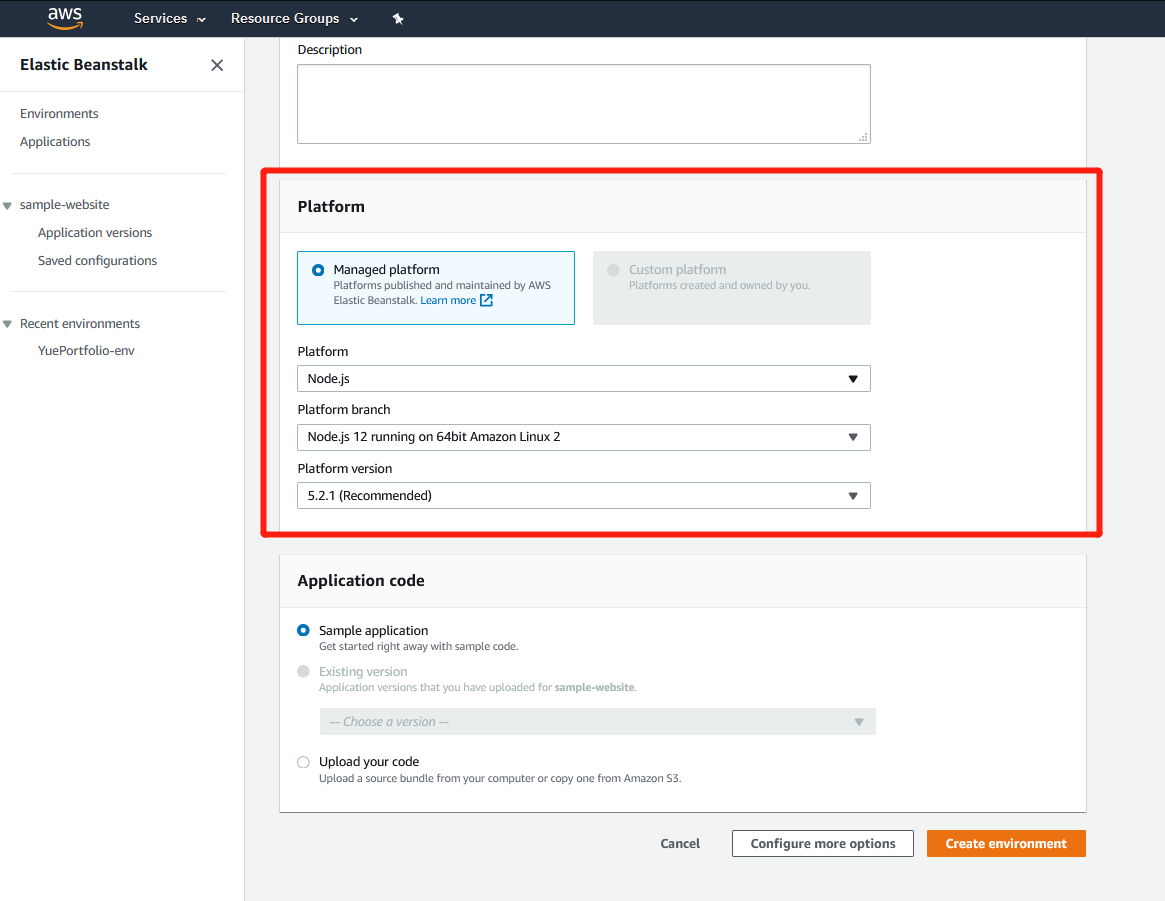
Now you can leave it for now while AWS is configuring the environment for you:
现在,您可以暂时保留它,而AWS正在为您配置环境:

代码管道配置:CI / CD您的代码到Elastic Beanstalk (Code Pipeline Configuration: CI/CD Your Code to Elastic Beanstalk)
While your EB environment is being set up in the background, let’s find another service called “Code Pipeline”
在后台设置EB环境时,让我们找到另一个名为“代码管道”的服务
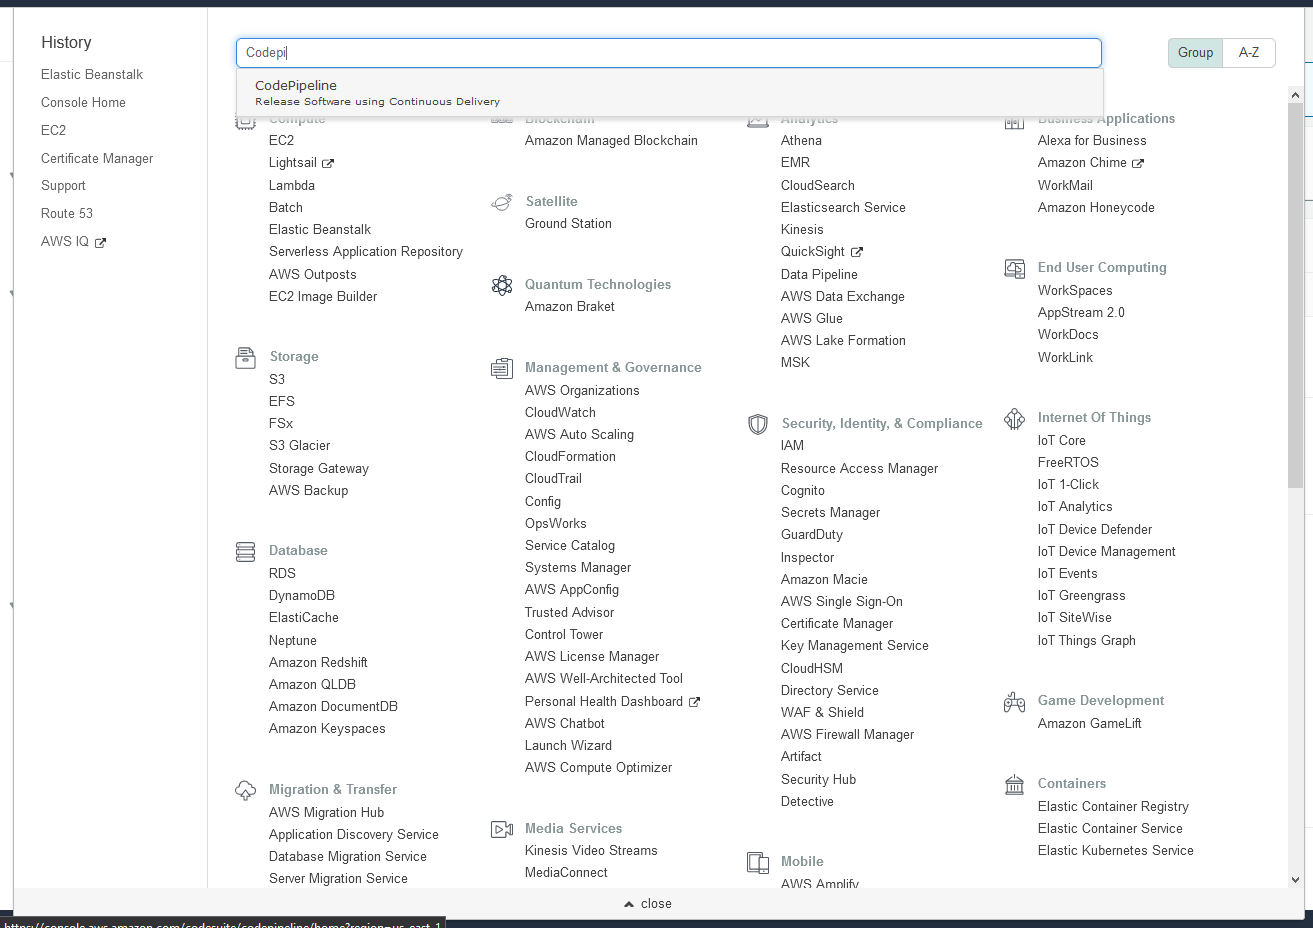
So what’s Code Pipeline? It’s a CI/CD tool offered by AWS. To put it in a simple way, every time you make a change to your code, Code Pipeline will implement these changes to your application hosted in cloud: just like what pipeline does, isn’t it?
那么什么是代码管道? 这是AWS提供的CI / CD工具。 简单来说,每次更改代码时,代码管道都会对托管在云中的应用程序实施这些更改:就像管道做什么一样,不是吗?
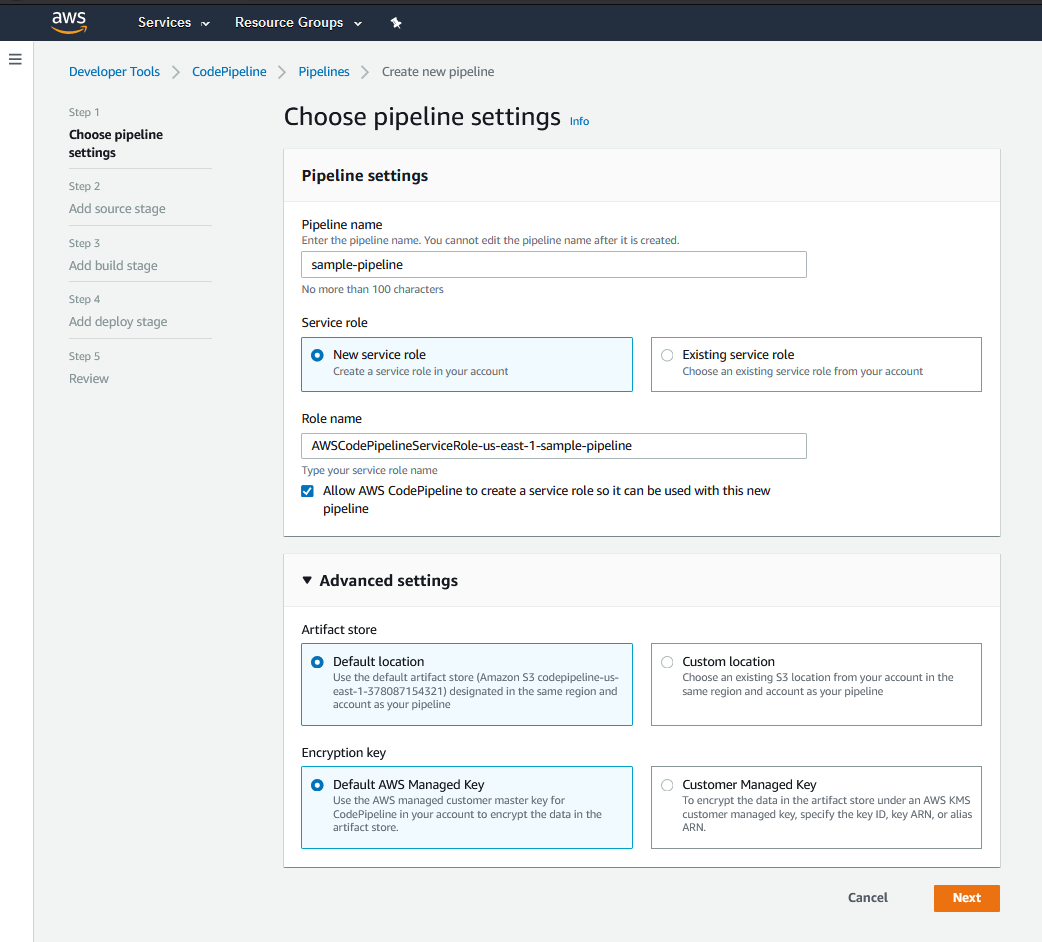
Similar to create an application on EB, we will need to create a pipeline first:
与在EB上创建应用程序类似,我们将需要首先创建管道:
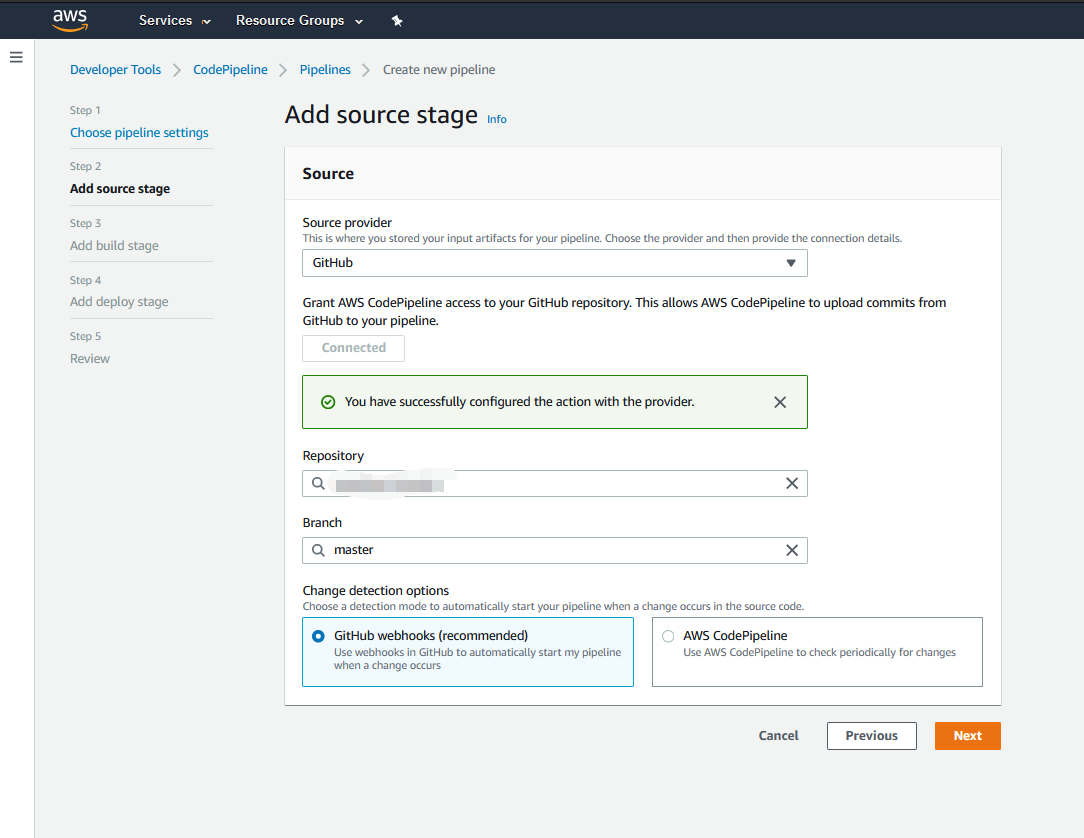
Add your code source to it, basically where your codes come from. Since I’m using GitHub I will just need to connect to my GitHub account and add my repository to it:
向其添加代码源,基本上就是代码的来源。 由于我使用的是GitHub,因此只需要连接到GitHub帐户并将其存储库添加到该帐户即可:
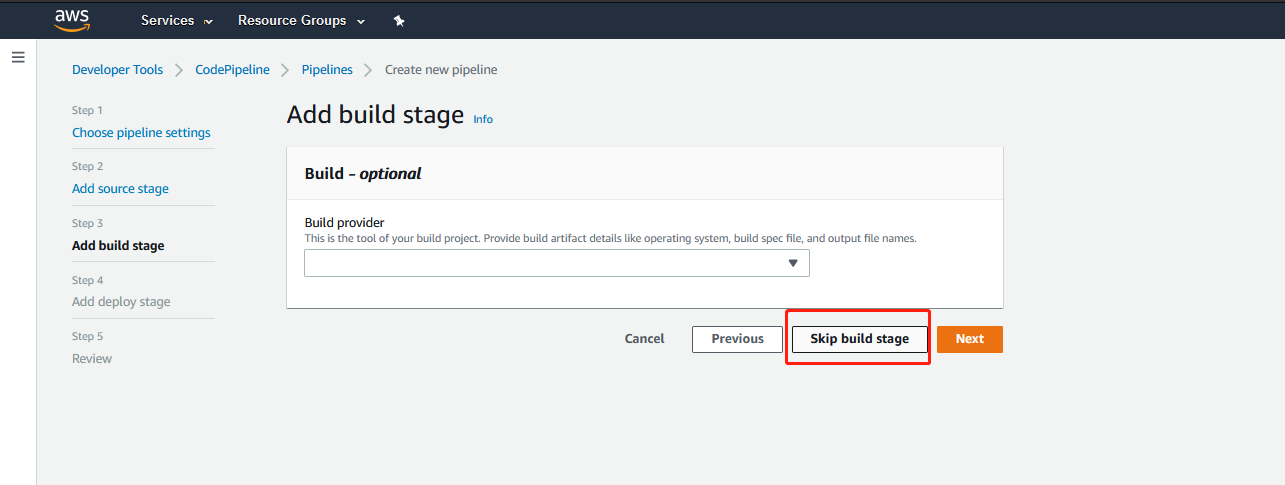
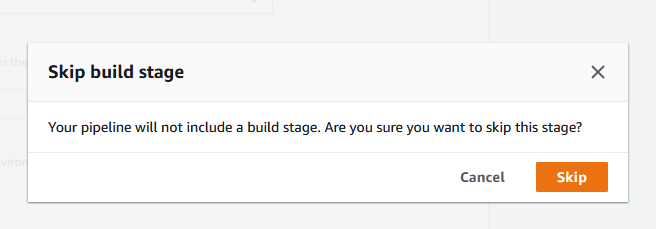
In the next step, choose “Skip build stage”, and ignore the prompt message:
在下一步中,选择“跳过构建阶段”,然后忽略提示消息:
Now we are coming to the other end of the pipeline: Where do we want to direct our code into? The Elastic Beanstalk we just set up ofc!
现在我们进入管道的另一端:我们要将代码定向到哪里? 我们刚刚建立的Elastic Beanstalk!
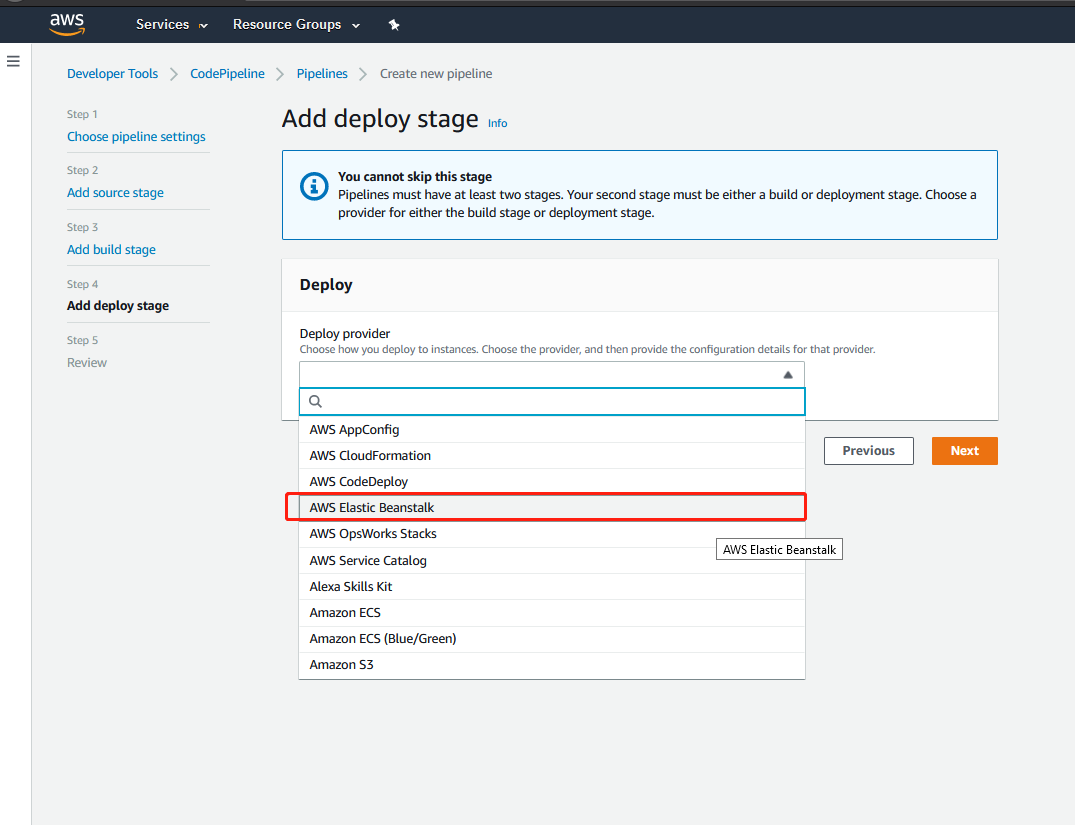
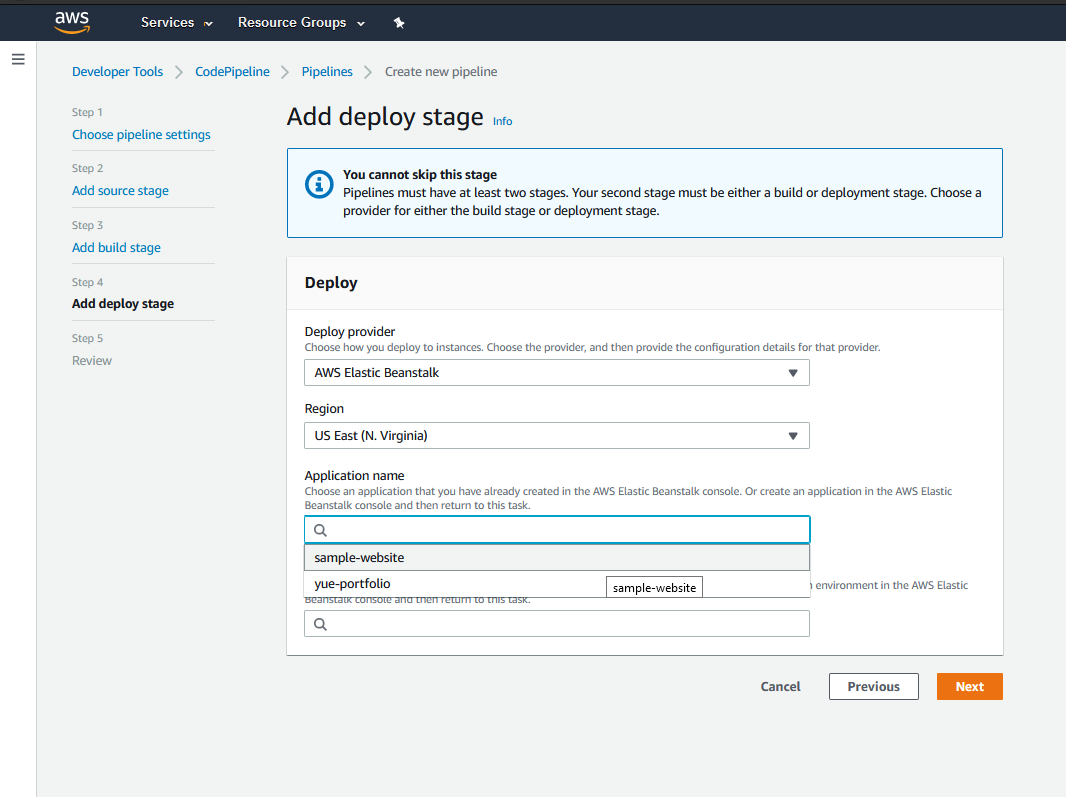
Since your EB environment should be set up right now, it will be displayed as one of the options:
由于您的EB环境应立即设置,因此它将显示为以下选项之一:
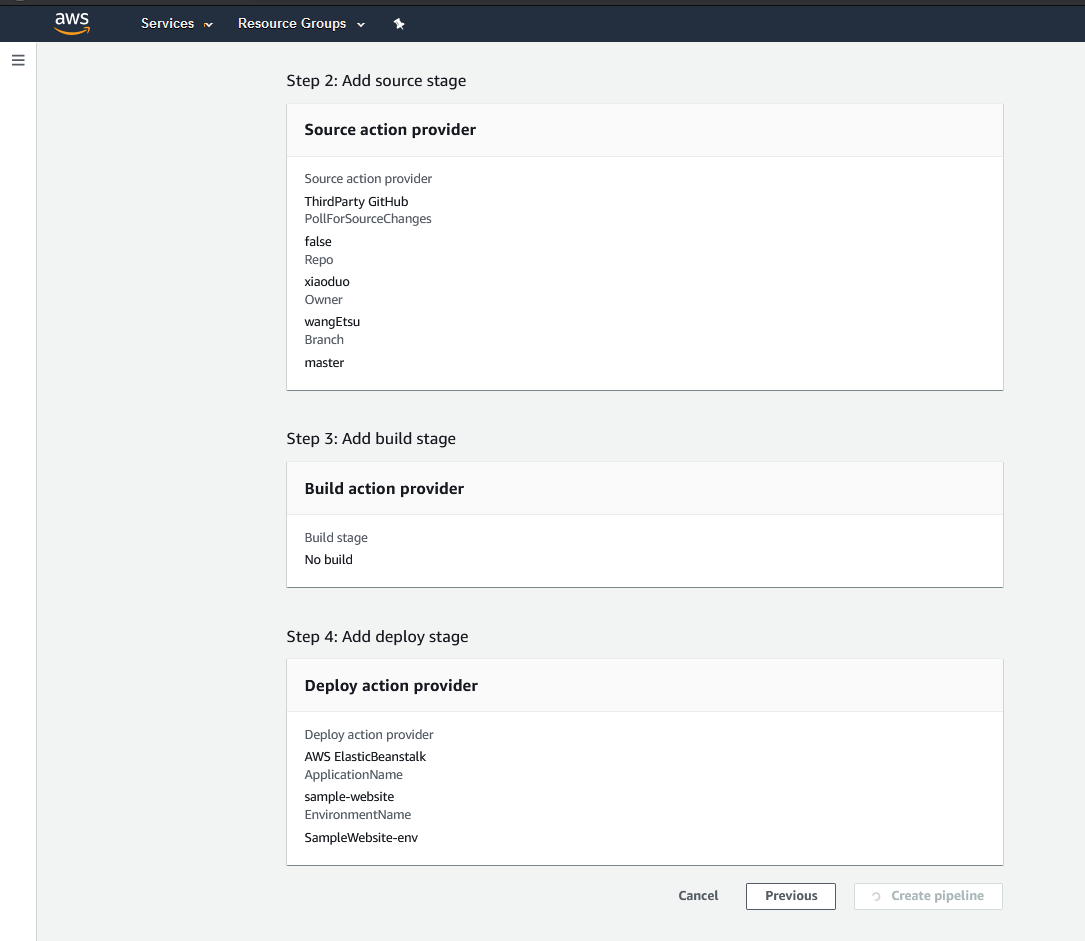
Review & Create your pipeline:
查看并创建您的管道:
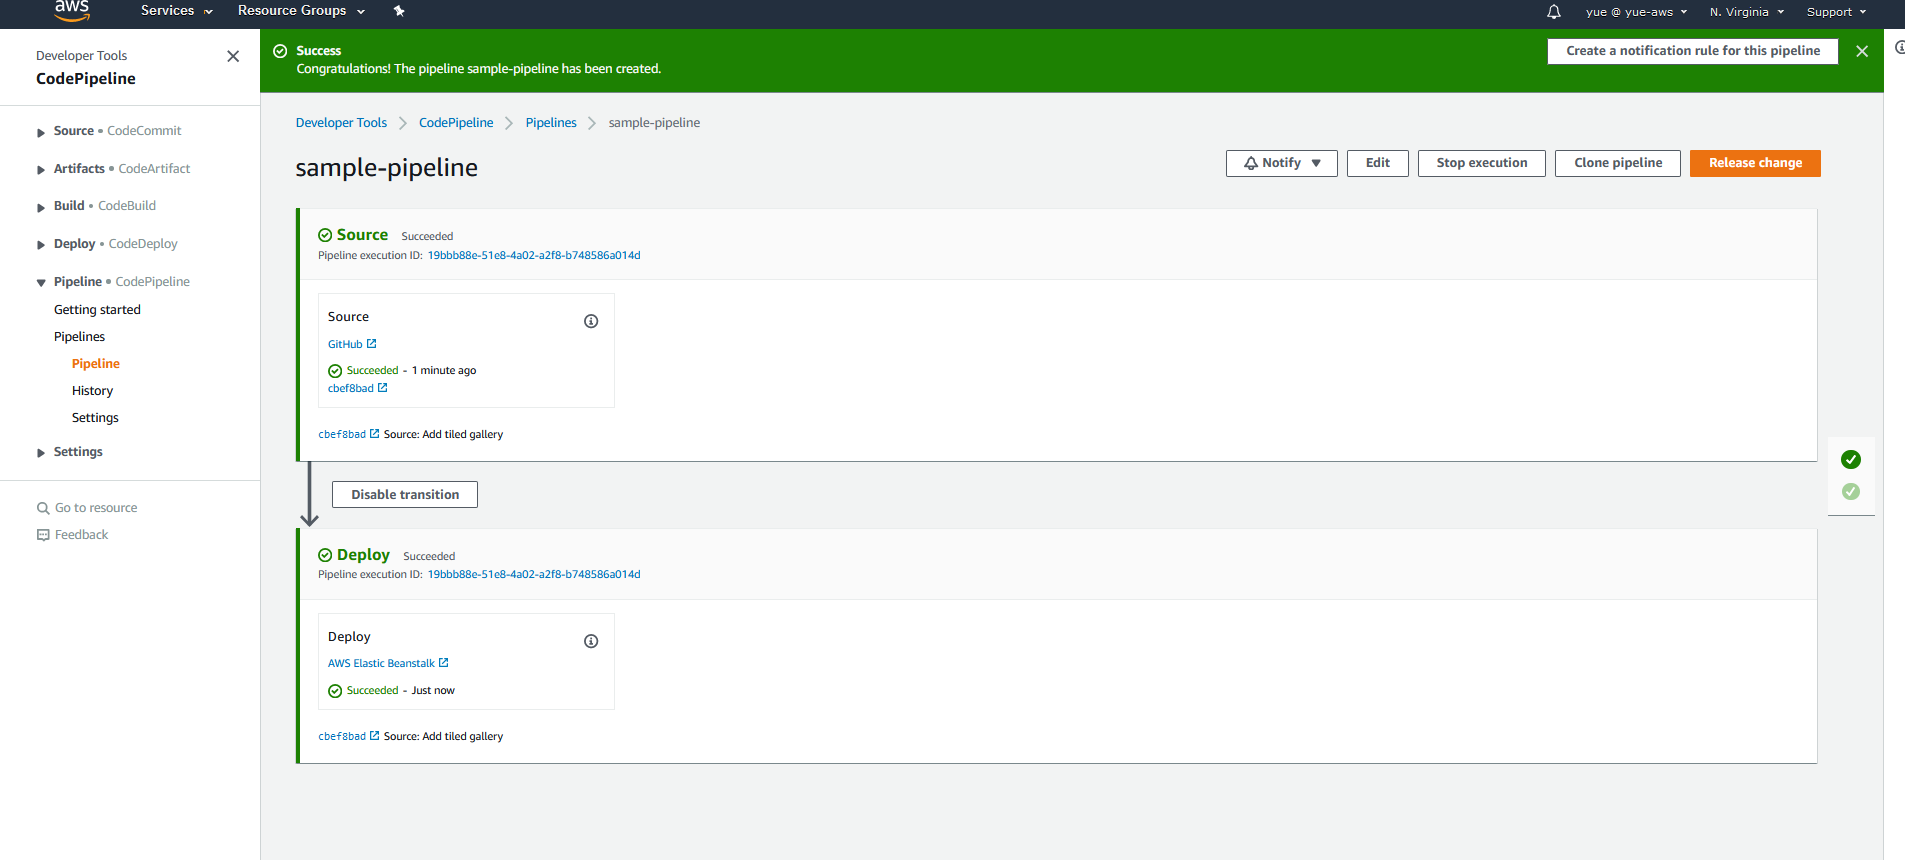
You will be directed to the pipeline dashboard, wait a little bit as AWS is trying to fetch your code from GitHub to your EB environment:
您将被引导到管道仪表板,稍等片刻,因为AWS试图将代码从GitHub提取到EB环境:
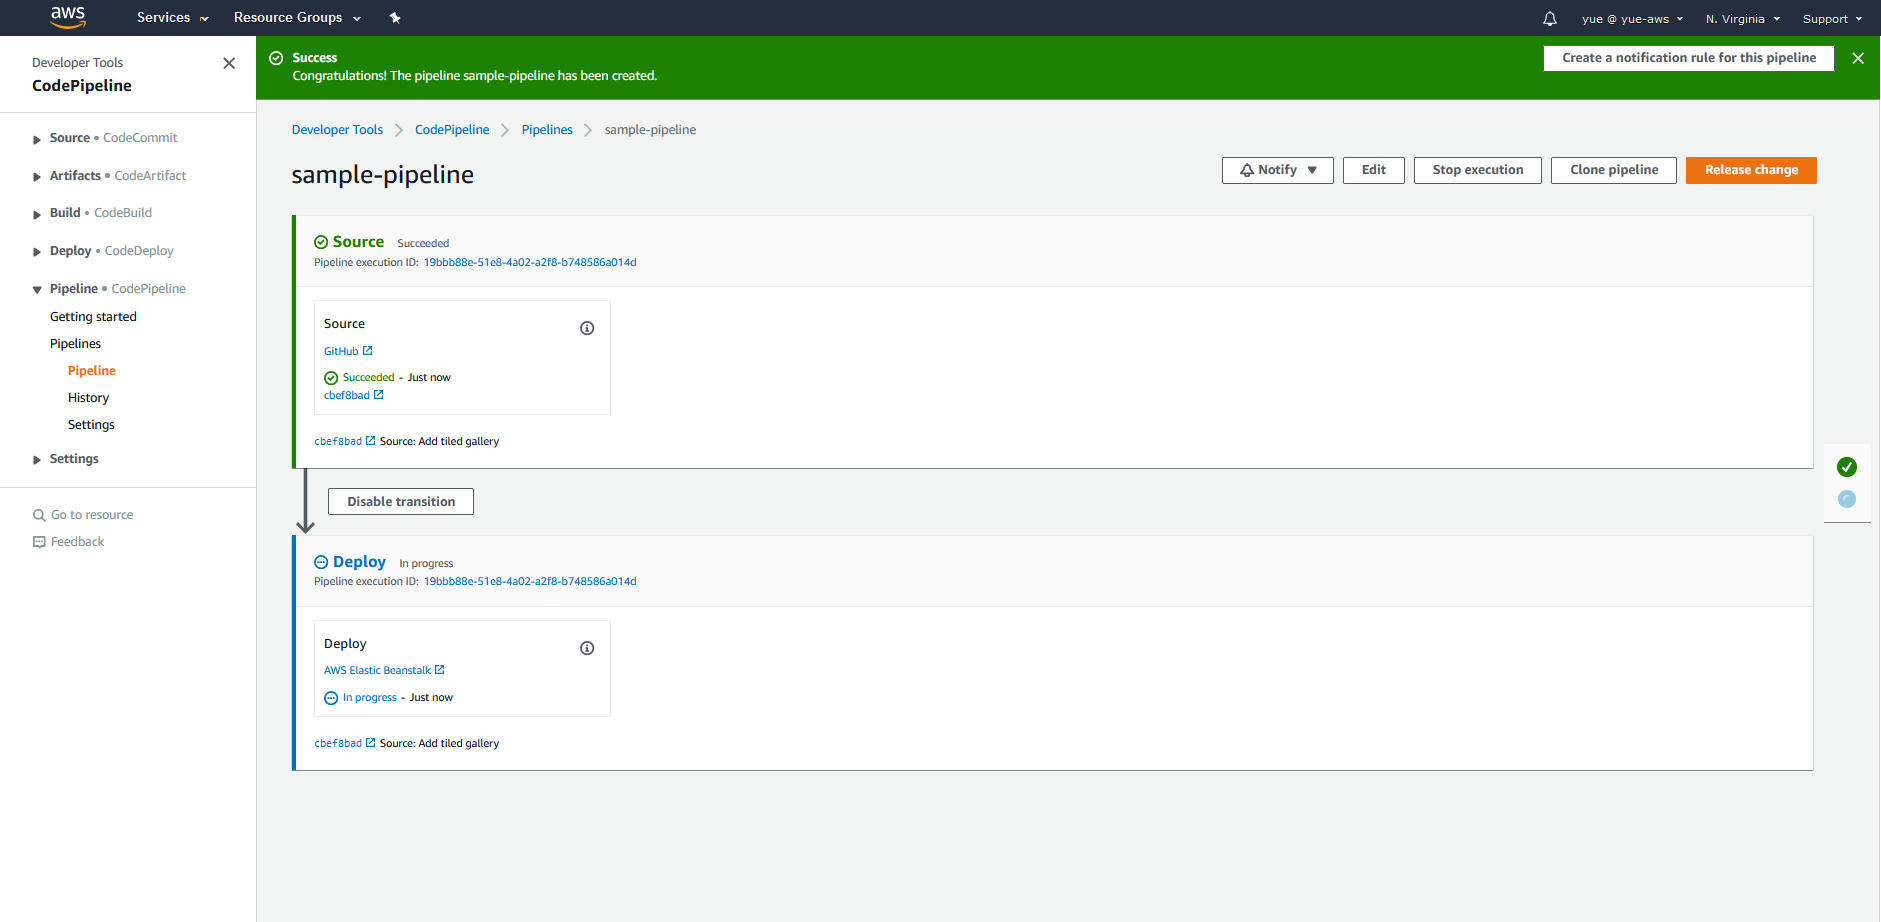
After waiting for a couple of minutes, everything is good to go. If you encounter any error in the transition, it’s most likely to be an error in your EB application, go back and check if the application and environment is created correctly.
等待几分钟后,一切顺利。 如果在过渡过程中遇到任何错误,很可能是EB应用程序中的错误,请返回并检查应用程序和环境是否正确创建。
Now if you go back to your EB dashboard, you will find the application is already up and running:
现在,如果您返回到EB仪表盘,您将发现该应用程序已启动并正在运行:
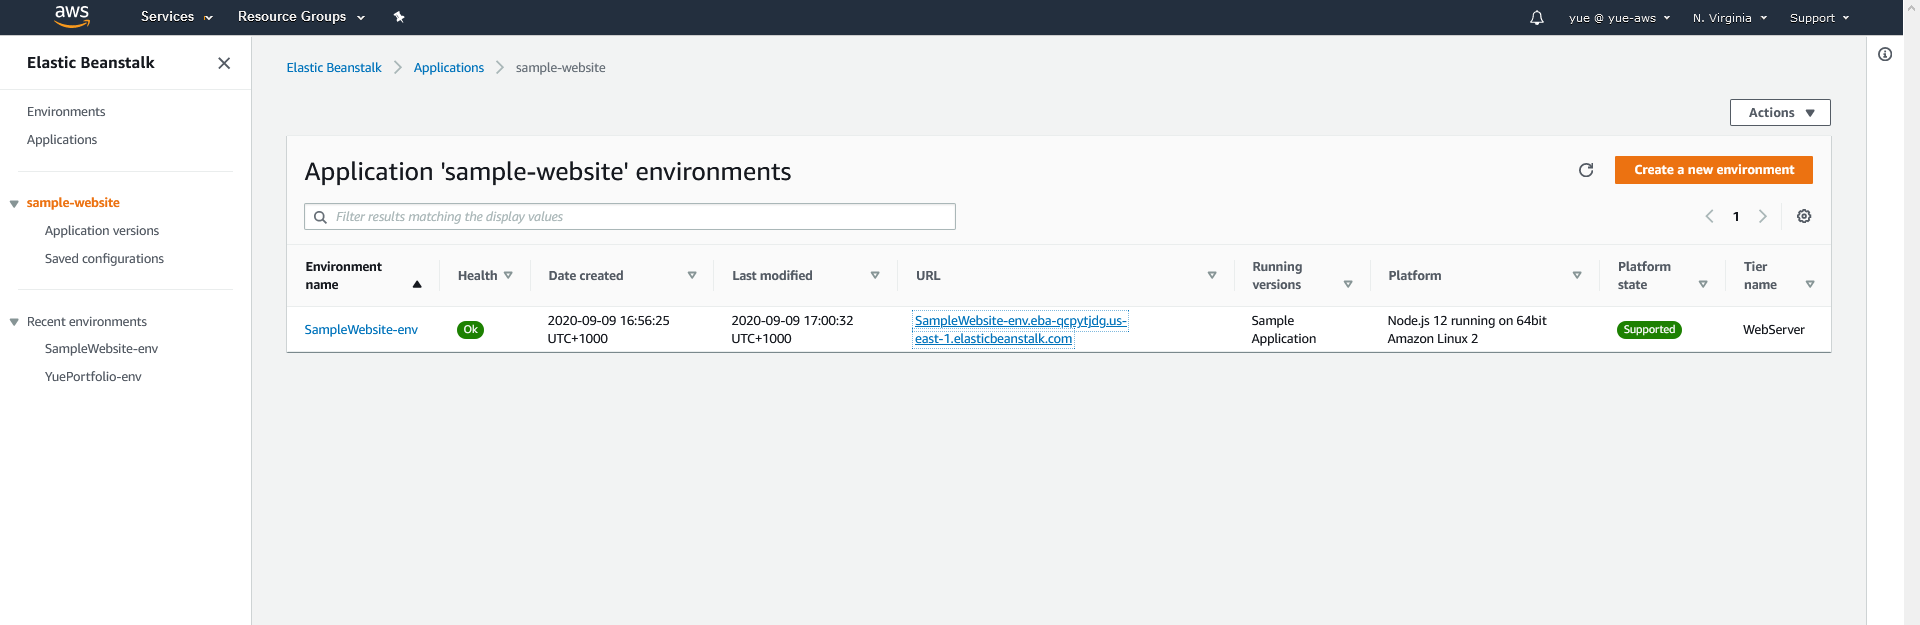
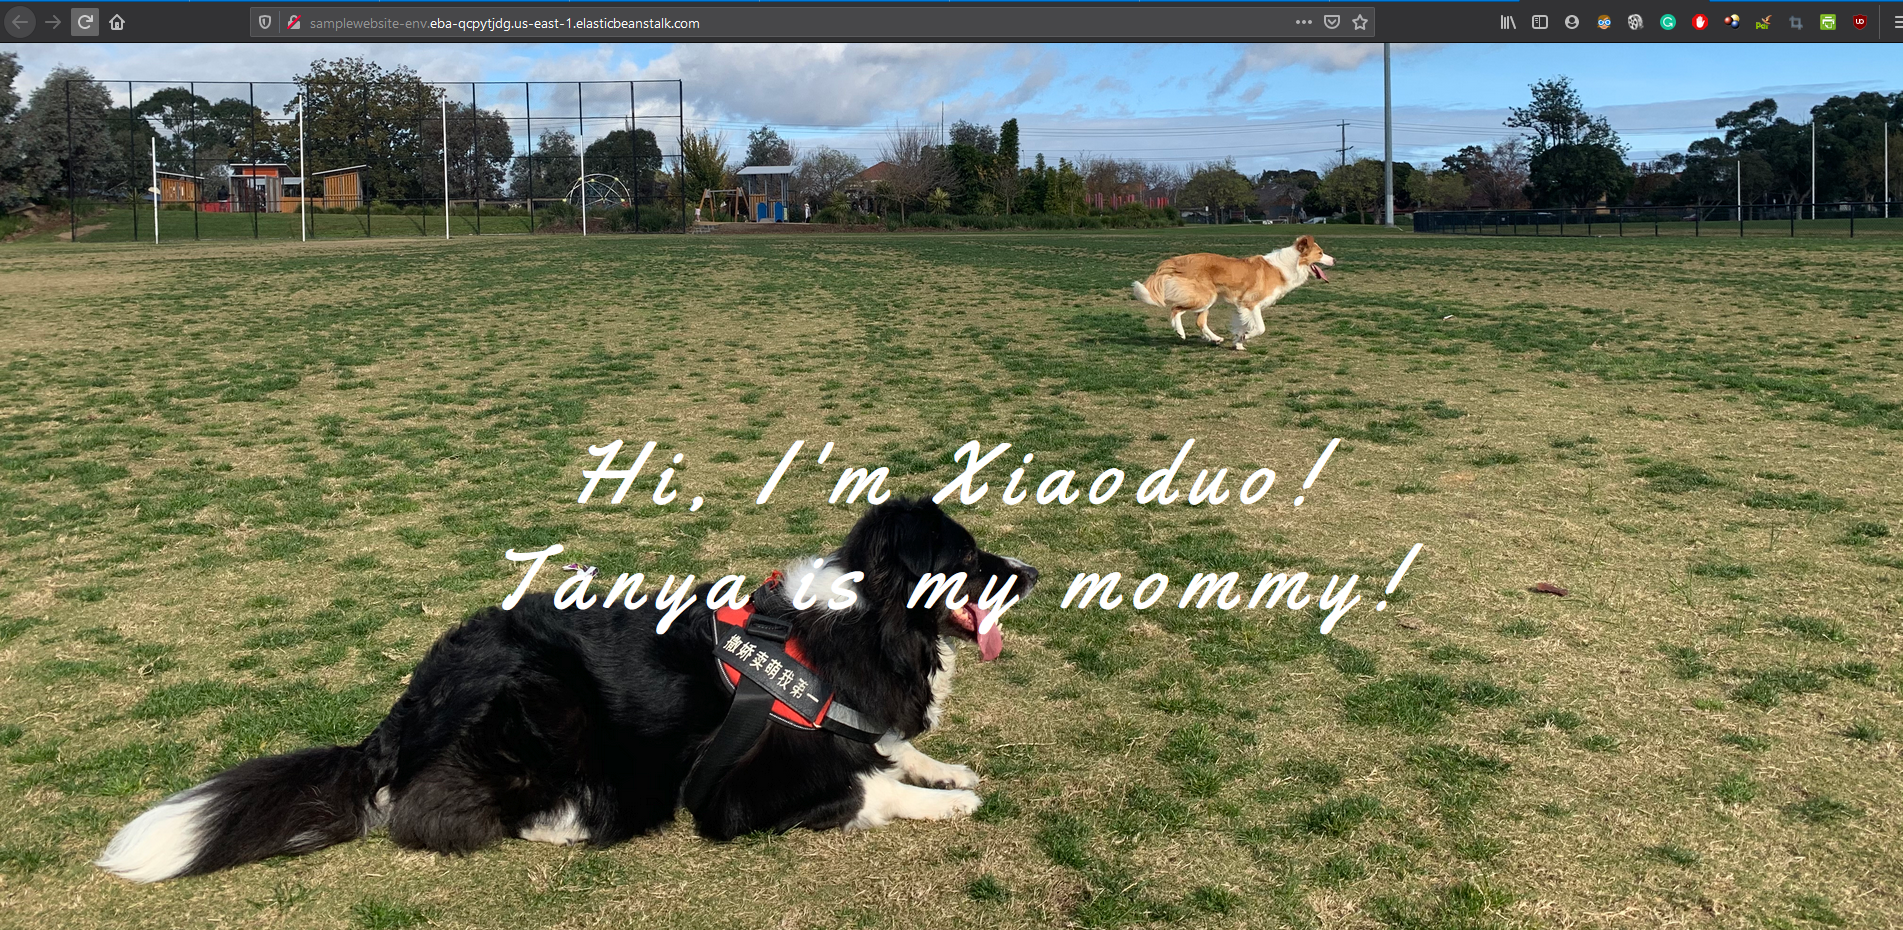
Try click the URL and AWS will be serving you the web application you just gave them:
尝试单击URL,AWS将为您提供刚刚给他们的Web应用程序:
翻译自: https://medium.com/@wangetsu1229/everything-about-deploying-a-node-js-8777549bbdd
fabric节点部署


 6824
6824

 被折叠的 条评论
为什么被折叠?
被折叠的 条评论
为什么被折叠?
 到【灌水乐园】发言


