


python tcp 蝗虫
Hello again, friends! Welcome back to another data science quick tip. Now, when it comes to the full spectrum of data science (discovery to production), this post definitely falls toward the end of the spectrum. In fact, some companies might recognize this as the job of a machine learning engineer rather than a data scientist. As a machine learning engineer myself, I can verify that’s definitely true for my situation.
朋友,你好! 欢迎回到另一个数据科学快速提示。 现在,当涉及到整个数据科学领域(从生产到发现)时,这篇文章肯定落在了光谱的末端。 实际上,一些公司可能会认为这是机器学习工程师而不是数据科学家的工作。 我本人是一名机器学习工程师,我可以证明我的情况绝对正确。
Still, I‘m sure there are many data scientists out there who are responsible for deployment of their own machine learning models, and this post will hopefully shed some light on how to do easy performance testing with this neat tool called Locust.
不过,我敢肯定,仍有很多数据科学家负责部署自己的机器学习模型,而这篇文章有望为如何使用这种名为Locust的简洁工具进行简单的性能测试提供一些启示。
Before we jump in to performance testing, let’s address the API itself for a quick second. Using a dummy model we created in one of our earlier posts, we’ll use Flask and Gunicorn to serve the model behind an API endpoint. A user will POST appropriate JSON data to the endpoint and receive back the expected prediction from the machine learning model. Now, this post isn’t about creating an ML-serving API, so I quickly created one for our purposes. In order to use it, all you need to do is download my code from GitHub, navigate to the “api” folder, and run the following command in your terminal:
在进行性能测试之前,让我们先介绍一下API本身。 使用我们在之前的一篇文章中创建的虚拟模型,我们将使用Flask和Gunicorn在API端点后面提供模型。 用户将适当的JSON数据发布到端点,并从机器学习模型接收预期的预测。 现在,这篇文章不是关于创建ML服务API的,因此我快速地为我们的目的创建了一个。 为了使用它,您需要做的就是从GitHub下载我的代码,导航到“ api”文件夹,然后在您的终端中运行以下命令:
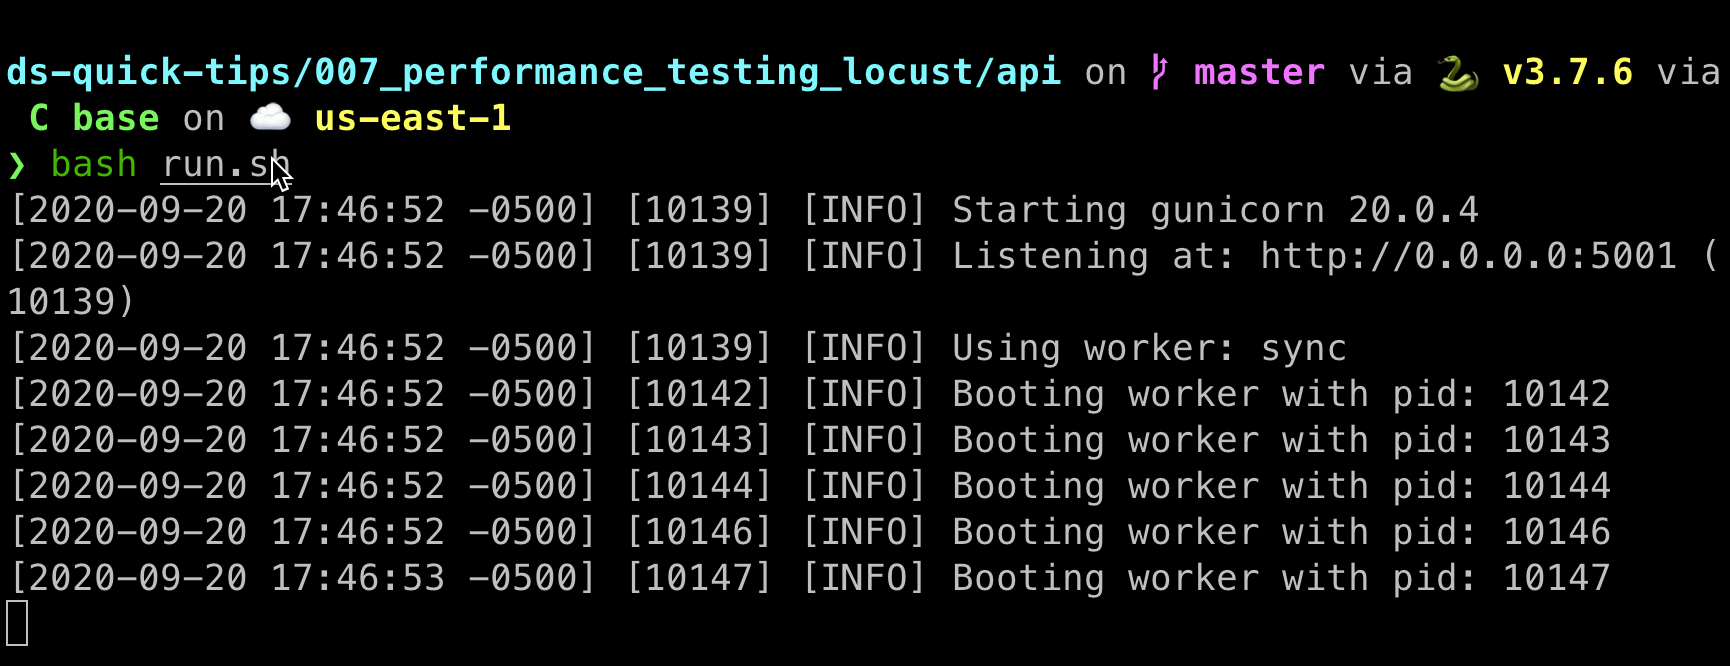
bash run.shWhat this will do is spin up your API behind a Gunicorn server with five workers at localhost:5001. If you see this screen, you’re on the right track.
这将在具有五个工作人员的Gunicorn服务器后面将您的API旋转到localhost:5001。 如果您看到此屏幕,则说明您在正确的轨道上。
Keep that tab open in your terminal and open a new one. Just to verify that the API is actually working, I created a separate little test that will quickly run 2 observations through the API. In the same code repository, navigate on over to the “test_data” directory and run the following command:
使该标签在您的终端中保持打开状态,然后打开一个新标签。 为了验证API是否确实有效,我创建了一个单独的小测试,该测试将通过API快速运行两次观察。 在同一代码存储库中,导航到“ test_data”目录并运行以下命令:
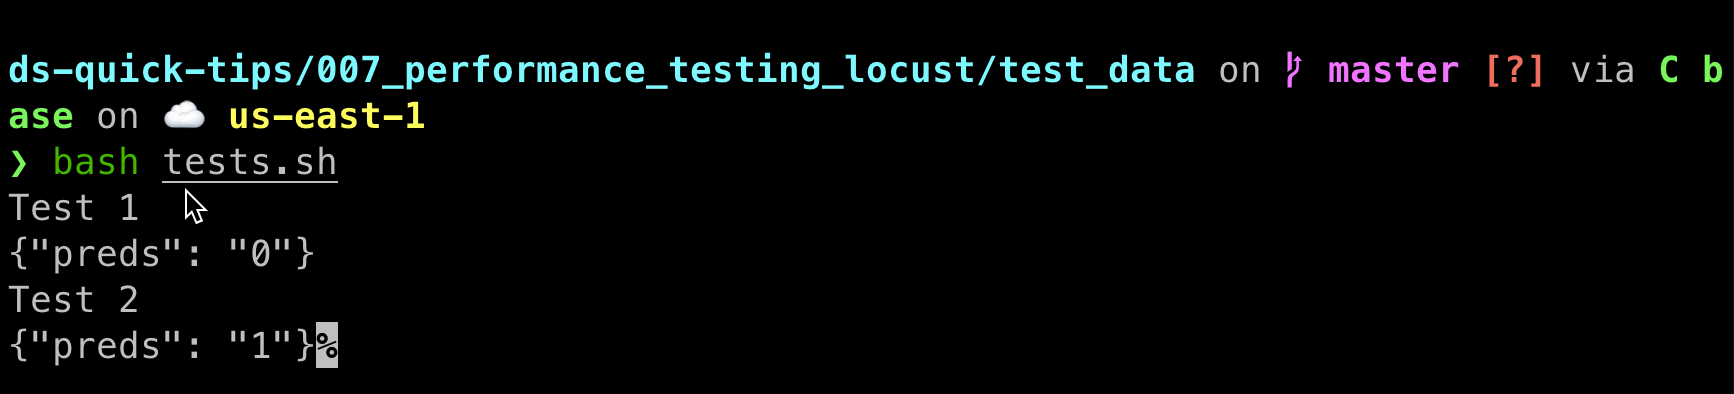
bash tests.shIf the API is working as it should, you should see the following screen:
如果API可以正常工作,则应该看到以下屏幕:
Alright, so we’re ready to move onto the meat of this post: performance testing! When a machine learning model is used in this API context in a production setting, it’s super important to make sure it can handle the proper load of requests. If you get too many users or too many requests, you could have some major problems. You don’t want to be the one to bring down production!
好了,因此我们可以继续学习这篇文章:性能测试! 在生产环境中在此API上下文中使用机器学习模型时,确保它能够处理适当的请求负载非常重要。 如果用户太多或请求太多,则可能会遇到一些重大问题。 您不想成为降低产量的人!
Fortunately, folks have made this nice tool called Locust (or Locust.io) in order to help with just this issue. At first, the code can look odd, but we’ll explain things simply here so you can get up and running in no time.
幸运的是,人们已经制作了一个名为Locust(或Locust.io)的好工具,以帮助解决此问题。 乍一看,代码看起来很奇怪,但是我们将在这里简单地说明一些事情,以便您可以立即启动并运行。
First things first, you probably need to install Locust on your machine for the first time. Simple enough to do! Just run the following pip command to download Locust from PyPi:
首先,您可能需要第一次在计算机上安装Locust。 做起来很简单! 只需运行以下pip命令从PyPi下载蝗虫:
pip install locustAlrighty, now we’re ready to build our Locustfile! The Locustfile is a simple Python script that we will invoke to fire up Locust and it’s super handy user interface. By default, the Locust command line tool will look for a file called “locustfile.py”, but you can truly name it whatever you want (as long as you specify it with the -f flag). Keeping things easy on ourselves, we’ll simply call ours that default locustfile.py. And here’s everything we’re going to put in it.
好了,现在我们准备构建Locustfile! Locustfile是一个简单的Python脚本,我们将调用它来启动Locust,它是超级方便的用户界面。 默认情况下,Locust命令行工具将查找名为“ locustfile.py”的文件,但您可以根据需要随意命名(只要使用-f标志指定它即可)。 为使事情轻松自如,我们将简单地称为默认的locustfile.py。 这就是我们要放入的所有内容。
from locust import HttpUser, task, between
import json# Loading the test JSON data
with open('test_data/test_1.json') as f:
    test_data = json.loads(f.read())# Creating an API User class inheriting from Locust's HttpUser class
class APIUser(HttpUser):
    # Setting the host name and wait_time
    host = 'http://localhost:5001'
    wait_time = between(3, 5)    # Defining the post task using the JSON test data
    @task()
    def predict_endpoint(self):
        self.client.post('/predict', json = test_data)
It’s a pretty small script, but it’ll do some powerful things for us! Now, the first time you see this syntax, it can be a little odd, so let’s break it down bit by bit so you understand what’s going on here. Starting off with this first bit…
这是一个很小的脚本,但是它将为我们做一些强大的事情! 现在,第一次看到这种语法时,可能会有些奇怪,所以让我们将其一点一点分解,以便您了解此处的情况。 从第一点开始...
from locust import HttpUser, task, between
import json# Loading the test JSON data
with open('test_data/test_1.json') as f:
    test_data = json.loads(f.read())
We’re simply importing what we’ll need from Locust and JSON and loading in the test JSON data that I have already provided. So far, this is probably nothing you’re unfamiliar with. But here’s where things start to get a little tricky. We’ll go slow here.
我们只是从Locust和JSON导入我们需要的内容,然后加载我已经提供的测试JSON数据。 到目前为止,您可能还不熟悉这一切。 但是,这里的事情开始变得有些棘手。 我们在这里慢一点。
# Creating an API User class inheriting from Locust's HttpUser class
class APIUser(HttpUser):
Alright, so you’re probably familiar with Python classes. This is creating a new class that inherits the stuff from the parent “HttpUser” class as created by Locust. I’m not going to go deeply into the attributes / methods of that class, but suffice to say, this is what Locust is going to use when we spin up the user interface here shortly.
好了,所以您可能熟悉Python类。 这将创建一个新类,该类继承Locust创建的父“ HttpUser”类中的内容。 我将不深入介绍该类的属性/方法,但是可以说,这是Locust不久将在此处启动用户界面时将要使用的内容。
Moving along…
前进...
    # Setting the host name and wait_time
    host = 'http://localhost:5001'
    wait_time = between(3, 5)
The host is probably pretty straightforward here: we’re simply providing the base URL that the API is currently being served on. (Recall that I have my Gunicorn script serving at localhost:5001.) The “wait_time” piece is probably new to you. In tandem with that “between()” method, this is noting how long Locust should wait before spawning additional users. “between()” goes by seconds, so in our example here, new users will spawn some time every 3 to 5 seconds.
主机在这里可能非常简单:我们只是提供当前正在提供API的基本URL。 (回想一下,我的Gunicorn脚本位于localhost:5001。)“ wait_time”可能对您来说是新的。 与“ between()”方法配合使用,这表明Locust在生成其他用户之前应等待多长时间。 “ between()”仅需几秒钟,因此在此处的示例中,新用户每3到5秒钟就会产生一些时间。
And the last part of our script:
脚本的最后一部分:
    # Defining the post task using the JSON test data
    @task()
    def predict_endpoint(self):
        self.client.post('/predict', json = test_data)
That “@task()” decorator is telling our APIUser class what action it needs to take when Locust fires up. You can actually have multiple tasks and even weight them appropriately, but that goes beyond our scope here. For our purposes, one task will do it. All we need our task to do is to call the “/predict” API endpoint and pass it the JSON test data we loaded in at the top of the script.
那个“ @task()”修饰符告诉我们的APIUser类,当蝗虫启动时,它需要采取什么动作。 实际上,您可以有多个任务,甚至可以适当地对其进行加权,但这超出了我们的范围。 就我们的目的而言,一项任务会做到。 我们需要做的就是调用“ / predict” API端点,并将在脚本顶部加载的JSON测试数据传递给它。
Now comes the fun part! With our API still running, open a new tab in your terminal. Navigate on over to the directory with locustfile.py in it and run the following command:
有趣的来了! 在我们的API仍在运行的情况下,在终端中打开一个新标签。 浏览到包含locustfile.py的目录,然后运行以下命令:
locustRemember, Locust by default is looking for that locustfile.py file, so that’s why we don’t need to necessarily specify anything else in the command line. What you should see is something that looks like this.
请记住,默认情况下,蝗虫正在查找该locustfile.py文件,因此,我们不必在命令行中指定其他任何内容。 您应该看到的看起来像这样。
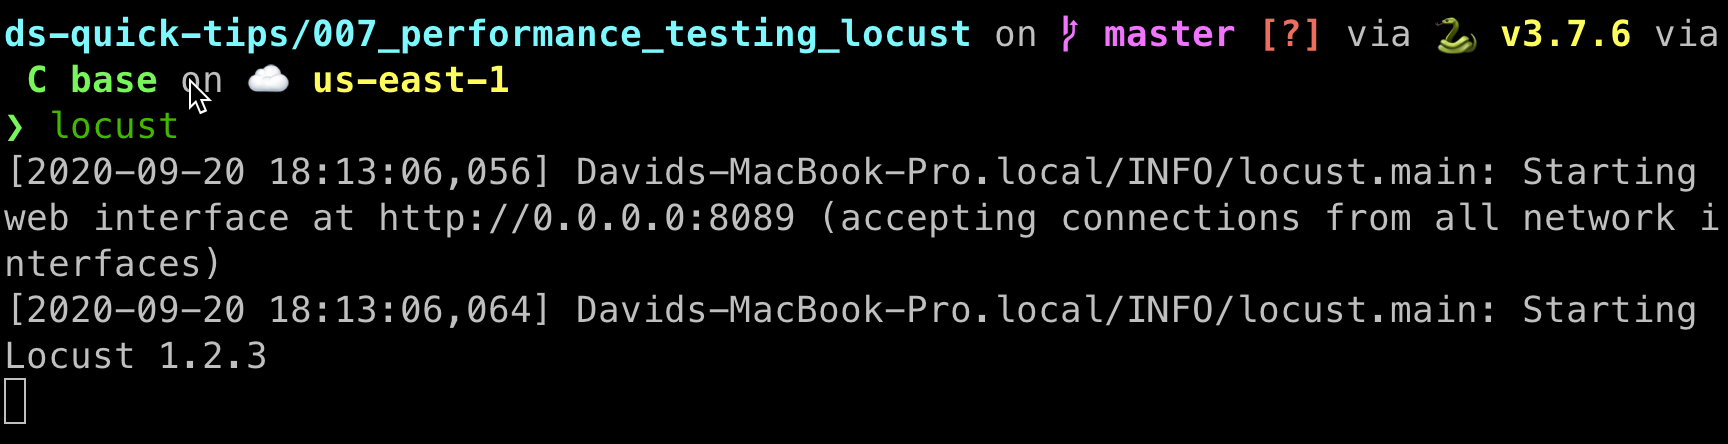
What this is is noting is that Locust has started up a web user interface at a specific port number. In my case, you’ll notice the Locust UI is being served behind localhost:8089. Open up your browser of choice and navigate on over to there. You should be greeted with the following screen.
这说明Locust已在特定端口号启动了Web用户界面。 以我为例,您会发现Locust UI在localhost:8089之后提供。 打开您选择的浏览器,然后浏览到那里。 您应该会看到以下屏幕。

Actually, the number of users and spawn rate will be empty. In this example, what I’m specifying here is that I want to test a total of 100 users. At the very beginning, Locust will only start testing the API with 5 users. Then after every 3–5 seconds (which we specified as the wait_time in our script), Locust will add another 5 users until it hits the total of 100 users. Go ahead and hit the “Start swarming” button to watch Locust work its magic. This is the first screen you’ll be greeted with.
实际上,用户数和产卵率将为空。 在此示例中,我在这里指定的是我要测试总共100个用户。 在一开始,Locust只会开始测试5位用户的API。 然后,每3-5秒(在脚本中我们指定为wait_time)之后,Locust将再添加5个用户,直到达到100个用户。 继续并点击“开始蜂群”按钮,以查看蝗虫的魔力。 这是您遇到的第一个屏幕。
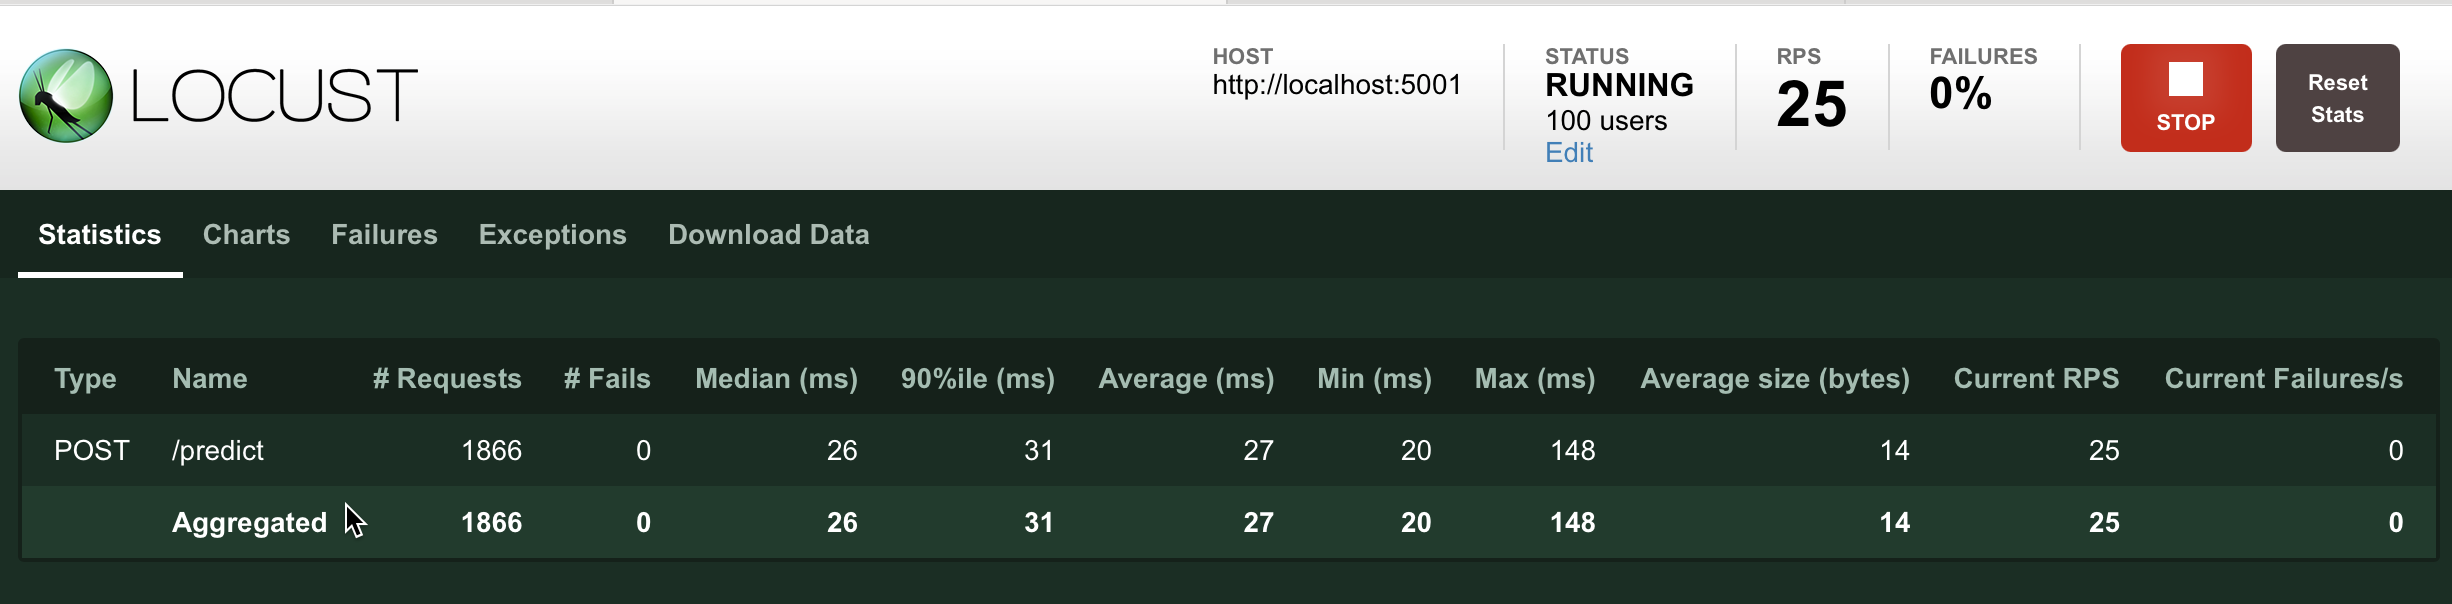
You can see at the point that when I took this screenshot, Locust had already capped out at the 100 users and that 1866 requests had been passed to it. You can also see that each request has a median runtime of 26 milliseconds, and the API can effectively handle 25 requests per second (RPS). Neat! But are you a visual person? Navigate on over to Charts!
您可以看到,当我拍摄此屏幕截图时,Locust已经限制了100个用户,并且已将1866个请求传递给它。 您还可以看到每个请求的平均运行时间为26毫秒,API可以有效地每秒处理25个请求(RPS)。 整齐! 但是你是一个有视觉感的人吗? 导航到图表!
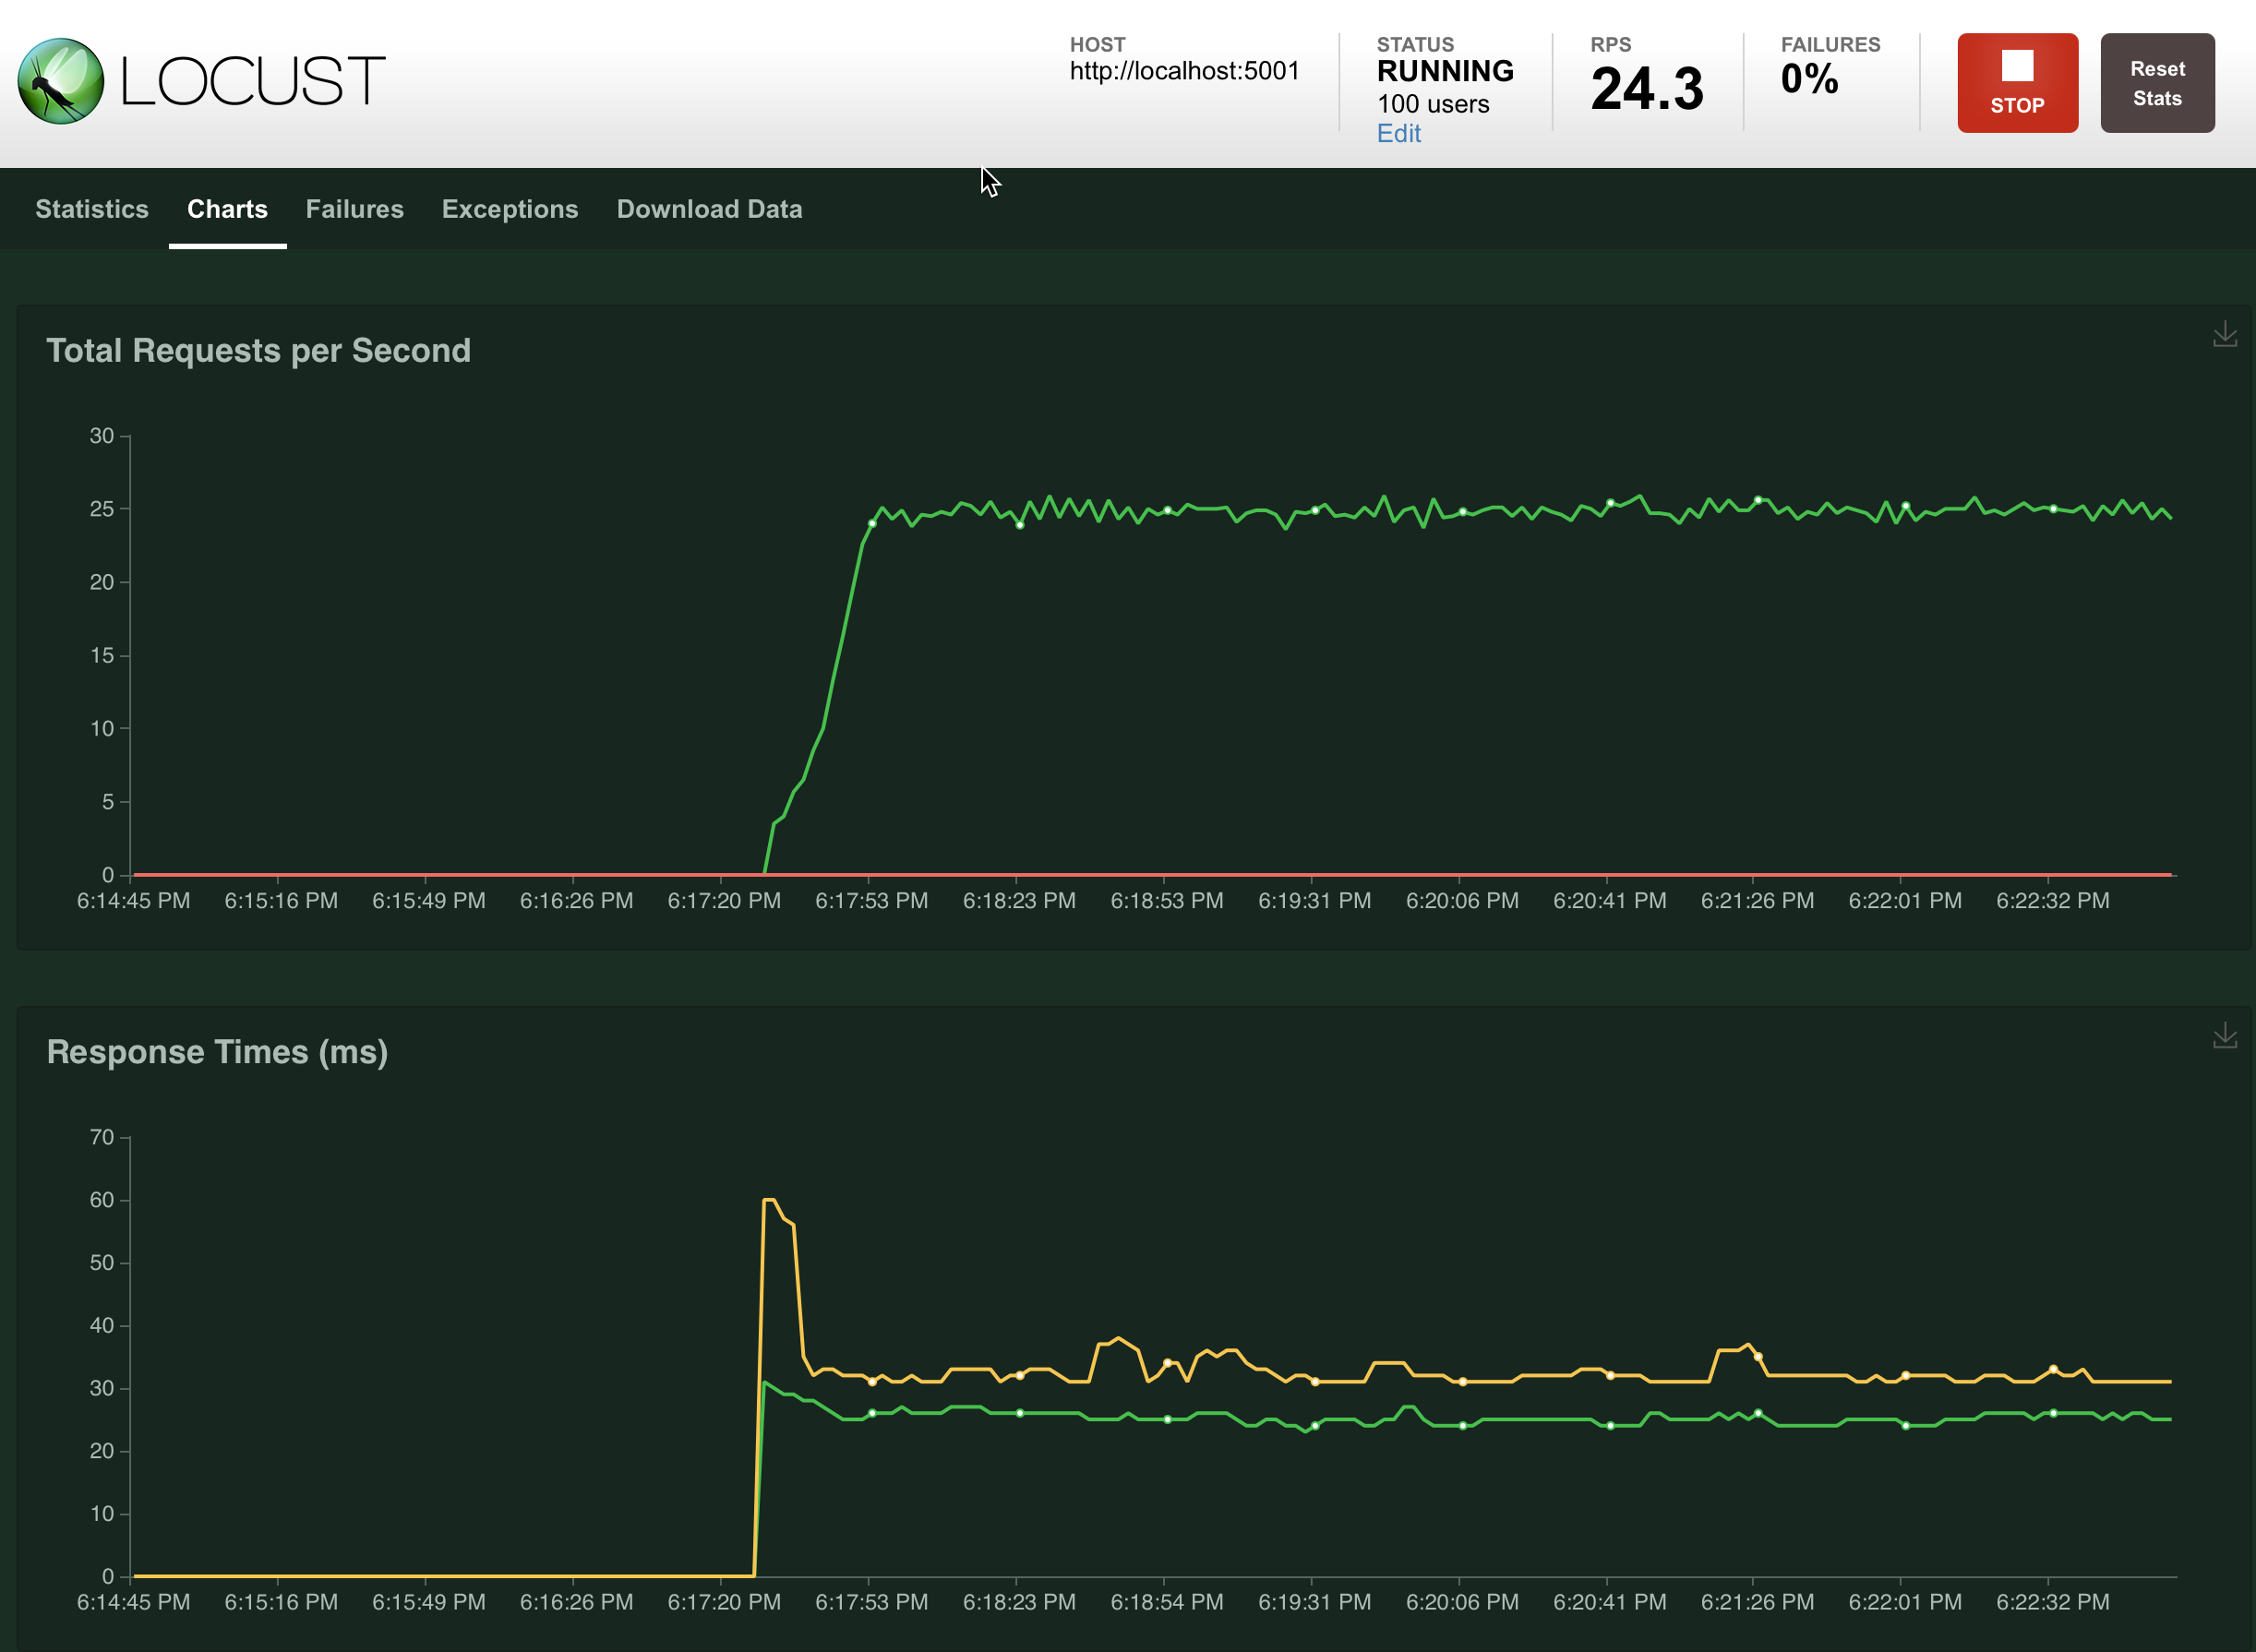
As you can see by these charts here, it’s pretty evident that our API is performing at a very stable rate. Obviously we had a lower RPS before we hit our 100 user cap, but once we topped out at 100 users, everything is pretty much flatlined. (Probably one of the few cases where you actually want to see flatlining!) There is actually a third chart on this page that will graphically show the number of users at different spawn points, too, but I ran out of screenshot room. We won’t cover the other tabs, but you can probably guess at what they do.
从这些图表中可以看到,很明显我们的API的执行速度非常稳定。 显然,在达到100个用户上限之前,我们的RPS较低,但是一旦达到100个用户上限,一切都变得平坦了。 (这可能是您实际希望看到扁平化的少数情况之一!)实际上,此页面上还有第三张图表,该图表也以图形方式显示了不同生成点的用户数量,但我的屏幕空间不足。 我们不会介绍其他选项卡,但是您可能会猜到它们的作用。
And that’s all there is to Locust! If your performance is flatlining with the expected number of users, you’re good to go. If not, you might have to explore different deployment options. Perhaps you might need to scale up more instances of the API, or you might need to explore options on how to further optimize the model itself. At least you can rest easy knowing that you won’t cause a performance bottleneck when you push the final ML-serving API to production.
这就是蝗虫的全部! 如果您的性能与预期的用户数量持平,那您就很好了。 如果没有,您可能必须探索其他部署选项。 也许您可能需要扩大API的更多实例,或者可能需要探索有关如何进一步优化模型本身的选项。 至少您可以放心,将最终的ML服务API投入生产时不会造成性能瓶颈。
That’s it for this post, folks! Hope you enjoyed this one. Let me know what other things you’d like me to cover in future posts! Always love to hear your thoughts.
伙计们,就是这个帖子! 希望你喜欢这个。 让我知道您希望我在以后的帖子中介绍哪些其他内容! 总是喜欢听到您的想法。
翻译自: https://towardsdatascience.com/performance-testing-an-ml-serving-api-with-locust-ecd98ab9b7f7
python tcp 蝗虫


 232
232

 被折叠的 条评论
为什么被折叠?
被折叠的 条评论
为什么被折叠?
 到【灌水乐园】发言


