flutter 透明度动画
Flutter SDK provides us with many widgets which help us in animating elements on screen easily by implicitly managing the animations i.e. we need not worry about creating and managing intances of AnimationController during the lifecycle of the app. Two of those widgets which we’ll be seeing in this article are AnimatedPadding and AnimatedOpacity.
˚Flutter SDK为我们提供了许多小工具,帮助我们通过隐含管理动画动画很容易在屏幕上的元素,即我们不必担心创建和管理的intances AnimationController应用程序的生命周期中。 我们将在本文中看到的两个小部件是AnimatedPadding和AnimatedOpacity 。
In this article, I am going to firstly explain the basic usage of each widget and then eventually we’ll be combining both the widgets and come up with a cool animation like shown above.
在本文中,我将首先解释每个小部件的基本用法,然后最终我们将把这两个小部件组合在一起,并给出一个如上所示的酷动画。
动画填充 (Animated Padding)
Animated Padding, as the word suggests is a kind of padding widget which will animate the change in padding taking place at runtime.
Animated Padding,正如这个词所暗示的那样,是一种填充小部件,它将动画化在运行时发生的填充变化。
It is similar to the Padding widget except that it takes one extra required parameter which is Duration. The Duration attribute is used to specify the duration over which the animation should take place. The Duration could be seconds, milliseconds, minutes and also days if you are planning to create an animation which lasts days 😅.
它类似于Padding小部件,除了它需要一个额外的必需参数( Duration 。 Duration属性用于指定动画发生的持续时间。 该Duration可以是seconds , milliseconds , minutes也days ,如果你打算创造出持续数天😅的动画。
In this example we’ll be animating the padding around a Container with the help of AnimatedPadding when the Container is tapped itself.
在这个例子中,我们将动画周围填充Container的帮助下AnimatedPadding当Container被窃听本身。
The widget tree is pretty simple. We have a Container widget which is wrapped with GestureDetector to detect the onTap event. It is then wrapped with AnimatedPadding because we want to animate the padding around the Container widget and the whole thing is centered with the help of Center widget.
小部件树非常简单。 我们有一个用GestureDetector包装的Container小部件,以检测onTap事件。 然后使用AnimatedPadding进行包装,因为我们要对Container小部件周围的填充进行动画处理,而整个内容将在Center小部件的帮助下Center 。
To the AnimatedPadding widget, we are passing a variable named _padding whose value we are updating inside setState().
给AnimatedPadding小部件,我们传递了一个名为_padding的变量,该变量的值将在setState()中更新。
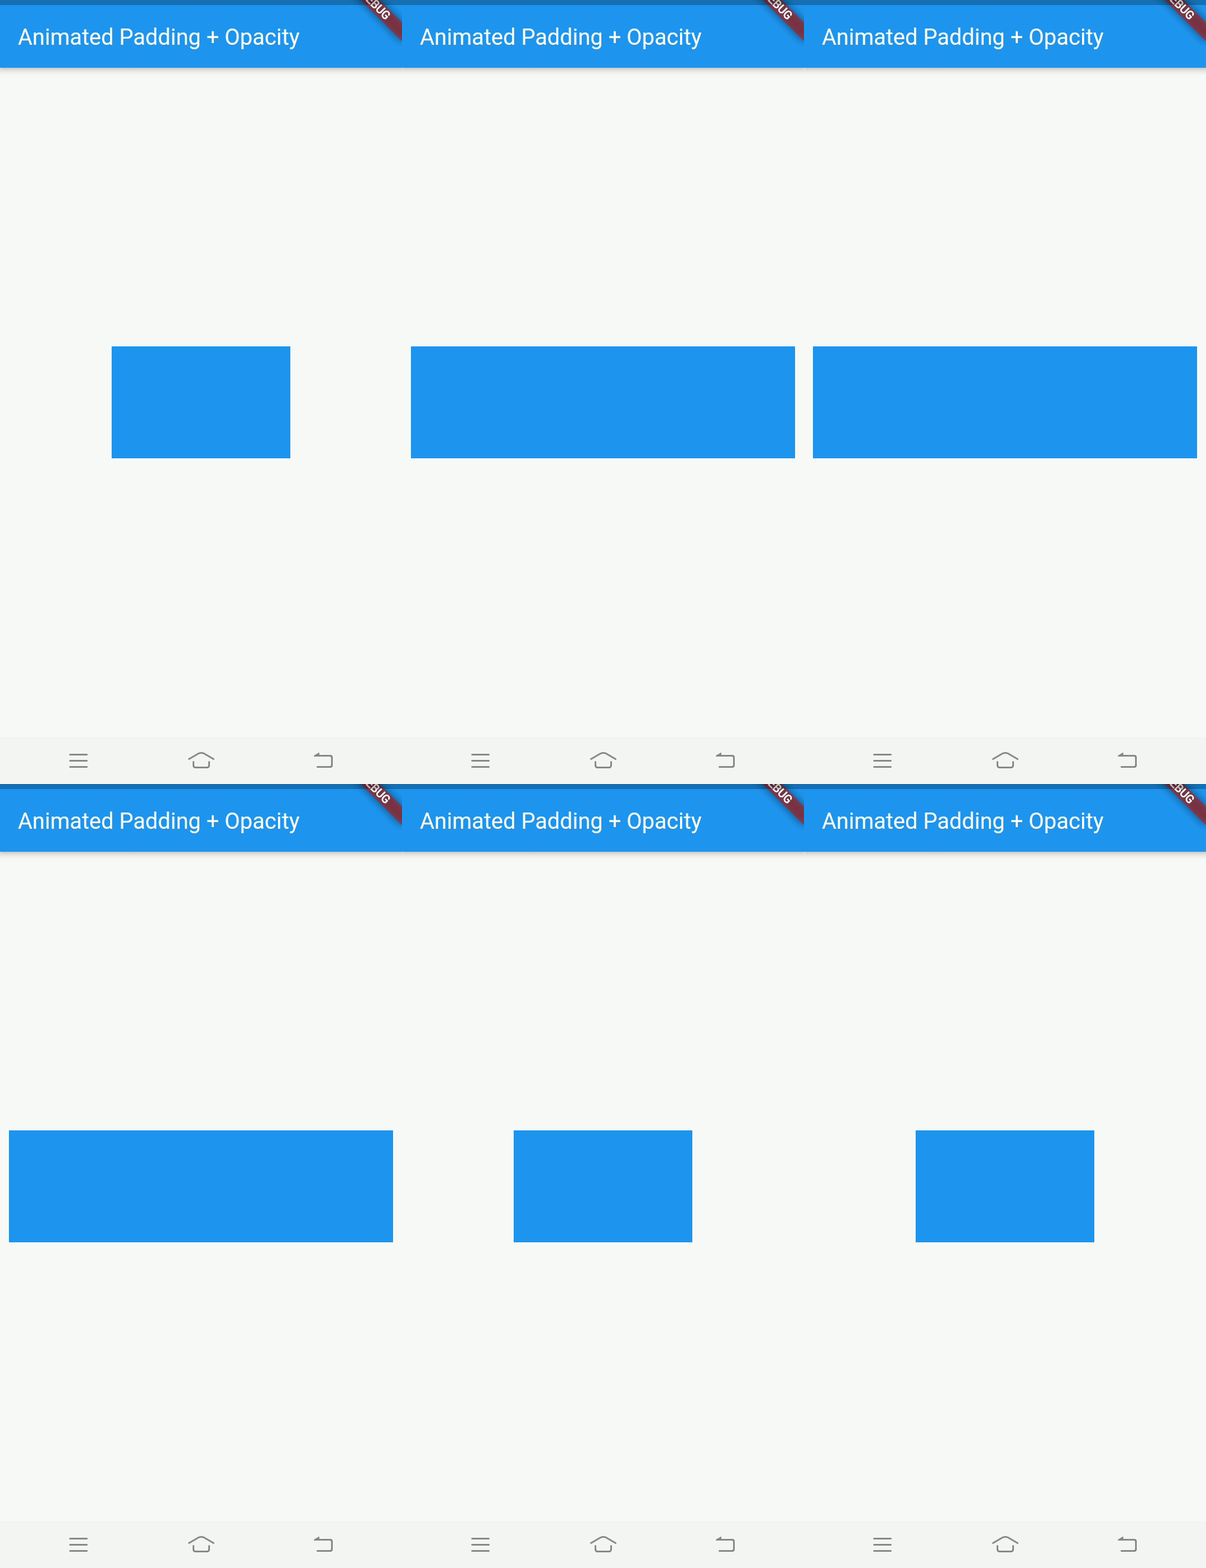
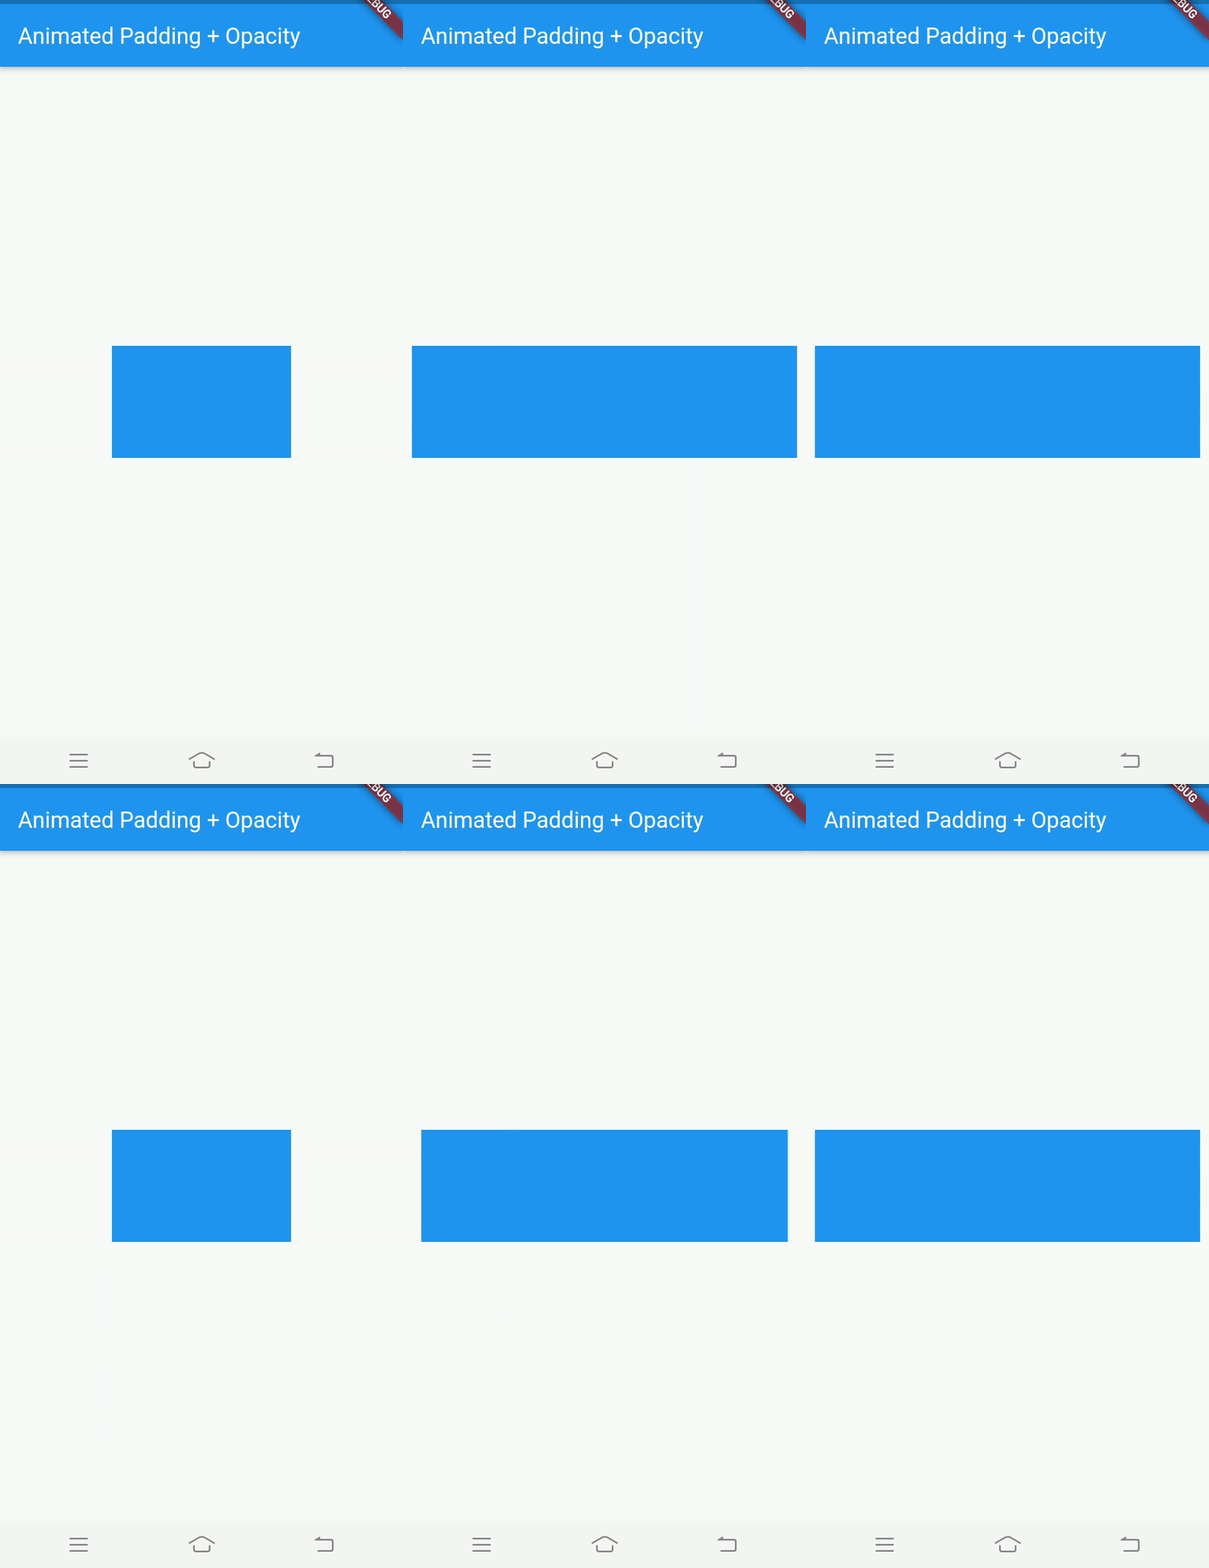
Let’s pass a Curve to the curve attribute of AnimatedPadding. I personally like Curves.bounceOut.
让我们将Curve传递给AnimatedPadding的curve属性。 我个人喜欢Curves.bounceOut 。
AnimatedPadding(
  ...
  curve: Curves.bounceOut,
  ...
)
动画不透明度 (Animated Opacity)
Animated Opacity, as the word suggests is a widget by means of which we can control the opacity of its child in an animated way, meaning the opacity will animate over a period of time depending upon the curve passed along with. The Duration field just like the previous widget is a required parameter here.
动画不透明度,顾名思义是一个小部件,通过它我们可以以动画方式控制其子级的不透明度,这意味着不透明度将在一段时间内进行动画处理,具体取决于传递的曲线。 就像上一个小部件一样,“ Duration字段是必填参数。
In this example, we will simply be toggling the opacity of a Text widget on the tap of RaisedButton.
在此示例中,我们只需在RaisedButton的水龙头上切换Text小部件的不透明度RaisedButton 。
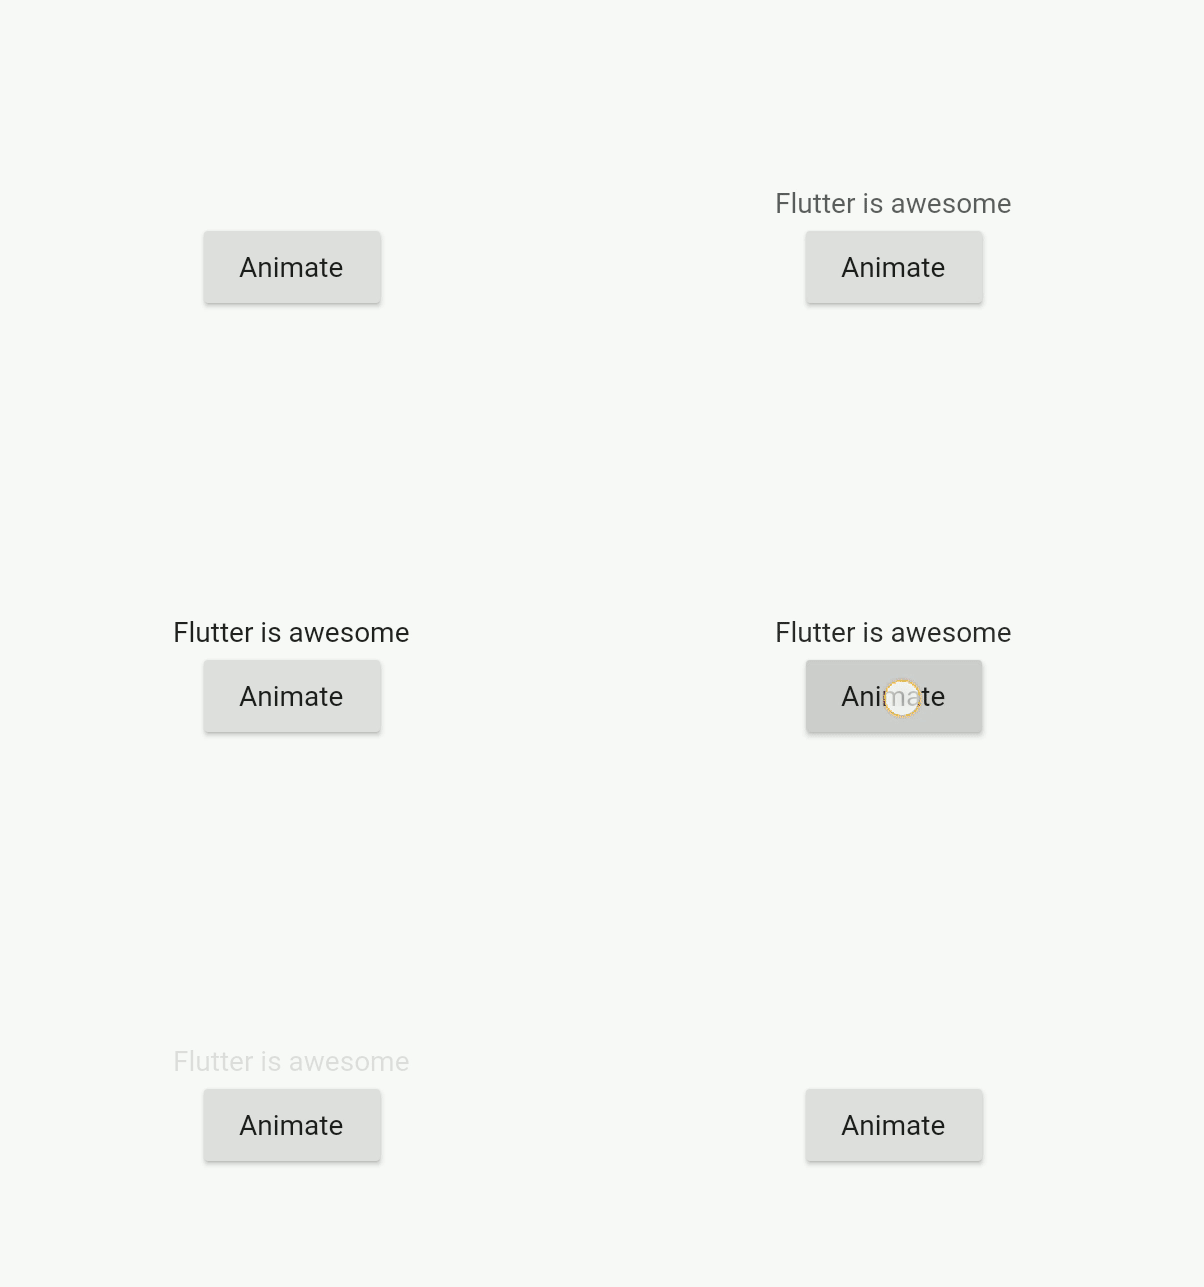
Note: The opacity passed should be a double between 0 and 1 but not less than zero or greater than 1.
注意:传递的不透明度应为0到1之间的两倍,但不小于0或大于1。
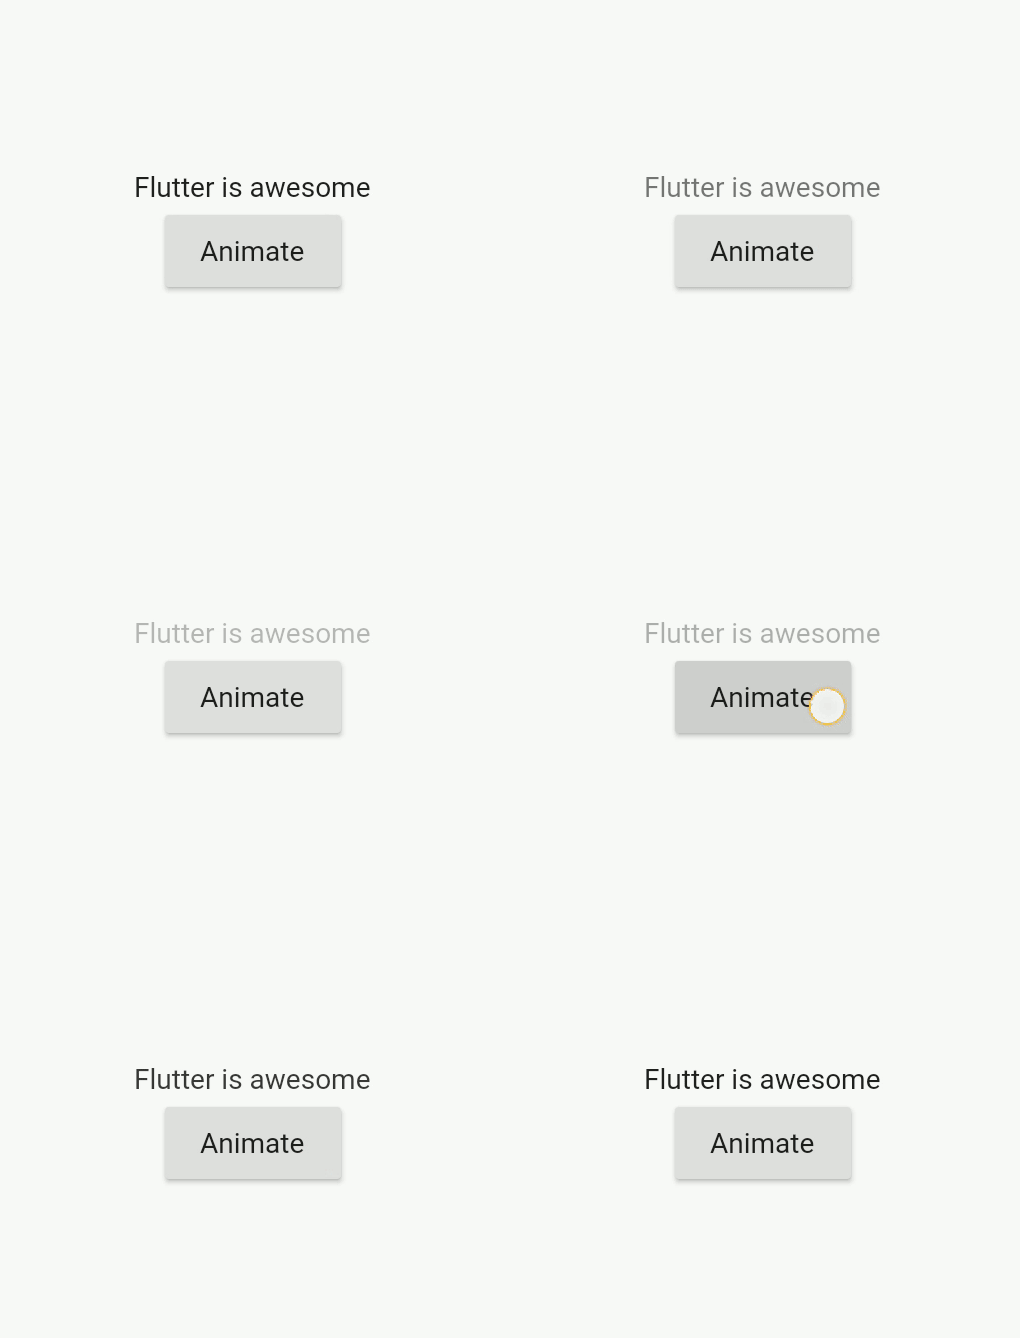
Below I am toggling opacity between 1 and some non-zero double value less than 1 (I don’t remeber exactly, it is 0.3 I think).
在下面,我在1和一些小于1的非零double值之间切换不透明度(我不记得,我认为是0.3)。
结合动画填充和动画不透明度 (Combining both Animated Padding and Animated Opacity)
Now that we’ve seen a basic example of both the widgets, let us now build a proper example combining both of them.
现在我们已经看到了这两个小部件的基本示例,现在让我们构建一个将这两个小部件组合在一起的适当示例。
We’ll be displaying a list of widgets, each of which when tapped animates to show the user that it has been selected. As you might have guessed we will be playing around with the opacity and padding of the widget which is been tapped upon to animate and draw user’s attention towards it.
我们将显示一个小部件列表,点击它们时会显示每个小部件的动画,以向用户显示已被选择。 正如您可能已经猜到的那样,我们将使用小部件的不透明性和填充性,利用它们来制作动画并吸引用户对其的注意。
The widget inside the list is a simple Container with some height and color representing an item in the list. It can be any widget but in our case just to keep the article to the point, I am simply using a Container widget.
列表内的小部件是一个简单的Container具有一些高度和颜色,表示列表中的项目。 它可以是任何小部件,但在我们的情况下,只是为了使文章保持重点,我只是在使用Container小部件。
This is what the item in our list looks like. It is a Container which is wrapped with AnimatedOpacity to control the opacity of the Container and then wrapped with AnimatedPadding to control the spacing relative to the adjacent items in the list.
这就是我们列表中的内容。 它是一个用AnimatedOpacity包装的Container ,以控制Container的不透明度,然后用AnimatedPadding包装,以控制相对于列表中相邻项目的间距。
The variable isSelected is what we’ll be updating which will then cause the change in values for opacity and padding which will then render our animation.
变量isSelected是我们将要更新的变量,它将导致opacity和padding值的更改,然后将呈现动画。
First let’s just try this widget alone without putting it in the list along with other items to ensure that at least it is animating.
首先,让我们单独尝试此小部件,而不将其与其他项一起放入列表中,以确保至少它是动画的。
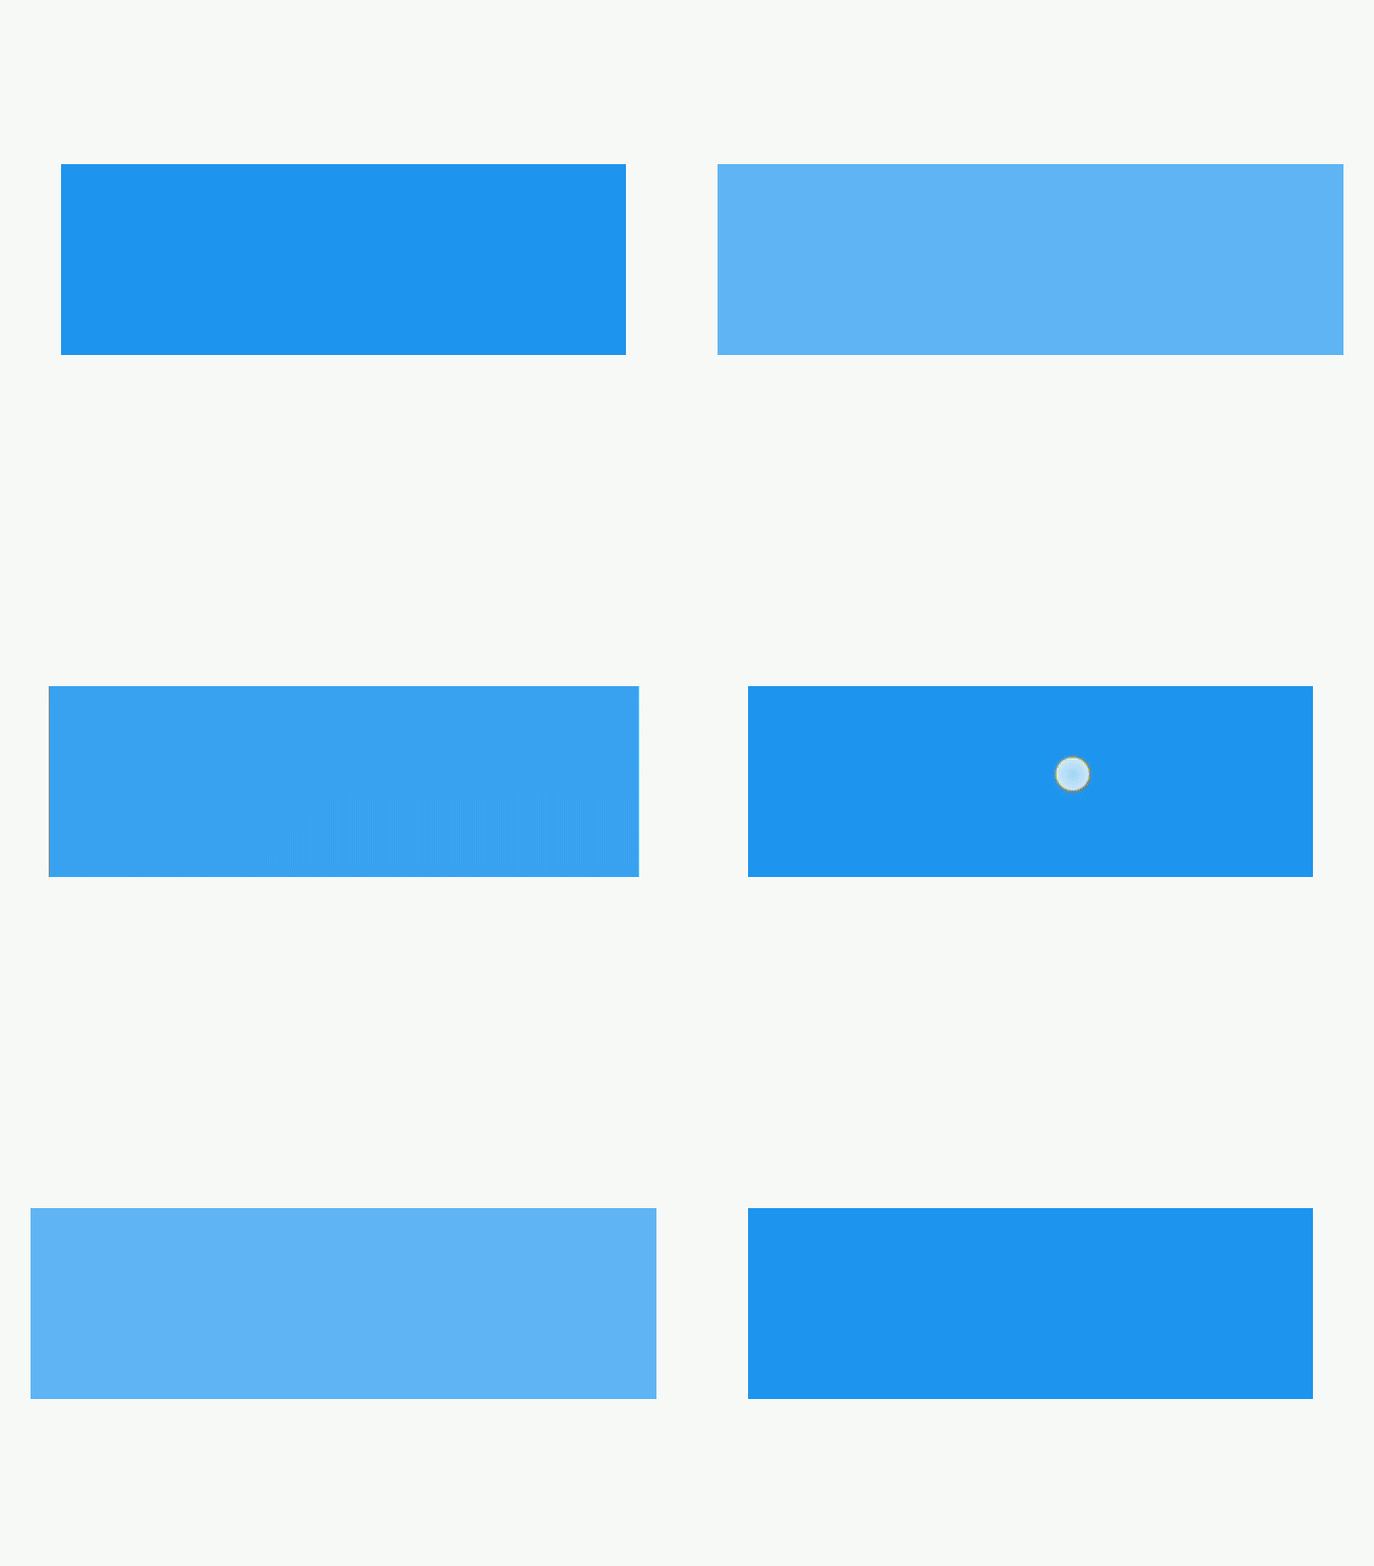
As we’ll be having a list of items with each item having its own isSelected instance, lets create a model class for the same.
由于我们将拥有一个项目列表,每个项目都有自己的isSelected实例,因此让我们为它创建一个模型类。
class ItemModel {
  bool isSelected;
  ItemModel({this.isSelected = false});
}
We need to create a List of our ItemModel so as to keep track of selection status of each item in the list. So create a new list like below:
我们需要创建ItemModel的List ,以便跟踪列表中每个项目的选择状态。 因此,如下创建一个新列表:
List<ItemModel> _items = [];Let’s write a function to populate some items in the list we just created.
让我们编写一个函数,以填充刚创建的列表中的某些项目。
And call this function in initState() so that we have our items ready before the list is to be rendered.
并在initState()调用此函数,以便在呈现列表之前准备好项目。
@overridevoid initState() {
  populateItems();
  super.initState();
}
And of course the code for rendering the UI will change too as we are now going to display a list of items where each widget is of the type ListItem which we created earlier.
当然,呈现UI的代码也将发生变化,因为我们现在将显示项目列表,其中每个小部件都是我们先前创建的ListItem类型。
We’ll be using ListView.builder to render our list of items.
我们将使用ListView. builder ListView. builder以显示我们的项目列表。
After tying up all the pieces, the final code should look like below:
捆绑所有内容后,最终代码应如下所示:
Let’s run the code
让我们运行代码
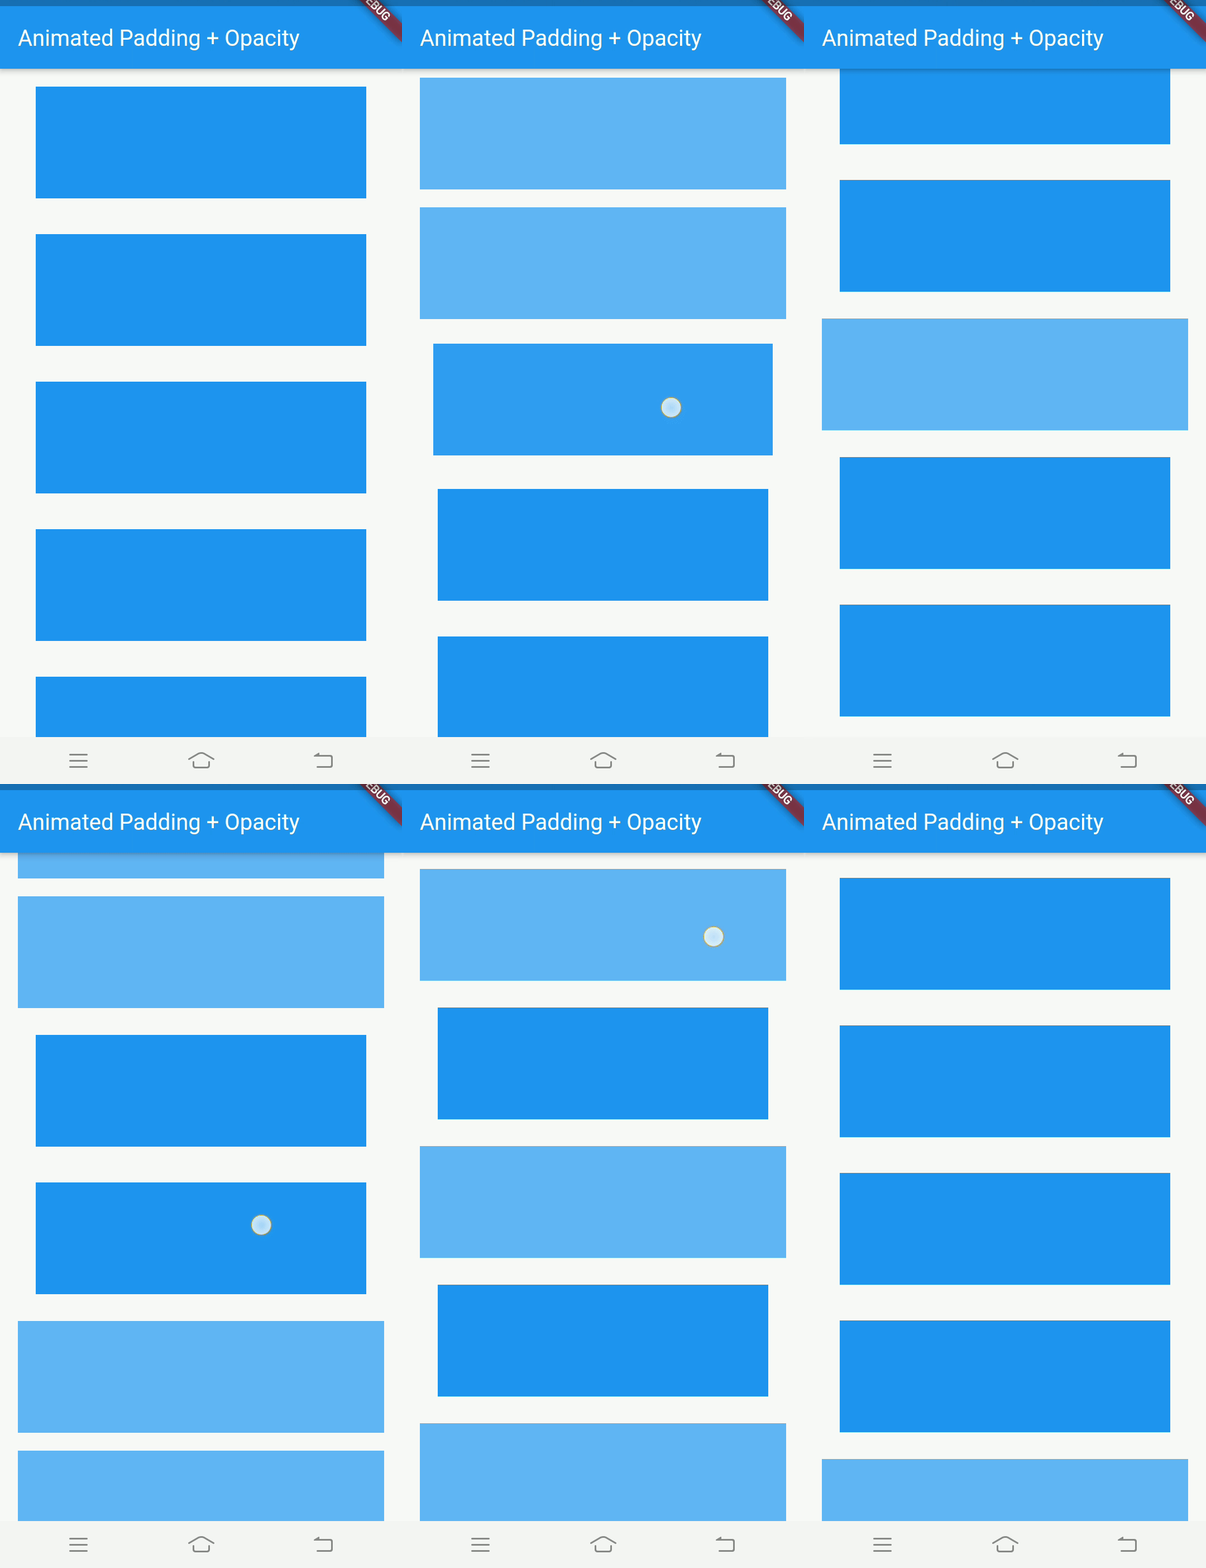
And that is it. We’ve created a simple yet elegant animation combining AnimatedPadding and AnimatedOpacity !
就是这样。 我们创建了一个简单而优雅的动画,结合了AnimatedPadding和AnimatedOpacity !
Link to repository:
链接到存储库:
翻译自: https://blog.prototypr.io/animated-padding-animated-opacity-in-flutter-fd3b710d058e
flutter 透明度动画


 662
662

 被折叠的 条评论
为什么被折叠?


