


qt中导入导出文件
At WWDC 2020, SwiftUI introduced functionality for importing and exporting data to and from your applications with new @Environment variables. While these new additions are a welcome improvement to SwiftUI, they are a bit clunky. With the release of iOS 14 beta 6, Apple has provided us with a new set of view modifiers that reduce import and export friction.
在WWDC 2020上,SwiftUI引入了使用新的@Environment变量在应用程序之间进行数据导入和导出的功能。 这些新增功能虽然是SwiftUI的令人欢迎的改进,但它们有些笨拙。 随着iOS 14 beta 6的发布,Apple为我们提供了一组新的视图修改器,以减少进出口摩擦。
Let’s explore these new view modifiers by creating a simple project that can import and export data as plain text.
让我们通过创建一个可以将数据导入和导出为纯文本的简单项目来探索这些新的视图修饰符。
入门 (Getting Started)
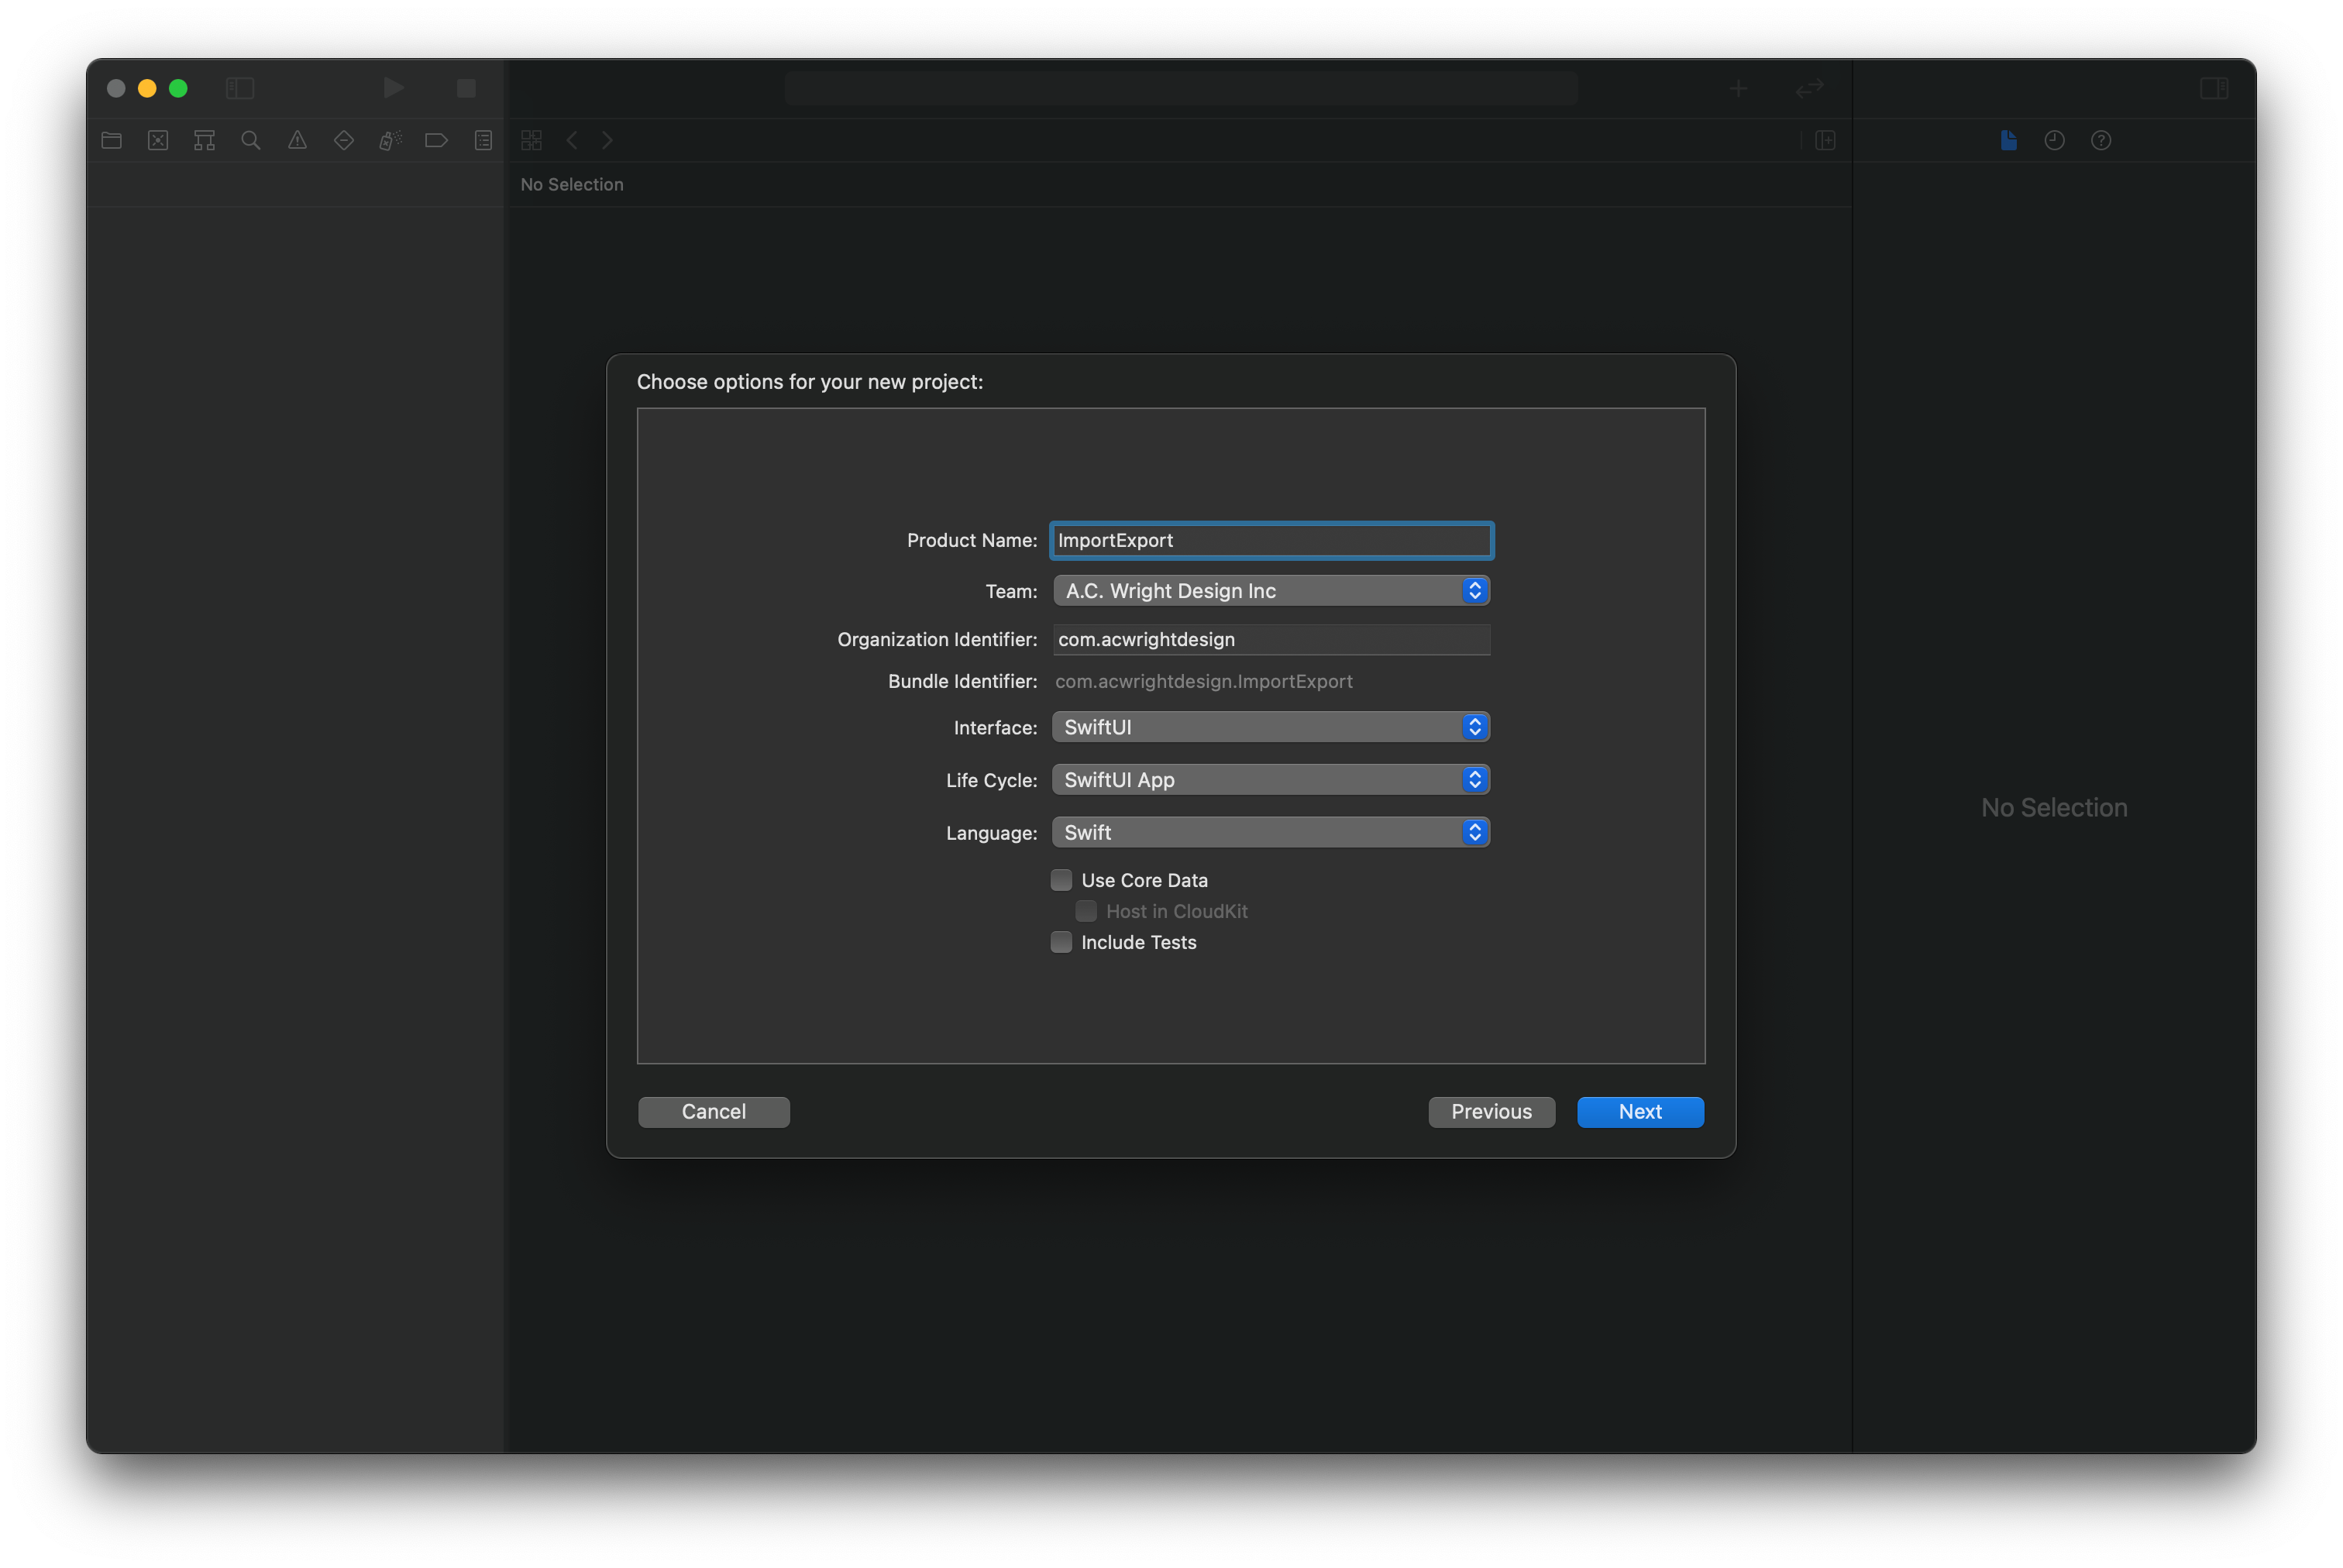
Start by creating a new Xcode project using the iOS App template. Ensure that you have selected “SwiftUI” for Interface and “SwiftUI App” for Life Cycle.
首先使用iOS App模板创建一个新的Xcode项目。 确保为界面选择了“ SwiftUI”,为生命周期选择了“ SwiftUI应用”。
创建文档类型 (Creating a Document Type)
We will need to provide a document type to represent our exported data, so let’s create that next. Our document will be a struct conforming to the FileDocument protocol.
我们将需要提供一个文档类型来表示我们的导出数据,因此让我们接下来创建它。 我们的文档将是符合FileDocument协议的struct 。
Create a new Swift file named MessageDocument.swift with the following contents:
使用以下内容创建一个名为MessageDocument.swift的新Swift文件:
In this example, our document is a simple wrapper around a String var named message. In your application, this document could represent any data you wish to export. The code above is all we need to encode and decode our message to and from a plain text file.
在此示例中,我们的文档是一个名为message的String var的简单包装。 在您的应用程序中,此文档可以代表您希望导出的任何数据。 上面的代码是我们在纯文本文件中对消息进行编码和解码所需要的全部内容。
创建UI (Creating the UI)
Next, we will create a basic UI that will allow us to edit a message and provide buttons for import and export. In ContentView.swift, replace the contents with the following:
接下来,我们将创建一个基本的UI,使我们可以编辑消息并提供用于导入和导出的按钮。 在ContentView.swift ,将内容替换为以下内容:
Not much of interest here. We have created a TextEditor element that is bound to our document’s message property that will allow us to edit our message. We have also made two buttons for import and export bound to a couple of State variables. Now it is time to implement importing and exporting!
这里兴趣不大。 我们已经创建了一个TextEditor元素,该元素绑定到文档的message属性,这将允许我们编辑消息。 我们还为绑定到两个State变量的导入和导出按钮做了两个设置。 现在是时候实现导入和导出了!
实施出口 (Implementing Export)
Underneath the .padding() modifier on our VStack, add the following code:
在我们的VStack的.padding()修饰符VStack ,添加以下代码:
The fileExporter() method takes a binding to our isExporting variable along with a binding to the document to write upon export. We also provide the method a content type that conforms to UTType and a default filename. In our simple example, we can ignore the result, but you may want to be more robust in your application and provide feedback to the user if the export succeeded or failed.
fileExporter()方法将绑定到我们的isExporting变量,并绑定到要在导出时写入的文档。 我们还为该方法提供符合UTType的内容类型和默认文件名。 在我们的简单示例中,我们可以忽略结果,但是您可能希望在应用程序中更强大,并在导出成功或失败时向用户提供反馈。
The code above is all we need to export a file! Run this in the simulator and give it a try! Pressing the Export button should present a modal dialog where you can choose a location in which to save the file and rename the file if desired.
上面的代码是我们导出文件所需的全部! 在模拟器中运行并尝试一下! 按“ Export按钮将显示一个模式对话框,您可以在其中选择保存文件的位置,并根据需要重命名文件。
实施导入 (Implementing Import)
Now that we can export our message, let’s reverse the process and implement import so we can read the data from our newly exported file. Underneath the fileExporter() method, add the following code:
现在我们可以导出消息了,让我们逆向过程并实现导入,以便可以从新导出的文件中读取数据。 在fileExporter()方法下面,添加以下代码:
The fileImporter() method also takes a presentation binding — this time, to our isImporting variable. The allowedContentTypes property takes an array of UTType types that will restrain the user’s selection. You can also set allowsMultipleSelection to true if you want users to select more than one file, but in this simple example, we only allow importing one file at a time.
fileImporter()方法还采用了表示绑定,这一次是绑定到我们的isImporting变量。 该allowedContentTypes属性采用的阵列UTType类型,将限制用户的选择。 如果希望用户选择多个文件,还可以将allowsMultipleSelection设置为true ,但是在此简单示例中,我们一次只允许导入一个文件。
In the result block, the result.get() method returns an array of URLs for the files that the user has selected. In our example, we are only interested in the first URL since we have set allowsMultipleSelection to false. We read the Data from this URL and convert it to a String we can then assign to our document’s message property.
在结果块中, result.get()方法返回用户选择的文件的URL数组。 在我们的示例中,因为我们将allowsMultipleSelection设置为false ,所以我们仅对第一个URL感兴趣。 我们从该URL读取Data ,并将其转换为String ,然后可以将其分配给文档的message属性。
Rerun the project, and you should be able to import the file you exported earlier into the application!
重新运行该项目,您应该能够将之前导出的文件导入应用程序!
结论 (Conclusion)
If you followed this tutorial, you should now have a working example of import and export in SwiftUI.
如果您按照本教程进行操作,那么现在应该有了一个在SwiftUI中导入和导出的有效示例。
Thanks for reading and happy coding!
感谢您的阅读和愉快的编码!
The sample code is available on GitHub.
示例代码可在GitHub上获得 。
Note: At the time of writing this article, the fileImporter and fileExporter view modifiers are only available for iOS 14 and not available for macOS applications. In the sample code I have provided for this tutorial, I have implemented an equivalent example of import and export in a macOS app using @Environment actions. If these new view modifiers become available for macOS apps in the future, I will update the example code to use the new modifiers.
注意:在撰写本文时, fileImporter 和 fileExporter 视图修饰符仅适用于iOS 14,不适用于macOS应用程序。 在 本教程提供 的 示例代码中 ,我使用 @Environment 操作 在macOS应用中实现了导入和导出的等效示例 。 如果这些新的视图修饰符将来可用于macOS应用程序,我将更新示例代码以使用新的修饰符。
翻译自: https://medium.com/better-programming/importing-and-exporting-files-in-swiftui-719086ec712
qt中导入导出文件


 2634
2634

 被折叠的 条评论
为什么被折叠?
被折叠的 条评论
为什么被折叠?
 到【灌水乐园】发言


