入门🎬 (Getting Started 🎬)
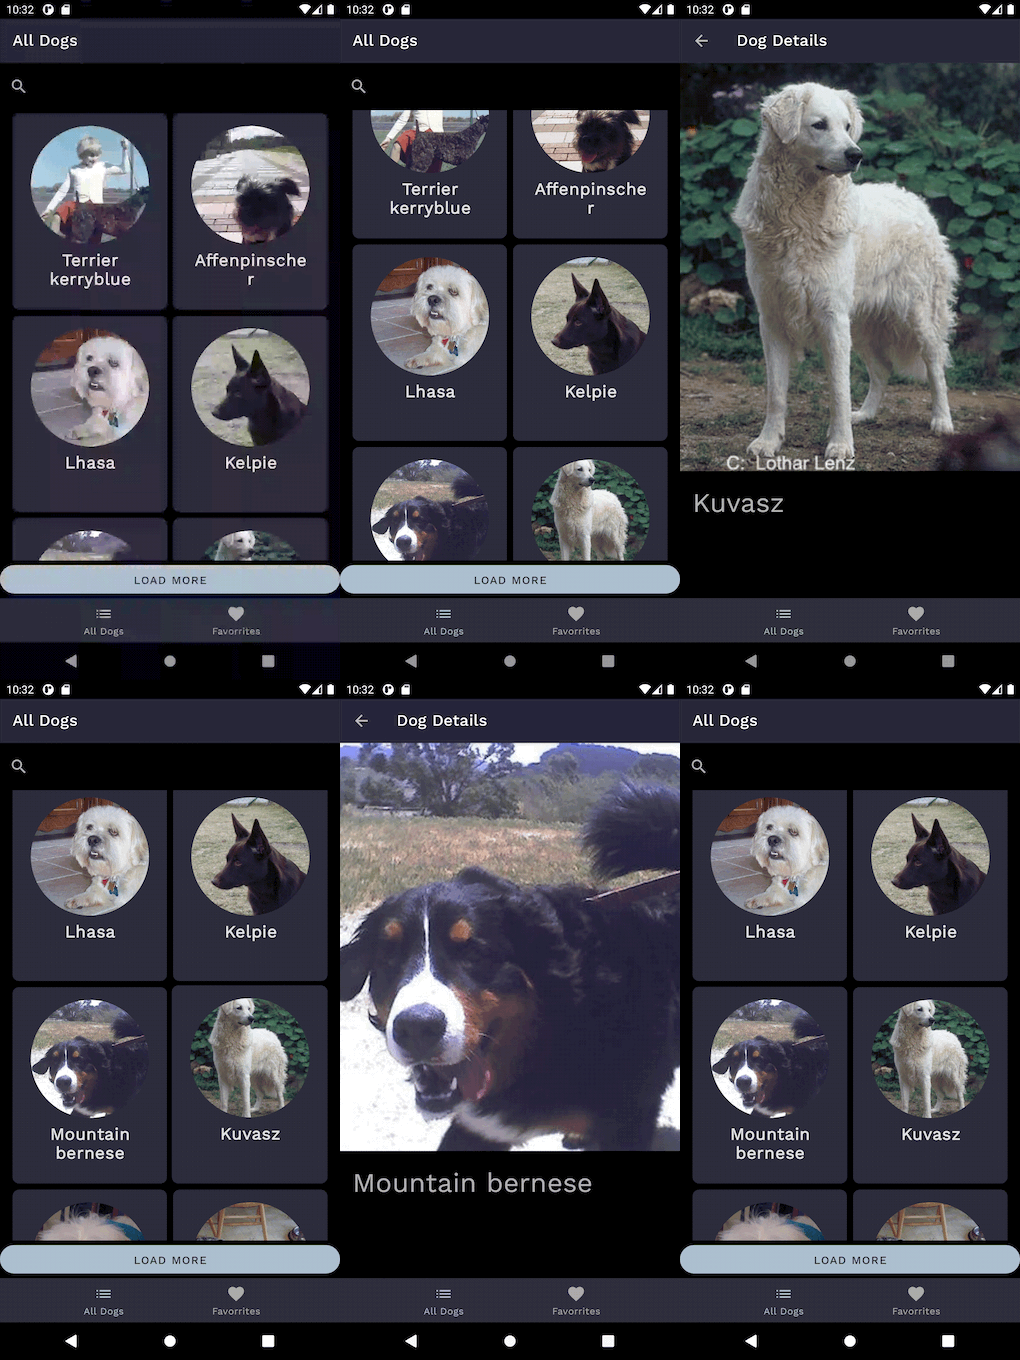
We will add transitions to an app that has two fragments. DogListFragment contains a recycler List while the DogDetailsFragment contains just an Imageview and a textview.
我们将向具有两个片段的应用添加过渡。 DogListFragment包含一个回收者列表,而DogDetailsFragment仅包含一个Imageview和一个textview。

设置⚙️ (Setting up ⚙️)
To observer the transitions more carefully, you’ll need to slow down animations on your device. In the terminal, run —
为了更仔细地观察过渡,您需要放慢设备上的动画。 在终端中,运行-
adb shell settings put global window_animation_scale 10
adb shell settings put global transition_animation_scale 10
adb shell settings put global animator_duration_scale 10
These commands will slow down animation in all your apps. To reset at any time, run —
这些命令将降低所有应用程序中的动画速度。 要随时重置,请运行-
adb shell settings put global window_animation_scale 1
adb shell settings put global transition_animation_scale 1
adb shell settings put global animator_duration_scale 1
For this guide, we will add a transition when an item in the recycler is clicked. The DogListFragment and DogDetailsFragment will be be visually linked thanks to this transition.
对于本指南,我们将在单击回收站中的项目时添加过渡。 由于此过渡, DogListFragment和DogDetailsFragment将在视觉上链接。
Make sure you add Material 1.2.0 to your app’s dependency.
确保将Material 1.2.0添加到应用程序的依赖项中。
implementation 'com.google.android.material:material:1.2.0'狗名单片段设置 (Dog List Fragment Set Up)
The dog_list_fragment.xml contains the layout for the item_dog that will be populated through the Recycler Adapter. It’s a pretty basic view that contains an Imageview to display dog’s picture and a textview to display breed’s name.
dog_list_fragment.xml包含将通过“回收站适配器”填充的item_dog的布局。 这是一个非常基本的视图,其中包含用于显示狗的图片的Imageview和用于显示品种名称的textview。
<?xml version="1.0" encoding="utf-8"?>
<com.google.android.material.card.MaterialCardView xmlns:android="http://schemas.android.com/apk/res/android"
    xmlns:app="http://schemas.android.com/apk/res-auto"
    xmlns:tools="http://schemas.android.com/tools"
    android:id="@+id/item_container"
    android:layout_width="match_parent"
    android:layout_height="wrap_content"
    android:layout_margin="4dp"
    android:src="?attr/selectableItemBackground"
    app:cardCornerRadius="8dp"
    app:cardElevation="6dp">


    <androidx.constraintlayout.widget.ConstraintLayout
        android:layout_width="match_parent"
        android:layout_height="wrap_content"
        android:orientation="vertical"
        android:padding="16dp"
        tools:ignore="UnusedAttribute">


        <com.google.android.material.imageview.ShapeableImageView
            android:id="@+id/image_thumbnail"
            android:layout_width="150dp"
            android:layout_height="150dp"
            android:scaleType="center"
            app:layout_constraintEnd_toEndOf="parent"
            app:layout_constraintStart_toStartOf="parent"
            app:layout_constraintTop_toTopOf="parent"
            app:shapeAppearanceOverlay="@style/CircleImageStyle" />


        <com.google.android.material.textview.MaterialTextView
            android:id="@+id/breed_name"
            android:layout_width="match_parent"
            android:layout_height="wrap_content"
            android:lines="2"
            android:ellipsize="end"
            android:padding="8dp"
            android:textAlignment="center"
            android:textAppearance="?attr/textAppearanceBody1"
            android:textSize="21sp"
            android:textStyle="bold"
            app:layout_constraintEnd_toEndOf="parent"
            app:layout_constraintStart_toStartOf="parent"
            app:layout_constraintTop_toBottomOf="@id/image_thumbnail"
            tools:text="Zootopia" />


    </androidx.constraintlayout.widget.ConstraintLayout>
</com.google.android.material.card.MaterialCardView>
The only thing to notice here is the —
这里唯一要注意的是-
android:id="@+id/item_container"This will be the “Start” view of the Transition.
这将是过渡的“开始”视图。
This is the ID of the Material Card View which wraps around the Imageview and Textview. We will need this ID, as this is the view that gets animated/shared.
这是包装在Imageview和Textview周围的物料卡视图的ID。 我们将需要此ID,因为这是动画/共享的视图。
Now in your recycler Adapter —
现在在您的回收站适配器中-
Add an interface in the recycler with a function that returns the selected item’s view and selected Dog object.
在回收站中添加一个接口,该接口具有返回所选项目的视图和所选 Dog对象的功能。
Set a unique transition name to the view (item_container), in this case I set it as dog.imageUrl as this will be unique for each dog.
为视图( item_container )设置一个唯一的过渡名称,在这种情况下,我将其设置为dog.imageUrl因为这对每条狗来说都是唯一的。
class RecyclerAdapter(val callback: RecyclerViewClickListener) : ListAdapter<Dog, RecyclerAdapter.DogViewHolder>(UserDataAdapterListDiff()) {


    interface RecyclerViewClickListener {
        fun onItemClicked(view: View, dog: Dog)
    }
  ....inner class DogViewHolder(override val containerView: View) : RecyclerView.ViewHolder(containerView), LayoutContainer {
        fun bind(dog: Dog) {
            with(containerView) {
                breed_name.text = dog.breed?.capitalize()
                dog.imageUrl?.let { it1 -> ImageLoader.loadImage(containerView.context, it1, image_thumbnail) }
              //Set the transition name for each Item Container
                ViewCompat.setTransitionName(item_container, dog.imageUrl)
               // Return the VIEW and the DOG object when clicked.
               setOnClickListener { callback.onItemClicked(item_container, dog) }
            }
        }
    }
Now in DogListFragment.kt, implement the interface, and override the onItemClicked() method.
现在,在DogListFragment.kt中,实现接口,并重写onItemClicked()方法。
For the DogDetailFragment.kt , we need the imageUrl and the breed name of the selected Dog item. I use SafeArgs to pass them.
对于DogDetailFragment.kt,我们需要imageUrl和所选Dog项目的品种名称 。 我使用SafeArgs传递它们。
Along with this you also need to pass the selected View(item_container) along with a unique transition name (imageUrl). You can pass them by using Fragment Navigator Extras.
与此同时,您还需要传递选定的View(item_container)以及唯一的过渡名称(imageUrl)。 您可以使用Fragment Navigator Extras传递它们。
FragmentNavigatorExtras(view to dog.imageUrl.toString())to creates a mapping between the View and the transition name.Now pass them to navigate() method.
到创建视图和过渡之间的映射name.Now将它们传递到导航()方法。
class DogListFragment : Fragment(R.layout.dog_list_fragment), RecyclerAdapter.RecyclerViewClickListener {
   private val adapter by lazy(NONE) { RecyclerAdapter(this) }

  override fun onItemClicked(view: View, dog: Dog) {


        val toDogDetailsFragment = DogListFragmentDirections.actionDogListFragmentToDogDetailFragment(dog.imageUrl.toString(), dog.breed)
        val extras = FragmentNavigatorExtras(view to dog.imageUrl.toString())
        navigate(toDogDetailsFragment, extras)
    }

   private fun navigate(destination: NavDirections, extraInfo: FragmentNavigator.Extras) = with(findNavController()) {
        currentDestination?.getAction(destination.actionId)?.let { navigate(destination, extraInfo) }
    }
DogDetails细分设置 (DogDetails Fragement Set Up)
For DogDetails Fragment layout we have —
对于DogDetails片段布局,我们有—
<?xml version="1.0" encoding="utf-8"?>
<androidx.coordinatorlayout.widget.CoordinatorLayout xmlns:android="http://schemas.android.com/apk/res/android"
    xmlns:app="http://schemas.android.com/apk/res-auto"
    xmlns:tools="http://schemas.android.com/tools"

    //End view of the Transition
    android:id="@+id/detail_container"
    android:layout_width="match_parent"
    android:layout_height="match_parent"
    android:fitsSystemWindows="false">


    <androidx.constraintlayout.widget.ConstraintLayout
        android:layout_width="match_parent"
        android:layout_height="match_parent">


        <androidx.appcompat.widget.AppCompatImageView
            android:id="@+id/image_dog_detail"
            android:layout_width="match_parent"
            android:layout_height="0dp"
            android:scaleType="centerCrop"
            app:layout_constraintDimensionRatio="1:1.2"
            app:layout_constraintLeft_toLeftOf="parent"
            app:layout_constraintRight_toRightOf="parent"
            app:layout_constraintTop_toTopOf="parent" />


        <androidx.appcompat.widget.AppCompatTextView
            android:id="@+id/textview_dog_breed"
            android:layout_width="wrap_content"
            android:layout_height="wrap_content"
            android:layout_marginStart="16dp"
            android:layout_marginTop="20dp"
            android:fontFamily="@font/work_sans_bold"
            android:textAppearance="?attr/textAppearanceHeadline4"
            app:fontFamily="@font/work_sans"
            app:layout_constraintStart_toStartOf="parent"
            app:layout_constraintTop_toBottomOf="@+id/image_dog_detail" />
    </androidx.constraintlayout.widget.ConstraintLayout>
</androidx.coordinatorlayout.widget.CoordinatorLayout>
The view with “@+id/detail_container” will serve as the “End” view of the transition .
带有“ @ + id / detail_container”的视图将用作过渡的“结束”视图。
The transition names for both the “start” view and the “end” view should be same. This helps android understand the shared elements involved in the transition. Set the transition name (imageUrl) for the end view.
“开始”视图和“结束”视图的过渡名称应相同。 这有助于android了解过渡所涉及的共享元素。 设置最终视图的过渡名称(imageUrl)。
class DogDetailFragment : Fragment(R.layout.dog_detail_fragment) {


    private val args: DogDetailFragmentArgs by navArgs()

    override fun onViewCreated(view: View, savedInstanceState: Bundle?) {
        super.onViewCreated(view, savedInstanceState)
        val (imageUrl, breed) = args
         ImageLoader.loadImage(requireContext(), imageUrl, image_dog_detail)
        textview_dog_breed.text = breed
        //Set the unique transition name to the "end" view
        detail_container.transitionName = imageUrl
    }
}
共享元素过渡 (Shared Element Transition)
In the onCreate Method, set the sharedElementEnterTransition. Android Transition will automatically reverse the transition when you hit back, so there’s no need to set a return transition.
在onCreate方法中,设置sharedElementEnterTransition。 当您回弹时,Android Transition会自动反转过渡,因此无需设置返回过渡。
override fun onCreate(savedInstanceState: Bundle?) {


        sharedElementEnterTransition = MaterialContainerTransform().apply {

            duration = 300L
            isElevationShadowEnabled = true
            setAllContainerColors(requireContext().themeColor(R.attr.colorSurface))
        }
        super.onCreate(savedInstanceState)
    }
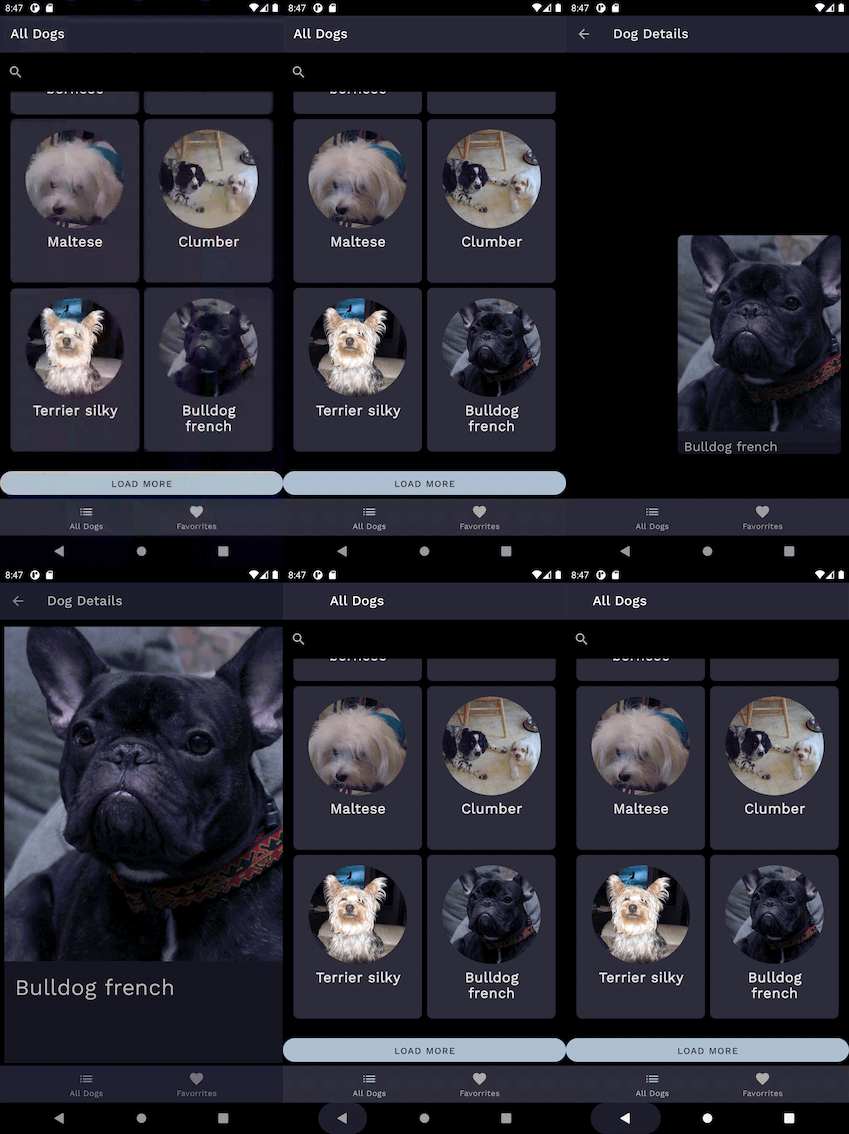
You would have ended up with something like this. Notice the image doesn’t snap back in the recycler list when you press the Back button.
您可能最终会遇到这样的事情。 请注意,当您按“后退”按钮时,图像不会在回收商列表中恢复 。

使动画更流畅,更直观 (Making Animation smoother and more intuitive)
To fix this, Add this to the DogListFragment.kt
要解决此问题,请将其添加到DogListFragment.kt
override fun onViewCreated(view: View, savedInstanceState: Bundle?) {
        super.onViewCreated(view, savedInstanceState)
        postponeEnterTransition()
        view.doOnPreDraw { startPostponedEnterTransition() }
        ...
    }
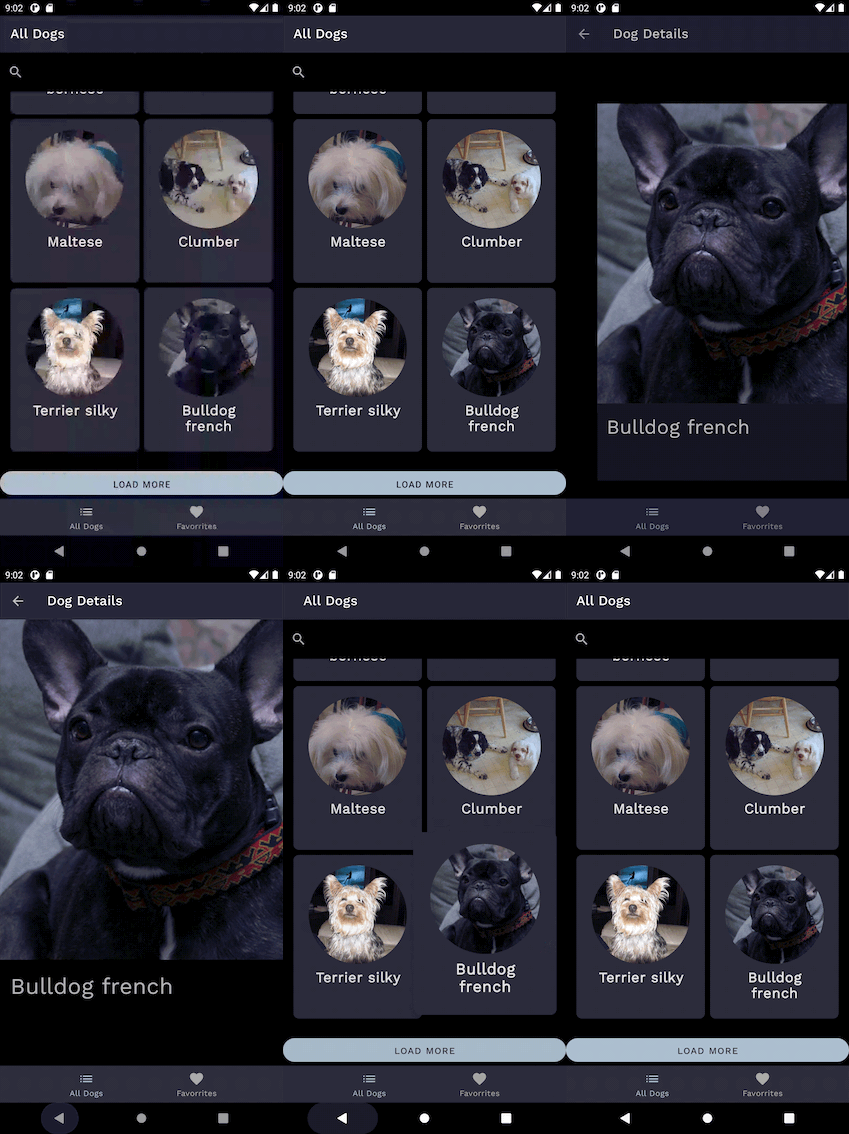
This will ensure that the DogListFragment is loaded before the return transition is run. Now the transition should look like this.
这将确保在运行返回转换之前加载DogListFragment。 现在过渡应该看起来像这样。

If you notice carefully when the Dog item is clicked, the DogList Fragment is immediately replaced. We want it to stay until the DogDetail fragment loads up.
如果您在单击Dog项目时仔细注意到,则DogList片段将立即替换。 我们希望它保留直到DogDetail片段加载为止。
Also on re-entering the Dog List Screen on pressing back, I want the DogList fragment to scale up a bit(just a bit of animation). In the onItemClicked() method set the exit and re-enter transition before navigating.
同样在按回去重新进入Dog List屏幕时,我希望DogList片段扩大一点(只是动画一点)。 在onItemClicked()方法中,在导航之前设置退出并重新输入过渡。
override fun itemClickedClicked(view: View, dog: Dog) {

        exitTransition = Hold().apply {
            duration = resources.getInteger(R.integer.motion_duration_large).toLong()
        }


        reenterTransition = MaterialElevationScale(true).apply {
            duration = resources.getInteger(R.integer.motion_duration_small).toLong()
        }
        val toDogDetailsFragment = DogListFragmentDirections.actionDogListFragmentToDogDetailFragment(dog.imageUrl.toString(), dog.breed)
        val extras = FragmentNavigatorExtras(view to dog.imageUrl.toString())
        navigate(toDogDetailsFragment, extras)
    }
you完成了 (And you’re done 🚩)
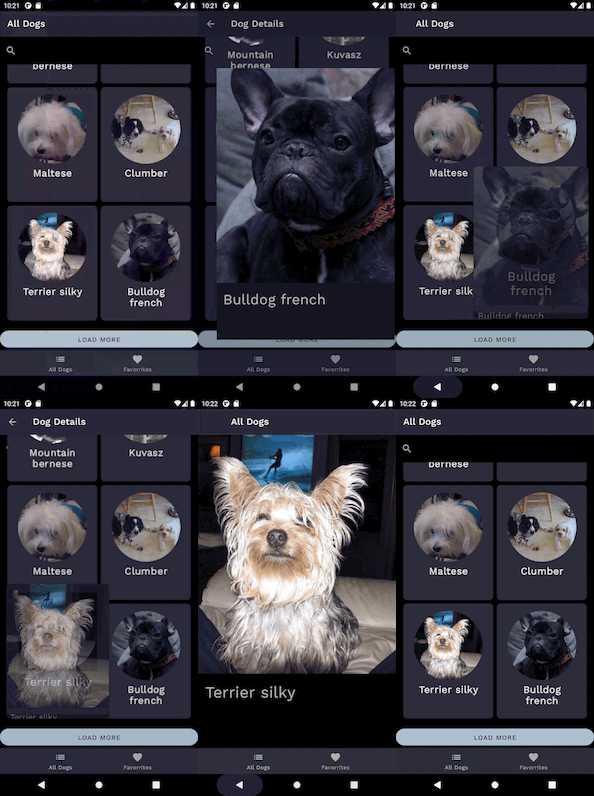
You should have something that looks like this. This type of transition is called a Container Transformation.
您应该有这样的东西。 这种转换类型称为容器转换 。


 517
517


 被折叠的 条评论
为什么被折叠?


