


功能说明
本文的示例以下图为准:
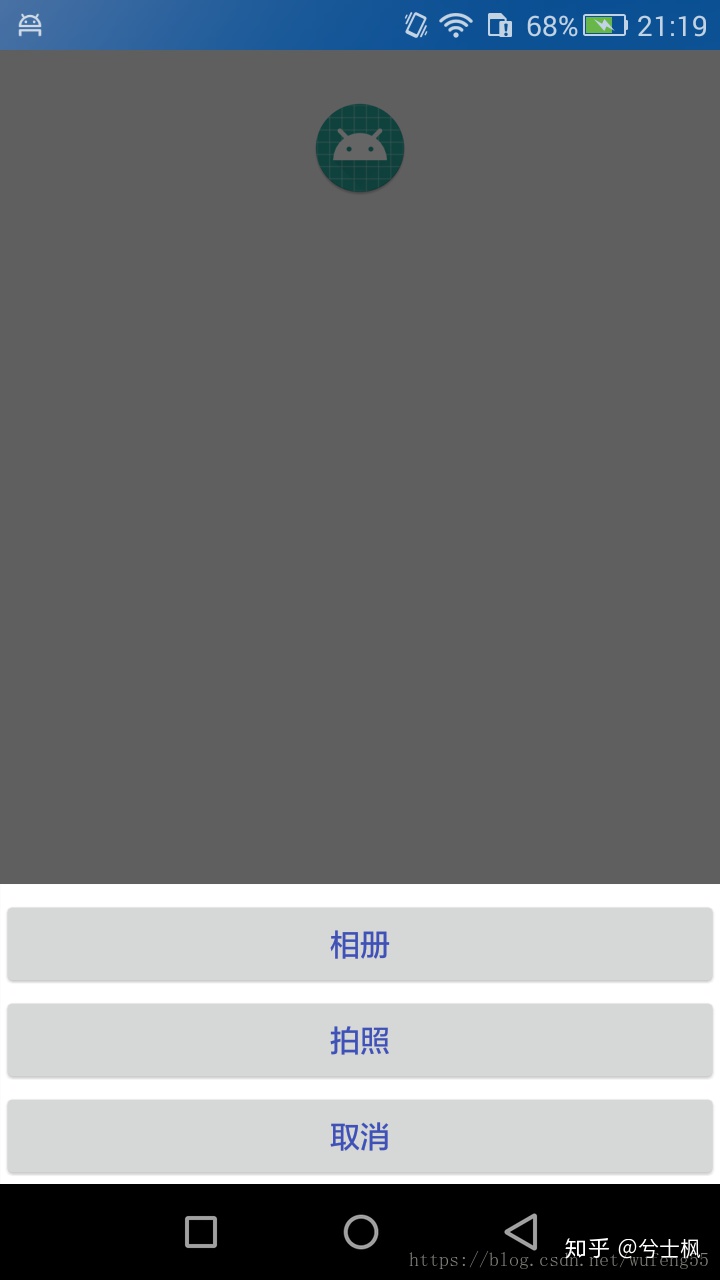
界面只有一个 ImageView,点击 ImageView 弹出 DialogFragment,分别是拍照和相册选择图片功能,其中都带有系统的裁剪功能,将裁剪后的图片显示在 ImageView 上。如果不需要裁剪功能,只需要将代码中的裁剪方法注释掉即可。
6.0 以下版本
1. 权限
<uses-feature android:name="android.hardware.camera" />
<!--相机权限-->
<uses-permission android:name="android.permission.CAMERA" />
<!--写入SD卡的权限:如果你希望保存相机拍照后的照片-->
<uses-permission android:name="android.permission.WRITE_EXTERNAL_STORAGE" />
<!--读取SD卡的权限:打开相册选取图片所必须的权限-->
<uses-permission android:name="android.permission.READ_EXTERNAL_STORAGE" />
2. 拍照代码
/**
* 打开系统相机
*/
private void openSysCamera() {
Intent cameraIntent = new Intent(MediaStore.ACTION_IMAGE_CAPTURE);
cameraIntent.putExtra(MediaStore.EXTRA_OUTPUT, Uri.fromFile(
new File(Environment.getExternalStorageDirectory(), imgName)));
startActivityForResult(cameraIntent, CAMERA_RESULT_CODE);
}
其中 imgName 是拍照图片的名字,一般以时间戳再加上自定义字符串命名;CAMERA_RESULT_CODE 是自定义的一个常量,作为拍照的请求码。
onActivityResult 处理拍照后的图片
case CAMERA_RESULT_CODE:
tempFile = new File(Environment.getExternalStorageDirectory(), imgName);
cropPic(Uri.fromFile(tempFile));
break;
将拍照后的图片创建成一个 File 对象,用来裁剪,裁剪的功能代码是和相册选取图片通用的。
裁剪代码
/**
* 裁剪图片
*
* @param data
*/
private void cropPic(Uri data) {
if (data == null) {
return;
}
Intent cropIntent = new Intent("com.android.camera.action.CROP");
cropIntent.setDataAndType(data, "image/*");
// 开启裁剪:打开的Intent所显示的View可裁剪
cropIntent.putExtra("crop", "true");
// 裁剪宽高比
cropIntent.putExtra("aspectX", 1);
cropIntent.putExtra("aspectY", 1);
// 裁剪输出大小
cropIntent.putExtra("outputX", 320);
cropIntent.putExtra("outputY", 320);
cropIntent.putExtra("scale", true);
/**
* return-data
* 这个属性决定我们在 onActivityResult 中接收到的是什么数据,
* 如果设置为true 那么data将会返回一个bitmap
* 如果设置为false,则会将图片保存到本地并将对应的uri返回,当然这个uri得有我们自己设定。
* 系统裁剪完成后将会将裁剪完成的图片保存在我们所这设定这个uri地址上。我们只需要在裁剪完成后直接调用该uri来设置图片,就可以了。
*/
cropIntent.putExtra("return-data", true);
// 当 return-data 为 false 的时候需要设置这句
// cropIntent.putExtra(MediaStore.EXTRA_OUTPUT, imageUri);
// 图片输出格式
// cropIntent.putExtra("outputFormat", Bitmap.CompressFormat.JPEG.toString());
// 头像识别 会启动系统的拍照时人脸识别
// cropIntent.putExtra("noFaceDetection", true);
startActivityForResult(cropIntent, CROP_RESULT_CODE);
}
其中的 CROP_RESULT
 最低0.47元/天 解锁文章


 1256
1256


 被折叠的 条评论
为什么被折叠?
被折叠的 条评论
为什么被折叠?
 到【灌水乐园】发言


