


2019年10月份在Apple更新了macOS Catalina后,搜到的早于次更新的方法都出现了问题,参考VS Code的官方教程以及官方教程提到的issue #3829得到了以下使用CodeLLDB扩展来解决问题。(与官方教程基本一致,改动部分为关键部分,加粗标出)
一、安装VS Code及扩展
- 在官网下载安装mac版本VS Code
- 安装C/C++、C/C++ Clang Command Adapter及CodeLLDB扩展
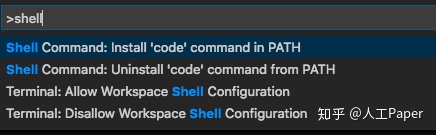
- 按⇧⌘P,输入shell,选择如图命令
二、搭建测试项目
在Terminal输入以下命令
mkdir projects
cd projects
mkdir helloworld
cd helloworld
code .
三、设置编译器路径
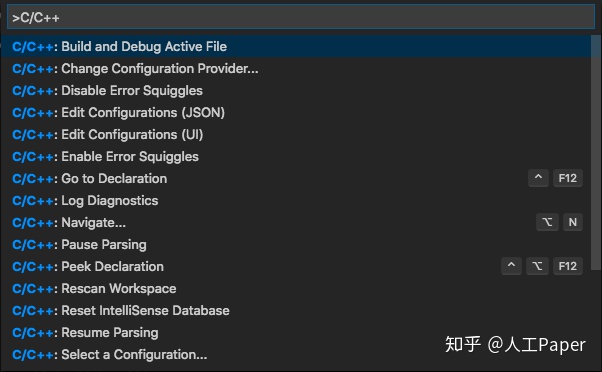
⇧⌘P,输入C/C++,选择Edit Configurations (UI)。Edit Configurations (JSON)应该也可以,没有测试过
保持默认设置即可,中间设置的解释可参考开头官网链接
四、创建build task
- 按⇧⌘P,输入Task
- 选择tasks: Configure Default Build Task
- 选择Create tasks.json file from template
- 选择Others
- VS Code会创建一个tasks.json,在编辑器中打开
- 按照如下设置task.json
{
  "version": "2.0.0",
  "tasks": [
    {
      "label": "Build with Clang",
      "type": "shell",
      "command": "clang++",
      "args": [
        "-std=c++17",
        "-stdlib=libc++",
        "helloworld.cpp",
        "-o",
        "helloworld.out",
        "--debug"
      ],
      "group": {
        "kind": "build",
        "isDefault": true
      }
    }
  ]
}
在实际使用中,将helloworld.cpp和helloworld.out改为你的项目中对应的内容
五、设置debug setting
- 按⇧⌘P,输入launch,选择Debug:Open launch.json
- 选择LLDB
- 会生成如下launch.json文件
{
    "version": "0.2.0",
    "configurations": [
        {
            "type": "lldb",
            "request": "launch",
            "name": "Debug",
            "program": "${workspaceFolder}/<your program>",
            "args": [],
            "cwd": "${workspaceFolder}"
        }
    ]
}
将<your program>改为helloworld.out
六、添加源文件
创建helloworld.cpp,输入如下代码
#include <iostream>
#include <vector>
#include <string>

using namespace std;

int main()
{

    vector<string> msg {"Hello", "C++", "World", "from", "VS Code!"};

    for (const string& word : msg)
    {
        cout << word << " ";
    }
    cout << endl;
}
七、Build
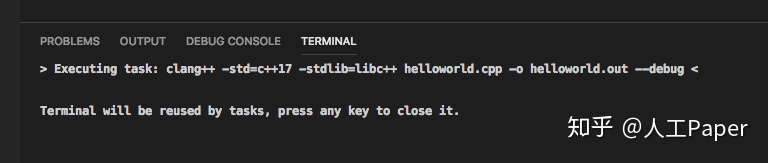
按⇧⌘B来编译
会出现如下提示
八、运行&Debug
点击Debug -> Run Without Debugging 即可直接运行出结果
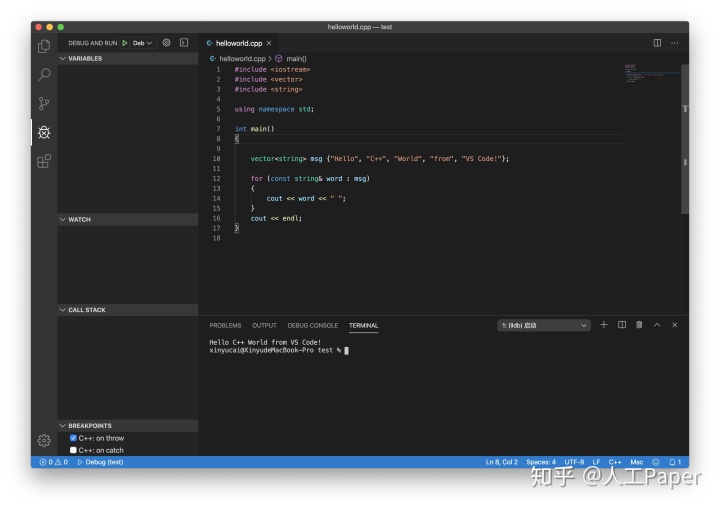
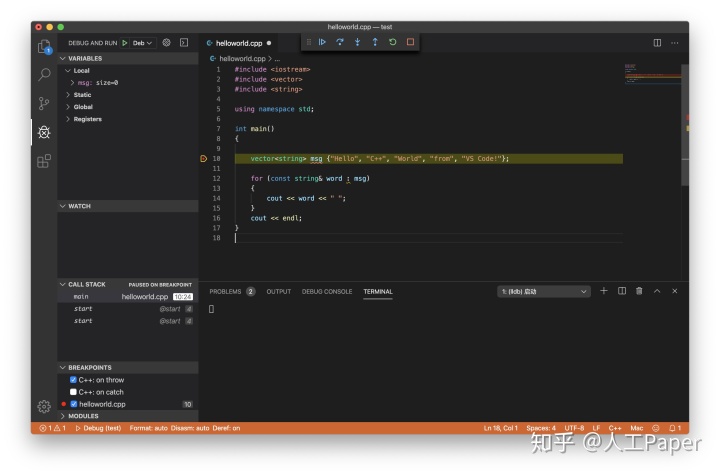
设置断点,Debug -> Start Debugging即可进入Debug


 5133
5133

 被折叠的 条评论
为什么被折叠?
被折叠的 条评论
为什么被折叠?
 到【灌水乐园】发言


