


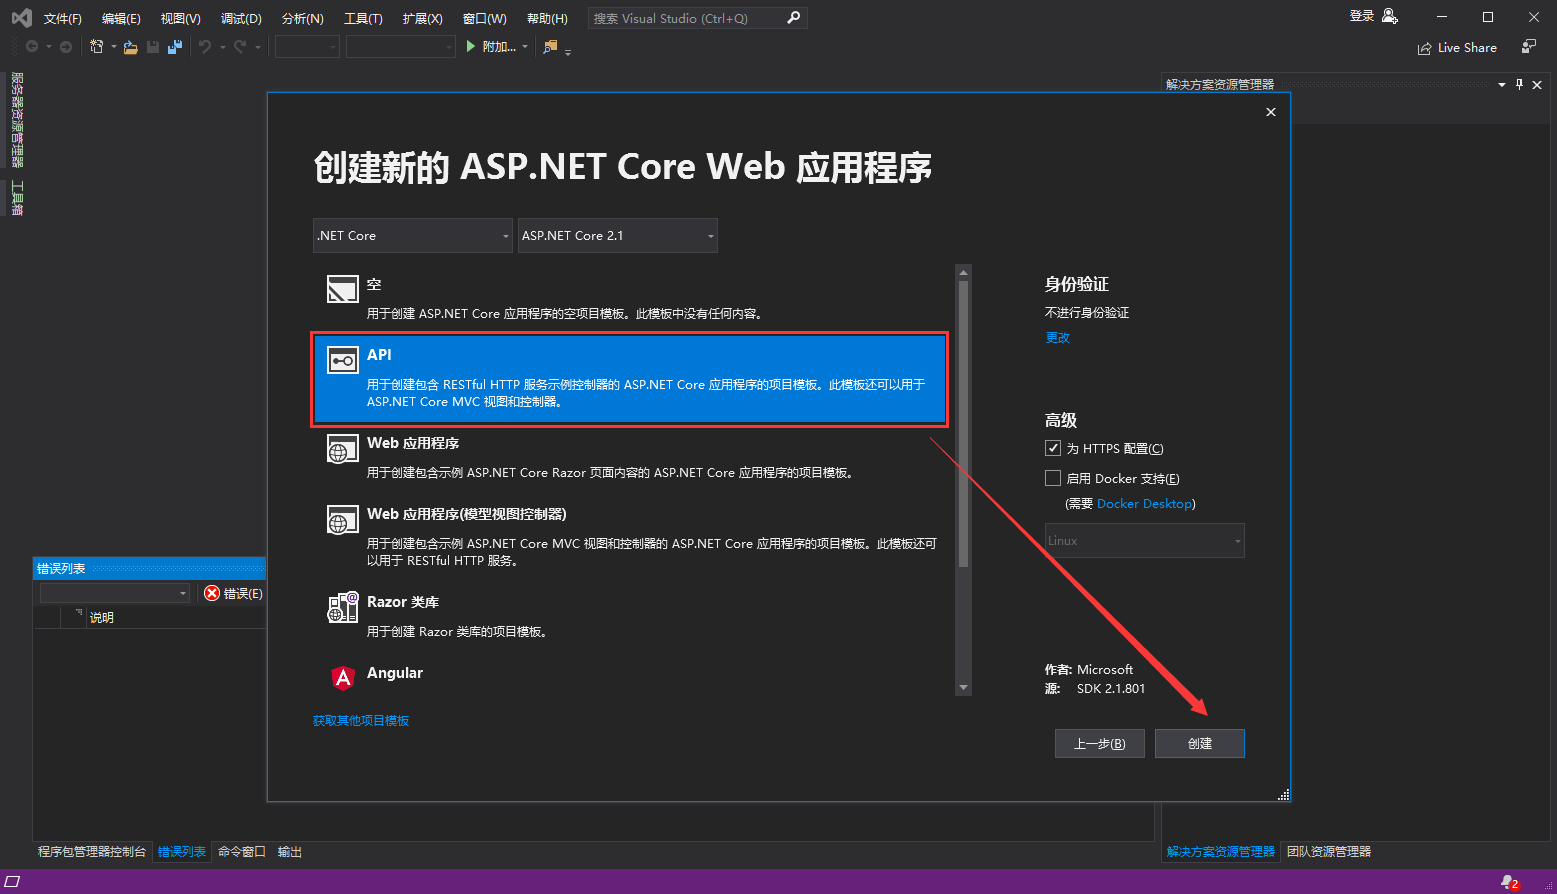
1、新建.netCore webapi项目
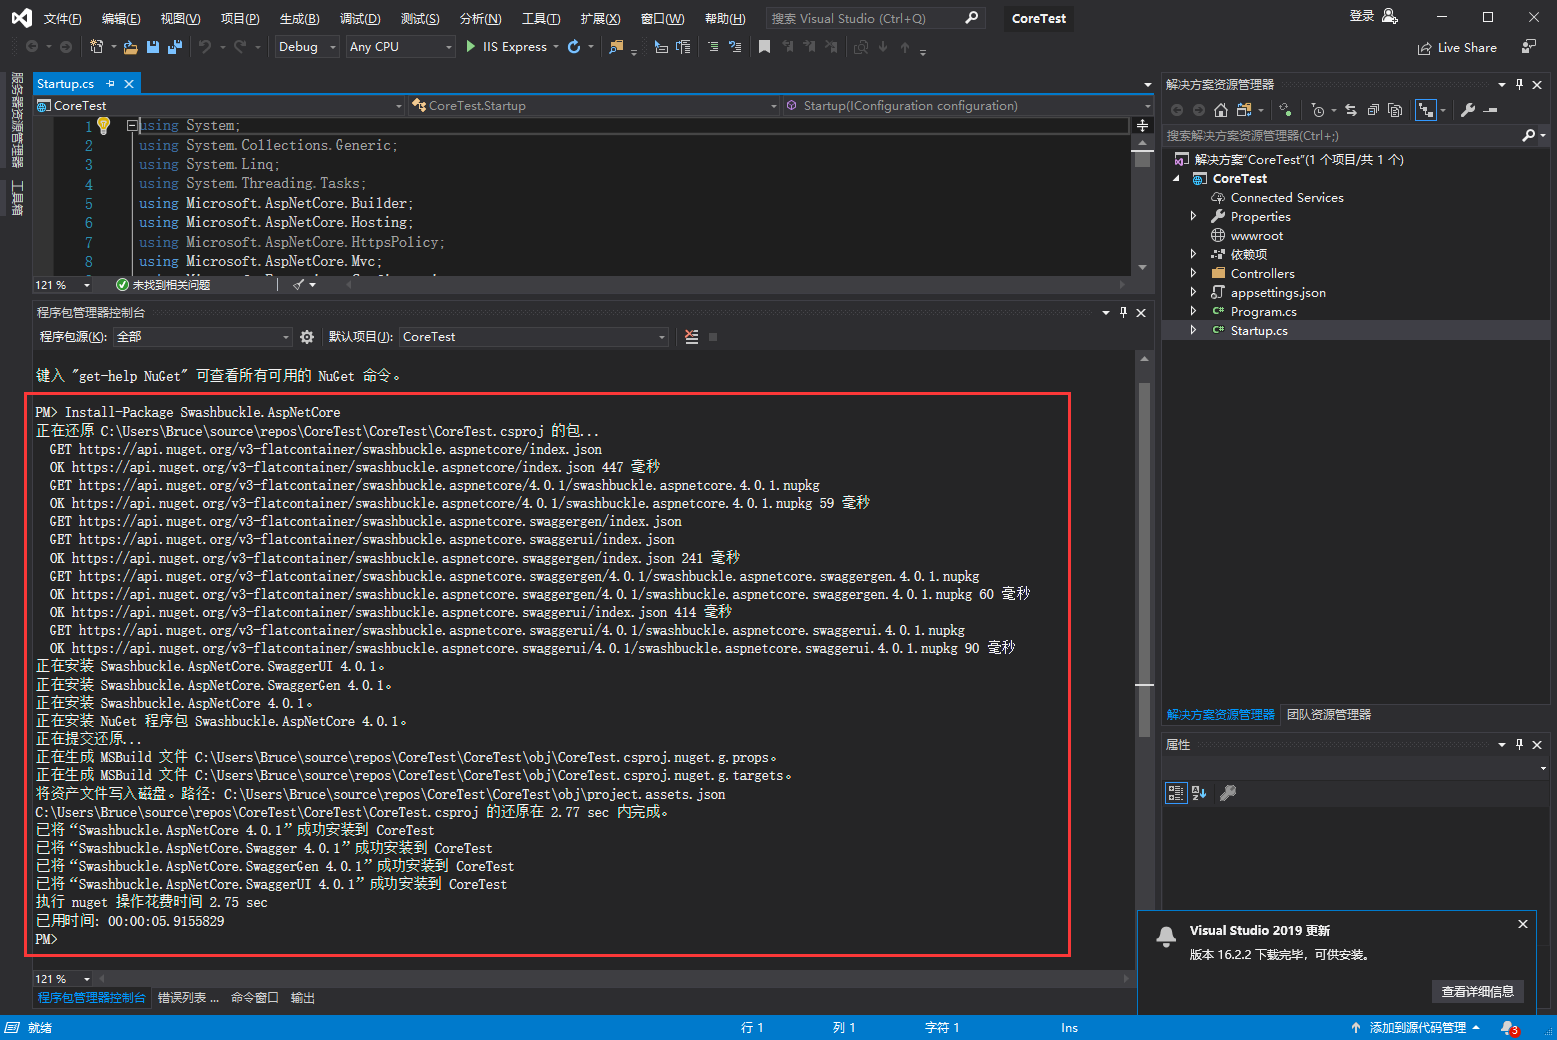
2、安装swagger ,通过 Package Manager 控制台:
3、Startup.cs中注册服务并添加至管道
1 usingSystem;2 usingSystem.Collections.Generic;3 usingSystem.Linq;4 usingSystem.Threading.Tasks;5 usingMicrosoft.AspNetCore.Builder;6 usingMicrosoft.AspNetCore.Hosting;7 usingMicrosoft.AspNetCore.HttpsPolicy;8 usingMicrosoft.AspNetCore.Mvc;9 usingMicrosoft.Extensions.Configuration;10 usingMicrosoft.Extensions.DependencyInjection;11 usingMicrosoft.Extensions.Logging;12 usingMicrosoft.Extensions.Options;13
14 namespaceCoreTest15 {16 public classStartup17 {18 publicStartup(IConfiguration configuration)19 {20 Configuration =configuration;21 }22 public IConfiguration Configuration { get; }23 //This method gets called by the runtime. Use this method to add services to the container.
24 public voidConfigureServices(IServiceCollection services)25 {26 services.AddMvc().SetCompatibilityVersion(CompatibilityVersion.Version_2_1);27
28 //1、注册服务Swagger
29 services.AddSwaggerGen(options =>
30 {31 options.SwaggerDoc("v1", newSwashbuckle.AspNetCore.Swagger.Info32 {33 Version = "v1",34 Title = "My API",35 Description = "by JiaJia"
36 });37 });38 }39 //This method gets called by the runtime. Use this method to configure the HTTP request pipeline.
40 public voidConfigure(IApplicationBuilder app, IHostingEnvironment env)41 {42 if(env.IsDevelopment())43 {44 app.UseDeveloperExceptionPage();45 }46 else
47 {48 app.UseHsts();49 }50 app.UseHttpsRedirection();51 app.UseMvc();52
53 //2、添加到管道
54 #if DEBUG
55 app.UseSwagger();56 app.UseSwaggerUI(c =>
57 {58 c.SwaggerEndpoint("/swagger/v1/swagger.json", "My API V1");59 //c.DocExpansion(DocExpansion.None);
60 });61 #endif
62 }63 }64 }
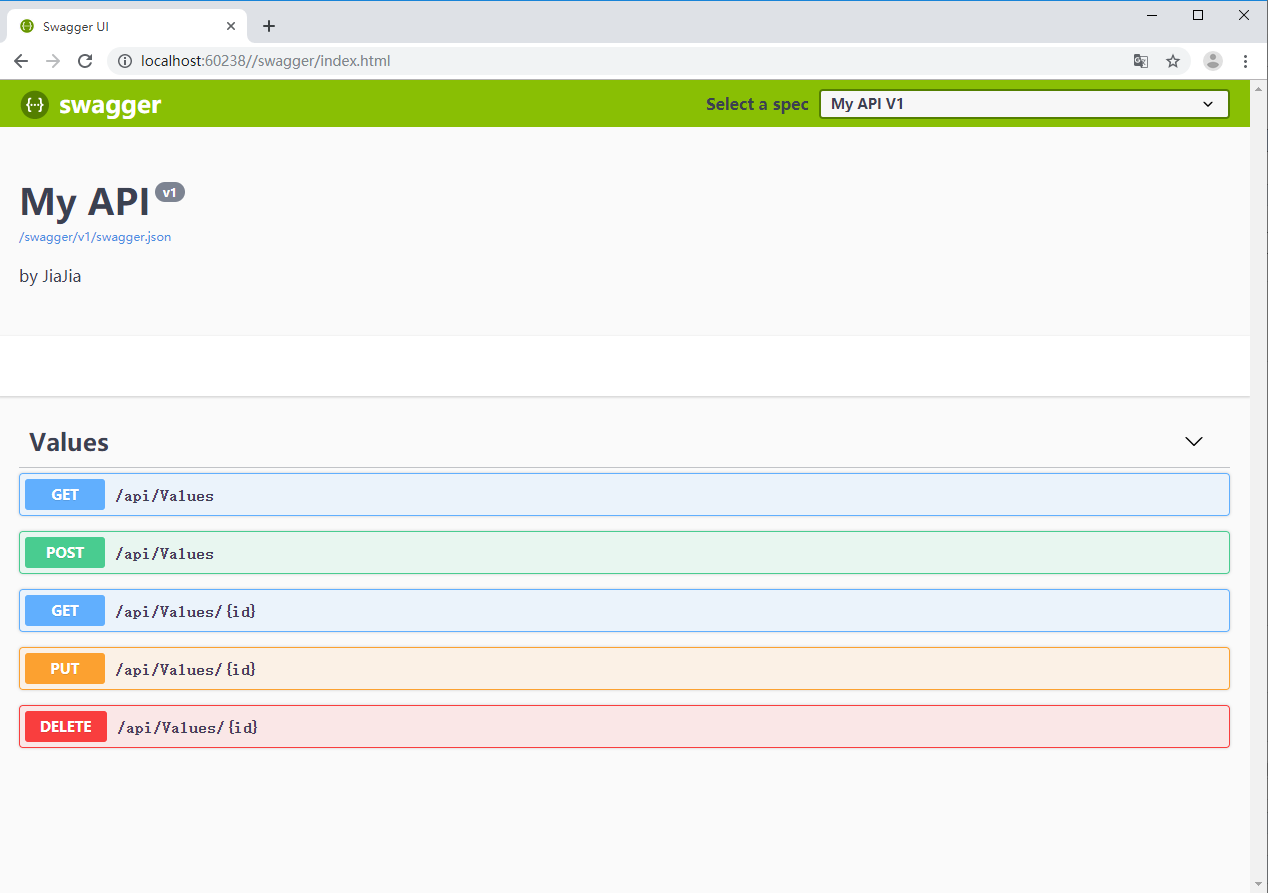
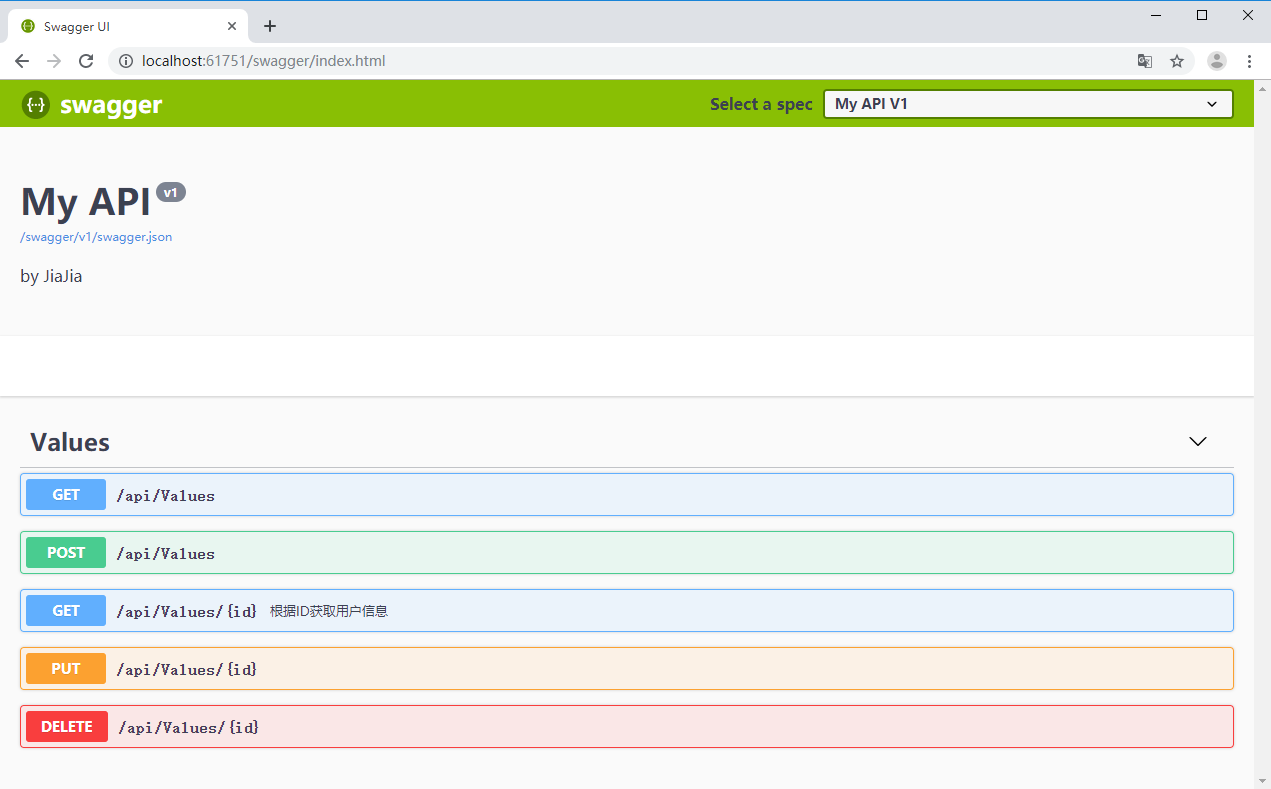
4、访问 Swagger UI 地址
http://localhost:60238/swagger/index.html
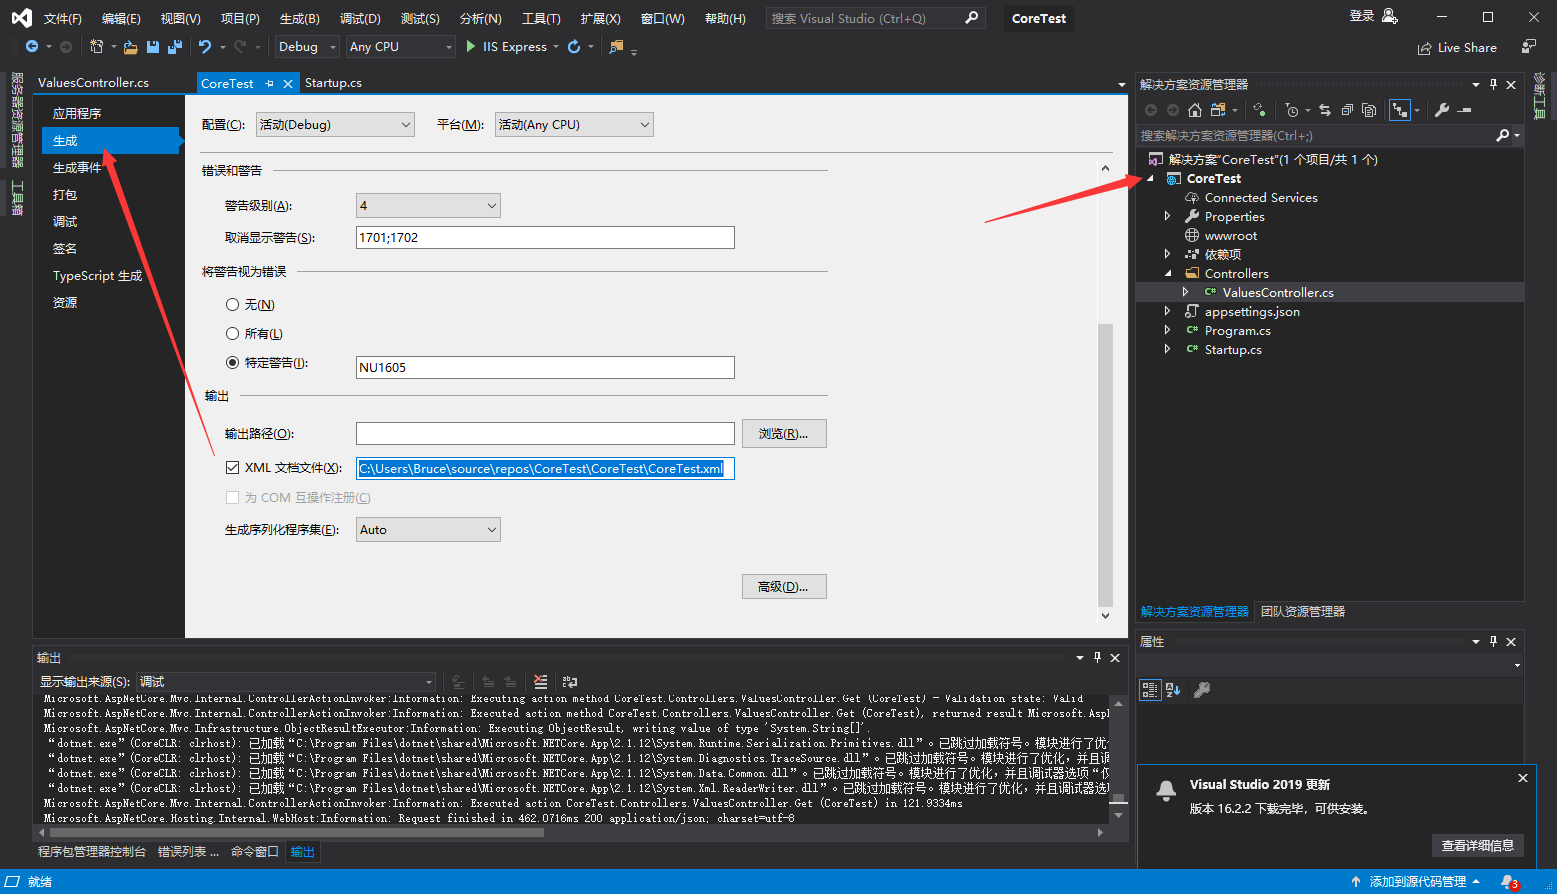
5、添加备注
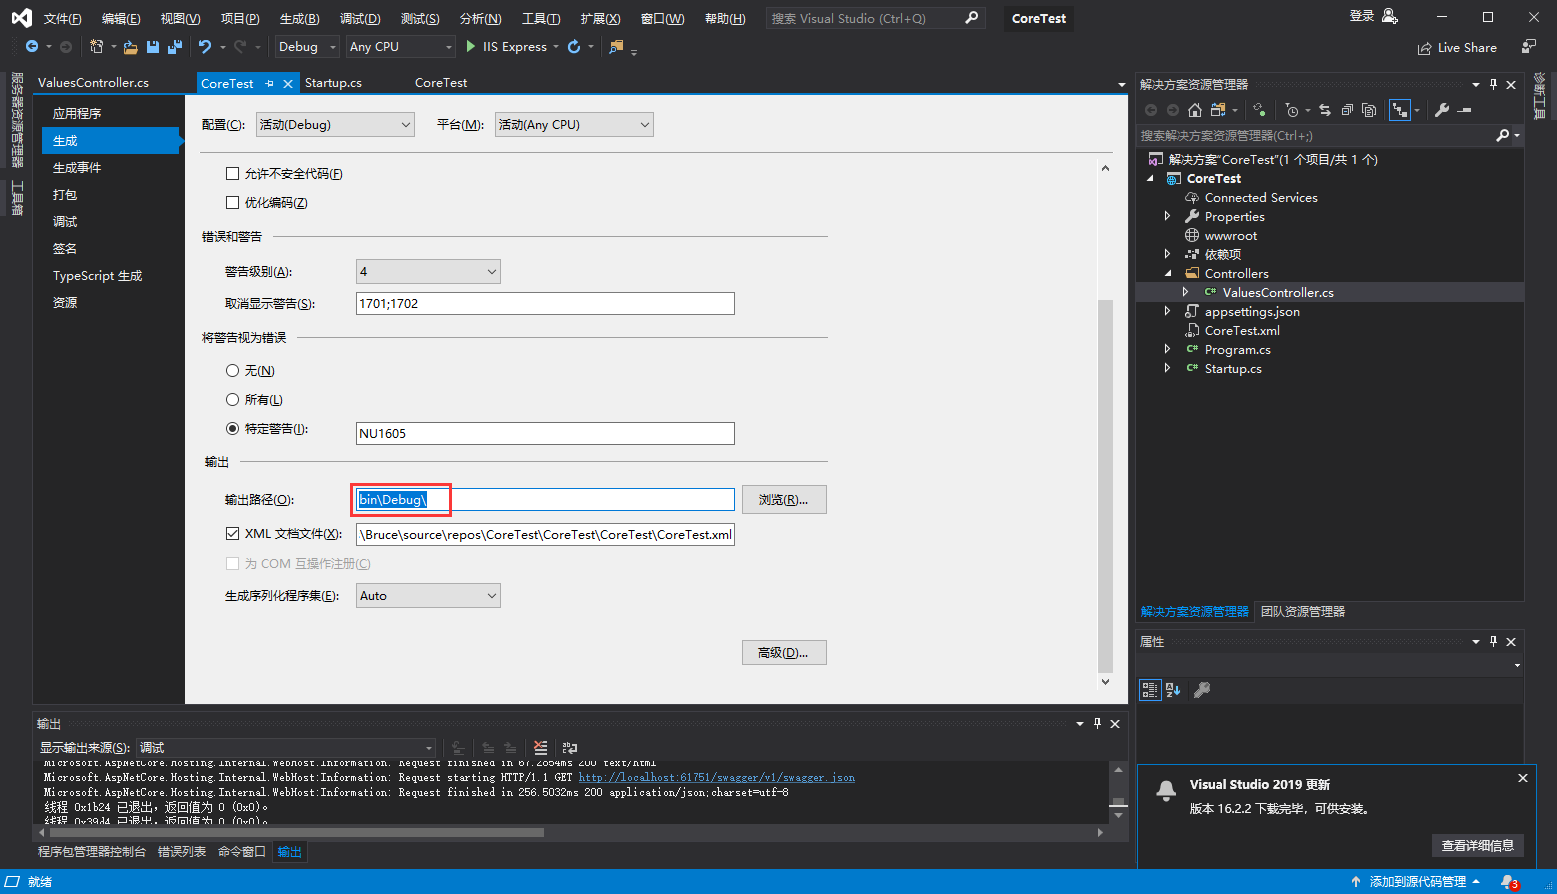
1)在项目属性的 生成 => 输出 中勾选 XML文档文件。
2)在 Start.cs => ConfigureServices 方法中的 AddSwaggerGen 处增加 IncludeXmlComments 处理。
1 //1、注册服务Swagger
2 services.AddSwaggerGen(options =>
3 {4 options.SwaggerDoc("v1", newSwashbuckle.AspNetCore.Swagger.Info5 {6 Version = "v1",7 Title = "My API",8 Description = "by JiaJia"
9 });10 //在 Start.cs => ConfigureServices 方法中的 AddSwaggerGen 处增加 IncludeXmlComments 处理。
11 options.IncludeXmlComments(string.Format("{0}/CoreTest.xml",12 AppDomain.CurrentDomain.BaseDirectory));13
14 /*或者这种添加方式//为 Swagger JSON and UI设置xml文档注释路径15 var basePath = Path.GetDirectoryName(typeof(Program).Assembly.Location);//获取应用程序所在目录(绝对,不受工作目录影响,建议采用此方法获取路径)16 var xmlPath = Path.Combine(basePath, "CoreTest.xml");//和项目名对应17 options.IncludeXmlComments(xmlPath);*/
18 });
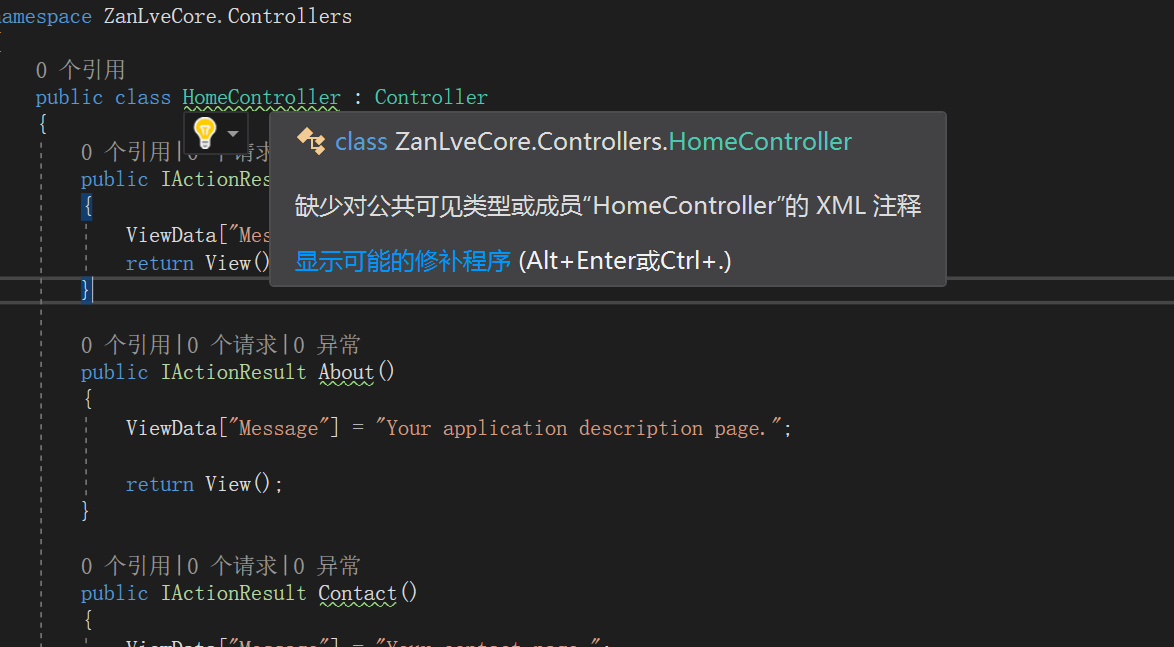
3)控制器对Action添加注释信息
1 ///
2 ///根据ID获取用户信息3 ///
4 /// 用户ID
5 /// 用户信息
6 [HttpGet("{id}")]7 public ActionResult Get(intid)8 {9 return "user info";10 }
4)(指定输出路径默认空白,需要填写:bin\Debug\),而且默认的(CoreTest.xml)xml文件,与Startup的文件必须对应(否则会报错)
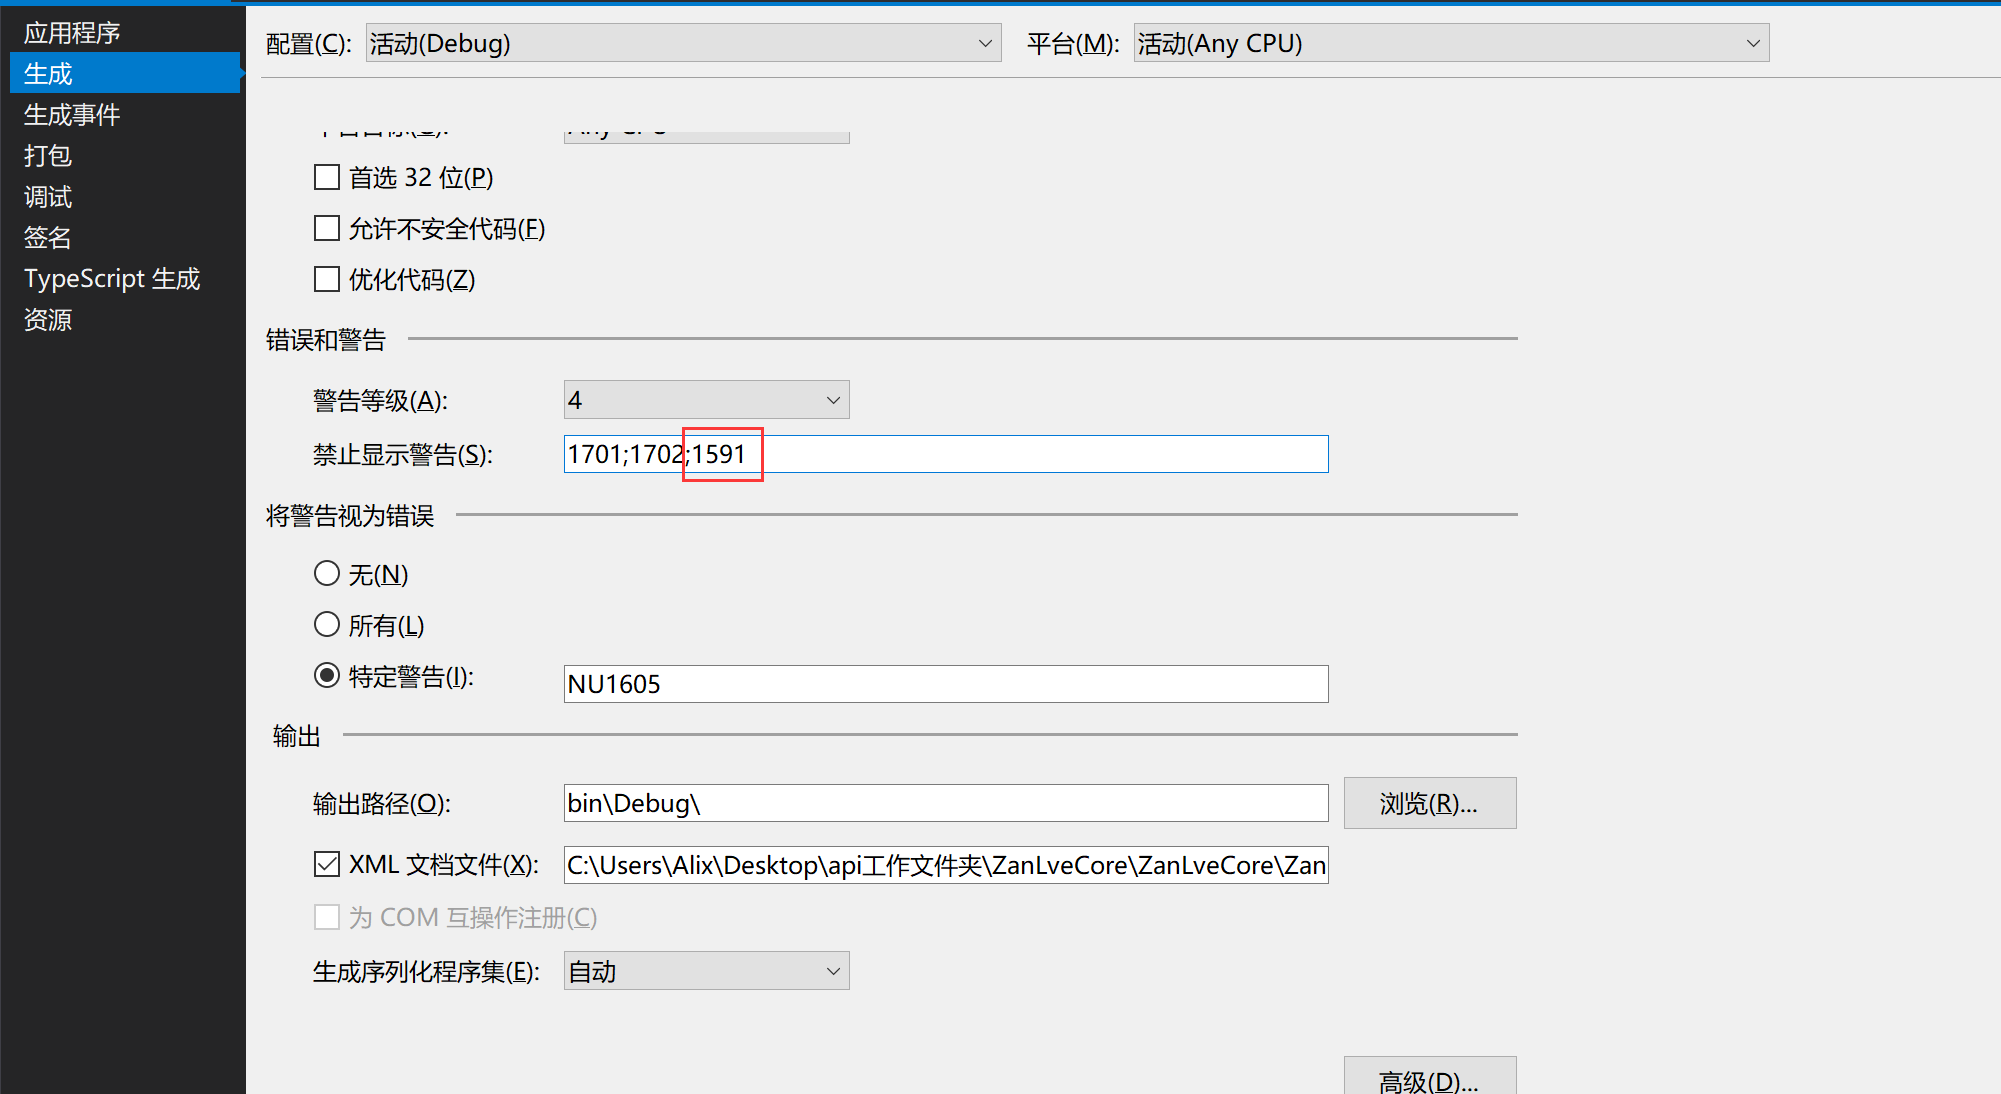
5)不想每一个方法都这么加注释,可以这么配置(对当前项目进行配置,可以忽略警告,记得在后边加上分号 ;1591)
最终效果:
二、接口执行时间分析——MiniProfiler
搭建MiniProfiler
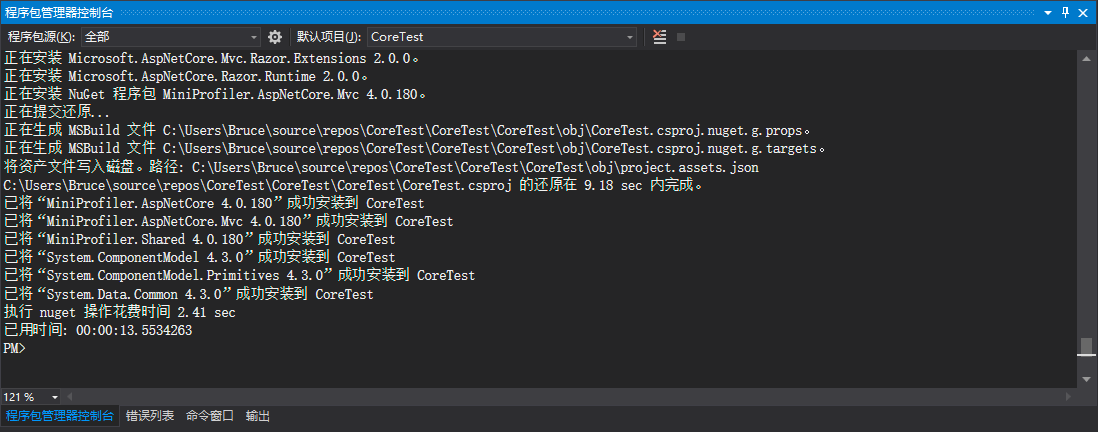
安装引入nuget包:
Install-Package MiniProfiler.AspNetCore.Mvc
然后,在startup.cs 中配置服务ConfigureServices:
1 //注册服务MiniProfiler
2 services.AddMiniProfiler(options =>
3 {4 options.RouteBasePath = "/profiler";//注意这个路径要和下边 index.html 脚本配置中的一致,
5 (options.Storage as MemoryCacheStorage).CacheDuration = TimeSpan.FromMinutes(10);6 });
3、最后,调用下中间件即可:
1 //调用MiniProfiler中间件
2 app.UseMiniProfiler();
在 Swagger 中配置 MiniProfiler
上边我们在配置中已经启动了服务,接下来就需要设置如何在 swagger 中展示了,这个时候我们就需要自定义我们的swagger主页了,以前我们是用的默认的index.html,现在咱们需要自定义一个:
1
2
3
4
5
6
%(DocumentTitle)7
8
9
10
11
12
13
14
15 html{
16 box-sizing:border-box;
17 overflow:-moz-scrollbars-vertical;
18 overflow-y:scroll;
19 }
20
21 *,22 *:before,23 *:after{
24 box-sizing:inherit;
25 }
26
27 body{
28 margin:0;
29 background:#fafafa;
30 }
31
32 %(HeadContent)33
34
35
36
37
38
39
40
41
42
43
44
45
46
47
48
49
50
51
52
53
54
55
56
57
58
59
60
61


 319
319


 被折叠的 条评论
为什么被折叠?
被折叠的 条评论
为什么被折叠?
 到【灌水乐园】发言


