起因:
最近阅读 vue 官方文档时看到了渲染函数&jsx这一章,其中文档里对 createElement 各个参数的内容都有了详细的解释,但是在使用时对第二个位置的数据对象里的参数 scopedSlots 和 slot 还是无法有很好的理解。
场景:
在我的代码里我希望实现的功能是,在自定义渲染函数里实现自定义插槽的功能。
以下知识点需建立在对vue插槽有深刻的理解的基础上进行。
插槽 — Vue.jscn.vuejs.org
知识模糊点:
$slots 、 $scopedSlots、scopedSlots 、slot
经过:
场景一:实现自定义渲染函数里含有自定义插槽功能
<template>
  <div id="app">
    <comp>
      <template #h1> h1 </template>
      <template #h2> h2 </template>
      <template #h3> h3 </template>
    </comp>
  </div>
</template>

<script>
const comp = {
  render(createElement) {
    return createElement('div', [
      createElement('h1', this.$slots.h1),
      createElement('h2', this.$slots.h2),
      createElement('h3', this.$slots.h3),
    ])
  },
}

export default {
  name: 'App',
  components: {
    comp,
  },
}
</script>

<style>
#app {
  font-family: Avenir, Helvetica, Arial, sans-serif;
  -webkit-font-smoothing: antialiased;
  -moz-osx-font-smoothing: grayscale;
  text-align: center;
  color: #2c3e50;
  margin-top: 60px;
}
</style>
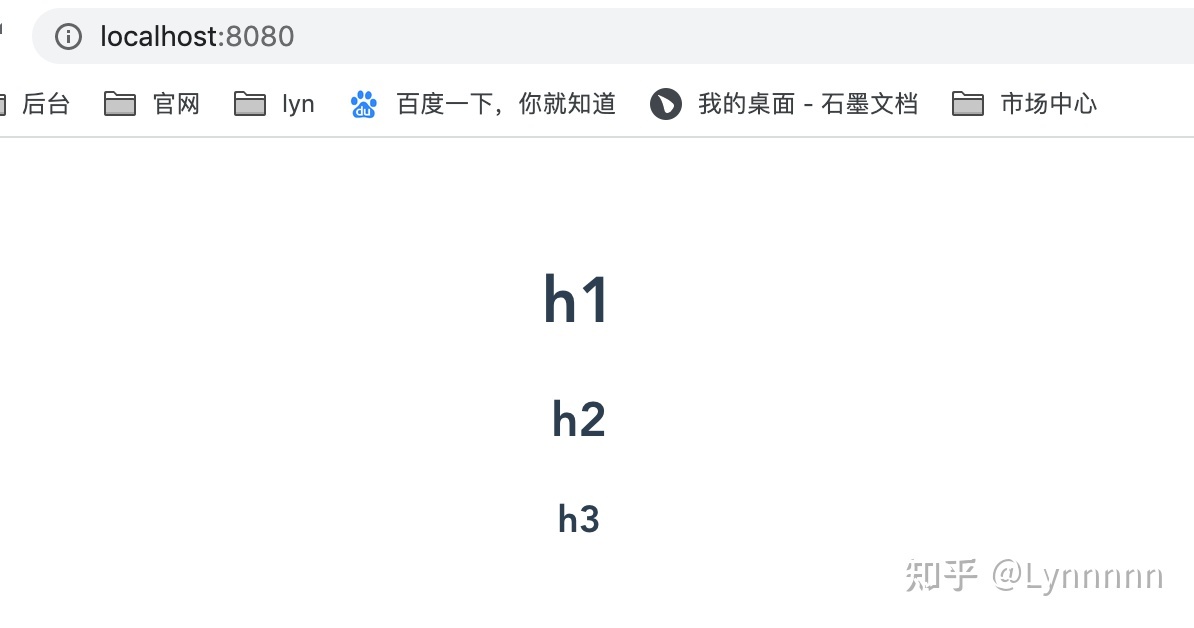
实现效果如下图。

这一步功能比较简单,只要阅读过官方文档就基本能理解。
渲染函数 & JSX — Vue.jscn.vuejs.org https://cn.vuejs.org/v2/guide/render-function.html#%E6%8F%92%E6%A7%BDcn.vuejs.org
场景二:在场景一的基础上希望给自定义的插槽传参
<template>
  <div id="app">
    <comp>
      <template #h1="props"> {{ props.text }} </template>
      <template #h2="props"> {{ props.text }} </template>
      <template #h3="props"> {{ props.text }} </template>
    </comp>
  </div>
</template>

<script>
const comp = {
  render(createElement) {
    return createElement('div', [
      createElement(
        'h1',
        this.$scopedSlots.h1({
          text: 'this is text1',
        })
      ),
      createElement(
        'h2',
        this.$scopedSlots.h2({
          text: 'this is text2',
        })
      ),
      createElement(
        'h3',
        this.$scopedSlots.h3({
          text: 'this is text3',
        })
      ),
    ])
  },
}

export default {
  name: 'App',
  components: {
    comp,
  },
}
</script>

<style>
#app {
  font-family: Avenir, Helvetica, Arial, sans-serif;
  -webkit-font-smoothing: antialiased;
  -moz-osx-font-smoothing: grayscale;
  text-align: center;
  color: #2c3e50;
  margin-top: 60px;
}
</style>
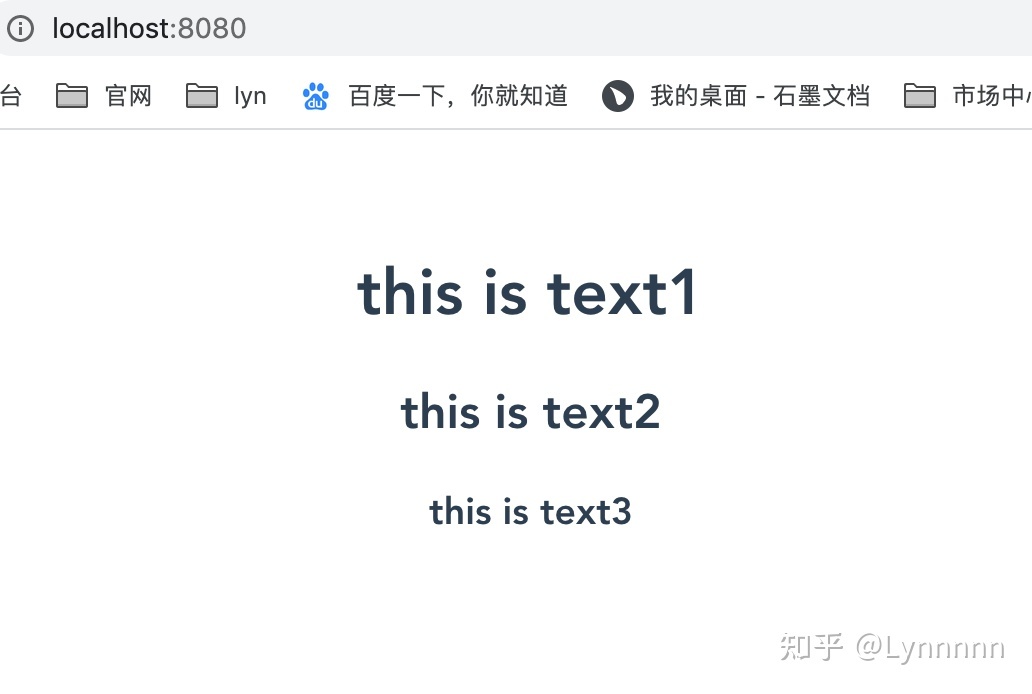
实现效果如下图。

这里只是把 this.$slots.h1 换成了 this.$scopedSlots.h1({ text: ' ... ' })。
区别是 $slots 只能直接插入指定 name 的 slot,$scopedSlots 除了能插入指定 name 的 slot 还可以向该 slot 传参。
这里尝试过的坑有:
this.$slots 不可以在 createElement 的第一个参数中使用。
了解 $slots 和 $scopedSlots 的区别需仔细阅读 vue 的 api 文档。
https://cn.vuejs.org/v2/api/#vm-slotscn.vuejs.org场景三:对 createElement 第二个参数对象里的 scopedSlots 属性实战理解
首先自定义一个有具名插槽的普通组件 compParent.vue
<template>
  <div>
    <slot name="h1" text="h1"></slot>
    <slot name="h2" text="h2"></slot>
    <slot name="h3" text="h3"></slot>
  </div>
</template>
<script>
export default {}
</script>
<style lang="scss">
</style>
然后在 app.vue 中引入 compParent.vue 组件实现功能
<template>
  <div id="app">
    <comp></comp>
  </div>
</template>

<script>
import compParent from './components/compParent.vue'

const comp = {
  render(createElement) {
    return createElement(compParent, {
      scopedSlots: {
        h1: (props) => createElement('h1', props.text),
        h2: (props) => createElement('h2', props.text),
        h3: (props) => createElement('h3', props.text),
      },
    })
  },
}

export default {
  name: 'App',
  components: {
    comp,
  },
}
</script>

<style>
#app {
  font-family: Avenir, Helvetica, Arial, sans-serif;
  -webkit-font-smoothing: antialiased;
  -moz-osx-font-smoothing: grayscale;
  text-align: center;
  color: #2c3e50;
  margin-top: 60px;
}
</style>
实现效果如下图。

对于 scopedSlots 属性官方文档没有很详细的解释,这里讲一下我个人的理解。
scopedSlots 对象里指定的是引用的 compParent 里的具名插槽需要插入的内容,对应的函数可以获取到具名插槽传过来的参数值。
之前一直进入的误区是,认为 scopedSlots 对象里的键名可以在当前创建的组件里插入对应name 的插槽,其实不是的, scopedSlots 对象里的键名只能向引用组件内对应 name 的 slot 插入内容。
场景四:对 createElement 第二个参数对象里的 slot 属性实战理解
首先自定义一个有具名插槽的普通组件 compParent.vue(同场景三)
然后在 app.vue 中引入 compParent.vue 组件实现功能
<template>
  <div id="app">
    <comp></comp>
  </div>
</template>

<script>
import compParent from './components/compParent.vue'

const comp = {
  render(createElement) {
    return createElement(compParent, [
      createElement(
        'h1',
        {
          slot: 'h1',
        },
        'h1'
      ),
      createElement(
        'h2',
        {
          slot: 'h2',
        },
        'h2'
      ),
      createElement(
        'h3',
        {
          slot: 'h3',
        },
        'h3'
      ),
    ])
  },
}

export default {
  name: 'App',
  components: {
    comp,
  },
}
</script>

<style>
#app {
  font-family: Avenir, Helvetica, Arial, sans-serif;
  -webkit-font-smoothing: antialiased;
  -moz-osx-font-smoothing: grayscale;
  text-align: center;
  color: #2c3e50;
  margin-top: 60px;
}
</style>
实现效果如下图。

对于 slot 属性官方文档的解释是 “如果组件是其它组件的子组件,需为插槽指定名称”。
这里我补充一下我个人的理解。
首先我们引入了 compParent.vue 组件,然后在第二个参数传入一个数组,数组里通过 createElement 创造的组件即为子组件,此时调用的 createElement 第二参数的属性 slot 就可以发挥作用了, slot 属性指定一个具名插槽的name值,将当前 createElement 创造的组件向引用组件内对应 name 的 slot 插入内容。
场景三和场景四第一个参数都引用了普通组件而非渲染函数组件。这是因为经过实践发现第一个参数直接传入渲染函数组件并不能使 scopedSlots 和 slot 参数发挥作用。
最后拓展一个复杂点的场景:使用 createElement 时嵌套了两层插槽
首先自定义一个有具名插槽的普通组件 compParent.vue(同场景三)
然后在 app.vue 中引入 compParent.vue 组件实现功能
<template>
  <div id="app">
    <comp>
      <template #slot1="props">
        {{ props.text }}
      </template>
    </comp>
  </div>
</template>

<script>
import compParent from './components/compParent.vue'

const comp = {
  render(createElement) {
    return createElement(compParent, {
      scopedSlots: {
        h1: (props) =>
          createElement('h1', [
            this.$scopedSlots.slot1({ text: 'slot1' }),
            '插入了',
            props.text,
          ]),
      },
    })
  },
}

export default {
  name: 'App',
  components: {
    comp,
  },
}
</script>

<style>
#app {
  font-family: Avenir, Helvetica, Arial, sans-serif;
  -webkit-font-smoothing: antialiased;
  -moz-osx-font-smoothing: grayscale;
  text-align: center;
  color: #2c3e50;
  margin-top: 60px;
}
</style>
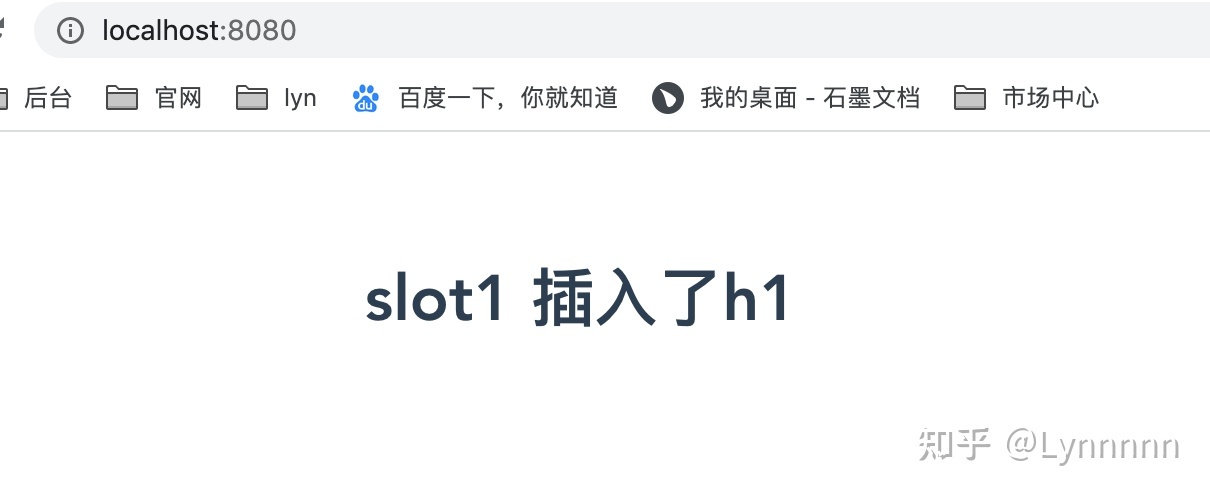
实现效果如下图。

以上就是对知识点 $slots 、 $scopedSlots、scopedSlots 、slot 对实战理解了。
欢迎讨论。


 860
860

 被折叠的 条评论
为什么被折叠?


