


概述
UITableView 作为Ios开发中最基础的控件之一,在IOS APP中运用十分广泛。然而很多时候,由于实际业务的复杂性,在viewController中如果没有很好地控制UITableView的代码,则会导致UIViewController的代码冗余度过高。
Demo
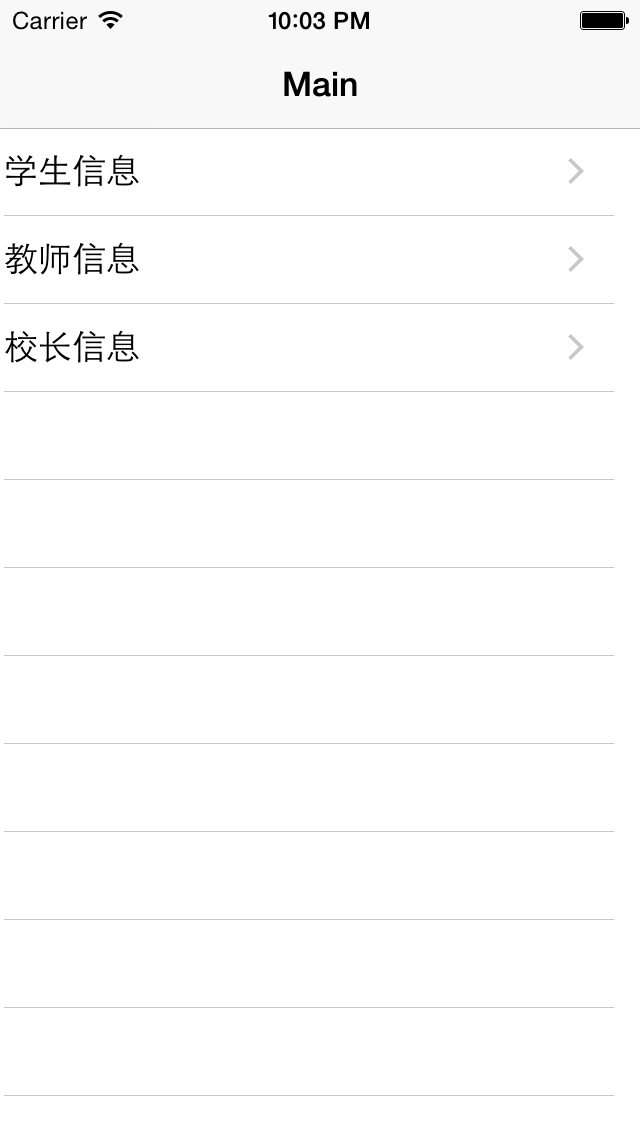
在MainViewController中,我们建立了一个TableView ,并设置了DataSource和delegate为Self,TableView总共呈现了三行数据,每一行会跳转一个新的ViewController。
#import "MainViewController.h"
#import "StudentViewController.h"
#import "TeacherAndMasterViewController.h"
#import "CustomTableViewCell.h"

static NSString * CellIdr = @"mainCell";

@implementation MainViewController{
    NSArray * _stuInfo;
    NSArray * _teaInfo;
    NSArray * _masterInfo;
}

- (void)viewDidLoad {
    [super viewDidLoad];
    // Do any additional setup after loading the view from its nib.

    [self initViews];

    [self loadData];
}

- (void)didReceiveMemoryWarning {
    [super didReceiveMemoryWarning];
    // Dispose of any resources that can be recreated.
}

/*
#pragma mark - Navigation

// In a storyboard-based application, you will often want to do a little preparation before navigation
- (void)prepareForSegue:(UIStoryboardSegue *)segue sender:(id)sender {
    // Get the new view controller using [segue destinationViewController].
    // Pass the selected object to the new view controller.
}
*/


#pragma mark - Init

- (void)initViews
{
    [_tableView registerClass:[UITableViewCell class] forCellReuseIdentifier:CellIdr];
    self.title = @"Main";
}

#pragma mark - Private Logical Methods

- (void)loadData
{
    //实际开发中很有可能是服务端返回的json数据。
    _stuInfo = @[@{kName: @"Naruto", kGrade: @"三年一班", kScore: @(97)}, @{kName: @"Garra", kGrade: @"三年二班", kScore: @(88)}, @{kName: @"Saski", kGrade: @"二年一班", kScore: @(66)}, @{kName: @"sakura", kGrade: @"三年一班", kScore: @(100)}];
    _teaInfo = @[@{kName: @"Kakashi", kGrade: @"三年一班", kLevel: @"上忍"}, @{kName: @"JIRAIYA", kGrade: @"三年二班", kLevel: @"影级"}, @{kName: @"Itachi", kGrade: @"二年一班", kLevel: @"影级"}, @{kName: @"Tsunade", kGrade: @"三年一班", kLevel: @"影级"}];
    _masterInfo = @[@{@"name": @"Hagoromo"}];
}


#pragma mark UITableViewDataSource

- (NSInteger)tableView:(UITableView *)tableView numberOfRowsInSection:(NSInteger)section
{
    return 3;
}

- (UITableViewCell *)tableView:(UITableView *)tableView cellForRowAtIndexPath:(NSIndexPath *)indexPath
{
    UITableViewCell * cell = [tableView dequeueReusableCellWithIdentifier:CellIdr];
    NSInteger row = indexPath.row;

    if (row == 0) {
        cell.textLabel.text = @"学生信息";
    }
    else if(row == 1)
    {
        cell.textLabel.text = @"教师信息";
    }
    else
    {
        cell.textLabel.text = @"校长信息";
    }

    cell.accessoryType = UITableViewCellAccessoryDisclosureIndicator;

    return cell;
}


#pragma mark - UITableViewDelegate

- (void)tableView:(UITableView *)tableView didSelectRowAtIndexPath:(NSIndexPath *)indexPath
{
    [tableView deselectRowAtIndexPath:indexPath animated:NO];
    NSInteger row = indexPath.row;

    if (row == 0) {
        StudentViewController * stuVc = [[StudentViewController alloc] init];
        stuVc.stuInfo = _stuInfo;
        [self.navigationController pushViewController:stuVc animated:YES];
    }
    else
    {
        ...
    }
}

@end
MainViewController 模拟器
我们准备以学生,老师,校长这种有共性也有差异的对象来举例,在实际开发中,大部分对象的属性都有一定的关联性。
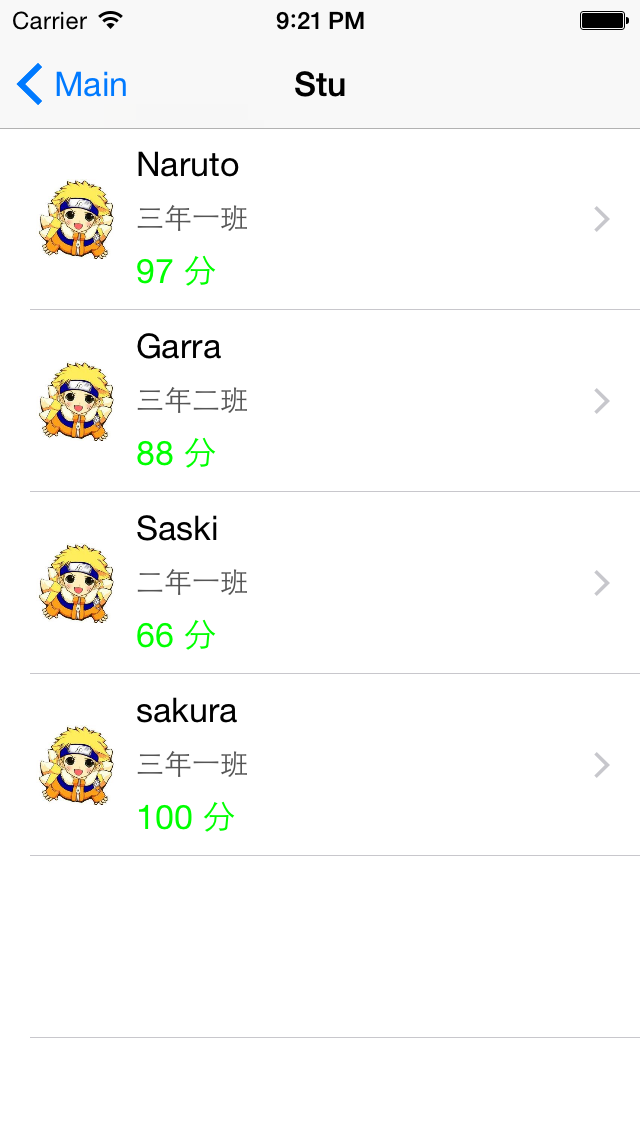
首先说学生对象,我们设置了名称,年级,和成绩属性;老师对象与学生对象的区别则是少了成绩属性,多了职称属性;校长则只有名称一个属性。
我们创建一个自定义的TableCell来展示学生信息。
#import <UIKit/UIKit.h>

extern NSString * const kName;
extern NSString * const kGrade;
extern NSString * const kScore;
extern NSString * const kLevel;

@interface CustomTableViewCell : UITableViewCell

@property (weak, nonatomic) IBOutlet UILabel *lblFirst;
@property (weak, nonatomic) IBOutlet UILabel *lblSecond;
@property (weak, nonatomic) IBOutlet UILabel *lblThird;
@property (weak, nonatomic) IBOutlet UIImageView *avatar;
#import "CustomTableViewCell.h"
NSString * const kName = @"name";
NSString * const kGrade = @"grade";
NSString * const kScore = @"score";
NSString * const kLevel = @"level";
@implementation CustomTableViewCell
- (void)awakeFromNib {
// Initialization code
self.avatar.layer.cornerRadius = self.avatar.layer.frame.size.height/2;
self.avatar.layer.masksToBounds = YES;
}
- (void)setSelected:(BOOL)selected animated:(BOOL)animated {
[super setSelected:selected animated:animated];
// Configure the view for the selected state
}这里我们的学生属性有三个,我们可以在StudentViewController中给TableView的DataSource一一赋值。
#import "StudentViewController.h"
#import "CustomTableViewCell.h"

static NSString * stuCellIdr = @"stuCell";

@implementation StudentViewController

- (void)viewDidLoad {
    [super viewDidLoad];
    // Do any additional setup after loading the view from its nib.

    [self initViews];
}

- (void)didReceiveMemoryWarning {
    [super didReceiveMemoryWarning];
    // Dispose of any resources that can be recreated.
}

/*
#pragma mark - Navigation

// In a storyboard-based application, you will often want to do a little preparation before navigation
- (void)prepareForSegue:(UIStoryboardSegue *)segue sender:(id)sender {
    // Get the new view controller using [segue destinationViewController].
    // Pass the selected object to the new view controller.
}
*/


#pragma mark - Init

- (void)initViews
{
    [_tableView registerNib:[UINib nibWithNibName:@"CustomTableViewCell" bundle:nil] forCellReuseIdentifier:stuCellIdr];
    self.title = @"Stu";
}


#pragma mark UITableViewDataSource

- (NSInteger)tableView:(UITableView *)tableView numberOfRowsInSection:(NSInteger)section
{
    return _stuInfo.count;
}

- (UITableViewCell *)tableView:(UITableView *)tableView cellForRowAtIndexPath:(NSIndexPath *)indexPath
{
    CustomTableViewCell * cell = [tableView dequeueReusableCellWithIdentifier:stuCellIdr];
    NSInteger row = indexPath.row;

    NSDictionary * stuInfo = _stuInfo[row];
    cell.avatar.image = [UIImage imageNamed:@"stu"];
    cell.lblFirst.text = stuInfo[kName];
    cell.lblSecond.text = stuInfo[kGrade];
    cell.lblThird.text = [NSString stringWithFormat:@"%@ 分", stuInfo[kScore]];
    cell.lblThird.textColor = [UIColor greenColor];
    cell.accessoryType = UITableViewCellAccessoryDisclosureIndicator;

    return cell;
}


#pragma mark - UITableViewDelegate

- (CGFloat)tableView:(UITableView *)tableView heightForRowAtIndexPath:(NSIndexPath *)indexPath
{
    return 91.f;
}
学生页面
代码这么写虽然达到了我们要的效果,但是实际使用中可能会有一些其他问题。第一个是如果我们要展示的对象属性比较多,再加上其他的一些业务逻辑,很有可能就导致UIViewController的代码很长。另一个是如果还有其他的ViewController使用到了这个TableCell,则可能要写另一份相同或者相似的代码了,这就加大了我们代码的冗余度。我们完全可以在Cell里写一个方法。
- (void)setStuContent:(NSDictionary *)stuInfo
{
    self.avatar.image = [UIImage imageNamed:@"stu"];
    self.lblFirst.text = stuInfo[kName];
    self.lblSecond.text = stuInfo[kGrade];
    self.lblThird.text = [NSString stringWithFormat:@"%@ 分", stuInfo[kScore]];
    self.lblThird.textColor = [UIColor greenColor];
}
然后再改掉StudentViewController中DataSource中的代码。
- (UITableViewCell *)tableView:(UITableView *)tableView cellForRowAtIndexPath:(NSIndexPath *)indexPath
{
    CustomTableViewCell * cell = [tableView dequeueReusableCellWithIdentifier:stuCellIdr];
    NSInteger row = indexPath.row;

    NSDictionary * stuInfo = _stuInfo[row];
    [cell setStuContent:stuInfo];
    cell.accessoryType = UITableViewCellAccessoryDisclosureIndicator;

    return cell;
}
这样既减少了UIViewController中的代码,又增加了自定义Cell的复用性。
OK,我们再来跳转展示教师信息。
教师页面:
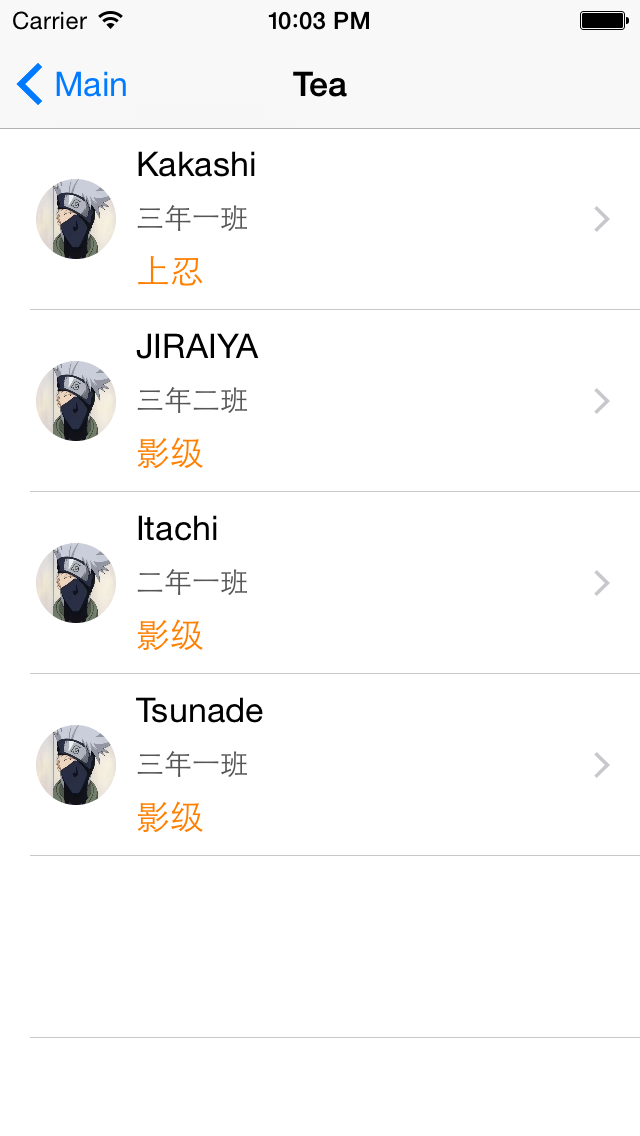
这个时候我们会发现教师内容和学生内容有很大的相似性,只有最下面的分数Label变成了职称Label。相比再去为Teacher定义一个cell,我们可以更好地利用已有的CustomTableCell。
这里我们新建一个CustomTableCell的Category,在CustomTableCell的(TeacherConfigure)分类中,我们添加一个专门为Teacher设置data的方法。
#import "CustomTableViewCell.h"

@interface CustomTableViewCell (TeacherConfigure)

- (void)setTeaInfo:(NSDictionary *)teaInfo;

@end
#import "CustomTableViewCell+TeacherConfigure.h"
@implementation CustomTableViewCell (TeacherConfigure)
- (void)setTeaInfo:(NSDictionary *)teaInfo
{
self.avatar.image = [UIImage imageNamed:@"tea"];
self.lblFirst.text = teaInfo[kName];
self.lblSecond.text = teaInfo[kGrade];
self.lblThird.text = teaInfo[kLevel];
self.lblThird.textColor = [UIColor orangeColor];
}
@end这样我们教师Controller的代码就会是这样:
- (UITableViewCell *)tableView:(UITableView *)tableView cellForRowAtIndexPath:(NSIndexPath *)indexPath
{
    CustomTableViewCell * cell = [tableView dequeueReusableCellWithIdentifier:teacherCellIdr];
    NSInteger row = indexPath.row;

    NSDictionary * teaInfo = _TeaMasterInfos[row];
    [cell setTeaInfo:teaInfo];
    cell.accessoryType = UITableViewCellAccessoryDisclosureIndicator;

    return cell;
}
我们的MainViewControll里是将学生,教师,校长分开了;但是在我们实际开发中很有可能需要一个UIViewController既能展示教师,又能展示校长。这个时候校长要展示的信息很有可能又和教师有很大的差别,我们不得不新建另一个Cell来展示校长。
我们当然可以在同一个ViewController中判断当前要展示的对象类型,然后在dataSource里判断,甚至我们调用didselect的时候也要进行判断,例如这样:
- (NSInteger)tableView:(UITableView *)tableView numberOfRowsInSection:(NSInteger)section
{
    return _TeaMasterInfos.count;
}

- (UITableViewCell *)tableView:(UITableView *)tableView cellForRowAtIndexPath:(NSIndexPath *)indexPath
{
    NSInteger row = indexPath.row;

    if(_dataType == DataTeacher)
    {
        CustomTableViewCell * cell = [tableView dequeueReusableCellWithIdentifier:teacherCellIdr];
        ...
    }
    else
    {
        MasterTableViewCell * cell = [tableView dequeueReusableCellWithIdentifier:_masterCellIdr];
        ...
    }

    return cell;
}


#pragma mark - UITableViewDelegate

- (CGFloat)tableView:(UITableView *)tableView heightForRowAtIndexPath:(NSIndexPath *)indexPath
{
    if(_dataType == DataTeacher)
    {
        return 91.f;
    }
    else
    {
        return 100.f;
    }
}

- (void)tableView:(UITableView *)tableView didSelectRowAtIndexPath:(NSIndexPath *)indexPath
{
    [tableView deselectRowAtIndexPath:indexPath animated:NO];
    NSInteger row = indexPath.row;

    if(_dataType == DataTeacher)
    {
        ...
    }
    else
    {
        ...
    }
}
@end
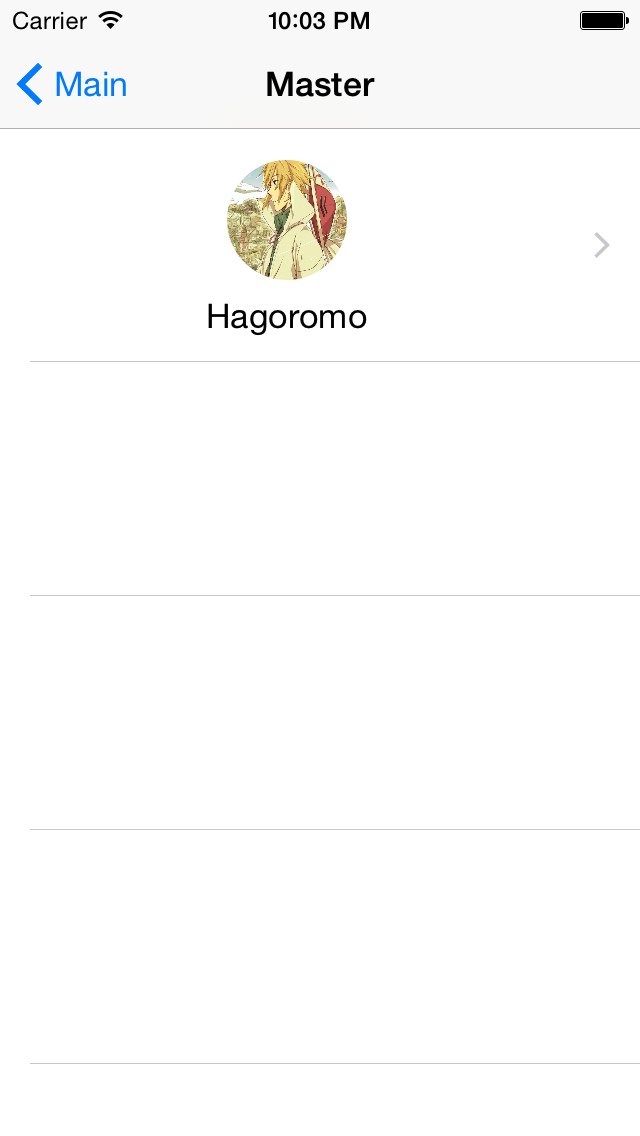
校长页面:
显然这样很可能会使我们的UIViewController的代码达到一个非常长的状态,在我们维护代码的时候将会被这些繁琐的业务逻辑折磨。
一种比较好的解决方法是把TableView的DataSource和Delegate分割出去。例如我们可以建立一个MasterDataSource的对面来管理校长的Cell;
#import <UIKit/UIKit.h>

@interface MasterDataSource : NSObject<UITableViewDataSource, UITableViewDelegate>

- (id)initWithMasterInfo:(NSArray *)masterInfo cellIdr:(NSString *)cellIdr;

@end
#import "MasterDataSource.h"
#import "MasterTableViewCell.h"


@implementation MasterDataSource{
    NSArray * _masterInfo;
    NSString * _masterCellIdr;
}

- (id)initWithMasterInfo:(NSArray *)masterInfo cellIdr:(NSString *)cellIdr
{
    if (self = [super init]) {
        _masterInfo = masterInfo;
        _masterCellIdr = cellIdr;
    }

    return self;
}

- (NSInteger)tableView:(UITableView *)tableView numberOfRowsInSection:(NSInteger)section
{
    return _masterInfo.count;
}

- (UITableViewCell *)tableView:(UITableView *)tableView cellForRowAtIndexPath:(NSIndexPath *)indexPath
{
    MasterTableViewCell * cell = [tableView dequeueReusableCellWithIdentifier:_masterCellIdr];
    NSInteger row = indexPath.row;

    NSDictionary * masterInfo = _masterInfo[row];
    [cell setMasterContent:masterInfo];
    cell.accessoryType = UITableViewCellAccessoryDisclosureIndicator;

    return cell;
}


#pragma mark - UITableViewDelegate

- (CGFloat)tableView:(UITableView *)tableView heightForRowAtIndexPath:(NSIndexPath *)indexPath
{
    return 117.f;
}
这个时候当这个Controller要展示校长信息的时候可以:
if (_dataType == DataMaster) {
        [_tableView registerNib:[UINib nibWithNibName:@"MasterTableViewCell" bundle:nil] forCellReuseIdentifier:masterCellIdr];
        self.title = @"Master";
        _masterDs = [[MasterDataSource alloc] initWithMasterInfo:_TeaMasterInfos cellIdr:masterCellIdr];
        _tableView.delegate = _masterDs;
        _tableView.dataSource = _masterDs;
    }
这样我们的校长信息有关的代码就分离出去了,避免了Controller中过多的逻辑判断,大幅减少了UIViewController的代码。


 770
770


 被折叠的 条评论
为什么被折叠?
被折叠的 条评论
为什么被折叠?
 到【灌水乐园】发言


