


以下是我的運行環境:
操作系統:Ubuntu 16.0.4
IDE:Android Studio 3.0. beta4
網上大多數是另一種打包的流程,個人感覺比較麻煩,所以記錄下自己嘗試的這兩種
這兩種的前提都要有 ndk 和 cmake,主要區別是第一種有 “include c++ support”,比較方便,第二種沒有 “include c++ support”:
第一種:
一共需要創建兩個 android project
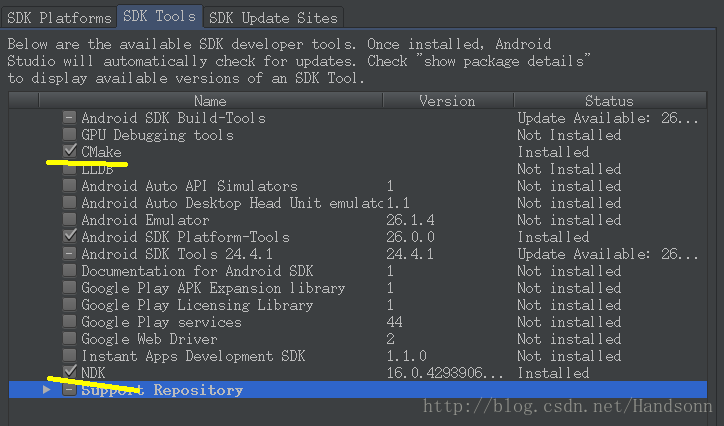
首先,要確認 SDK里面有安裝了 CMake 和 NDK,如下
(1)創建第一個 project,記得勾選 c++ support
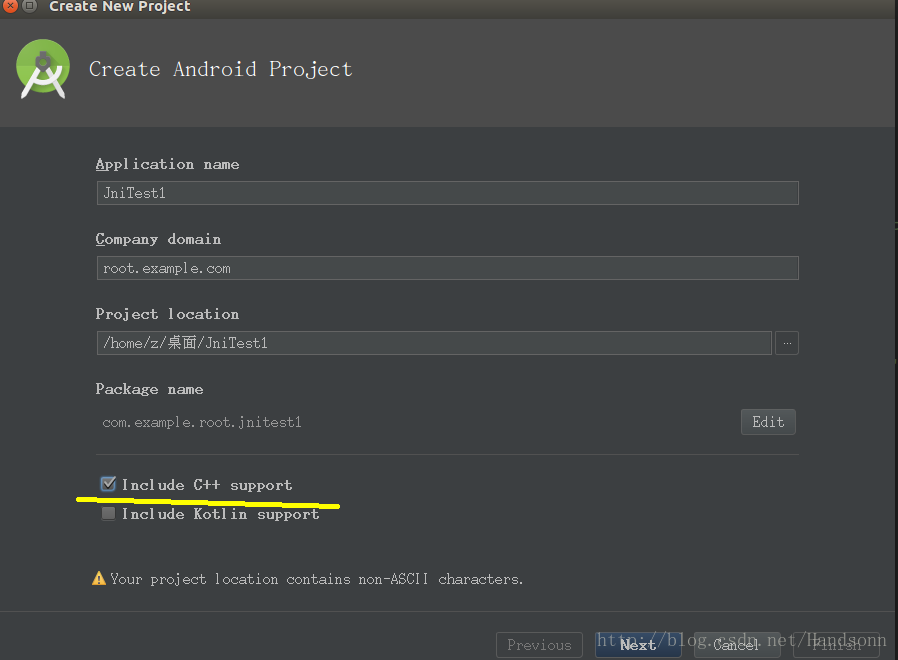
然后一路到finish,第一個 project 就建好了
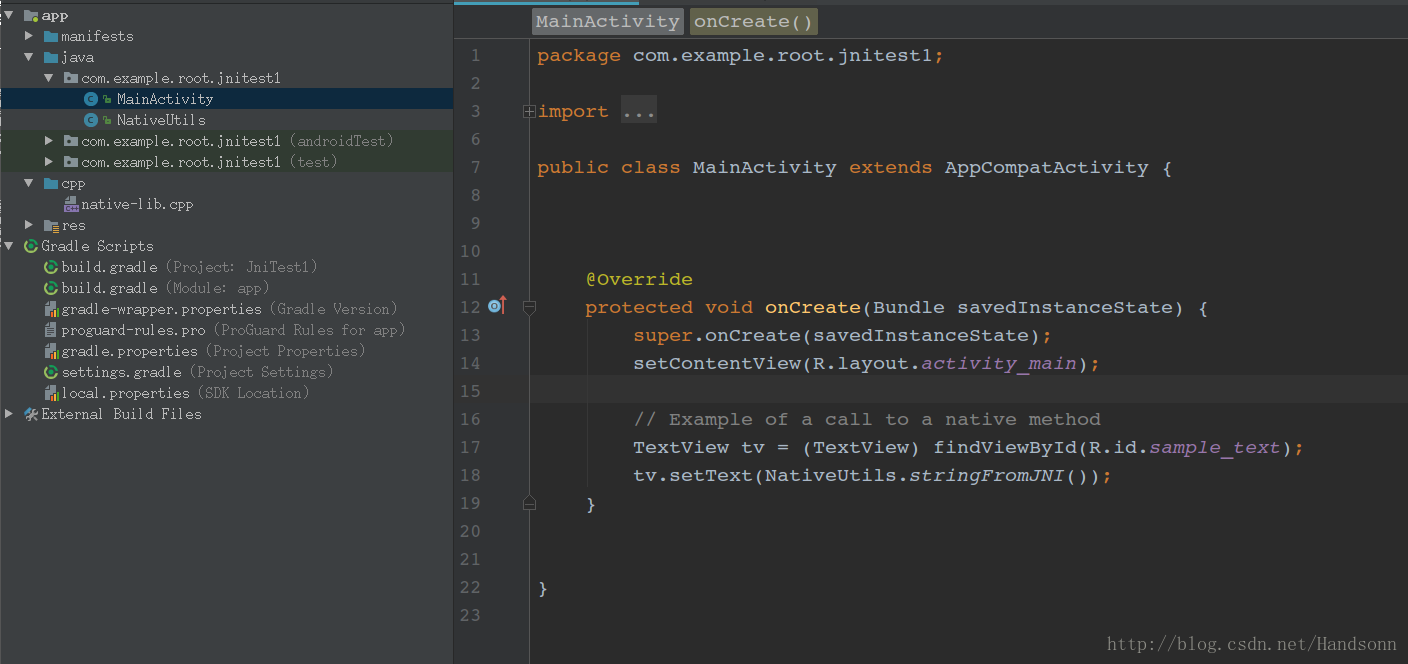
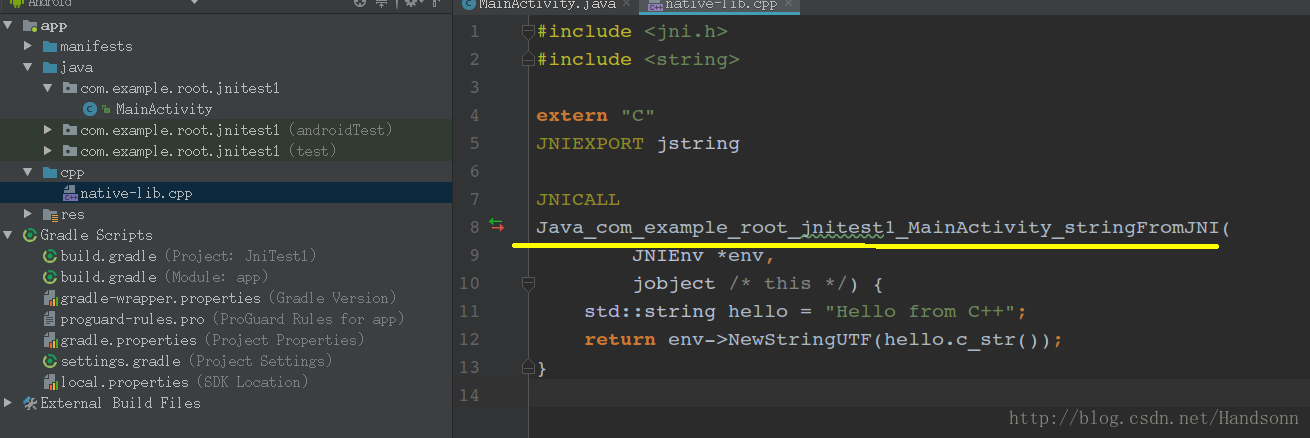
(2)打開 MainActivity,長這樣的,並且可以看到旁邊有個 cpp 文件
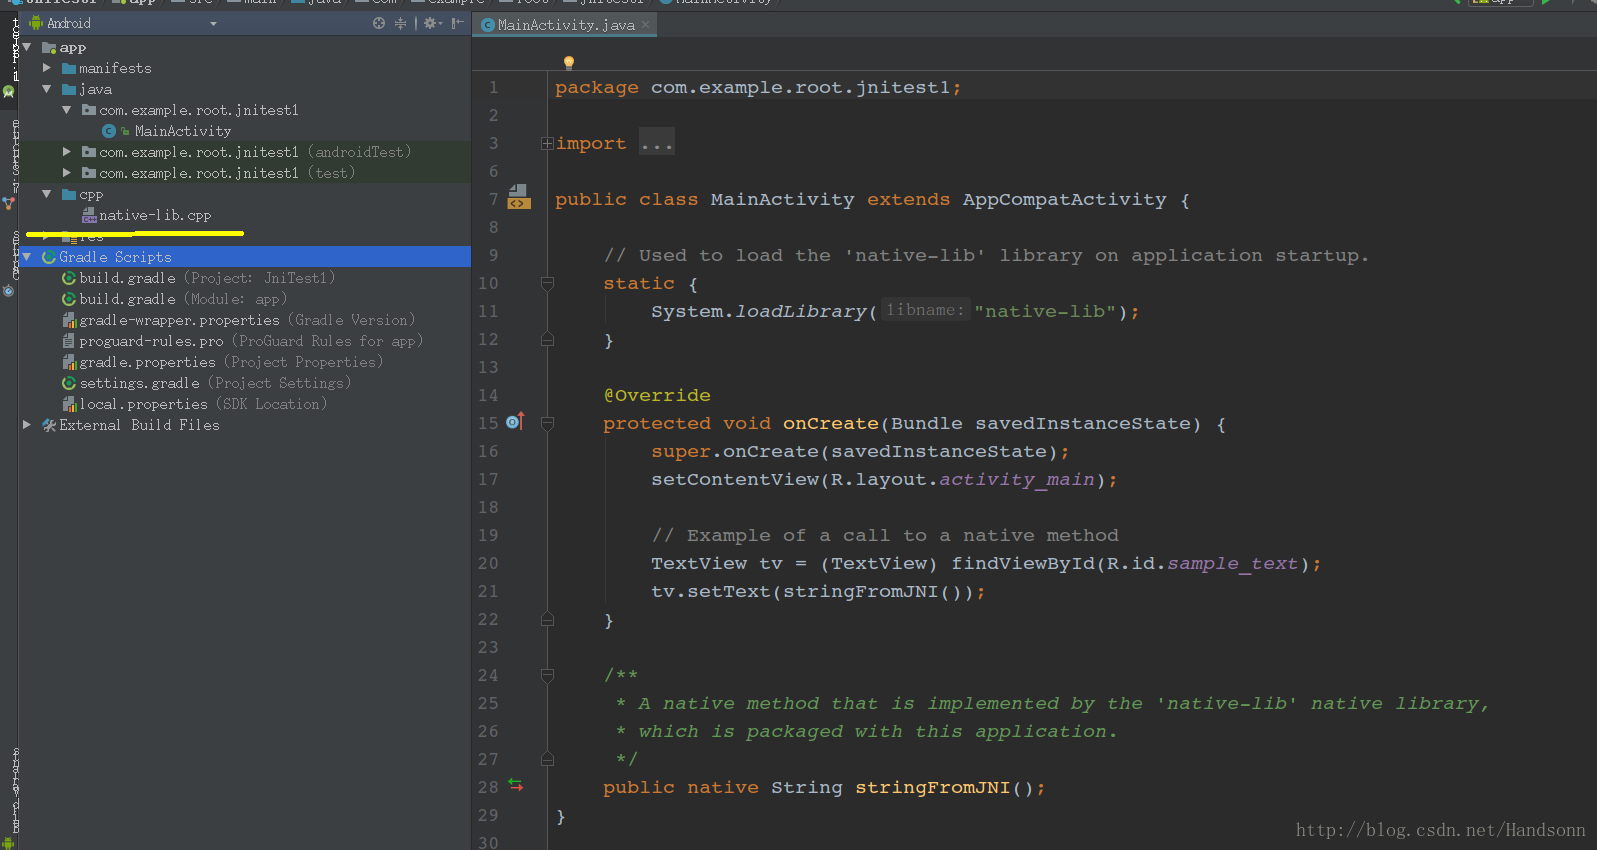
打開 cpp 文件 ,看一下 具體內容

可以看到這里的類名是 包名+類名+方法名,
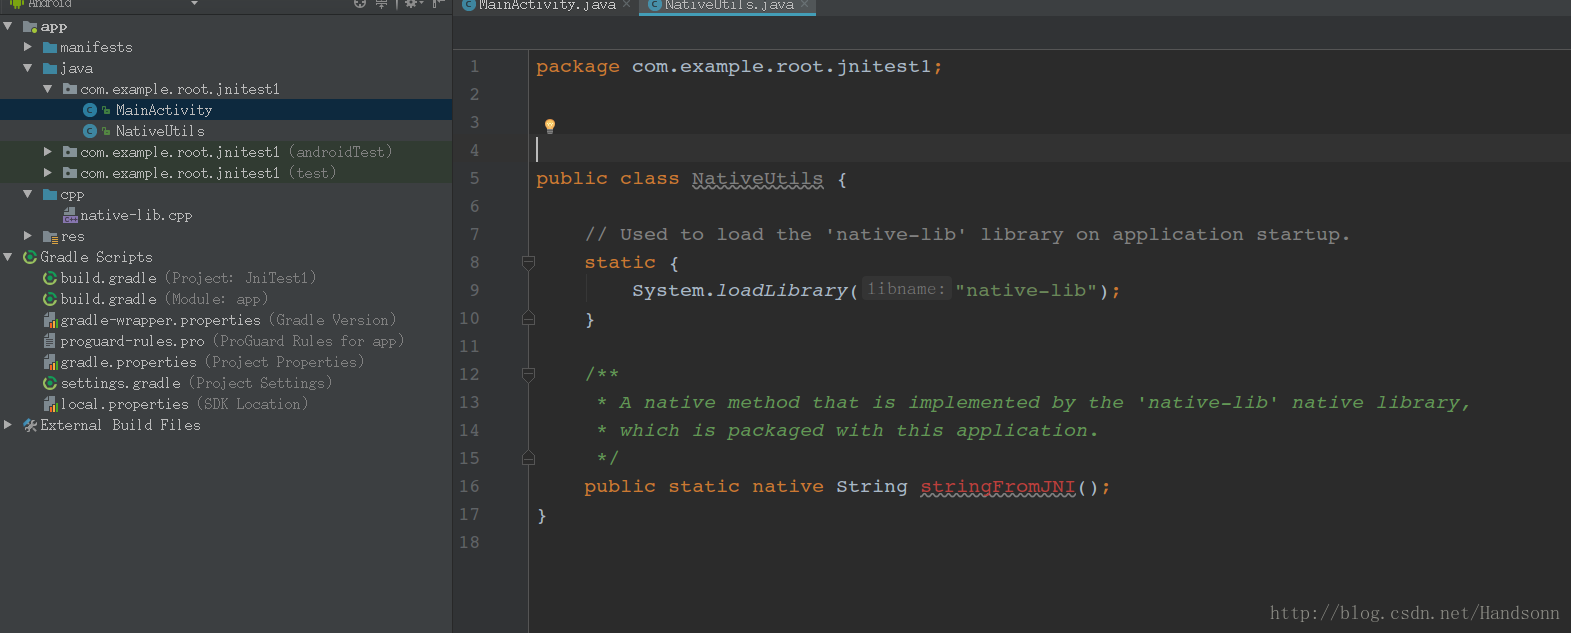
(3)為了方便,我們建一個類,名為 NativeUtils,將 MainActivity 中的 native 方法移動到到這個類里面,結果如下:
然后,點擊 Build –> Make Project 或者 ctrl + F9 , 然后切換到 project 目錄,可以看到已經生成 so 庫,
如下:
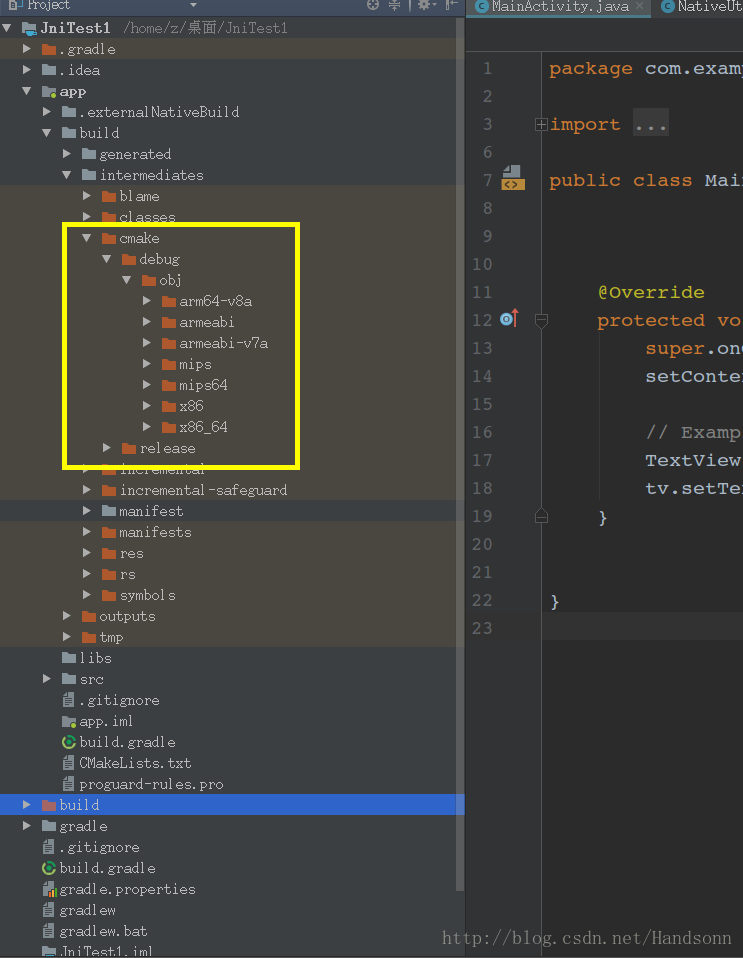
這就是要給其他工程用的,可以看到這樣就生成了,默認是全部類型的 so 都有,如果要部分的話可以在
app 的 build.gradle 中添加過濾,即 abiFilters 指定生成什么格式的 so 文件,moduleName 指定 so 文件 名字,這里沒有進行指定,
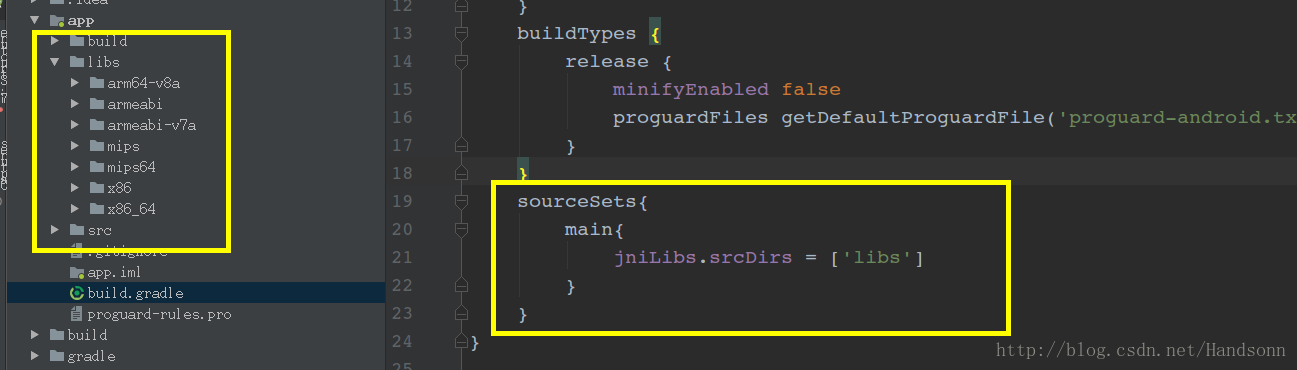
(4)將這些 so 文件拷貝出來,建立第二個工程,第二個工程隨意,然后將這些 so 文件拷貝到 libs 目錄下,並在 app 的 build.gradle 中添加依賴
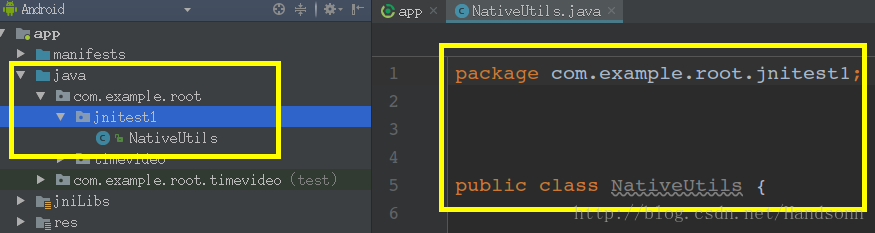
(5)建立一個新的包,和第一個工程 NativeUtils 所在的包名一樣,並且將第一個工程的 NativeUtils 類拷貝過來到這個新建的包下:
(6)這個時候我們在 MainActivity 調用 NativeUtils 中的 方法,毫無疑問,報了錯誤,如下
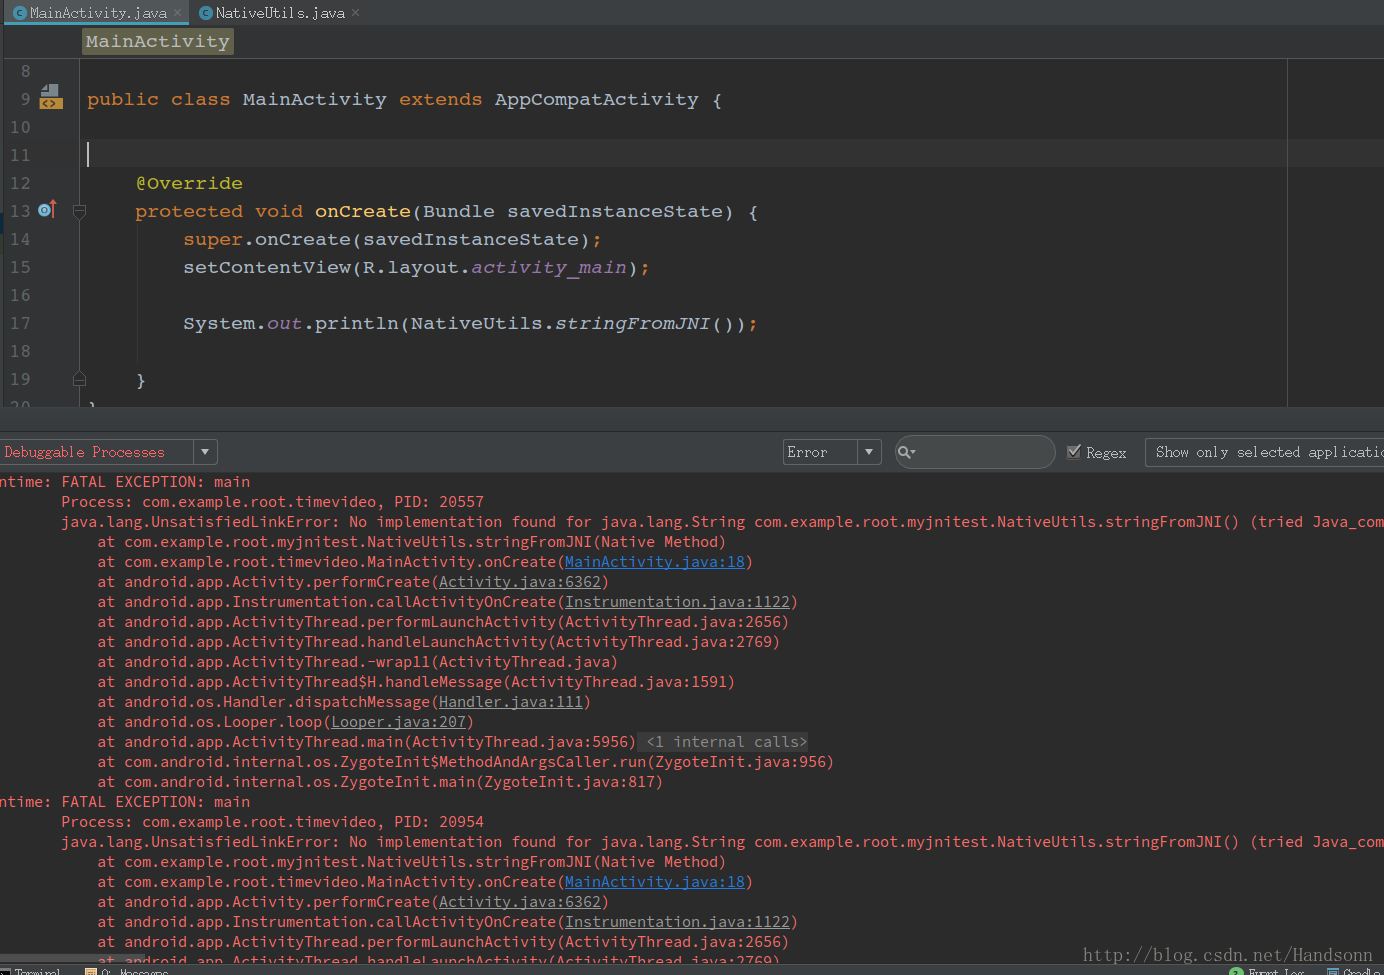
原因是:開始第一步的時候,我們將 第一個工程 MainActivity 中生成 的 native 方法移動 到 NativeUtils中,cpp 文件的類名稱並沒有修改,打開第一個工程,開始是這樣的
我們需要改成這樣,因為 這里的類名是 “ 包名+類名+方法名” ,我們改成了 NativieUtils,所以要改成如下:
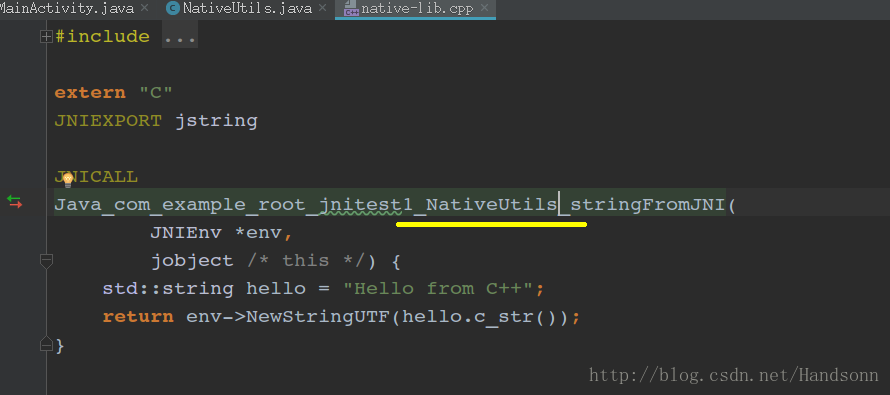
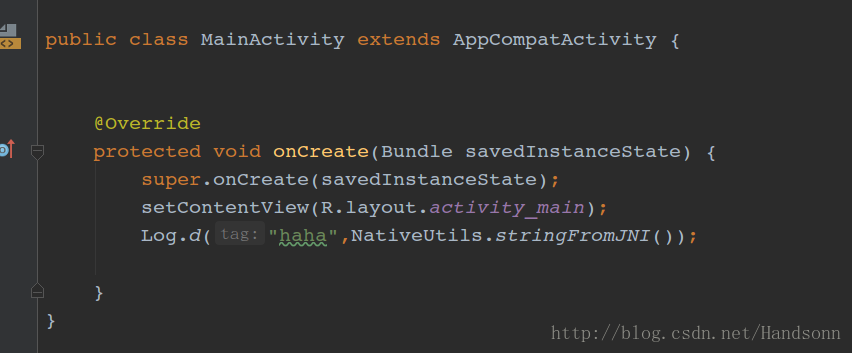
重新 MakeProject,將 so 文件 復制到第二個工程,再次編譯運行,即可成功運行,打個 Log即可驗證
兩個小點:
1、關於 so 的 加載,也就是 System.loadLibrary(“native-lib”); 可以看到 目錄里面 這個 so 文件的名稱是
“libnative-lib.so”,這里加載 沒有 “lib” 和 “. so”
2、這 7 種 so 文件常用的 abi 只有三種
第二種:
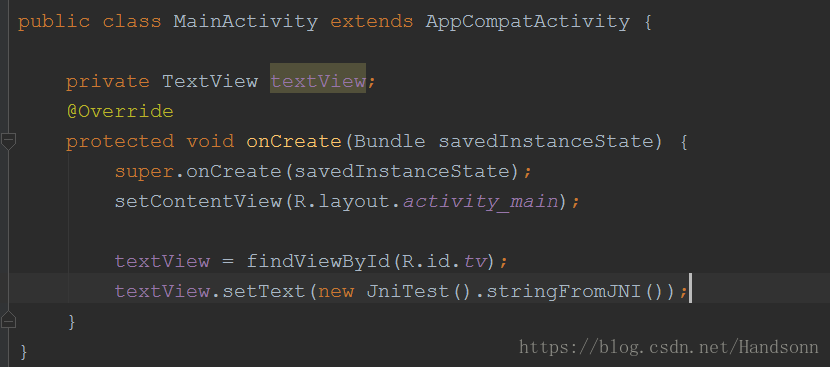
上面是建立項目的時候勾選了 “include c++ support”,如果沒有勾選呢,也可以自己來,首先創建一個 普通類 JniTest.java
然后 ALT + F12 呼出控制台 , cd到 main 文件夾,我的包名是 com.example.z.sotest,最后命令如下:
接着可以看到生成了 jni 的文件夾和對應的 h 文件,
接着,右鍵新建一個 c++ source file,名字叫 native-lib.cpp,然后內容如下:
這樣導入一個 h 文件有可能后面編譯會出現一個錯誤,如下:
根據提示,很簡單的,將導入的尖括號改成雙引號,即第一句改成
#include "com_example_z_sotest_JniTest.h" 后續的編譯即可成功,
在進行編譯之前,還需要配置一下 gradle,具體如下:
可以看到,還需要一個 CMakeLists.txt,我們需要在 app 下新建立一個 CMakeLists.txt,如下:
順便將 txt 內容貼出來:
# For more information about using CMake with Android Studio, read the
# documentation: https://d.android.com/studio/projects/add-native-code.html
# Sets the minimum version of CMake required to build the native library.
cmake_minimum_required(VERSION 3.4.1)
# Creates and names a library, sets it as either STATIC
# or SHARED, and provides the relative paths to its source code.
# You can define multiple libraries, and CMake builds them for you.
# Gradle automatically packages shared libraries with your APK.
add_library( # Sets the name of the library.
native-lib
# Sets the library as a shared library.
SHARED
# Provides a relative path to your source file(s).
src/main/jni/native-lib.cpp )
# Searches for a specified prebuilt library and stores the path as a
# variable. Because CMake includes system libraries in the search path by
# default, you only need to specify the name of the public NDK library
# you want to add. CMake verifies that the library exists before
# completing its build.
find_library( # Sets the name of the path variable.
log-lib
# Specifies the name of the NDK library that
# you want CMake to locate.
log )
# Specifies libraries CMake should link to your target library. You
# can link multiple libraries, such as libraries you define in this
# build script, prebuilt third-party libraries, or system libraries.
target_link_libraries( # Specifies the target library.
native-lib
# Links the target library to the log library
# included in the NDK.
${log-lib} )
然后 make project,或者 ctrl + F9,即可看到生成了 so 庫,最后通過 textview 簡單輸出一段文字驗證下:


 8473
8473


 被折叠的 条评论
为什么被折叠?
被折叠的 条评论
为什么被折叠?
 到【灌水乐园】发言


