


当一个Service在androidManifest中被声明为 process=":remote", 或者是还有一个应用程序中的Service时,即为远程Service, 远程的意思是和当前程序不在同一个进程中执行。
Activity和远程Service的跨进程通信(IPC)通过Binder机制,使用AIDL服务实现。
一. 定义远程服务端
1.新建一个project,project文件夹例如以下

2. 文件内容
aidl传递复杂对象时,须要该对象实现Parcelable或Serializable接口,并在aidl文件里声明
Student.java
package com.example.aidl;

import java.util.Locale;

import android.R.integer;
import android.os.Parcel;
import android.os.Parcelable;

public class Student implements Parcelable {

	public static final int SEX_MALE = 1;
    public static final int SEX_FEMALE = 2;

	public int sno;
	public String name;
	public int sex;
	public int age;

	public Student() {
	}

	private Student(Parcel in) {
		readFromParcel(in);
	}

	public void readFromParcel(Parcel in) {
		sno = in.readInt();
		name = in.readString();
		sex = in.readInt();
		age = in.readInt();
	}

	@Override
	public void writeToParcel(Parcel dest, int flags) {
       dest.writeInt(sno);
       dest.writeString(name);
       dest.writeInt(sex);
       dest.writeInt(age);
	}

	public static final Parcelable.Creator<Student> CREATOR = new Parcelable.Creator<Student>() {

		@Override
		public Student createFromParcel(Parcel in) {
			return new Student(in);
		}

		@Override
		public Student[] newArray(int size) {
			return new Student[size];
		}
	};

	@Override
	public int describeContents() {
		return 0;
	}

	@Override
    public String toString() {
        return String.format(Locale.ENGLISH, "Student[ %d, %s, %d, %d ]", sno, name, sex, age);
    }

}
Student.aidl
package com.example.aidl;

parcelable Student;
IService.aidl
package com.example.aidl;

import com.example.aidl.Student;

 interface IMyService{

    List<Student> getStudent();
    void addStudent(in Student student); //in标记为输入类型
  }
然后再写远程服务类StudentService.java
package com.example.remote_service;

import java.util.LinkedList;
import java.util.List;

import com.example.aidl.IMyService;
import com.example.aidl.Student;

import android.R.integer;
import android.app.Notification;
import android.app.NotificationManager;
import android.app.PendingIntent;
import android.app.Service;
import android.content.Intent;
import android.os.IBinder;
import android.os.Parcel;
import android.os.RemoteException;
import android.util.Log;

public class StudentService extends Service {

	private static final String TAG = "StudentService";

	private static final String PACKAGE_PEMISSION = "com.yjq.service";

	private LinkedList<Student> studentList = new LinkedList<Student>();

	@Override
	public IBinder onBind(Intent intent) {
		Log.d(TAG, String.format("on bind,intent = %s", intent.toString()));
		return mBinder;
	}

	   //继承由AIDL生成的抽象类
//	实现aidl里的接口的方法 ,以供调用
	//这里实现了aidl中的抽象函数
    private final IMyService.Stub mBinder = new IMyService.Stub() {

		@Override
		public List<Student> getStudent() throws RemoteException {
			return studentList;
		}

		@Override
		public void addStudent(Student student) throws RemoteException {
			if (student != null) {
				synchronized (studentList) {
					studentList.add(student);
				}
			}
		}

		//在这里能够做权限认证。return false意味着client的调用就会失败,比方以下。仅仅同意包名为 PACKAGE_PEMISSION 的client通过,
        //其它apk将无法完毕调用过程
		@Override
        public boolean onTransact(int code, Parcel data, Parcel reply, int flags)
                throws RemoteException {
            String packageName = null;
            String[] packages = StudentService.this.getPackageManager().
                    getPackagesForUid(getCallingUid());
            if (packages != null && packages.length > 0) {
                packageName = packages[0];
            }
            Log.d(TAG, "onTransact: " + packageName);
            if (!PACKAGE_PEMISSION.equals(packageName)) {
                return false;
            }
            return super.onTransact(code, data, reply, flags);
        }

	};

	@Override
	public void onCreate() {
		super.onCreate();
	    Log.d(TAG, "student服务创建");

	    synchronized (studentList) {
            for (int i = 1; i < 6; i++) {
                Student student = new Student();
                student.name = "student#" + i;
                student.age = i * 5;
                studentList.add(student);
            }
        }

	}


	@Override
	public int onStartCommand(Intent intent, int flags, int startId) {
                Log.d(TAG, "student服务启动");
		return super.onStartCommand(intent, flags, startId);
	}

	@Override
	public void onDestroy() {
		Log.d(TAG, "student服务结束");
		super.onDestroy();
	}


}
Stub这个内部类是一个实现了IMyService接口的Binder抽象类
onTransact()是通过应用程序的包名来限制权限的,通过验证的程序才干绑定。 同意绑定的client程序 的包名。可在client的androidManifist中查看。
并注意在androidManifest中声明
<service
    android:name="com.example.remote_service.StudentService"
    android:process=":remote"
    >
    <intent-filter >
        <!-- 这里的action是隐式bindService时用到的  -->
        <action  android:name="com.example.remoteservice" />
        <category android:name="android.intent.category.DEFAULT" />
    </intent-filter>

</service>
要声明action以供隐式bindService
二. 本地Activity怎样绑定远程Service
新建一个项目作为绑定远程Service的client,将上面的aidl所在包拷贝到src中,注意整个包名和文件名称都要全然一样,否则无法远程绑定。
再写MainActivity.java来进行绑定操作
package com.yjq.local_service;

import java.util.List;

import com.example.aidl.IMyService;
import com.example.aidl.Student;
import com.yjq.local_service.MyService.MyBinder;
import com.yjq.service.R;
import android.os.Bundle;
import android.os.Handler;
import android.os.IBinder;
import android.util.Log;
import android.view.View;
import android.view.View.OnClickListener;
import android.widget.Button;
import android.widget.TextView;
import android.app.Activity;
import android.content.ComponentName;
import android.content.Intent;
import android.content.ServiceConnection;

public class MainActivity extends Activity {

	private static final String TAG = "MainActivity_local";

//绑定远程Service的action
	public static final String BIND_REMOTE_SERVICE_ACTION = "com.example.remoteservice";

	// 远程服务 , 服务的类是在aidl中定义的
	private IMyService mRemoteService;

	private Button bindRemoteServiceButton;


	@Override
	protected void onCreate(Bundle savedInstanceState) {
		super.onCreate(savedInstanceState);
		setContentView(R.layout.activity_main);

		bindRemoteServiceButton =(Button)findViewById(R.id.bind_remote_service);

                              bindRemoteServiceButton.setOnClickListener( new OnClickListener() {
			@Override
			public void onClick(View v) {
				bindRemoteService();
			}
		});
	}


	/**
	 * 创建并绑定远程Service
	 * */
	private void bindRemoteService() {
		Intent intentService = new Intent(BIND_REMOTE_SERVICE_ACTION);
		intentService.setFlags(Intent.FLAG_ACTIVITY_NEW_TASK);
		bindService(intentService, remoteServiceConnection, BIND_AUTO_CREATE);
	}


	/**
	 * 绑定远程服务的ServiceConnection类
	 */
	ServiceConnection remoteServiceConnection = new ServiceConnection() {

		@Override
		public void onServiceDisconnected(ComponentName name) {
			mRemoteService = null;
		}

		@Override
		public void onServiceConnected(ComponentName name, IBinder service) {
			mRemoteService = IMyService.Stub.asInterface(service);

			new Thread(new Runnable() {
				@Override
				public void run() {
					try {
						List<Student> students = mRemoteService.getStudent();
						for (Student s : students) {
							System.out.println("远程调用: " + s.toString());
						}
					} catch (Exception e) {
						// TODO: handle exception
					}
				}
			}).start();

		}
	};

	@Override
	protected void onDestroy() {
		unbindService(remoteServiceConnection);
		super.onDestroy();
	}

}
activity中通过
bindService(intentService, remoteServiceConnection, BIND_AUTO_CREATE);来绑定远程Service
实现接口的几条说明:
*不会有返回给调用方的异常
*默认IPC调用是同步的。假设已知IPC服务端会花费非常多毫秒才干完毕,那就不要在Activity或View线程中调用,否则会引起应用程序挂起(Android可能会显示“应用程序未响应”对话框),所以上面创建了一个Thread来运行
*AIDL接口中仅仅支持方法,不能声明静态成员。
并且。当调用结束时,应该使用
unbindService(remoteServiceConnection);三. 执行測试
先安装服务端的程序,再执行client程序。点击绑定button,即看到结果
08-20 22:49:48.447: I/System.out(1319): 远程调用: Student[ 0, student#1, 0, 5 ]
08-20 22:49:48.457: I/System.out(1319): 远程调用: Student[ 0, student#2, 0, 10 ]
08-20 22:49:48.457: I/System.out(1319): 远程调用: Student[ 0, student#3, 0, 15 ]
08-20 22:49:48.457: I/System.out(1319): 远程调用: Student[ 0, student#4, 0, 20 ]
08-20 22:49:48.457: I/System.out(1319): 远程调用: Student[ 0, student#5, 0, 25 ]
Demo下载: http://download.csdn.net/detail/guige_csdn/9032089
四. 在android中的应用
摘自:http://blog.csdn.net/u011485531/article/details/12073647
以下我们就讲一个挂断电话的样例,我们知道。Android的api里面是没有挂断电话的操作的
那假设我们的应用就有这样一个需求呢,那怎么办
能够通过java的反射来实现。也能够通过aidl来实现,以下介绍aidl的方法
首先,我们先把两个aidl文件拷贝到src文件夹以下

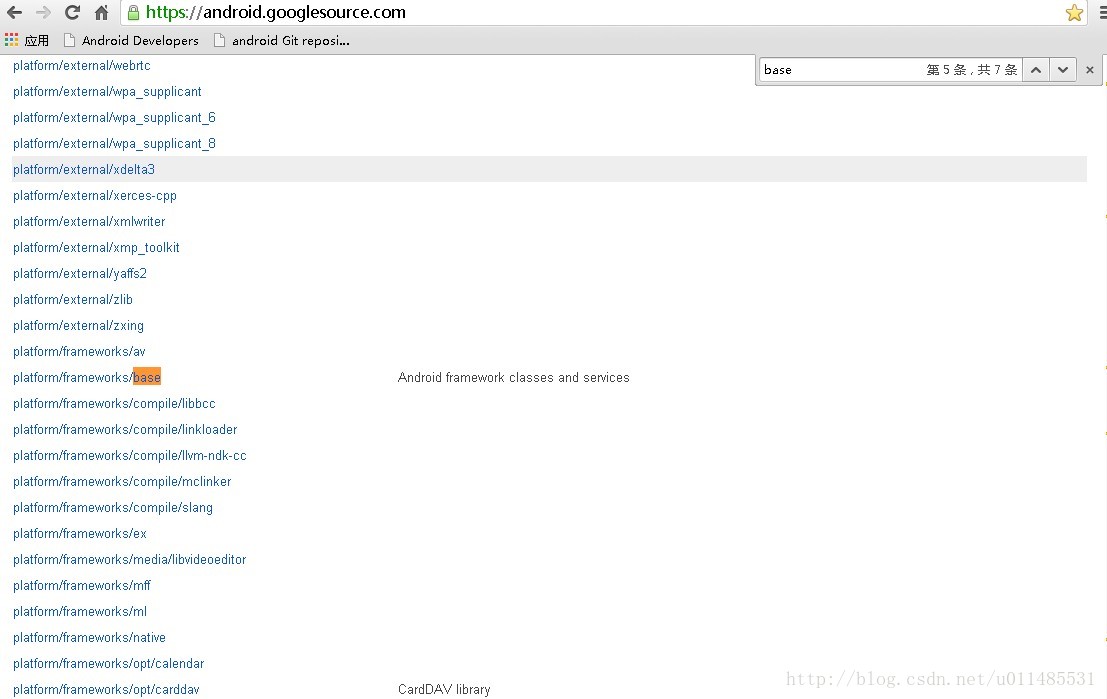
你肯定会问,这些aidl文件是在那里找到的,那么我能够告诉你,这些是Android的源代码里面找到的,就是在base这个以下的
大家能够下载下来看看。假设有不会的,请看点击这里
既然把aidl文件拷贝过去之后。我们就能够写代码啦
com.xiaobin.endcall.MainActivity
- package com.xiaobin.endcall;
- import java.lang.reflect.Method;
- import com.android.internal.telephony.ITelephony;
- import android.app.Activity;
- import android.os.Bundle;
- import android.os.IBinder;
- import android.view.View;
- public class MainActivity extends Activity
- {
- @Override
- public void onCreate(Bundle savedInstanceState)
- {
- super.onCreate(savedInstanceState);
- this.setContentView(R.layout.main);
- }
- public void click(View v)
- {
- endCall();
- }
- //挂断电话
- private void endCall()
- {
- try
- {
- //通过反射拿到android.os.ServiceManager里面的getService这种方法的对象
- Method method = Class.forName("android.os.ServiceManager").getMethod("getService", String.class);
- //通过反射调用这个getService方法,然后拿到IBinder对象,然后就能够进行aidl啦
- IBinder iBinder = (IBinder) method.invoke(null, new Object[] {TELEPHONY_SERVICE});
- ITelephony telephony = ITelephony.Stub.asInterface(iBinder);
- telephony.endCall();
- }
- catch (Exception e)
- {
- e.printStackTrace();
- }
- }
- }
由于那个服务没有公开的,所以我们就要用到反射来调用这个服务,来拿到Binder对象
还有重要的一点喔,要加上对应的权限。不然挂不断的喔
- <uses-permission android:name="android.permission.CALL_PHONE"/>
好啦,到这里。挂断电话的操作就完毕的啦,能够測试一下啦,然后我们手机卫士的这个项目的黑名单那里也有挂断电话的操作的喔
挂断电话的样例下载: http://download.csdn.net/detail/guige_csdn/9032239


 3万+
3万+


 被折叠的 条评论
为什么被折叠?
被折叠的 条评论
为什么被折叠?
 到【灌水乐园】发言


