


我们之前一直讲的是控件的数据绑定,那么我们可不可以绑定一个类,让某个控件显示某个类的属性呢?答案是肯定的,因为我们的任何一个控件都是一个类,所以类的数据绑定跟控件的数据绑定是一样的。
OK,下面我先声明一个person类,它有两个属性,Name和Age。
类代码如下:
using System;
using System.Net;
using System.Windows;
using System.Windows.Controls;
using System.Windows.Documents;
using System.Windows.Ink;
using System.Windows.Input;
using System.Windows.Media;
using System.Windows.Media.Animation;
using System.Windows.Shapes;
namespace dataBind
{
public class person:DependencyObject
{
private string name;
public string Name
{
get { return name; }
set { name = value; }
}
private int age;
public int Age
{
get { return name; }
set { name = value; }
}
}
}
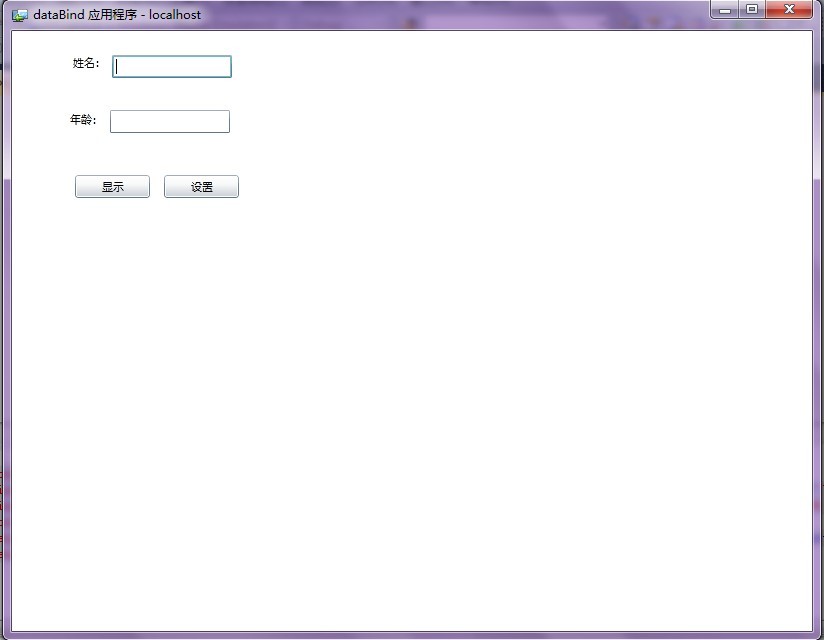
下面我托两个textBox,分别用来绑定person类的姓名跟年龄。

OK,为了能够让textBox绑定到person类的数据,首先我们得实例化这个类。
person p = new person() { Name = "安亭", Age = 23 };
第二步,我们为textBox设置数据源:
private void button1_Click(object sender, RoutedEventArgs e)
{
textBox1.DataContext = p;
textBox2.DataContext = p;
}
下面第三步,修改前台XAML文件,设置textBox绑定到person的哪个属性。
前台代码如下:
<navigation:Page x:Class="dataBind.bindClass"
xmlns="http://schemas.microsoft.com/winfx/2006/xaml/presentation"
xmlns:x="http://schemas.microsoft.com/winfx/2006/xaml"
xmlns:d="http://schemas.microsoft.com/expression/blend/2008"
xmlns:mc="http://schemas.openxmlformats.org/markup-compatibility/2006"
mc:Ignorable="d"
xmlns:navigation="clr-namespace:System.Windows.Controls;assembly=System.Windows.Controls.Navigation"
d:DesignWidth="400" d:DesignHeight="200"
Title="bindClass Page">
<Grid x:Name="LayoutRoot">
<TextBlock Height="23" HorizontalAlignment="Left" Margin="61,24,0,0" Name="textBlock1" Text="姓名:" VerticalAlignment="Top" />
<TextBox Height="23" HorizontalAlignment="Left" Margin="100,24,0,0" Text="{Binding Name,Mode=TwoWay}" Name="textBox1" VerticalAlignment="Top" Width="120" />
<TextBox Height="23" HorizontalAlignment="Left" Margin="98,79,0,0" Text="{Binding Age,Mode=TwoWay}" Name="textBox2" VerticalAlignment="Top" Width="120" />
<TextBlock Height="23" HorizontalAlignment="Left" Margin="58,81,0,0" Name="textBlock2" Text="年龄:" VerticalAlignment="Top" />
<Button Content="显示" Height="23" HorizontalAlignment="Left" Margin="63,144,0,0" Name="button1" VerticalAlignment="Top" Width="75" Click="button1_Click_1" />
<Button Content="设置" Height="23" HorizontalAlignment="left" Margin="152,144,0,0" Name="button2" VerticalAlignment="Top" Width="75" />
</Grid>
</navigation:Page>
下面我修改textBox中的文本值,那么可以看到,它是双向绑定的:

这时候我设置person的姓名跟年龄,然后我再点显示,发现,并没有绑定过来。
p.Name = "张三丰";
p.Age = 108;
MessageBox.Show("姓名:" + p.Name + "\n年龄:" + p.Age);
它还是显示的原来的值,那这是为什么呢?大家还记得先前DependencyObjec么?
Silverlight中的数据绑定对被绑定对象有特殊要求,如果只是普通的get、set属性的对象用在数据绑定上有很多问题(无法双向绑定),一般要求继承自DependencyObject。
既然如此,我们就需要做下面几步:
//第一步,类必须继承自DependencyObject
//第二步,注册一个由ReadOnly修饰的DependencyProperty类型的静态字段,字段的名称一般要求为属性名+Property
public static readonly DependencyProperty NameProperty =
DependencyProperty.Register("Name", typeof(string), typeof(Person), null);//第一个参数:属性名,
第二个参数 属性的类型 第三个参数:属性所在类的类型 第四个: null
//第三步,定义用户使用属性。
下面我们看一个比较完整的person类定义:
using System;
using System.Net;
using System.Windows;
using System.Windows.Controls;
using System.Windows.Documents;
using System.Windows.Ink;
using System.Windows.Input;
using System.Windows.Media;
using System.Windows.Media.Animation;
using System.Windows.Shapes;
namespace dataBind
{
public class person:DependencyObject
{
private string name;
//public string Name
//{
// get { return name; }
// set { name = value; }
//}
public string Name
{
get { return (string)GetValue(NameProperty); }
set { SetValue(NameProperty, value); }
}
// Using a DependencyProperty as the backing store for Name. This enables animation, styling, binding, etc...
public static readonly DependencyProperty NameProperty =
DependencyProperty.Register("Name", typeof(string), typeof(person),null );
private int age;
//public int Age
//{
// get { return name; }
// set { name = value; }
//}
public int Age
{
get { return (int)GetValue(AgeProperty); }
set { SetValue(AgeProperty, value); }
}
// Using a DependencyProperty as the backing store for Age. This enables animation, styling, binding, etc...
public static readonly DependencyProperty AgeProperty =
DependencyProperty.Register("Age", typeof(int), typeof(person),null );
}
}
我们的后台代码是:
using System;
using System.Collections.Generic;
using System.Linq;
using System.Net;
using System.Windows;
using System.Windows.Controls;
using System.Windows.Documents;
using System.Windows.Input;
using System.Windows.Media;
using System.Windows.Media.Animation;
using System.Windows.Shapes;
using System.Windows.Navigation;
namespace dataBind
{
public partial class bindClass : Page
{
public bindClass()
{
InitializeComponent();
}
person p = new person() { Name = "安亭", Age = 23 };
// 当用户导航到此页面时执行。
protected override void OnNavigatedTo(NavigationEventArgs e)
{
}
private void button1_Click_1(object sender, RoutedEventArgs e)
{
textBox1.DataContext = p;
textBox2.DataContext = p;
MessageBox.Show("姓名:" + p.Name + "\n年龄:" + p.Age);
}
private void button2_Click(object sender, RoutedEventArgs e)
{
p.Name = "张三丰";
p.Age = 108;
MessageBox.Show("姓名:" + p.Name + "\n年龄:" + p.Age);
}
}
}
原文链接: http://blog.csdn.net/mypc2010/article/details/7953265


 66
66

 被折叠的 条评论
为什么被折叠?
被折叠的 条评论
为什么被折叠?
 到【灌水乐园】发言


