


RGB三色图变成【0,255】的灰度图的简单方法
方法1. 取RGB的平均值,即 pixel(i , j) = R(i , j) + G(i , j) + B(i , j)
方法2. 颜色空间的转换(RGB -> YUV),取Y分量(YUV中的 Y表示亮度)计算公式
pixel(i , j) = 0.3 * R(i , j) + 0.59 * G(i , j) + 0.11 * B(i , j)
#include "JpegDecoder.h"
#include <stdio.h>
#include <opencv2/highgui.hpp>
#include <math.h>

using namespace JpegCodec;

static cv::Mat ConvertToMat(Matrix &mat)
{
	int channel = CV_8UC3;
	if (mat.channal == 1) channel = CV_8UC1;

	cv::Mat img(mat.rows, mat.cols, channel);  // create a new matrix

	for (int i = 0; i < mat.rows * mat.cols * mat.channal; i++)
	{
		img.data[i] = mat.data[i];
	}

	return img;
}


void ShowImage(Matrix &mat)
{
	cv::Mat img = ConvertToMat(mat);
	cv::imshow("Bitmap", img);
}


/* 方法一 */
void Gray(Matrix &dst, Matrix &src)
{
	dst.Create(src.rows, src.cols, 1);

	for (int i = 0; i < src.rows; i++)
	{
		for (int j = 0; j < src.cols; j++)
		{
			int idx = (i * src.rows + j) * 3;
			dst.data[idx / 3] = (src.data[idx] + src.data[idx + 1] + src.data[idx + 2]) / 3;
		}
	}
}

/* 方法二 */
void Gray(Matrix &dst, Matrix &src)
{
	dst.Create(src.rows, src.cols, 1);

	for (int i = 0; i < src.rows; i++)
	{
		for (int j = 0; j < src.cols; j++)
		{
			int idx = (i * src.rows + j) * 3;
			dst.data[idx / 3] = 0.3 * src.data[idx] + 0.59 * src.data[idx + 1] + 0.11 * src.data[idx + 2];
		}
	}
}

int main(int argc, char *arrv[])
{
	JpegDecoder decoder("01.jpg");
	Matrix mat, dst;
	decoder.Decoder(mat);

	Gray(dst, mat);
	ShowImage(dst);

	cvWaitKey(0);
	return 0;
}
JpegDecoder: https://github.com/lzb-cc/JpegCodecs
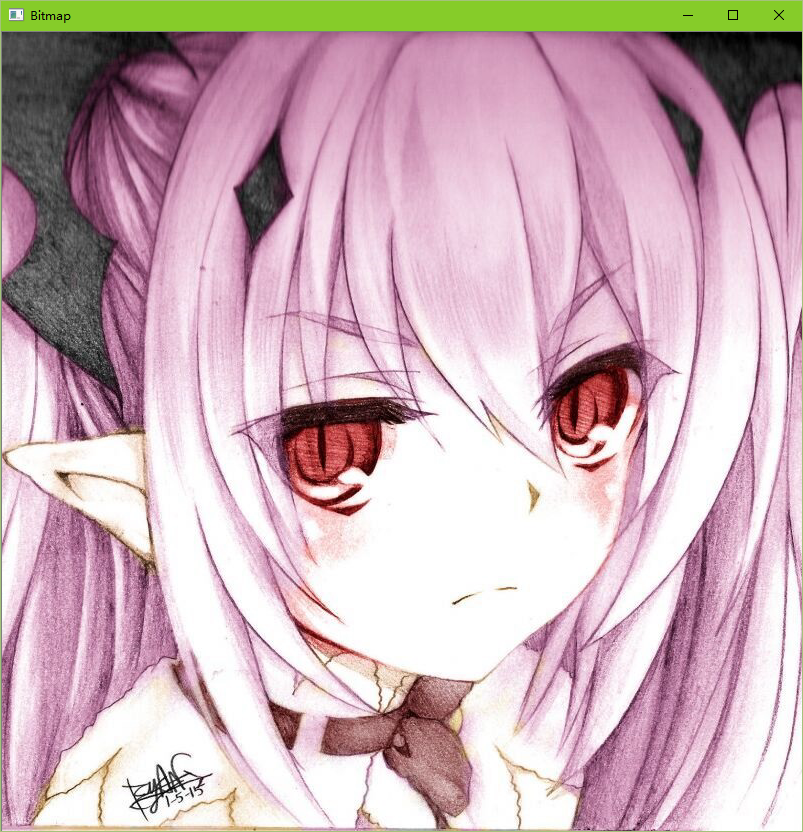
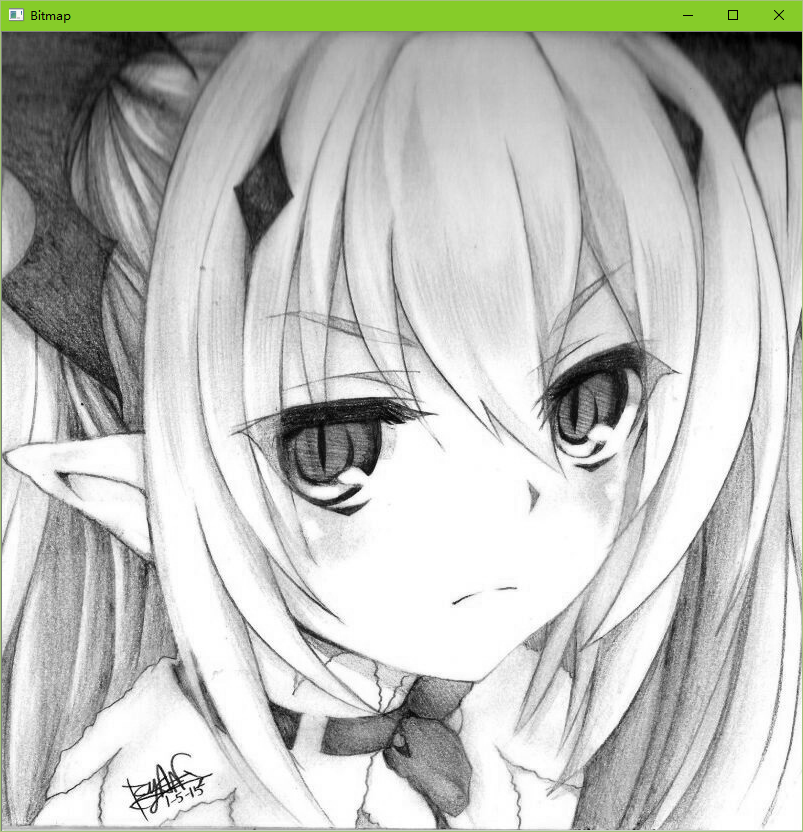
运行示例


 2388
2388

 被折叠的 条评论
为什么被折叠?
被折叠的 条评论
为什么被折叠?
 到【灌水乐园】发言


