首先,先写一个练手的页面。没有登录注册功能,纯属熟悉一下许久未用的html5代码。。嘤~
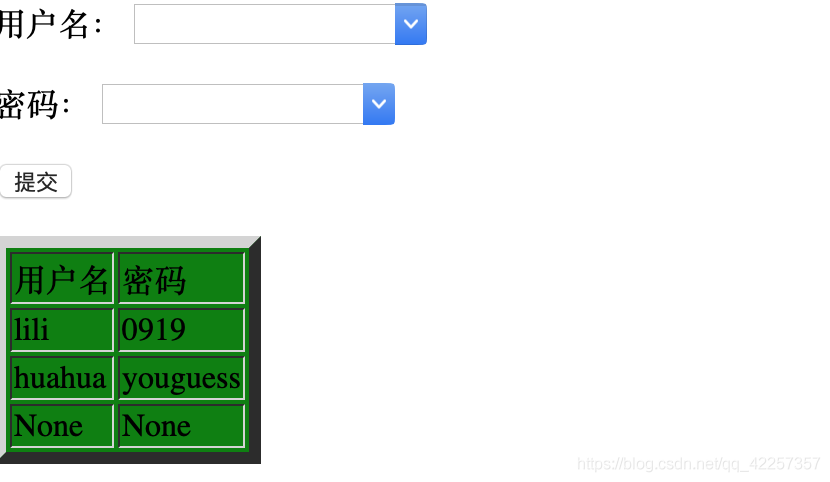
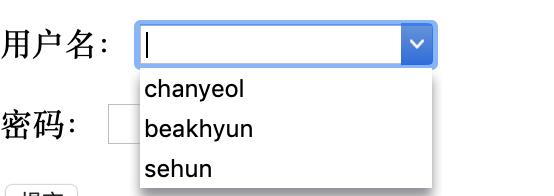
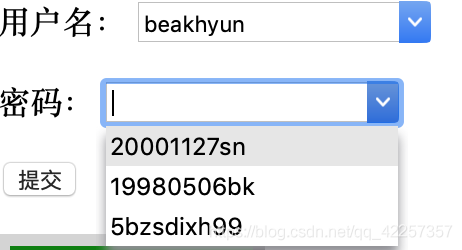
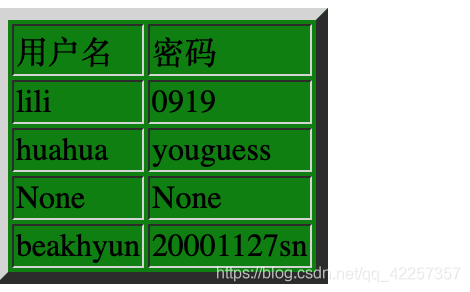
这是一个在网页中通过文本框输入或者下拉框选择用户名和密码,然后添加到界面显示的表格中去的页面
1.settings.py的templates需要修改,才能显示出templates中的html文件内容
TEMPLATES = [
{
'BACKEND': 'django.template.backends.django.DjangoTemplates',
'DIRS': [os.path.join(BASE_DIR, 'templates')],
# 修改行'DIRS': [],
'APP_DIRS': True,
templates需要与模板文件名templates一样
2.配置项目的urls文件,不是app的
这里有三种配置路径的方法,不加注释的是其中一种。
from django.contrib import admin
from django.urls import include, path
from tea1 import views
from django.conf.urls import url
urlpatterns = [
# path('', include('tea1.urls')),
# 第二种方法,将views.index路径设在同文件夹的tea1.urls中,然后在这个urls文件中设置路径到tea1.urls
path('', views.index),
# 因为有了from tea1 import views,所以可以直接调用('', views.index),就是tea1中的views.py中的index
path('admin/', admin.site.urls),
path('index.html', views.index)
#
# url(r'^index/', views.index)
]
如果用到了path('', include('tea1.urls')),
就需要配置app中的urls文件
from django.urls import path
from . import views
urlpatterns = [
path('', views.index, name='index'),
]
3.第三步。配置views文件
from django.shortcuts import render
from django.http import HttpResponse
# Create your views here.
# 先定义一个数据列表,
list = [{"name": 'lili', 'password': '0919'}, {'name': 'huahua', 'password': 'youguess'}]
def index(request):
# 获取前端post过来的用户名和密码
name = request.POST.get("name", None)
password = request.POST.get("password", None)
#把用户和密码组装成字典
data = {"name":name, "password":password}
list.append(data)
return render(request, 'index.html', {'form':list})
# 通过render模块把index.html这个文件返回到前端,并且返回给了前端一个变量form,在写html时可以调用这个form来展示list里的内容
# 最开始的一行代码 return HttpResponse("Hello.world!You're at the tea1 index!")
# render(request, 'archive.html')
4.第四步,在templates文件夹中新建index.html,写如下内容
Test{% csrf_token %}
用户名:
密码:
用户名密码
{% for line in form %}
{{line.name}}{{line.password}}{% endfor %}
5.终端输入python manage.py runserver运行

6.界面如下

下面。配置static路径
1.创建static文件夹,目录如下图:
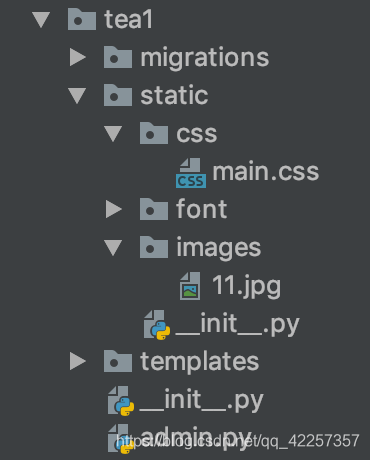
注意static文件与template同级
2.设置settings.py文件
文件末尾追加:
STATIC_URL = '/static/'
STATIC_ROOT = os.path.join(BASE_DIR, 'static').replace('\\', '/')
STATICFILES_DIRS = (
('css', os.path.join(STATIC_ROOT, 'css').replace('\\', '/')),
('images', os.path.join(STATIC_ROOT, 'images').replace('\\', '/')),
('font', os.path.join(STATIC_ROOT, 'font').replace('\\', '/')),
)
文件中间处添加:
TEMPLATES = [
{
'BACKEND': 'django.template.backends.django.DjangoTemplates',
'DIRS': [os.path.join(BASE_DIR, 'templates/'),
os.path.join(BASE_DIR, 'static').replace('\\', '/')# 添加行
],
3.配置urls.py文件
from django.contrib.staticfiles.urls import staticfiles_urlpatterns
文件末尾添加:
urlpatterns += staticfiles_urlpatterns()
4.然后在html中添加想要插入的静态文件路径就行啦
比如插入一张图的格式,记得static前要加/。


 1万+
1万+

 被折叠的 条评论
为什么被折叠?


