


1.修改pom.xml文件
4.0.0
top.ytheng
springboot-demo
0.0.1
war
org.springframework.boot
spring-boot-starter-parent
2.0.5.RELEASE
UTF-8
UTF-8
1.8
org.springframework.boot
spring-boot-starter-web
org.springframework.boot
spring-boot-starter-test
test
org.springframework.boot
spring-boot-starter-thymeleaf
org.springframework.boot
spring-boot-devtools
true
true
myspringboot
org.springframework.boot
spring-boot-maven-plugin
maven-compiler-plugin
1.8
1.8
2.添加控制器Controller
package top.ytheng.demo.controller;
import org.springframework.stereotype.Controller;
import org.springframework.web.bind.annotation.RequestMapping;
import org.springframework.web.bind.annotation.ResponseBody;
@Controller
@RequestMapping("/file")
public class FileController {
@RequestMapping("/testpath")
@ResponseBody
private Object testPath() {
return "Success";
}
}
3.添加启动类
package top.ytheng.demo;
import org.springframework.boot.SpringApplication;
import org.springframework.boot.autoconfigure.SpringBootApplication;
import org.springframework.boot.builder.SpringApplicationBuilder;
import org.springframework.boot.web.servlet.support.SpringBootServletInitializer;
@SpringBootApplication
public class DemoApplication extends SpringBootServletInitializer {
@Override
protected SpringApplicationBuilder configure(SpringApplicationBuilder application) {
return application.sources(DemoApplication.class);
}
public static void main(String[] args) throws Exception {
SpringApplication.run(DemoApplication.class, args);
}
}
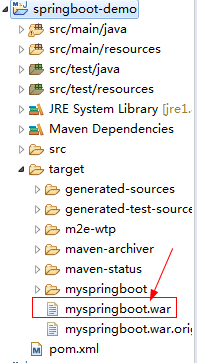
4.右键项目依次执行Run As -> Maven Clean 和 Maven Install,会在target目录下生成war包
5.安装Tomcat(注意:项目里面的端口和Tomcat保持一致,建议为8080,否则到时访问url会报错)
将War包拷贝到Tomcat的webapps目录下面
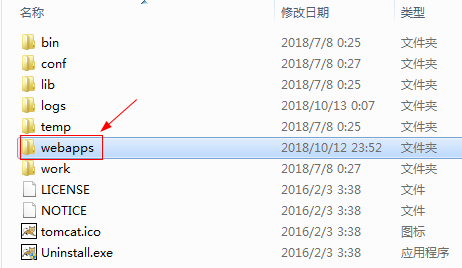
启动Tomca,会自动将War包生成文件夹

6.访问路径
注意:访问路径要加上项目名称
http://localhost:8080/myspringboot/file/testpath
以上就是本文的全部内容,希望对大家的学习有所帮助,也希望大家多多支持脚本之家。


 342
342


 被折叠的 条评论
为什么被折叠?
被折叠的 条评论
为什么被折叠?
 到【灌水乐园】发言


