


若该文为原创文章,转载请注明原文出处
一、自定义组件
1、新建qml文件
新建名为MyComponent.qml文件

2、自定义组件
/* MyComponent.qml */
import QtQuick 2.0
import QtQuick.Controls 2.15

Rectangle {
    width: 400
    height: 300

    property Component com1
    property Component com2

    border.color: "black"

    Loader {
        id: loader1
        sourceComponent: com1
        anchors.bottom: parent.bottom
        anchors.bottomMargin: 20
        anchors.right: parent.right
        anchors.rightMargin: 20

    }

    Loader {
        id: loader2
        sourceComponent: com2
        anchors.bottom: parent.bottom
        anchors.bottomMargin: 20
        anchors.right: parent.right
        anchors.rightMargin: 200

    }
}
3、 调用组件
在main.qml使用自定义的组件,如何使用呢?
在这里是直接调用。
/* main.qml */
import QtQuick 2.12
import QtQuick.Window 2.12
import QtQuick.Controls 2.12


Window {
    id: window
    visible: true
    width: 640
    height: 480
    title: qsTr("Hello World")


    Component {
        id: com
        Button {
            onClicked: {
                console.log("123")
            }
        }
    }

    MyComponent {
        com1: com
        com2: com
    }
}
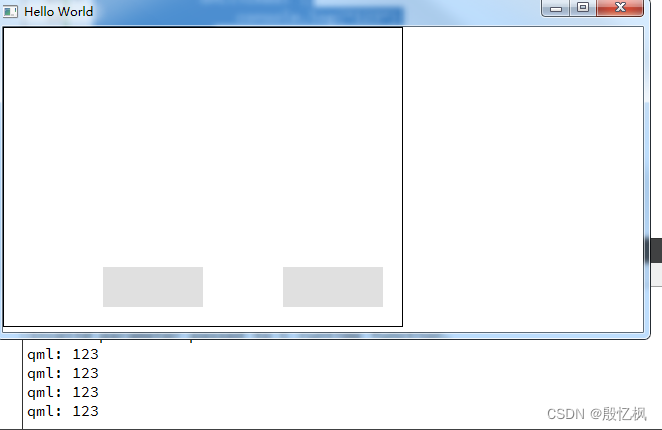
编译运行结果:
二、信号槽的使用
在使用过程中,想在自定义的组件里处理事件,那就需要Button控件下发送信号,然后在自定义的组件下处理。要如何发送呢?
1、信号发送
信号的发送相对简单,定义信号,发送出去。
/* main.qml */
import QtQuick 2.12
import QtQuick.Window 2.12
import QtQuick.Controls 2.12


Window {
    id: window
    visible: true
    width: 640
    height: 480
    title: qsTr("Hello World")


    Component {
        id: com
        Button {
            signal btnSig(int value)   /* 定义信号 */
            onClicked: {
                btnSig(10)             /* 发送信号 */
            }
        }
    }

    MyComponent {
        com1: com
        com2: com
    }
}
2、信号接收
信号发送出来后,我们在自定义的组件时处理信号,怎么处理呢?通过Connections属性来接收信号并处理。
/* MyComponent.qml */
import QtQuick 2.0
import QtQuick.Controls 2.12

Rectangle {
    width: 400
    height: 300

    property Component com1
    property Component com2

    border.color: "black"

    Loader {
        id: loader1
        sourceComponent: com1
        anchors.bottom: parent.bottom
        anchors.bottomMargin: 20
        anchors.right: parent.right
        anchors.rightMargin: 20

        Connections {                  /* 处理信号 */
            target: loader1.item
            function onBtnSig(value) {
                console.log("right" + value)
            }
        }

    }

    Loader {
        id: loader2
        sourceComponent: com2
        anchors.bottom: parent.bottom
        anchors.bottomMargin: 20
        anchors.right: parent.right
        anchors.rightMargin: 200

        Connections {               /* 处理信号 */
            target: loader2.item
            function onBtnSig(value) {
                console.log("left" + value)
            }
        }
    }
}
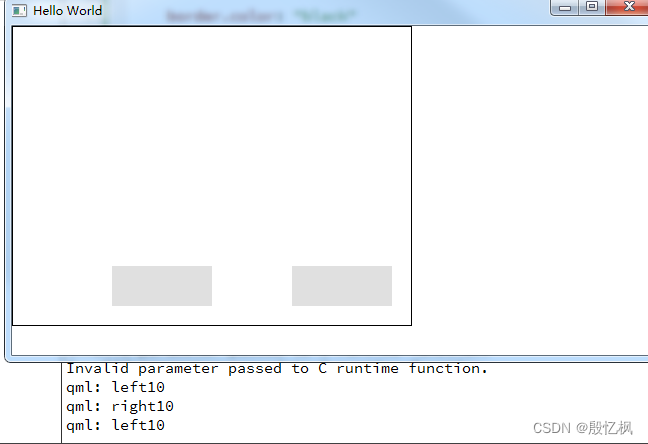
3、结果
编译运行,点击按钮就会输出相应的Log
三、总结
有侵权,请及时联系博主删除,VX:18750903063


 1111
1111


 被折叠的 条评论
为什么被折叠?
被折叠的 条评论
为什么被折叠?
 到【灌水乐园】发言


