


JWT的 Token 要经过加密才能返回给客户端,包括客户端上传的 Token ,后端项目需要验证核
实。于是我们需要一个
JWT
工具类,用来
加密
Token
和
验证
Token
的有效性.
1、导入依赖项
1. <dependency>
2. <groupId>org.apache.shiro</groupId>
3. <artifactId>shiro-web</artifactId>
4. <version>1.5.3</version>
5. </dependency>
6. <dependency>
7. <groupId>org.apache.shiro</groupId>
8. <artifactId>shiro-spring</artifactId>
9. <version>1.5.3</version>
10. </dependency>
11. <dependency>
12. <groupId>com.auth0</groupId>
13. <artifactId>java-jwt</artifactId>
14. <version>3.10.3</version>
15. </dependency>
16. <dependency>
17. <groupId>org.springframework.boot</groupId>
18. <artifactId>spring-boot-configuration-processor</artifactId>
19. <optional>true</optional>
20. </dependency>
21. <dependency>
22. <groupId>org.apache.commons</groupId>
23. <artifactId>commons-lang3</artifactId>
24. <version>3.11</version>
25. </dependency>
26. <dependency>
27. <groupId>org.apache.httpcomponents</groupId>
28. <artifactId>httpcore</artifactId>
29. <version>4.4.13</version>
30. </dependency>
31. <dependency>
32. <groupId>org.springframework.boot</groupId>
33. <artifactId>spring-boot-starter-aop</artifactId>
34. </dependency>
二、定义密钥和过期时间
我建议大家把密钥和过期时间定义到SpringBoot配置文件中,然后再值注入到JavaBean中,这样维护起来比较方便。
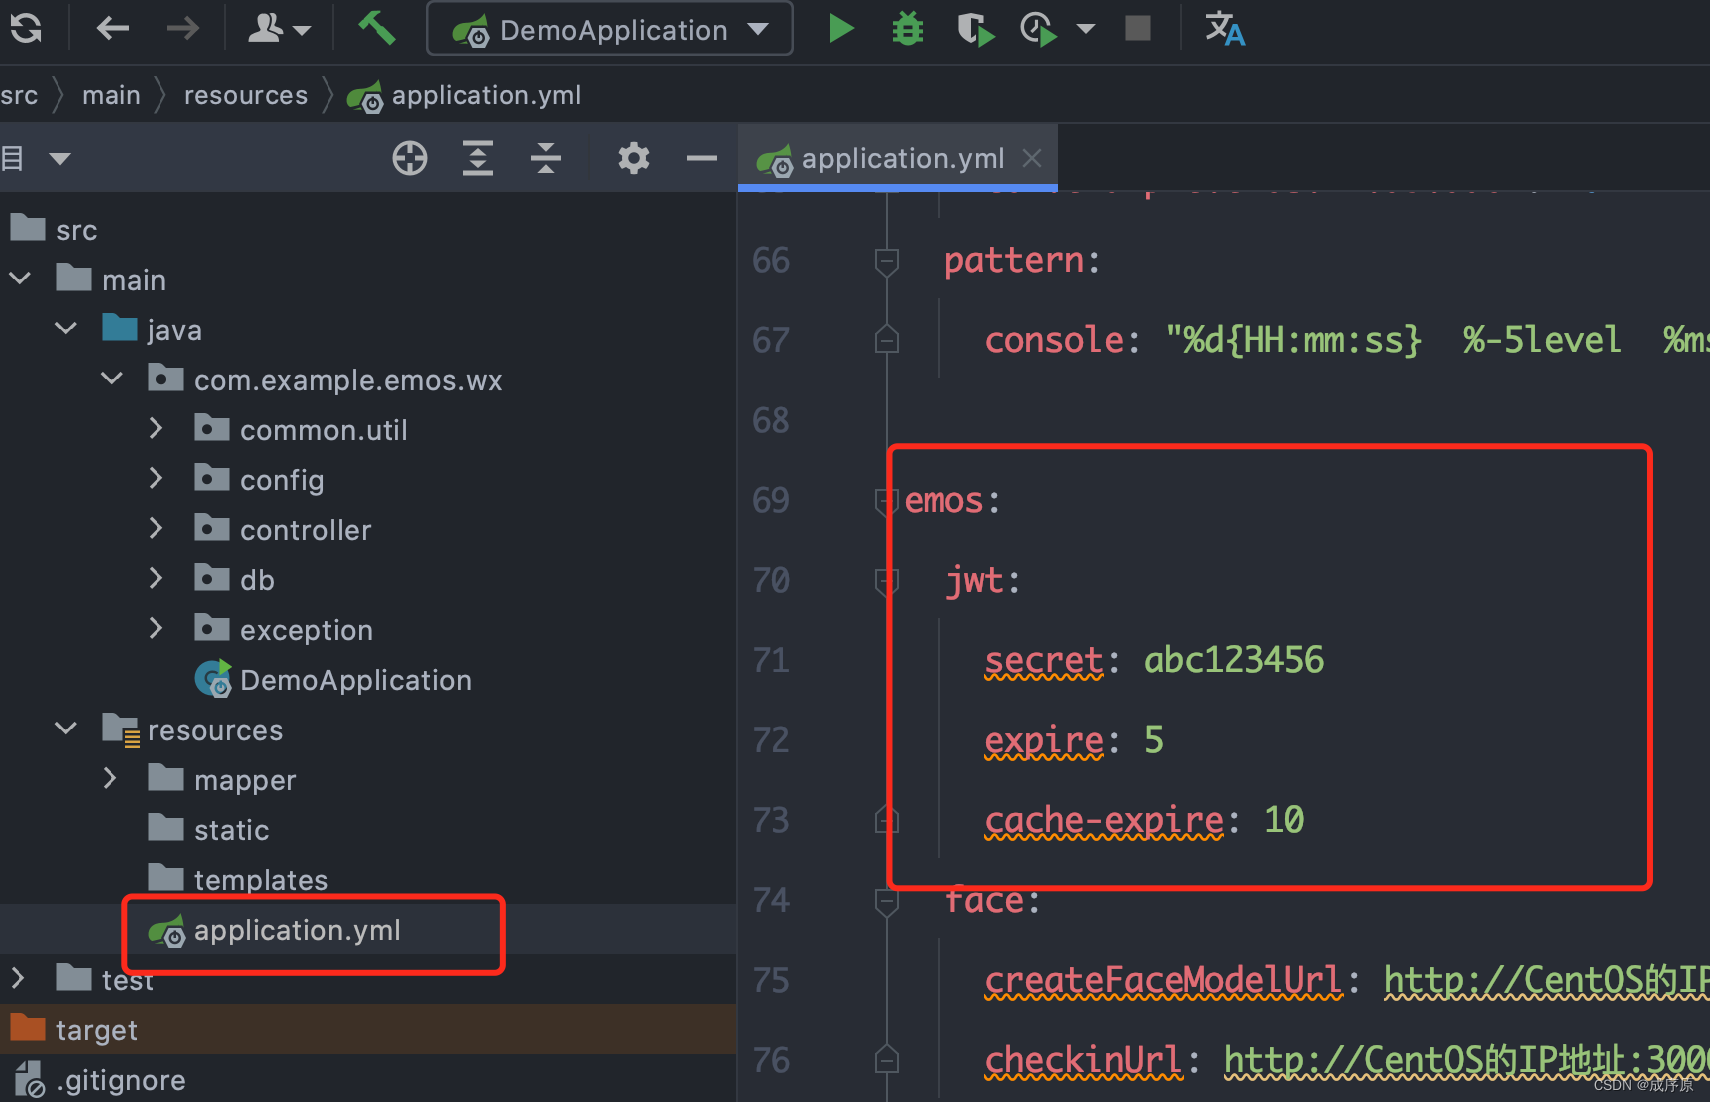
 emos: 2. jwt: 3. #密钥
4. secret: abc123456
5. #令牌过期时间(天)
6. expire: 5 7. #令牌缓存时间(天数)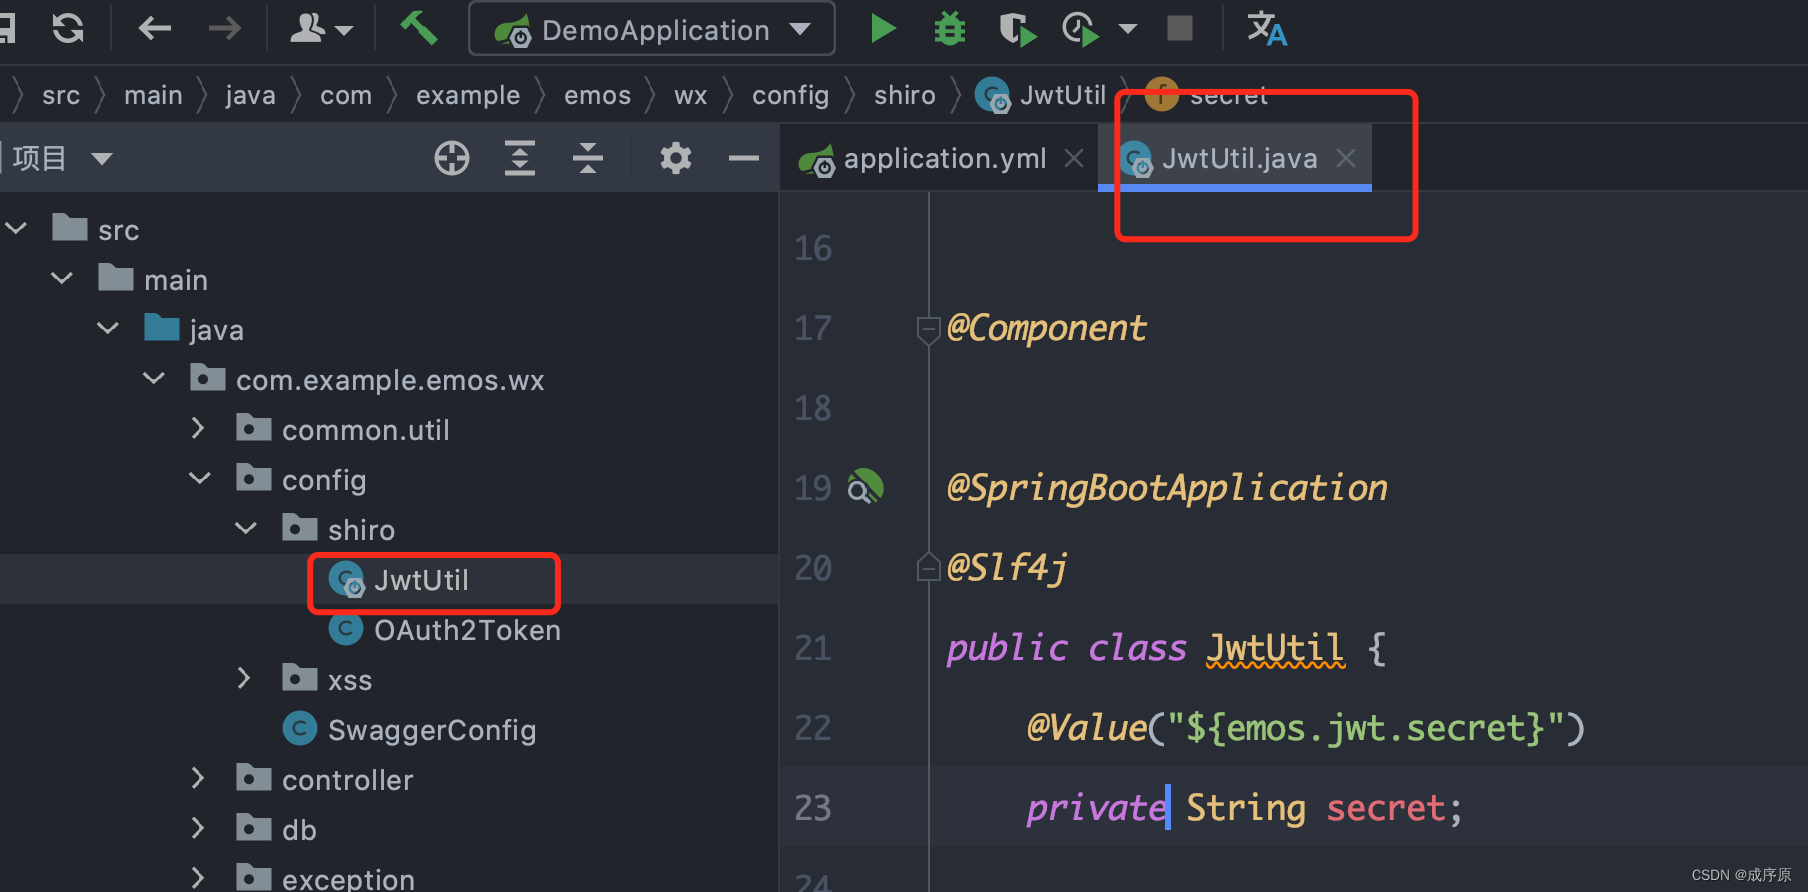
8. cache-expire: 10三、创建JWT工具类
package com.example.emos.wx.config.shiro;

import cn.hutool.core.date.DateField;
import cn.hutool.core.date.DateUtil;
import com.auth0.jwt.JWT;
import com.auth0.jwt.JWTCreator;
import com.auth0.jwt.JWTVerifier;
import com.auth0.jwt.algorithms.Algorithm;
import com.auth0.jwt.interfaces.DecodedJWT;
import lombok.extern.slf4j.Slf4j;
import org.springframework.beans.factory.annotation.Value;
import org.springframework.boot.autoconfigure.SpringBootApplication;
import org.springframework.stereotype.Component;

import java.util.Date;

@Component

@SpringBootApplication
@Slf4j
public class JwtUtil {
    @Value("${emos.jwt.secret}")
    private String secret;

    @Value("${emos.jwt.expire}")
    private int expire;

    public String createToken(int userId){
        Date date=DateUtil.offset(new Date(), DateField.DAY_OF_YEAR,5);
        Algorithm algorithm=Algorithm.HMAC256(secret);
        JWTCreator.Builder builder= JWT.create();
        String token=builder.withClaim("userId",userId).withExpiresAt(date).sign(algorithm);
        return token;
    }

    public int getUserId(String token){
        DecodedJWT jwt=JWT.decode(token);
        int userId=jwt.getClaim("userId").asInt();
        return userId;
    }

    public void verifierToken(String token){
        Algorithm algorithm=Algorithm.HMAC256(secret);
        JWTVerifier verifier=JWT.require(algorithm).build();
        verifier.verify(token);
    }
}
四、把令牌封装成认证对象
我们通过JwtUtil类可以生成 Token ,这个 Token 我们是要返回给客户端的。接下来 我们要把 JWT 和 Shiro框架 对接起来,这样 Shiro框架 就会拦截所有的Http请求,然后验证请求 提交的 Token 是否有效。

客户端提交的Token不能直接交给Shiro框架,需要先封装成 AuthenticationToken 类型的对象,
所以我们我们需要先创建
AuthenticationToken
的实现类。

package com.example.emos.wx.config.shiro;

import org.apache.shiro.authc.AuthenticationToken;

public class OAuth2Token implements AuthenticationToken {
    private String token;

    public OAuth2Token(String token) {
        this.token = token;
    }

    @Override
    public Object getPrincipal() {
        return token;
    }

    @Override
    public Object getCredentials() {
        return token;
    }
}


 457
457


 被折叠的 条评论
为什么被折叠?
被折叠的 条评论
为什么被折叠?
 到【灌水乐园】发言


