


1、在 pom.xml 文件中添加Swagger依赖库,这里我们使用的是Swagger2版本,在UI方面,比
Swagger1
版本要好看很多。
<dependency>
2. <groupId>io.springfox</groupId>
3. <artifactId>springfox-swagger2</artifactId>
4. <version>2.9.2</version>
5. </dependency>
6. <dependency>
7. <groupId>io.springfox</groupId>
8. <artifactId>springfox-swagger-ui</artifactId>
9. <version>2.9.2</version>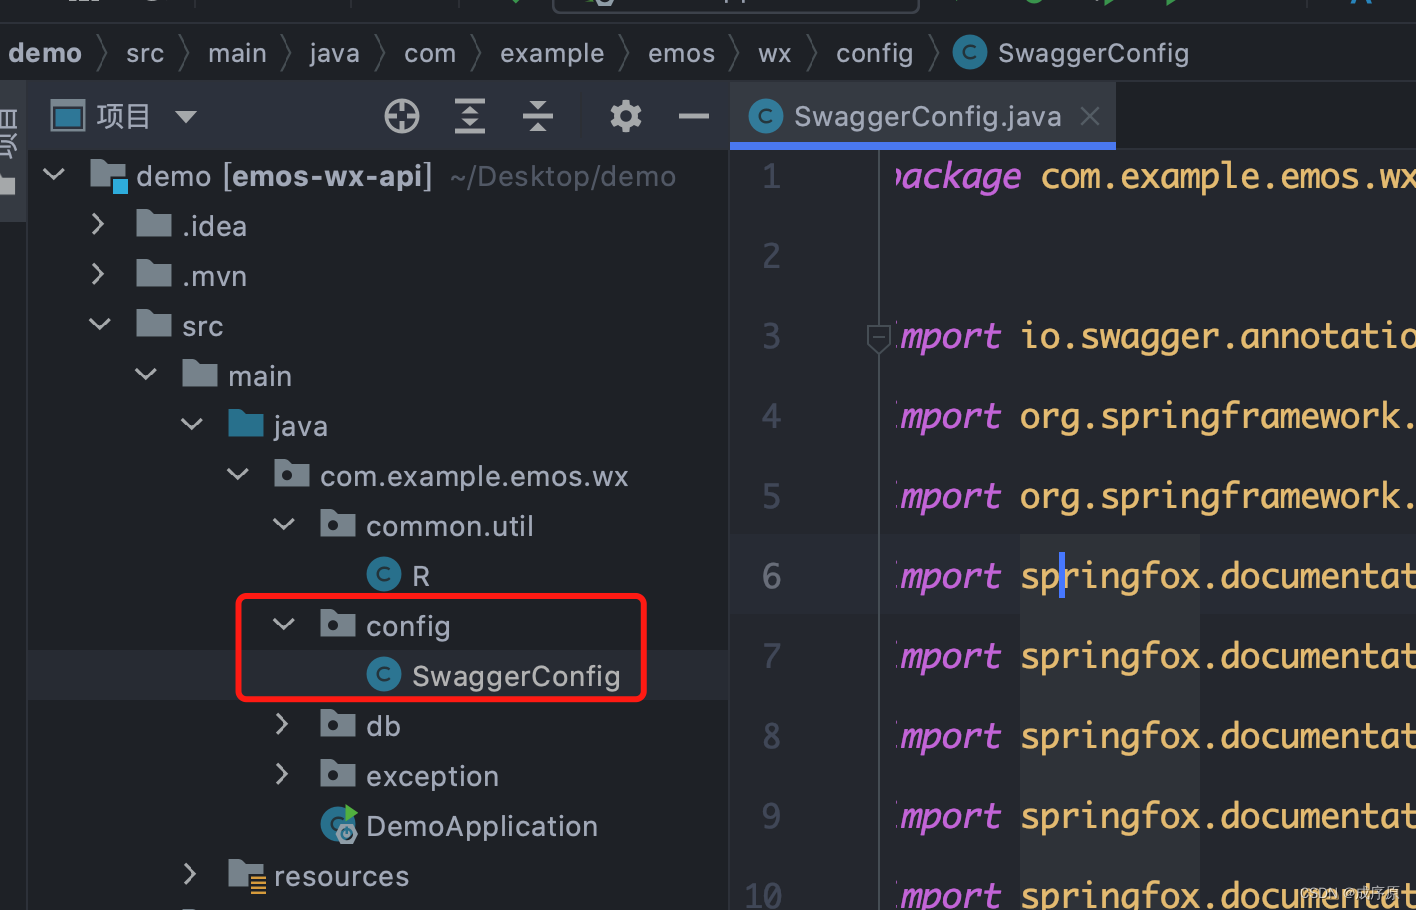
10. </dependency>二、创建Swagger配置类 在 com.example.emos.wx.config 包中创建 SwaggerConfig 类
package com.example.emos.wx.config;

import io.swagger.annotations.ApiOperation;
import org.springframework.context.annotation.Bean;
import org.springframework.context.annotation.Configuration;
import springfox.documentation.builders.ApiInfoBuilder;
import springfox.documentation.builders.PathSelectors;
import springfox.documentation.builders.RequestHandlerSelectors;
import springfox.documentation.service.ApiInfo;
import springfox.documentation.service.ApiKey;
import springfox.documentation.service.AuthorizationScope;
import springfox.documentation.service.SecurityReference;
import springfox.documentation.spi.DocumentationType;
import springfox.documentation.spi.service.contexts.SecurityContext;
import springfox.documentation.spring.web.plugins.ApiSelectorBuilder;
import springfox.documentation.spring.web.plugins.Docket;
import springfox.documentation.swagger2.annotations.EnableSwagger2;

import java.util.ArrayList;
import java.util.List;

@Configuration
@EnableSwagger2
public class SwaggerConfig {
    @Bean
    public Docket createRestApi() {
        Docket docket = new Docket(DocumentationType.SWAGGER_2);
        ApiInfoBuilder builder = new ApiInfoBuilder();
        builder.title("EMOS在线办公系统");
        ApiInfo info = builder.build();
        docket.apiInfo(info);

        ApiSelectorBuilder selectorBuilder = docket.select();
        selectorBuilder.paths(PathSelectors.any());
        selectorBuilder.apis(RequestHandlerSelectors.withMethodAnnotation(ApiOperation.class));
        docket = selectorBuilder.build();

        ApiKey apiKey = new ApiKey("token", "token", "header");
        List<ApiKey> apiKeyList = new ArrayList<>();
        apiKeyList.add(apiKey);
        docket.securitySchemes(apiKeyList);

        AuthorizationScope scope = new AuthorizationScope("global", "accessEverything");
        AuthorizationScope[] scopes = {scope};
        SecurityReference reference = new SecurityReference("token", scopes);
        List refList = new ArrayList();
        refList.add(reference);
        SecurityContext context = SecurityContext.builder().securityReferences(refList).build();
        List cxtList = new ArrayList();
        cxtList.add(context);
        docket.securityContexts(cxtList);

        return docket;
    }
}
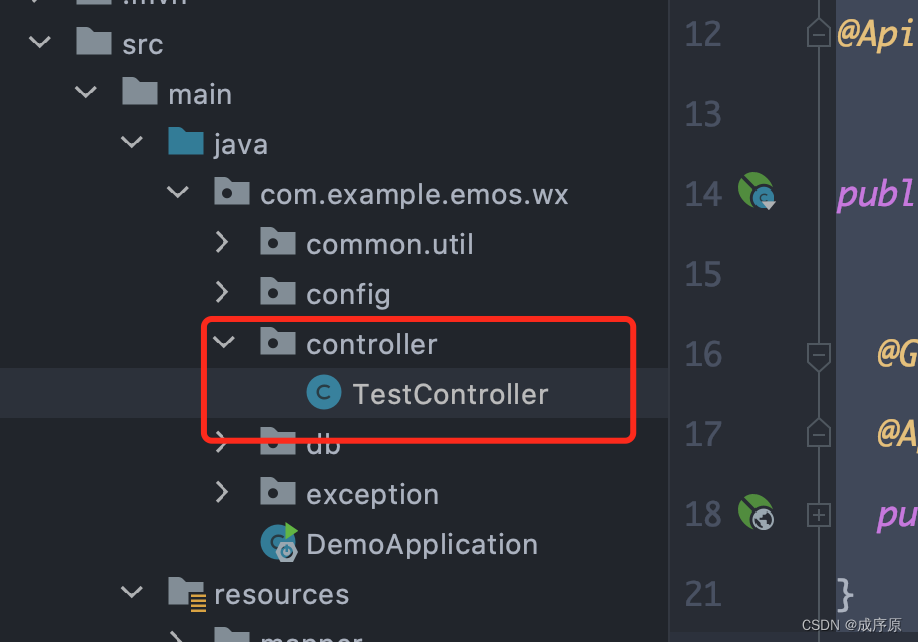
三、编写测试Web接口
package com.example.emos.wx.controller;

import com.example.emos.wx.common.util.R;
import io.swagger.annotations.Api;
import io.swagger.annotations.ApiOperation;
import org.springframework.web.bind.annotation.GetMapping;
import org.springframework.web.bind.annotation.RequestMapping;
import org.springframework.web.bind.annotation.RestController;

@RestController
@RequestMapping("/test")
@Api("测试Web接口")

public class TestController {

  @GetMapping("/sayHello")
  @ApiOperation("最简单的测试方法")
  public R sayHello() {
    return R.ok().put("message","HelloWorld");
  }
}
四、启动了需要配置扫描
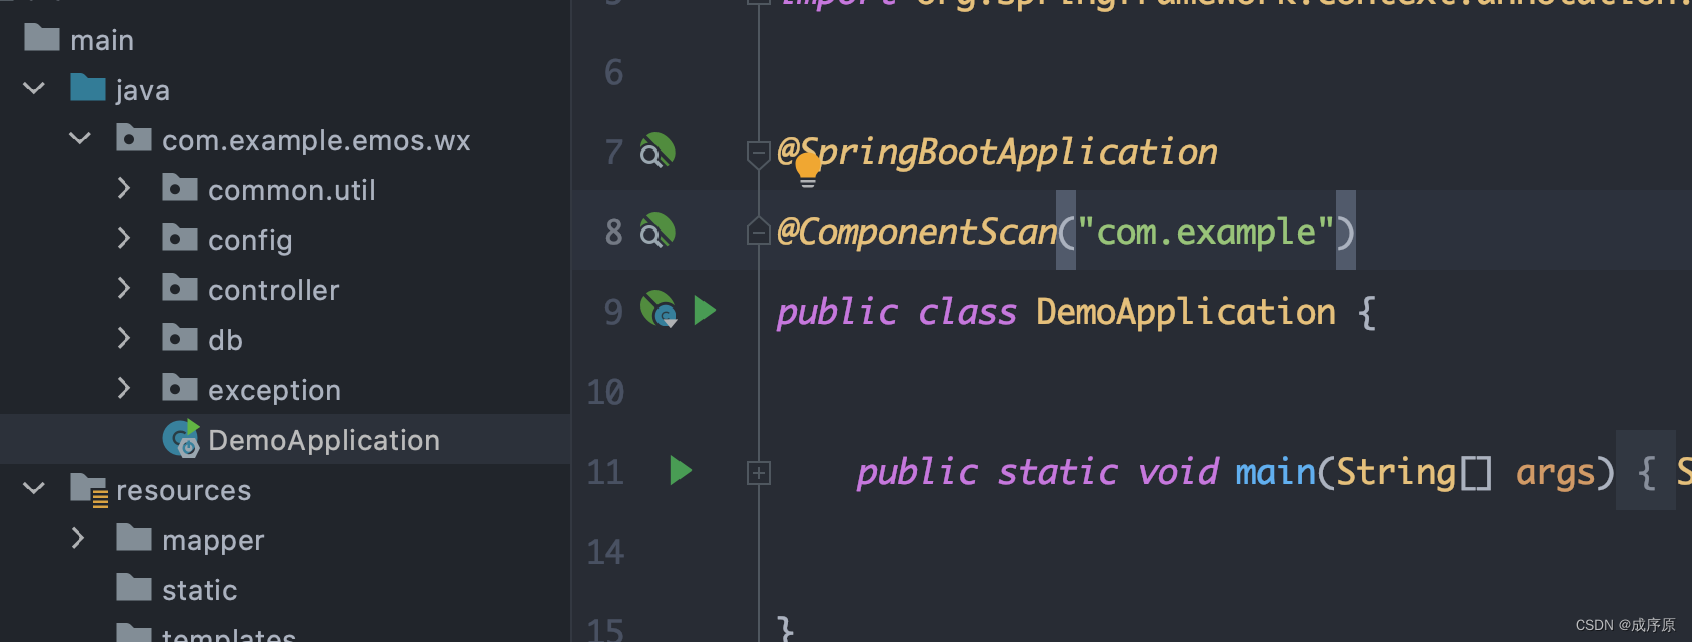
@ComponentScan("com.example")


 443
443


 被折叠的 条评论
为什么被折叠?
被折叠的 条评论
为什么被折叠?
 到【灌水乐园】发言


