


个人根据相关资料实现利用SpringMVC和Ajax实现文件上传功能:
环境:
1.JDK1.7
2.maven3.3.9
3.Tomcat7
第一步:
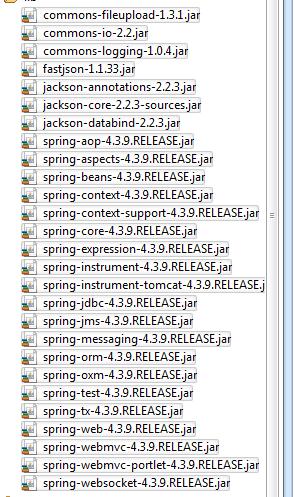
导入相关jar包:
第二步:
配置springmvc-config.xml
xmlns:xsi="http://www.w3.org/2001/XMLSchema-instance" xmlns:p="http://www.springframework.org/schema/p"
xmlns:context="http://www.springframework.org/schema/context"
xsi:schemaLocation="
http://www.springframework.org/schema/beans
http://www.springframework.org/schema/beans/spring-beans.xsd
http://www.springframework.org/schema/context
http://www.springframework.org/schema/context/spring-context.xsd">
class="org.springframework.web.servlet.view.InternalResourceViewResolver">
class="org.springframework.web.multipart.commons.CommonsMultipartResolver">
第三步:
配置web.xml
xmlns="http://xmlns.jcp.org/xml/ns/javaee"
xsi:schemaLocation="http://xmlns.jcp.org/xml/ns/javaee http://xmlns.jcp.org/xml/ns/javaee/web-app_3_1.xsd"
id="WebApp_ID" version="3.1">
fileupload
index.html
index.htm
index.jsp
default.html
default.htm
default.jsp
springDispatcherServlet
org.springframework.web.servlet.DispatcherServlet
contextConfigLocation
classpath:springmvc-config.xml
1
springDispatcherServlet
/
第四步:
新建一个Controller类,并实现文件上传的功能
import java.io.File;
import java.util.HashMap;
import java.util.Map;
import java.util.Random;
import javax.json.Json;
import javax.servlet.http.HttpServletRequest;
import org.springframework.stereotype.Controller;
import org.springframework.web.bind.annotation.RequestMapping;
import org.springframework.web.bind.annotation.RequestMethod;
import org.springframework.web.bind.annotation.RequestParam;
import org.springframework.web.bind.annotation.ResponseBody;
import org.springframework.web.multipart.MultipartFile;
import com.alibaba.fastjson.JSON;
import com.fasterxml.jackson.databind.util.JSONPObject;
@Controller
public class FileUploadController {
@RequestMapping(value = "index", method = RequestMethod.GET)
public String index() {
return "index";
}
@RequestMapping(value = "/upload", method = RequestMethod.POST)
@ResponseBody
public String upload(@RequestParam("file") MultipartFile file,
HttpServletRequest request) {
Map modelMap = new HashMap<>();
if (!file.isEmpty()) {
String storePath = "E://images";
Random r = new Random();
String fileName = file.getOriginalFilename();
String[] split = fileName.split(".jpg");
fileName = split[0] + r.nextInt(1000);
fileName = fileName + ".jpg";
File filePath = new File(storePath, fileName);
if (!filePath.getParentFile().exists()) {
filePath.getParentFile().mkdirs();// 如果目录不存在,则创建目录
}
try {
file.transferTo(new File(storePath + File.separator + fileName));// 把文件写入目标文件地址
} catch (Exception e) {
e.printStackTrace();
modelMap.put("back", "error");
String json = JSON.toJSONString(modelMap);
return json;
}
modelMap.put("back", "success");
} else {
modelMap.put("back", "error");
}
String json = JSON.toJSONString(modelMap);
return json;
}
}
第五步:
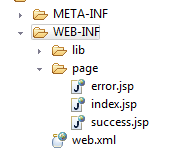
在WEB-INF下,新建一个pages文件夹,并创建实现文件上传的jsp或者HTML文件(我使用的是jsp):
在index.jsp下写入相关的ajax的方法,在使用ajax之前必须先导入js库。
$(function() {
$('#upload').click(function() {
var formData = new FormData($('#uploadForm')[0]);
$.ajax({
type : 'POST',
url : 'upload',
data : formData,
cache : false,
processData : false,
contentType : false,
}).success(function(data) {
var result = JSON.parse(data);
alert(result.back);
}).error(function() {
alert("上传失败");
});
});
});
第六步:
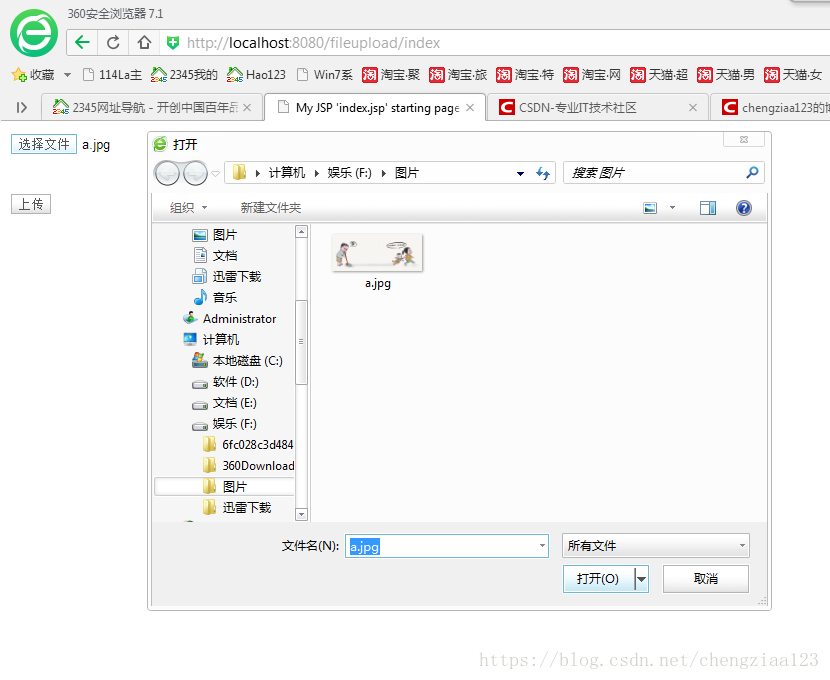
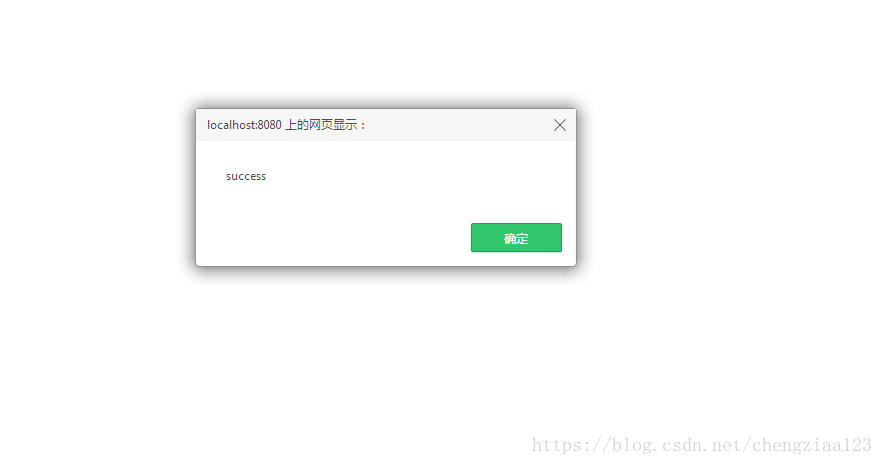
进行测试

上传文件
上传成功
以上就是本文的全部内容,希望对大家的学习有所帮助,也希望大家多多支持脚本之家。


 5817
5817


 被折叠的 条评论
为什么被折叠?
被折叠的 条评论
为什么被折叠?
 到【灌水乐园】发言


