


 本文介绍了如何使用树莓派、Flask和CSI接口摄像头搭建远程视频监控系统。通过Flask轻量级框架,结合opencv、imutils和numpy库处理视频流,实现在网页上查看实时视频。尽管局域网内延时较低,但公网访问可能造成较大延迟。文章提供源码下载,并展示了多用户多窗口访问的演示效果。
个人用Django开发的博客已上线,欢迎访问:https://www.zhibibin.com
本文源码下载:https://download.csdn.net/download/bibinGee/12385336
买回来的树莓派吃灰有相当长的一段时间了,最近想着做视频监控方面的事,于是重新捡起树莓派做了一个视频监控。想法很简单,通过树莓派读取视频图像,发到网站上,然在通过浏览网页来观看实时视频。在家里的局域网里面打开网页,视频流的延时还是可以接受的,以前试过内网穿透到公网上,那视频流的延时就相当的大了,基本上卡成PPT。
以下是这个小应用的基本配置:
- 网站的框架是使用flask,这是一个轻量级的框架,操作简单,作为小白的我也不需要花费多大的时间就可以简单上手了,当然也只能依样画葫芦。
- 摄像头采用CSI接口摄像头,基本上不用USB摄像头,不懂树莓派为什么USB这么差劲,时不时出现设备中断的问题。
- 主设备是树莓派3B+,陈年老机了。性能说不上有多好,带个摄像头起码还是够用的。
- 环境方面是python3 + Pycharm
- 主要的库有:flask, opencv, imutils, numpy。flask主要是提供网站URL方面支持,opencv, imutils, numpy是对视频的一些处理。
- 基本的HTML代码,用来在网页显示视频
Flask框架比较简单,熟悉flask的就知道它通过装饰器 route() 进行路由分配,这里简单地定义两个方法,一个是index(),渲染首页一些简单布局,另一个video_play()用来更新每一帧图像。
mimetype="multipart/x-mixed-replace; boundary=frame" 简单来讲告诉浏览器服务器将返回一个流媒体数据,以关键字“frame”为标记(相当于每一帧的起始标记),这样游览器就会不断地更新视频数据了。
# initialize a flask object
app = Flask(__name__)

@app.route("/")
def index():
    # return the rendered template
    return render_template("index.html")

@app.route("/video_play")
def video_play():
    # return the response generated along with the specific media
    # type (mime type)
    return Response(image_to_web(), mimetype="multipart/x-mixed-replace; boundary=frame")
接下来就是生成图像的方法了:
outputFrame = None
lock = threading.Lock()

# initialize the video stream and allow the camera sensor to
# warmup
vs = VideoStream(usePiCamera=1).start()
# vs = VideoStream(src=0)
camera = vs.camera
camera.brightness = 60


def detect_motion(frameCount):
    # grab global references to the video stream, output frame, and
    # lock variables
    global vs, outputFrame, lock

    <....省略部分代码....>
    # loop over frames from the video stream
    while True:
        # read the next frame from the video stream, resize it,
        # convert the frame to grayscale, and blur it
        frame = vs.read()
        frame = imutils.resize(frame, width=400)

        <....省略部分代码....>

        # lock
        with lock:
            outputFrame = frame.copy()


def image_to_web():
    # grab global references to the output frame and lock variables
    global outputFrame, lock

    # loop over frames from the output stream
    while True:
        # wait until the lock is acquired
        with lock:
            # check if the output frame is available, otherwise skip
            # the iteration of the loop
            if outputFrame is None:
                continue

            # encode the frame in JPEG format
            (flag, encodedImage) = cv2.imencode(".jpg", outputFrame)

            # ensure the frame was successfully encoded
            if not flag:
                continue

        # yield the output frame in the byte format
        yield (b'--framern' b'Content-Type: image/jpegrnrn' +
               bytearray(encodedImage) + b'rn')
- 这里调用封装在imutils.video里面的VideoStream模块,其实也它也就是把opencv和picamera这两个库再作一次统一的封装而已,所以简单地也可以直接地使用PiCamera这个库进行视频的读取。
- VideoStream模块本身没有camera这个属性,这个属性是我自己加入的,目的是方便对摄像头进行一些基本的操作,如亮度,对比度以及视频的保存等。
- detect_motion()这个方法用来检测是否有移动目标存在,如果有则进行拍照保存。
- 这里引入了一个全局变量outputFrame,用于和image_to_web()方法间共享变量。
- “with lock”是一个线程锁,防止两个不同的方法同时对outputFrame变量访问或者写入数据
- image_to_web()就是将图像数据转成字节流数据,也就我们要用的视频流数据。字节流的起始位置插入了“--frame”就来对标记每一帧数据。
# check to see if this is the main thread of execution
 if __name__ == '__main__':     # construct the argument parser and parse command line arguments
     allowed_ip_addr = "0.0.0.0"
     access_port = "8000" # start a thread that will perform motion detection
     t = threading.Thread(target=detect_motion, args=(24,))
     t.daemon = True
     t.start()      # start the flask app
     app.run(host=allowed_ip_addr, port=access_port, debug=True,
             threaded=True, use_reloader=False)
最后就是运行flask程序了,设置允许的访问IP和访问端口就完成了。
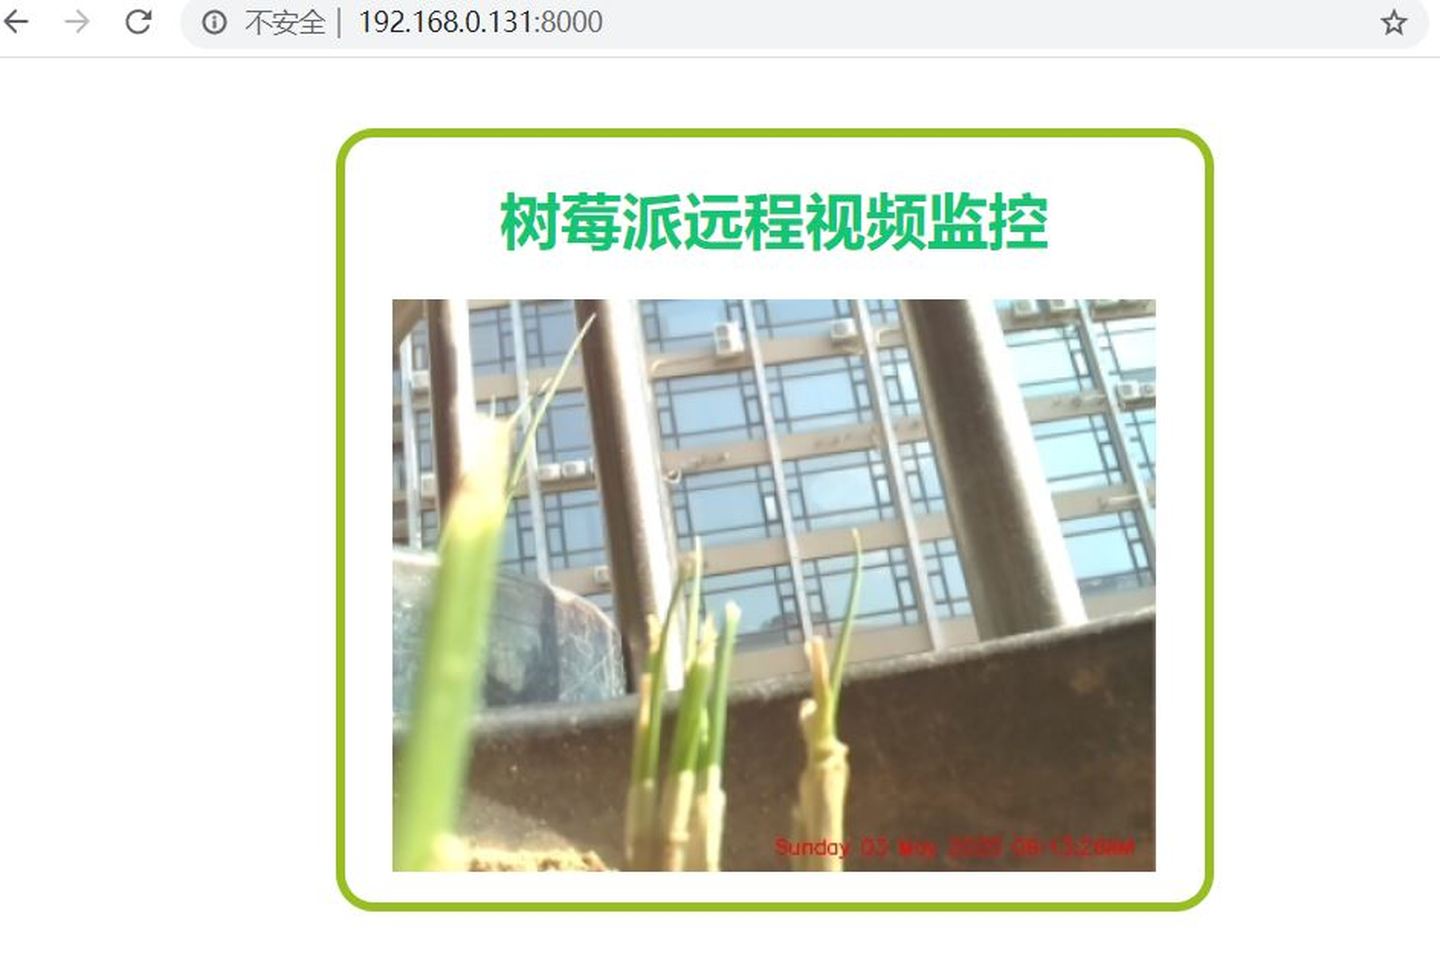
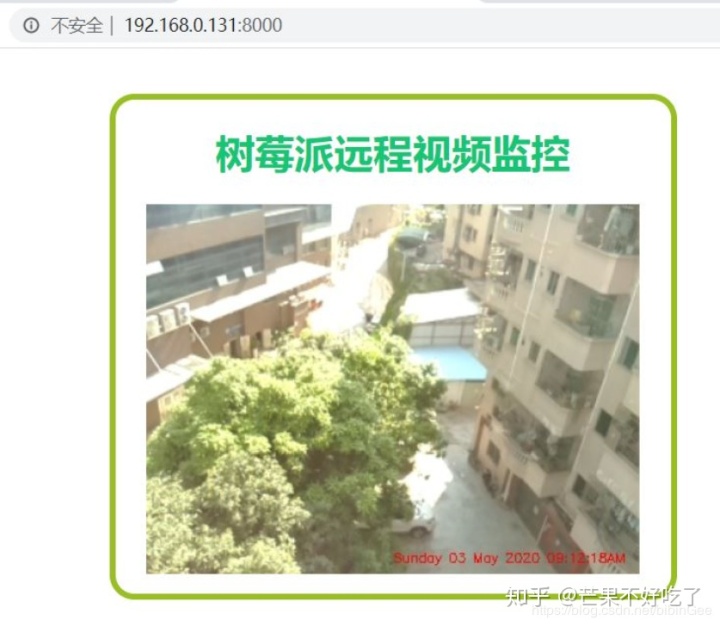
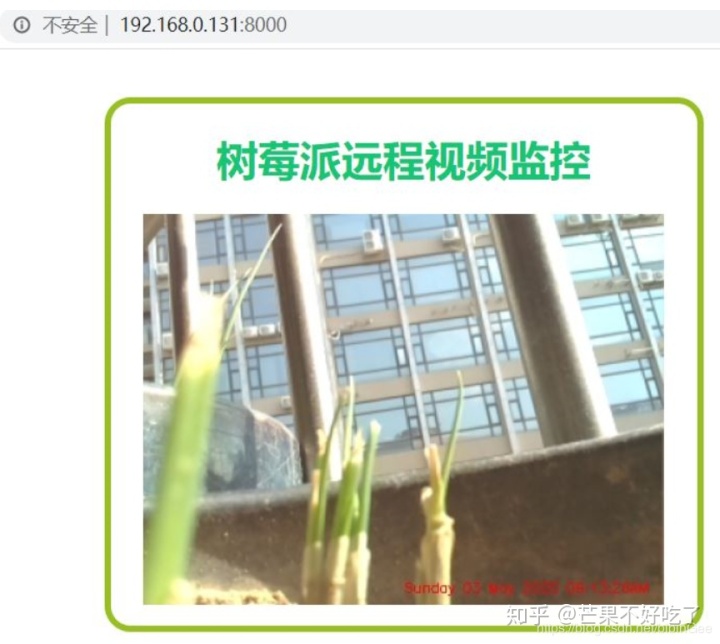
最后放上演示郊果图,因为这里启用了多线程,所以可心允许多用户多窗口访问同一台服务器,延时还是可以接受的。
网页简单布局一下:
<html>
<head>
  <title>树莓派远程视频监控</title>
   <style>
    .main{
       text-align: center;
       background-color: #fff;
       border-radius: 20px;
       border-style:solid;
       border-width:5px;
       border-color:#98bf21;
       width: 450px;
       height: 400px;
       margin: auto;
       position: absolute;
       top: 0;
       left: 0;
       right: 0;
       bottom: 0;
   }
     </style>
 </head>
 <body>
 <div class="main">
 <h1 style="color: #14c674;">树莓派远程视频监控</h1>
 <img src="{{ url_for('video_play') }}" style="display: inline-block; vertical-align: middle;">
 </div> </body> </html>


 2311
2311

 被折叠的 条评论
为什么被折叠?
被折叠的 条评论
为什么被折叠?
 到【灌水乐园】发言


