


目录
1 linux安装conda并创建虚拟环境
1.1 下载安装脚本
conda的地址
conda的地址:Index of /anaconda/archive/ | 清华大学开源软件镜像站 | Tsinghua Open Source MirrormmIndex of /anaconda/archive/ | 清华大学开源软件镜像站,致力于为国内和校内用户提供高质量的开源软件镜像、Linux 镜像源服务,帮助用户更方便地获取开源软件。本镜像站由清华大学 TUNA 协会负责运行维护。 https://mirrors.tuna.tsinghua.edu.cn/anaconda/archive/miniconda的地址:Index of /anaconda/miniconda/ | 清华大学开源软件镜像站 | Tsinghua Open Source MirrorIndex of /anaconda/miniconda/ | 清华大学开源软件镜像站,致力于为国内和校内用户提供高质量的开源软件镜像、Linux 镜像源服务,帮助用户更方便地获取开源软件。本镜像站由清华大学 TUNA 协会负责运行维护。https://mirrors.tuna.tsinghua.edu.cn/anaconda/miniconda/
wget -c https://mirrors.tuna.tsinghua.edu.cn/anaconda/archive/Anaconda3-5.3.1-Linux-x86_64.sh
以下conda和miniconda的安装方式相同。
1.2 运行安装脚本
安装conda前要安装 bunzip2:
yum install bunzip2
bash Anaconda3-5.3.1-Linux-x86_64.sh
一直回车,知道出现问是否accept the license terms,敲yes;
选择安装路径,默认即可;
是否添加环境变量,敲yes(默认回车no);
等待安装完成。
1.3 测试是否安装成功
输入命令conda --version,有版本信息则说明安装成功,否则可能没有在步骤2中没有将conda加入环境变量中,需执行:
export PATH=~/anaconda3/bin:$PATH source ~/.bashrc
1.4 查看当前存在虚拟环境
conda env list
1.5 创建虚拟环境
conda create -n py37 python=3.7
1.6 激活虚拟环境
conda activate py37
若报错CommandNotFoundError: Your shell has not been properly configured to use 'conda activate',则执行:
source ~/anaconda3/etc/profile.d/conda.sh
1.7 退出虚拟环境
conda deactivate
1.8 删除虚拟环境
conda remove -n py37 --all
1.9 打包当前环境中用到的python包名称
conda env export > py37.yaml
1.10 载入打包的环境
conda create -n py37 -f py37.yaml
2 卸载conda
1、首先,在家目录~有一个miniconda3的文件夹,使用rm命令将它删除:
2、然后,用vim命令进入.bashrc文件,将conda的语句用#注释掉:
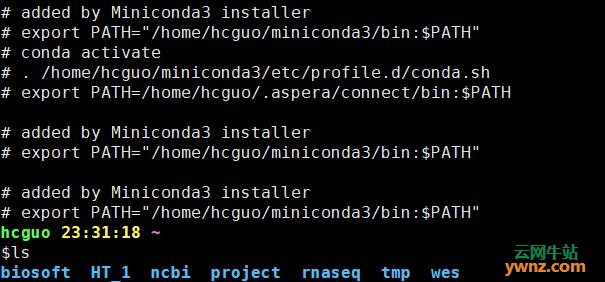
3、最后,重新激活一下source .bashrc就可以了。
source .bashrc


 5万+
5万+

 被折叠的 条评论
为什么被折叠?
被折叠的 条评论
为什么被折叠?
 到【灌水乐园】发言


