


1、下载nodejs
1、去官网下载下载nodejs
https://nodejs.org/en/download/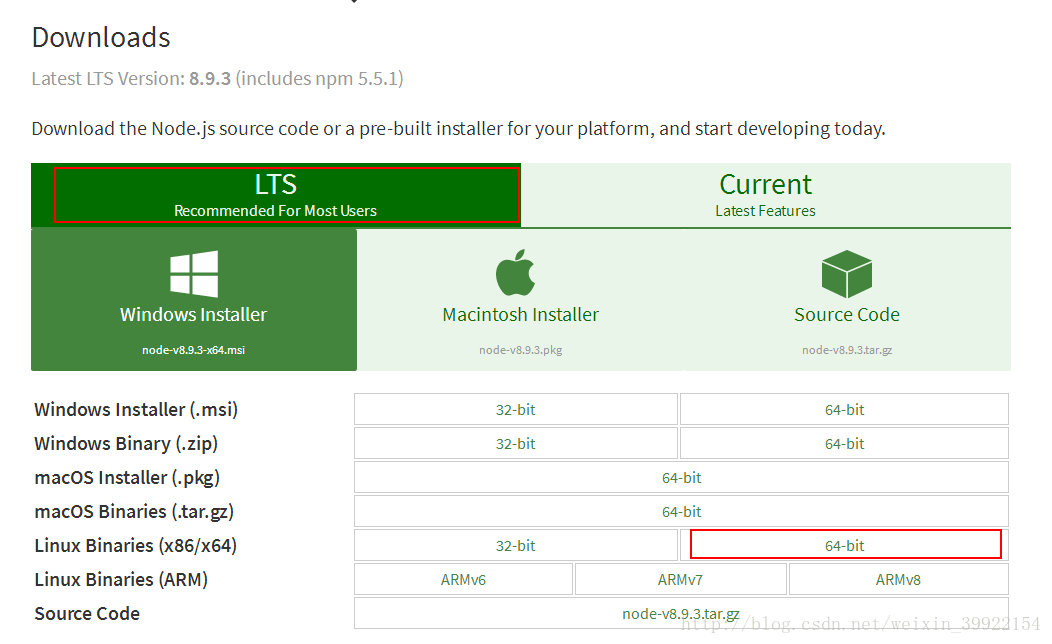
2、安装nodejs
由于下载下来的是xz文件,node-v8.9.3-linux-x64.tar.xz,先安装xz工具
sudo apt-get install xz然后解压文件
xz  node* -d
tar xvf node*
3、配置node环境变量
编辑 /etc/profile文件
sudo vi /etc/profile #在底部添加
#set node enviroment
export NODE_HOME=/home/lijia/node-v8.9.3-linux-x64
export PATH=$PATH:$NODE_HOME/bin
export NODE_PATH=$NODE_HOME/lib/node_modules
然后执行
lijia@m123:/etc$ source profile测试是否安装成功
lijia@m123:~$ node -v
v8.9.3
lijia@m123:~$ npm -v
5.5.1
如果不正常,请检查环境变量配置。
4、安装grunt
grunt是基于Node.js的项目构建工具可以进行打包压缩,测试,执行等等的工作,head插件就是通过grunt启动。
下载head插件
wget https://github.com/mobz/elasticsearch-head/archive/master.zip解压:
unzip master.zip发现目录下多了一个elasticsearch-head-master文件。
cd elasticsearch-head-master/
npm install grunt-cli #安装grunt-cli
在elasticsearch-head-master目录下执行grunt -version
grunt-cli v1.2.0然后执行 npm install 安装所下载的包
执行完成后提示以下错误
npm WARN elasticsearch-head@0.0.0 license should be a valid SPDX license expression
npm WARN optional SKIPPING OPTIONAL DEPENDENCY: fsevents@1.1.3 (node_modules/fsevents):
npm WARN notsup SKIPPING OPTIONAL DEPENDENCY: Unsupported platform for fsevents@1.1.3: wanted {"os":"darwin","arch":"any"} (current: {"os":"linux","arch":"x64"})
后两条可以忽略,后两条的warn是因为不是os系统。
第一条warn首先我们了解下spdx license是个什么东东。官网:
https://spdx.org/licenses/
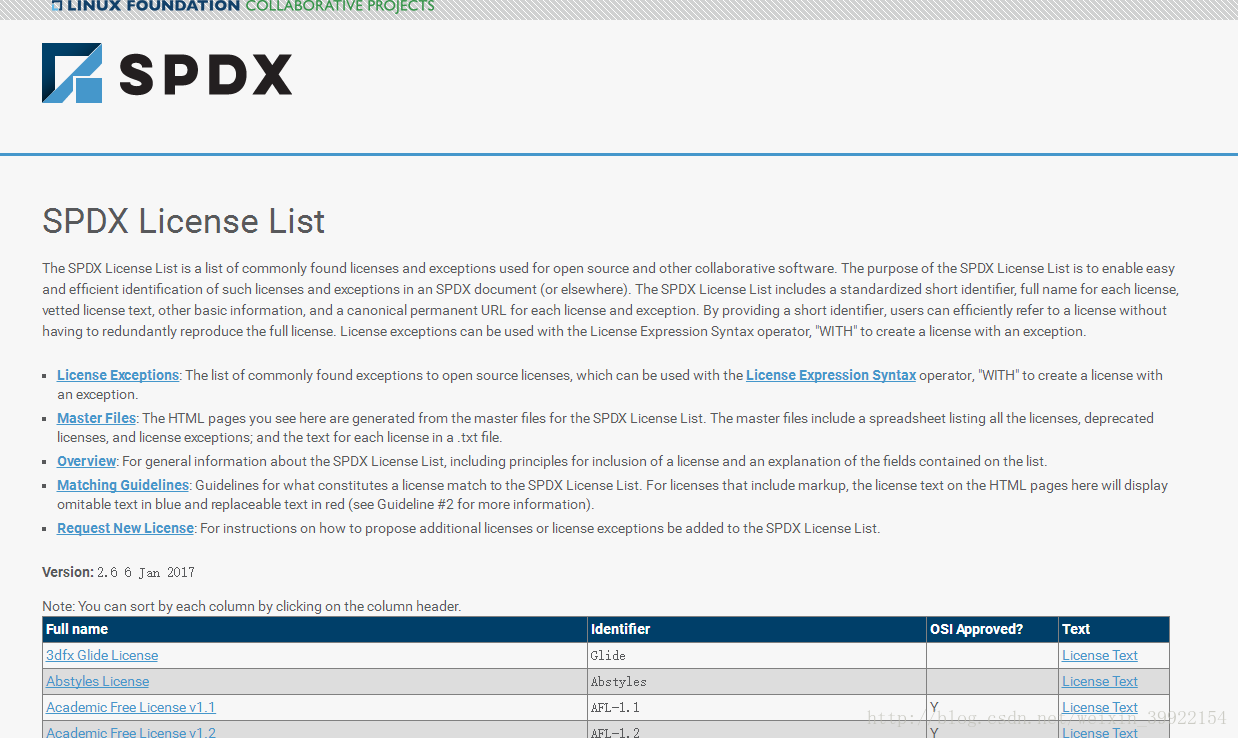
原来,这个家伙就是开源软件或者其他合作类软件的一个使用声明,虽然不是商业软件,但是使用起来还是要有点注意事项,奔着吃水不忘挖井人的原则吧,具体声明内容,可以参照『License Text』里的内容

既然知道spdx是个啥,就不难解决问题了;让我打开正确的姿势:打开elasticsearch-head目录下的package.json文件,找到license位置,修改为上面这个网站上存在Identifier,我的修改如下,将Apache内容修改为Apache-2.0。
{
  "name": "elasticsearch-head",
  "version": "0.0.0",
  "description": "Front end for an elasticsearch cluster",
  "main": "_site/index.html",
  "directories": {
    "test": "test"
  },
  "scripts": {
    "start": "grunt server",
    "test": "grunt jasmine",
    "proxy": "node proxy/index.js"
  },
  "repository": {
    "type": "git",
    "url": "https://github.com/mobz/elasticsearch-head.git"
  },
  "author": "",
  "license": "Apache-2.0",
  "gitHead": "0c2ac0b5723b493e4454baa7398f386ecb829412",
  "readmeFilename": "README.textile",
  "devDependencies": {
    "grunt": "1.0.1",
    "grunt-contrib-concat": "1.0.1",
    "grunt-contrib-watch": "1.0.0",
    "grunt-contrib-connect": "1.0.2",
    "grunt-contrib-copy": "1.0.0",
    "grunt-contrib-clean": "1.0.0",
    "grunt-contrib-jasmine": "1.0.3",
    "karma": "1.3.0",
    "grunt-karma": "2.0.0",
    "http-proxy": "1.16.x"
  },
  "dependencies": {
    "grunt-cli": "^1.2.0"
  }
}
然后重新执行npm install
该提示已消除。
执行 grunt -version
grunt-cli v1.2.0
grunt v1.0.1
下边修改Gruntfiles.js文件,找到这里
connect: {
                        server: {
                                options: {
                                        port: 9100,
                                        base: '.',
                                        keepalive: true,
                                        hostname: '*'  #该部分为新增内容
                                }
                        }
                }

        });
继续修改 _site/app.js
将this.base_uri = this.config.base_uri || this.prefs.get("app-base_uri") || "http://localhost:9200";修改为
this.base_uri = this.config.base_uri || this.prefs.get("app-base_uri") || "http://192.168.1.254:9200";
这样就所有的配置文件就修改完成了。
5 启动Head
1、启动ES
cd elasticsearch-6.0.1/bin
./elasticsearch -d
2、启动head
cd elasticsearch-head-master
grunt serve
显示如下
(node:4788) ExperimentalWarning: The http2 module is an experimental API.
Running "connect:server" (connect) task
Waiting forever...
Started connect web server on http://localhost:9100
使用浏览器打开 192.168.1.254:9100显示如下
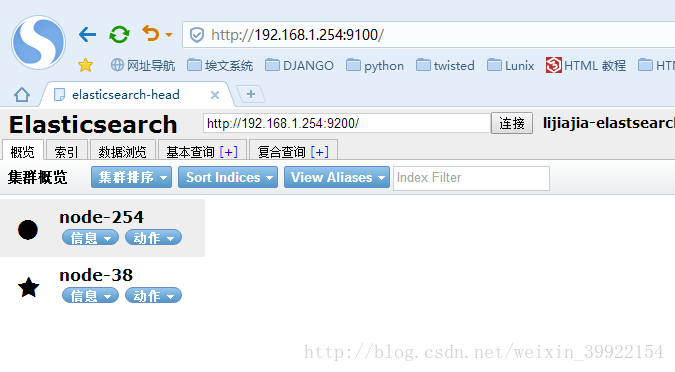
这样HEAD插件就安装完毕了


 3万+
3万+

 被折叠的 条评论
为什么被折叠?
被折叠的 条评论
为什么被折叠?
 到【灌水乐园】发言


