


注意这里说的是FastCGI,不是FPM,FPM全称是FastCGI Process Manager,它是FastCGI进程管理器,在Windows下是没有这个的,只能手动启动FastCGI进程由它自己维护(没有管理器)。自己电脑上用的是PHP 5.6 + Apache 2.4,由于PHP 7.1都出来了,一些新特性得学习,于是决定再搭一个环境。当然的就选了标题里边的组合。
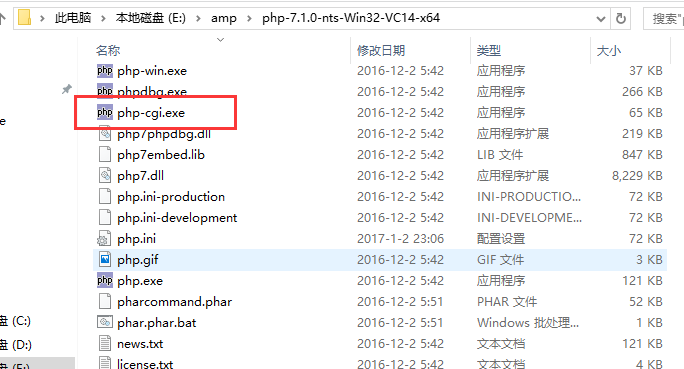
PHP官网下载PHP 7.1 的windows包,这里选择的是php-7.1.0-nts-Win32-VC14-x64,解压后可以看到跟php.exe同级的目录下有php-cgi.exe,启动FastCGI就需要使用它。
Nginx官网下载
server {
listen 8080;
server_name test.nginx.com;
root E:/amp/nginx-1.11.8/html/test;
location / {
index index.html index.htm index.php;
try_files $uri $uri/ /index.php$is_args$args;#不需要单入口重写,不需要这句
}
location ~ \.php$ {
fastcgi_pass 127.0.0.1:9123;
fastcgi_index index.php;
fastcgi_param SCRIPT_FILENAME $document_root$fastcgi_script_name;
include fastcgi_params;
}
access_log E:/amp/nginx-1.11.8/logs/test/access.log;
error_log E:/amp/nginx-1.11.8/logs/test/error.log;
}
由于Apache 2.4使用了80端口,这里便使用8080端口了。PHP FastCGI将会使用9123端口。用命令行进入nginx.exe所有目录,执行:start nginx即可启动Nginx。其他命令如nginx -s stop|quit|reopen|reload等跟Linux下是一样的。
E:\amp\nginx-1.11.8>nginx -h
nginx version: nginx/1.11.8
Usage: nginx [-?hvVtTq] [-s signal] [-c filename] [-p prefix] [-g directives]
Options:
-?,-h : this help
-v : show version and exit
-V : show version and configure options then exit
-t : test configuration and exit
-T : test configuration, dump it and exit
-q : suppress non-error messages during configuration testing
-s signal : send signal to a master process: stop, quit, reopen, reload
-p prefix : set prefix path (default: NONE)
-c filename : set configuration file (default: conf/nginx.conf)
-g directives : set global directives out of configuration file
下边就是启动PHP FastCGI了。也简单,命令行进入php-cgi.exe所在目录,执行以下代码即可:
php-cgi.exe -b 127.0.0.1:9123 -c php.ini
-b 即是绑定哪个IP与端口,-c 使用哪个配置文件。这样子启动后,命令行窗口不能做其他 操作也不能关闭,一关闭进程也关闭了。这时候需要借助一个小小的工具:
RunHiddenConsole.exe php-cgi.exe -b 127.0.0.1:9123 -c php.ini
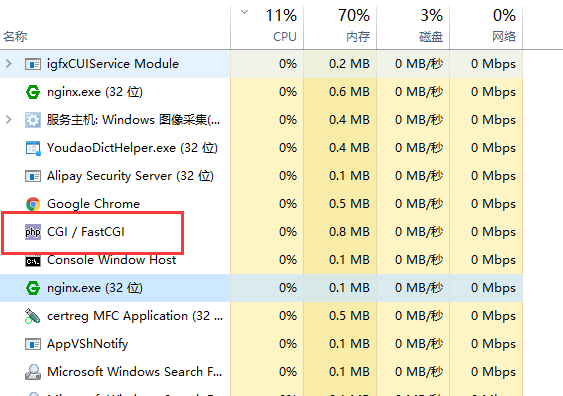
或许觉得这样子麻烦,那么可以把它写成bat脚本,每次要启动双击执行就可以了,或者添加到开机启动,有需要的可以参照参考链接来弄了。我觉得手动执行一下也不是很麻烦。启动后从任务管理器可以看到。
最后,添加域名到host文件,在网站根目录创建index.php输出phpinfo(),访问http://test.nginx.com:8080,即可看到最终成果:
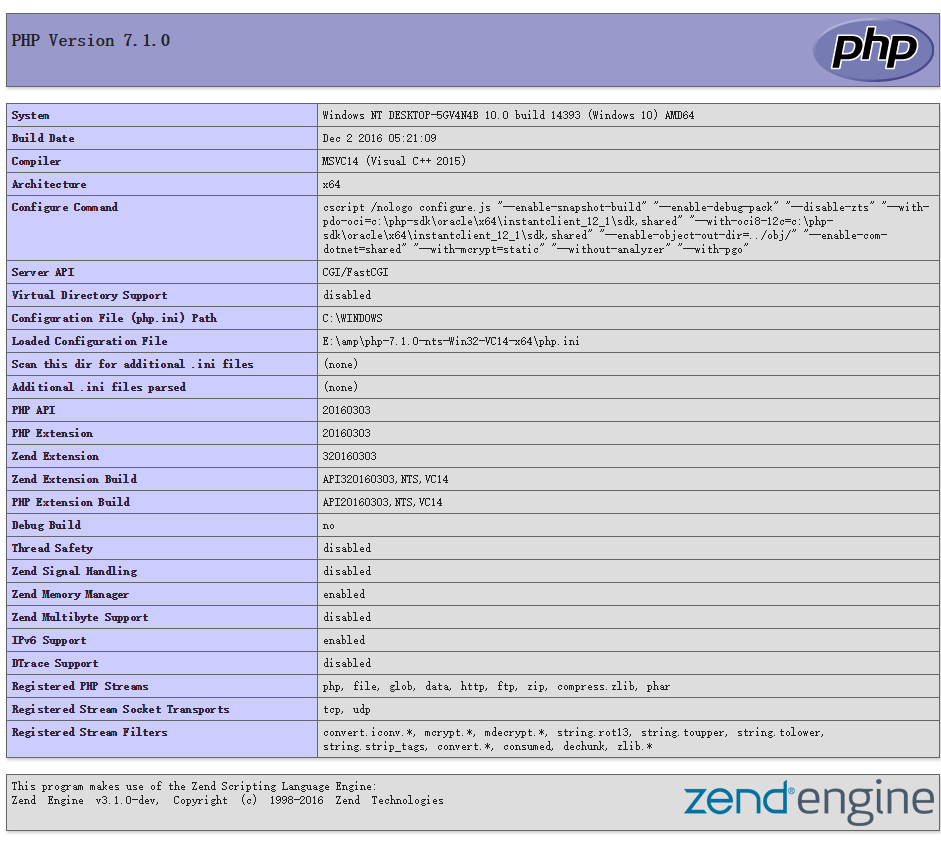
这样,就可以愉快的使用PHP 7.1与PHP 5.6了。
update at 2017-06-27
为方便启动,可以写一个bat文件完成FastCGI与nginx的启动。注意bat文件中定义变量=两边不能有空格
#启动start.bat
@echo off
set nginx_path=E:\nginx-1.13.1
set php_path=E:\php-5.6.30-Win32-VC11-x86
set port=9123
echo Starging PHP FastCGI at 127.0.0.1:%port%...
%nginx_path%\RunHiddenConsole.exe %php_path%\php-cgi.exe -b 127.0.0.1:%port% -c %php_path%\php.ini
echo Starging nginx...
%nginx_path%\RunHiddenConsole.exe %nginx_path%\nginx.exe
echo Done !
exit
#关闭stop.bat
@echo off
echo Stopping nginx...
taskkill /F /IM nginx.exe > nul
echo Stopping PHP FastCGI...
taskkill /F /IM php-cgi.exe > nul
exit
在windows计划任务中添加一个任务在开机时运行start.bat,这样就更多方便了。


 1129
1129


 被折叠的 条评论
为什么被折叠?
被折叠的 条评论
为什么被折叠?
 到【灌水乐园】发言


