


文章目录
一、集成
1. 官方介绍地址
手动加密:https://github.com/core-lib/xjar
maven插件集成:https://github.com/core-lib/xjar-maven-plugin
2. 添加仓库和插件
第一种(不推荐使用)
<project>
    <!-- 设置 jitpack.io 插件仓库 -->
    <pluginRepositories>
        <pluginRepository>
            <id>jitpack.io</id>
            <url>https://jitpack.io</url>
        </pluginRepository>
    </pluginRepositories>
    <!-- 添加 XJar Maven 插件 -->
    <build>
        <plugins>
            <plugin>
                <groupId>com.github.core-lib</groupId>
                <artifactId>xjar-maven-plugin</artifactId>
                <version>4.0.2</version>
                <executions>
                    <execution>
                        <goals>
                            <goal>build</goal>
                        </goals>
                        <!--可以改成 install-->
                        <phase>package</phase>
                        <configuration>
                        <password>xxxx</password>
                            <!-- 需要加密的资源路径表达式 -->
                            <includes>
                                <include>com/zsplat/**</include>
                                <include>mapper/*Mapper.xml</include>
                                <include>config/**</include>
                            </includes>
                            <!-- 无需加密的资源路径表达式 -->
                            <excludes>
                                <exclude>static/**</exclude>
                                <exclude>META-INF/**</exclude>
                            </excludes>
                            <!-- 目标jar存放目录 -->
                            <targetDir>${project.build.directory}\xJarDir\</targetDir>
                            <!-- 目标jar名称,也可以用表达式(参考官网) -->
                            <targetJar>zsplat.jar</targetJar>
                        </configuration>
                    </execution>
                </executions>
            </plugin>
        </plugins>
    </build>
</project>
第二种(推荐使用):就是把密码配置删除,采用编译打包添加密码会安全些
https://jitpack.io Maven仓库
    <!-- 设置 jitpack.io 插件仓库 -->
    <pluginRepositories>
        <pluginRepository>
            <id>jitpack.io</id>
            <url>https://jitpack.io</url>
        </pluginRepository>
    </pluginRepositories>

 <build>
        <plugins>
            <plugin>
                <groupId>org.springframework.boot</groupId>
                <artifactId>spring-boot-maven-plugin</artifactId>
            </plugin>
            <!--开源官网:
            https://github.com/core-lib/xjar-maven-plugin-->
            <plugin>
                <groupId>com.github.core-lib</groupId>
                <artifactId>xjar-maven-plugin</artifactId>
                <version>4.0.2</version>
                <executions>
                    <execution>
                        <goals>
                            <goal>build</goal>
                        </goals>
                        <phase>package</phase>
                        <!-- 或使用
                        <phase>install</phase>
                        -->
                        <configuration>
                            <excludes>
                                <exclude>static/**</exclude>
                                <exclude>templates/**</exclude>
                                <exclude>resources/**</exclude>
                                <exclude>META-INF/resources/**</exclude>
                            </excludes>
                            <!-- 目标jar存放目录 -->
                            <targetDir>${project.build.directory}\xJarDir\</targetDir>
                            <!-- 目标jar名称,也可以用表达式(参考官网) -->
                            <targetJar>unified-access-center-passwd.jar</targetJar>
                        </configuration>
                    </execution>
                </executions>
            </plugin>
        </plugins>
    </build>
3. 编译打包
上面xJar插件绑定到指定的 package ,因此每次执行 mvn clean package -Dxjar.password=io.xjar即可自动构建出加密的包,
mvn clean install -Dxjar.password=io.xjar
如下图:
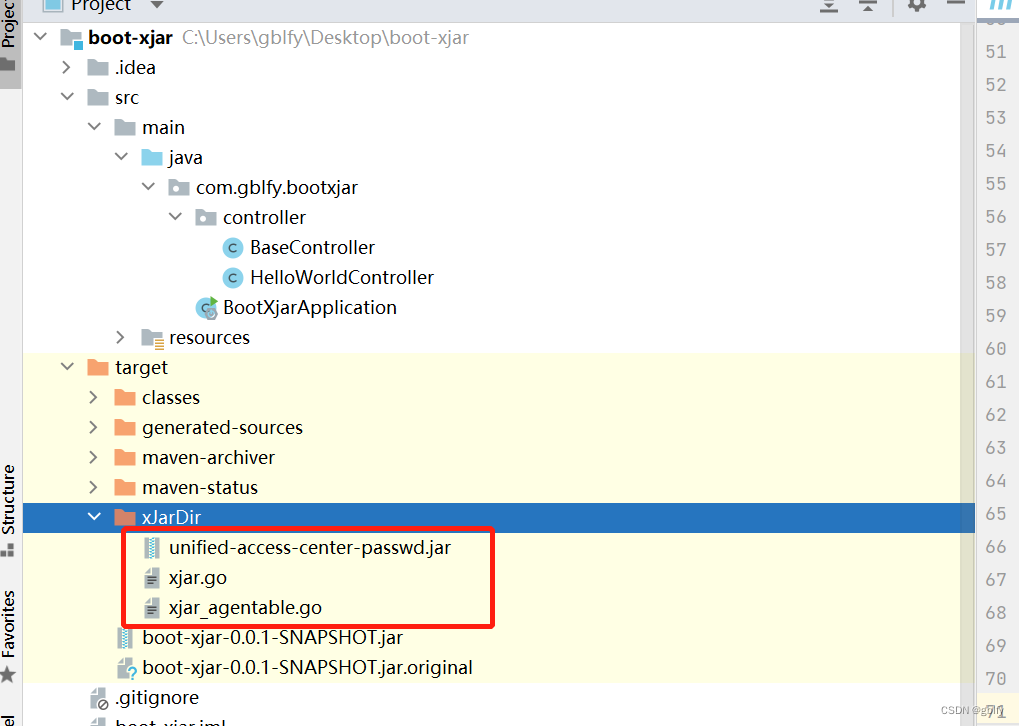
根目录中 unified-access-center-0.0.1-SNAPSHOT.jar 是未加密的,而 xJarDir 文件夹下的 unified-access-center-passwd.jar 就是加密后的。
注释:
jar包名称可以一样,前提是不在同一个目录中即可,这里jar名称不一样只是为了让大家看得清楚些而已
二、安装go环境和编译
在对应的 xJarDir 文件夹目录编译脚本(go build xjar.go)。在不同的平台进行编译即可得到不同平台的启动器可执行文件,其中Windows下文件名为 xjar.exe 而Linux下为 xjar
2.1. 安装go
-
windows 环境:
win10安装go开发环境 -
linux环境:
用于编译的机器需要安装 Go 环境,用于运行的机器则可不必安装 Go 环境
linux 安装Go环境
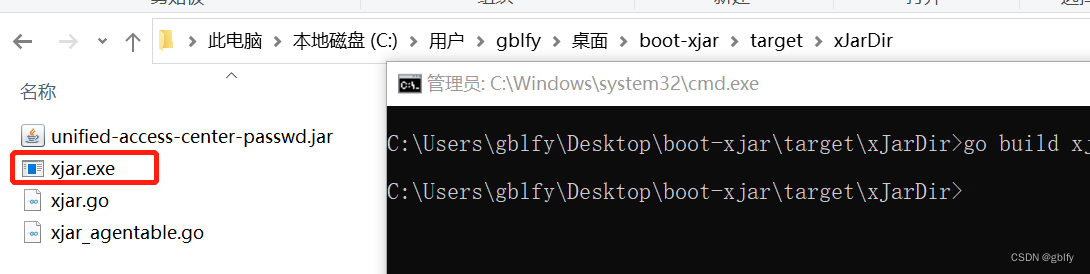
2.2. 编译
- 演示编译windows 环境
cd xJarDir
go build xjar.go
执行成功后,会生成xjar.exe文件
- 演示编译环境linux
上传linux

go build xjar.go

三、运行
3.1. 正常运行
- windows环境
xjar.exe java -Dfile.encoding=utf-8 --add-opens java.base/jdk.internal.loader=ALL-UNNAMED --add-opens jdk.zipfs/jdk.nio.zipfs=ALL-UNNAMED -jar unified-access-center-passwd.jar
- linux环境
./xjar java -Dfile.encoding=utf-8 --add-opens java.base/jdk.internal.loader=ALL-UNNAMED --add-opens jdk.zipfs/jdk.nio.zipfs=ALL-UNNAMED -jar unified-access-center-passwd.jar
3.2. 二次加密运行
声明:如果小伙伴们不需要二次加密,请跳过3.2. 步骤
我的运行方式是这样的,因为我单独对yml文件中的敏感信息进行了二次加密,因此需要添加-Djasypt.encryptor.password=gblfy.com这一段,特别注意点,建议按照我的命令的前后顺序
./xjar java -Dfile.encoding=utf-8 -Djasypt.encryptor.password=gblfy.com -jar unified-access-center-passwd.jar
如果小伙伴们,也想和我一样对敏感信息二次加密,请移步:
Spring Boot2 集成 jasypt 3.0.4 配置文件敏感信息加密
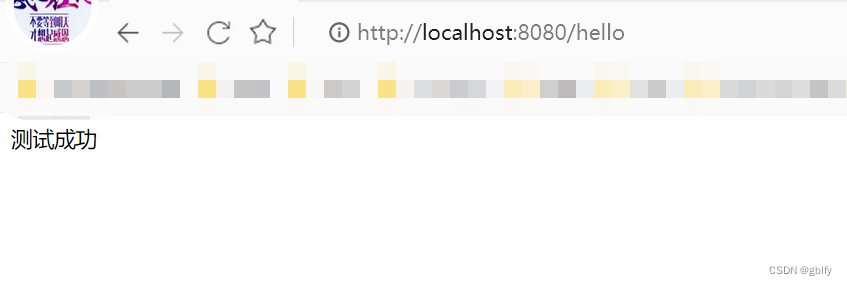
3.3. 测试结果
目的:这里是先运行保证正常功能无影响,下面会对jar进行反编译测试
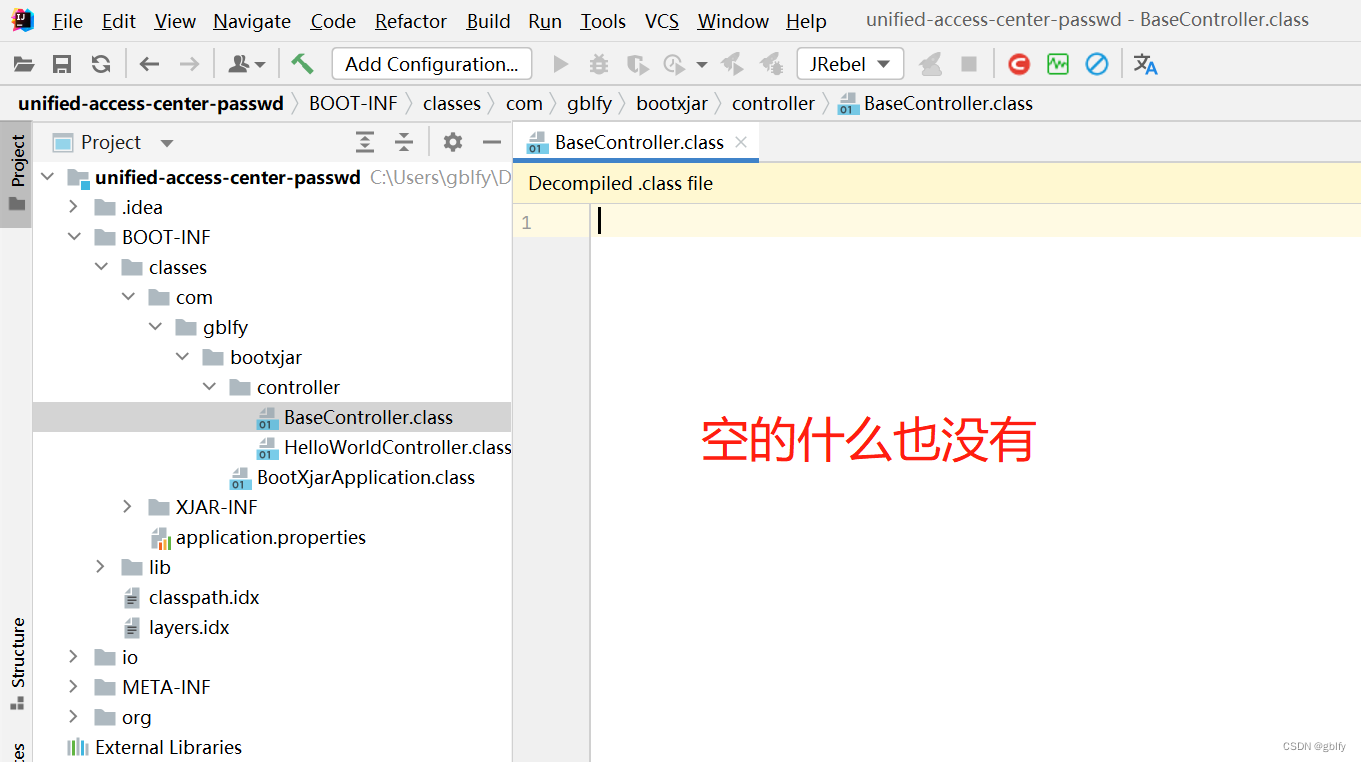
四、IntelliJ IDE 反编译测试
4.1. 将加密的jar进行解压

4.2. 打开解压后的文件夹

4.3. class文件查看
4.4. 配置文件反编译
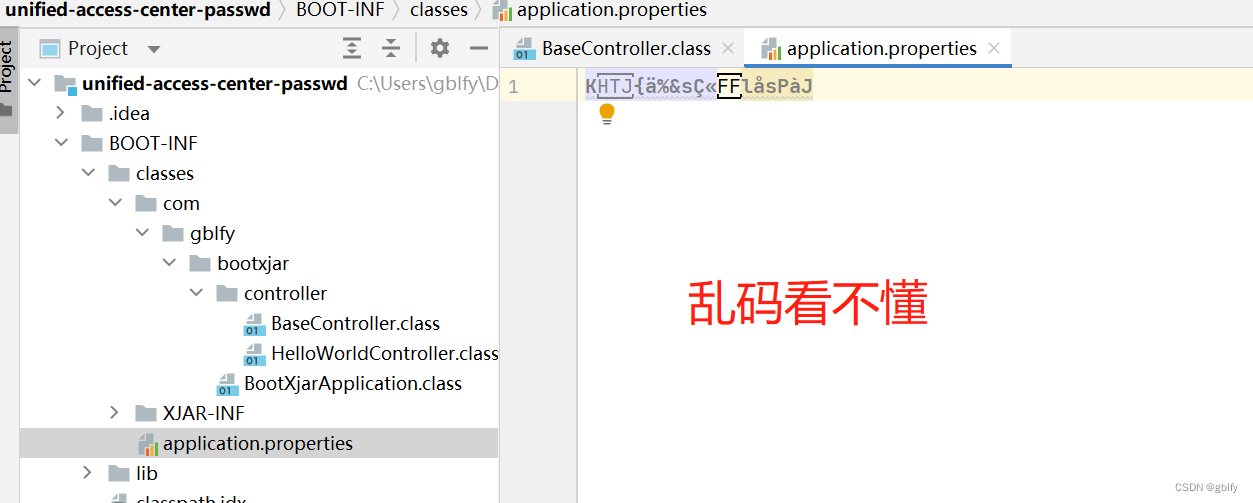
4.5. xml文件反编译

五、jd-gui 反编译测试
5.1. 没加密的jar效果
- 没加密的jar效果

5.2. 加密jar的效果
- 加密jar的效果
说明一下:这里不是我没把文件打开,这是我选中文件双击打开后的效果,小伙伴们可以试试

六、XJad反编译测试
6.1. 没加密的jar效果

6.2. 加密的jar效果

七、XJad反编译测试
7.1. 没加密的jar效果

7.2. 加密的jar效果

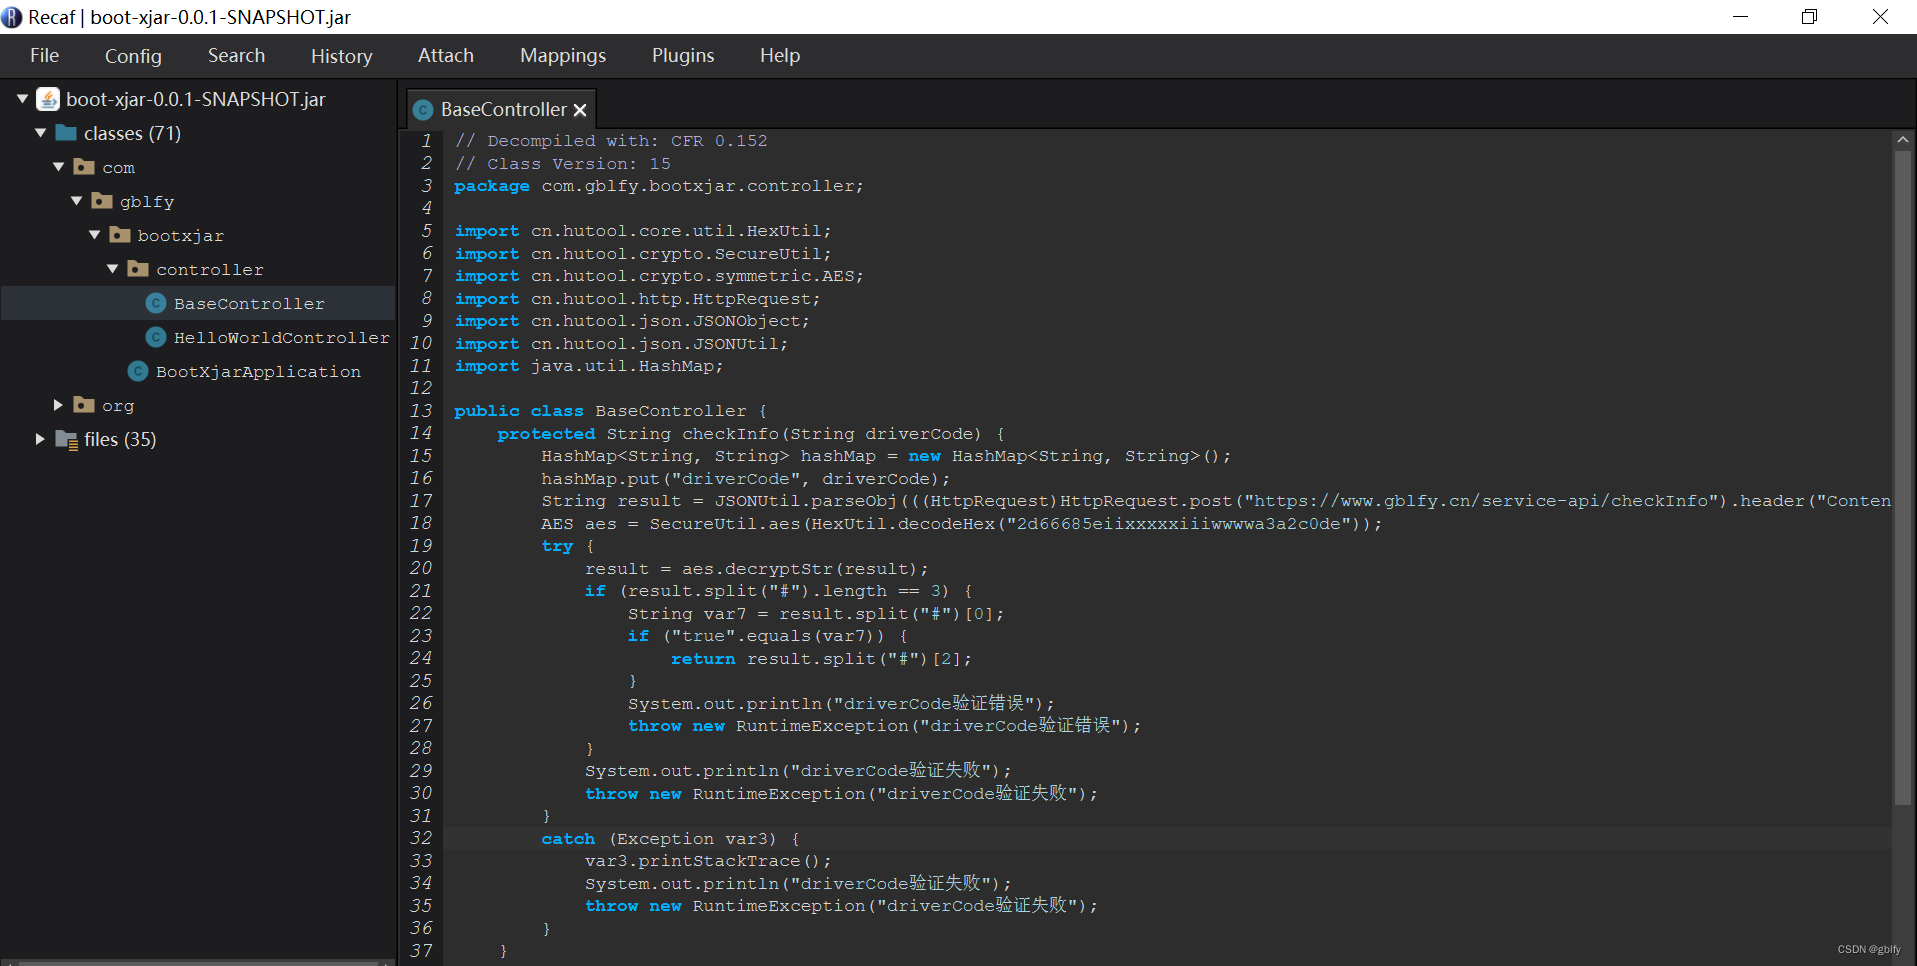
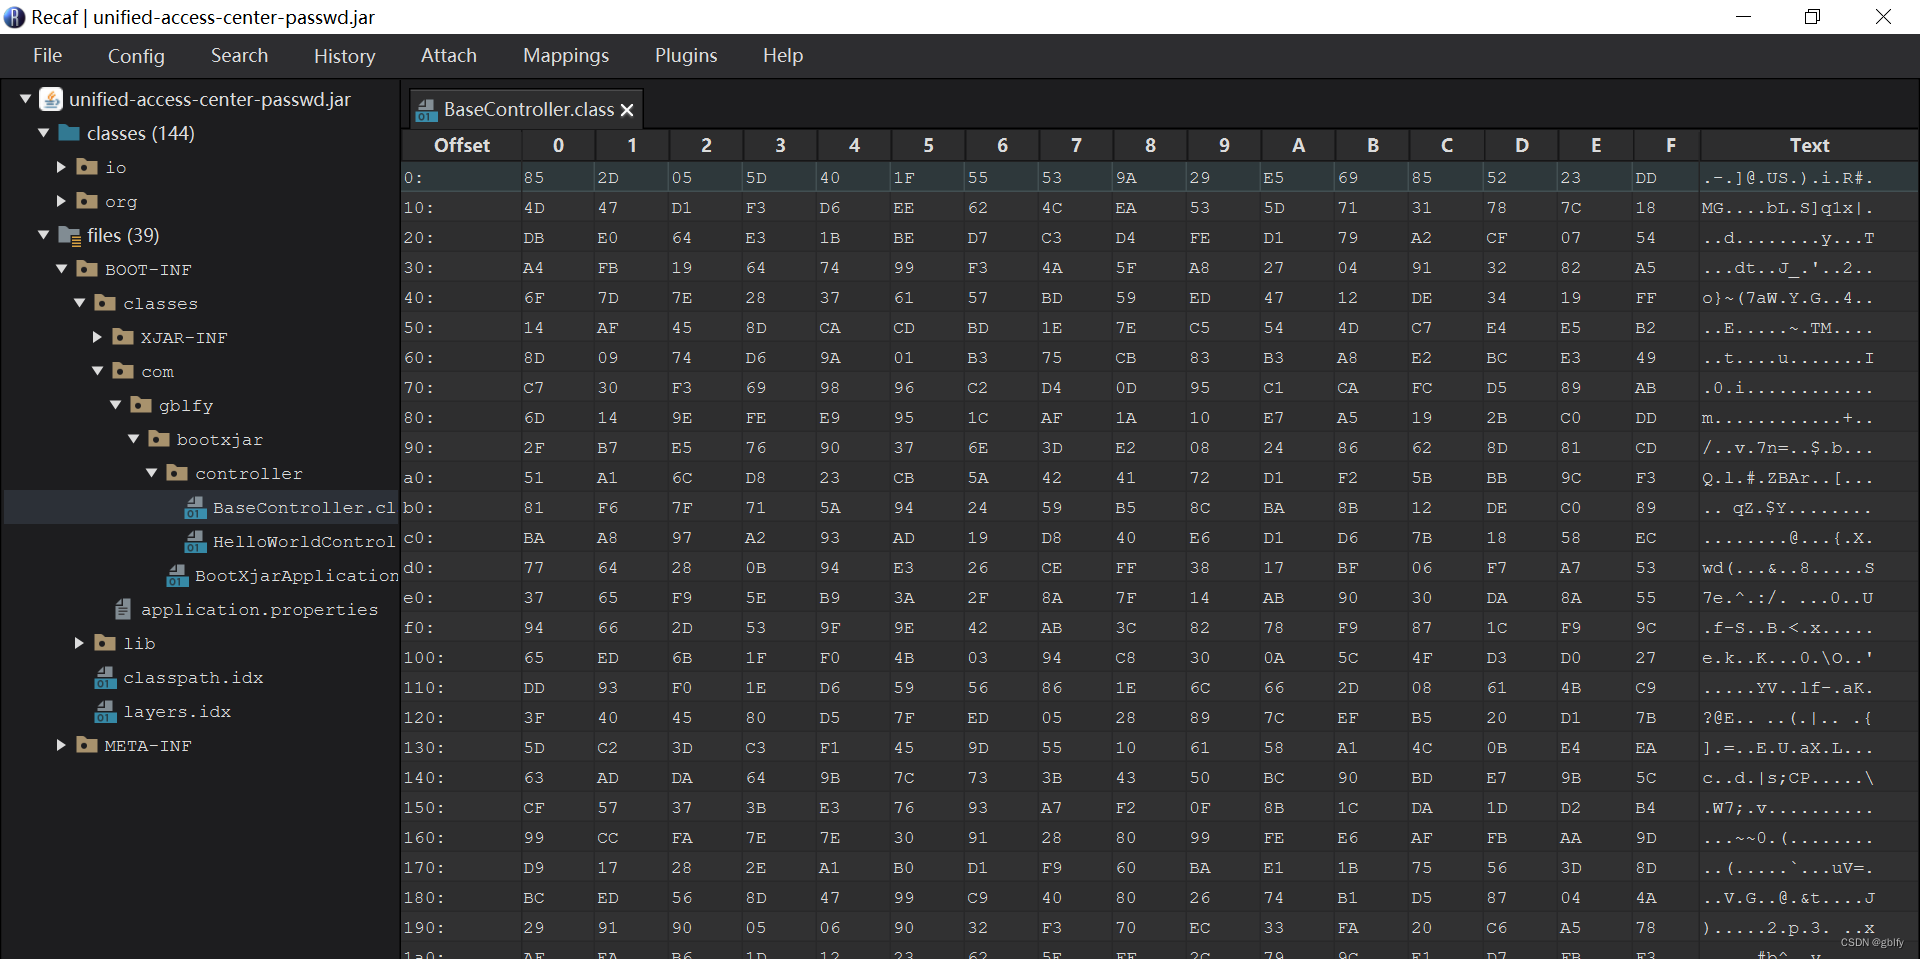
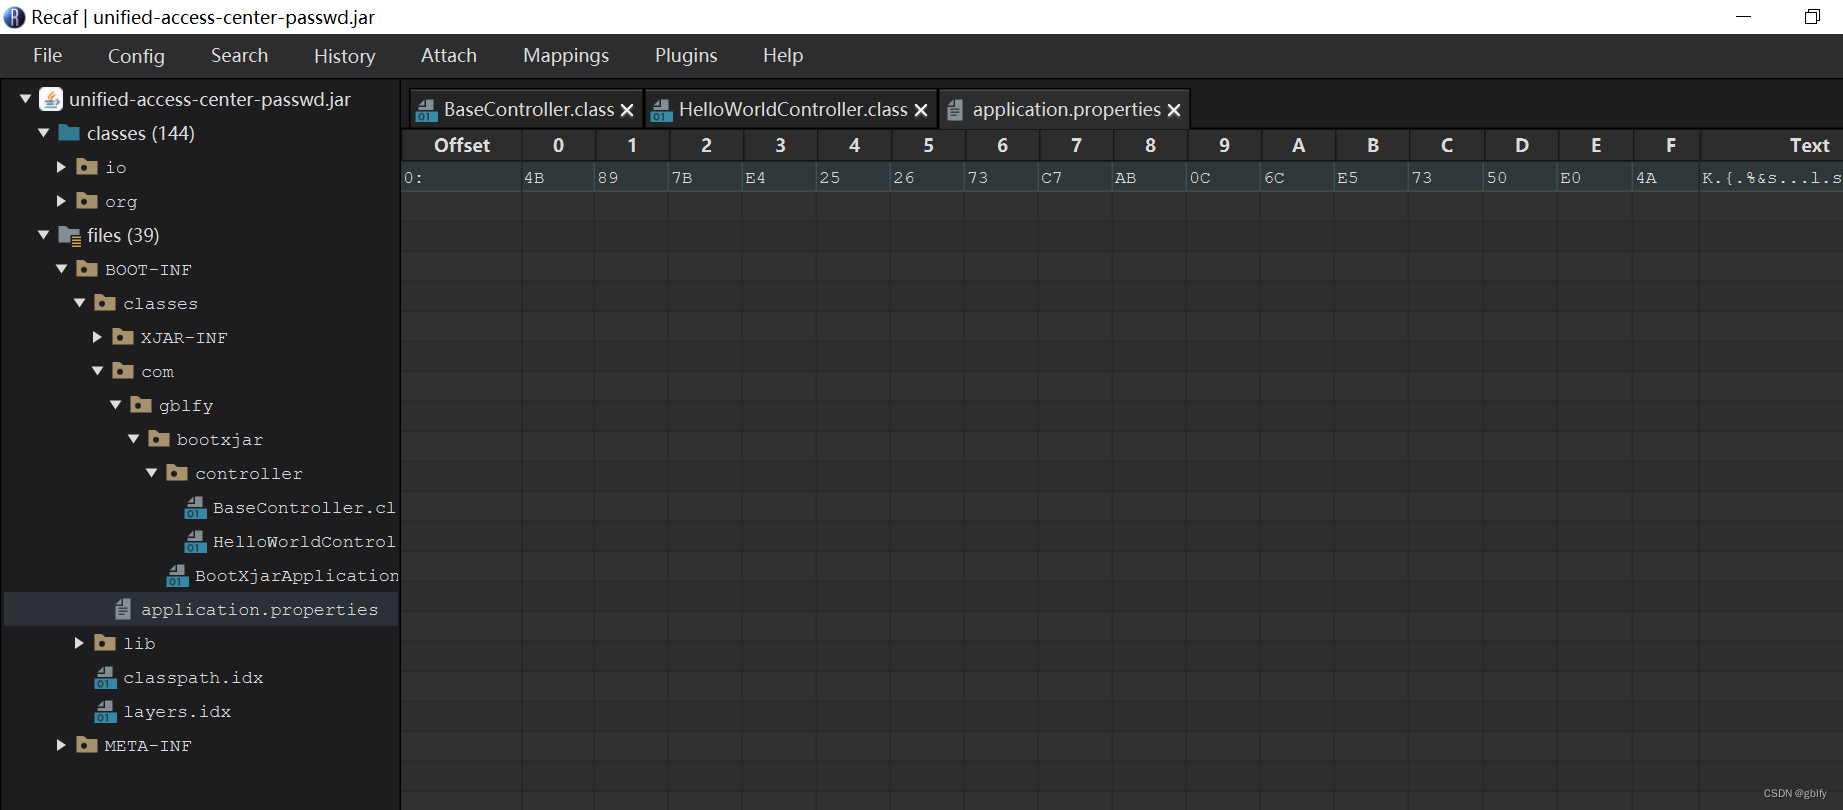
八、Recaf 反编译
这里我换了另外一个项目测试看效果
8.1. 没加密的jar
8.2. 加密的jar
java文件效果
配置文件效果


 2560
2560


 被折叠的 条评论
为什么被折叠?
被折叠的 条评论
为什么被折叠?
 到【灌水乐园】发言


