


一、通道(Channel)使用案例
NIO 的通道类似于流,但有些区别如下:通道可以同时进行读写,而流只能读或者只能写;通道可以实现异步读写数据;通道可以从缓冲读数据,也可以写数据到缓冲。
BIO 中的 Stream 是单向的,例如 FileInputStream 对象只能进行读取数据的操作,而 NIO 中的通道(Channel)是双向的,可以读操作,也可以写操作。
常用的 Channel 类有: FileChannel、DatagramChannel、ServerSocketChannel 和 SocketChannel 。【ServerSocketChannel 类似 ServerSocket、SocketChannel 类似 Socket】。其中FileChannel 用于文件的数据读写,DatagramChannel 用于 UDP 的数据读写,ServerSocketChannel 和 SocketChannel 用于 TCP 的数据读写。
1. FileChannel类
FileChannel 主要用来对本地文件进行 IO 操作,常见的方法有:
public int read(ByteBuffer dst),从通道读取数据并放到缓冲区中public int write(ByteBuffer src),把缓冲区的数据写到通道中public long transferFrom(ReadableByteChannel src, long position, long count),从目标通道中复制数据到当前通道public long transferTo(long position, long count, WritableByteChannel target),把数据从当前通道复制给目标通道
🥘案例1:本地文件写数据🥘
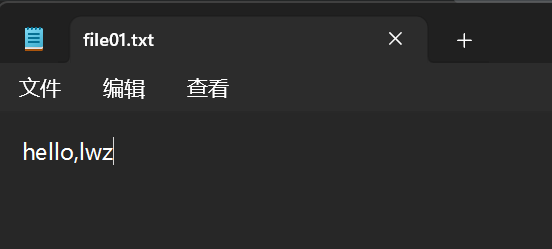
将hello,lwz字符串写入到本地文件E:\\file01.txt中:
import java.io.FileOutputStream;
import java.io.IOException;
import java.nio.ByteBuffer;
import java.nio.channels.FileChannel;

public class NIOTest1 {
    public static void main(String[] args) throws IOException {
        String str = "hello,lwz";  // 输出字符串
        // 创建一个输出流 -> channel
        FileOutputStream fileOutputStream = new FileOutputStream("E:\\file01.txt");
        // 通过fileOutputStream获取对应的FileChannel
        FileChannel channel = fileOutputStream.getChannel();
        // 创建缓冲区,容量为1024字节
        ByteBuffer byteBuffer = ByteBuffer.allocate(1024);
        // 将"hello,lwz"写入到缓冲区中
        byteBuffer.put(str.getBytes());
        // 读写反转,之前是写入,现在变成读出
        byteBuffer.flip();
        // 将数据从缓冲区写入到channel
        channel.write(byteBuffer);
        // 关闭输出流
        fileOutputStream.close();
    }
}
运行结果如下:
🥘案例2:本地文件读数据🥘
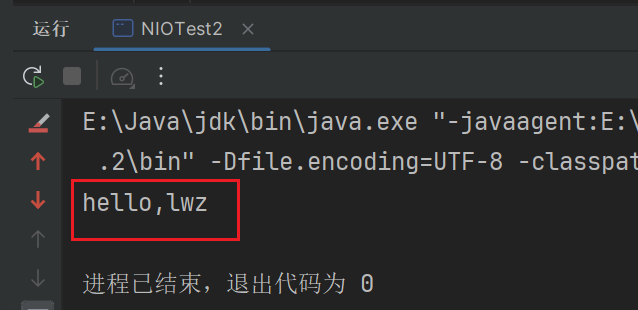
将E:\\file01.txt中的数据读入到程序中:
import java.io.File;
import java.io.FileInputStream;
import java.io.IOException;
import java.nio.ByteBuffer;
import java.nio.channels.FileChannel;

public class NIOTest2 {
    public static void main(String[] args) throws IOException {
        // 创建文件的输入流
        File file = new File("E:\\file01.txt");
        FileInputStream fileInputStream = new FileInputStream(file);
        // 获取对应通道
        FileChannel channel = fileInputStream.getChannel();
        // 创建缓冲区
        ByteBuffer byteBuffer = ByteBuffer.allocate((int) file.length());
        // 将通道中的数据读入到缓冲区
        channel.read(byteBuffer);
        // 输出缓冲区中的数据
        System.out.println(new String(byteBuffer.array()));
        fileInputStream.close();
    }
}
运行结果如下:
🥘案例3:使用一个 Buffer 完成文件拷贝🥘
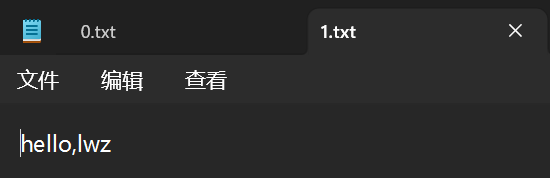
将0.txt中的数据hello,lwz写入到1.txt中:
import java.io.FileInputStream;
import java.io.FileOutputStream;
import java.io.IOException;
import java.nio.ByteBuffer;
import java.nio.channels.FileChannel;

public class NIOTest3 {
    public static void main(String[] args) throws IOException {
        FileInputStream fileInputStream = new FileInputStream("E:\\0.txt");
        FileChannel channel1 = fileInputStream.getChannel();
        FileOutputStream fileOutputStream = new FileOutputStream("E:\\1.txt");
        FileChannel channel2 = fileOutputStream.getChannel();
        // 创建缓冲区
        ByteBuffer byteBuffer = ByteBuffer.allocate(512);
        while (true) { // 循环读取
            byteBuffer.clear(); // 清空 buffer
            int read = channel1.read(byteBuffer);
            if (read == -1) { // 表示读完
                break;
            }
            System.out.println("读了" + read + "字节的数据");
            // 将buffer中的数据写入到 channel2--1.txt
            byteBuffer.flip();
            channel2.write(byteBuffer);
        }
        // 关闭相关的流
        fileInputStream.close();
        fileOutputStream.close();
    }
}
运行结果如下:

🥘案例4:使用一个 transferFrom 方法完成文件拷贝🥘
将D:\\old.jpg拷贝到E:\\new.jpg:
import java.io.FileInputStream;
import java.io.FileOutputStream;
import java.io.IOException;
import java.nio.channels.FileChannel;

public class NIOTest4 {
    public static void main(String[] args) throws IOException {
        // 创建相关输入、输出流
        FileInputStream fileInputStream = new FileInputStream("D:\\old.jpg");
        FileOutputStream fileOutputStream = new FileOutputStream("E:\\new.jpg");
        // 创建相应通道
        FileChannel sourceCh = fileInputStream.getChannel();
        FileChannel destCh = fileOutputStream.getChannel();
        // 使用transferFrom完成拷贝
        destCh.transferFrom(sourceCh, 0, sourceCh.size());
        // 关闭相关通道和流
        sourceCh.close();
        destCh.close();
        fileInputStream.close();
        fileOutputStream.close();
    }
}
运行结果如下,可以发现在E:\\new.jpg中出现该图片:


 20
20


 被折叠的 条评论
为什么被折叠?
被折叠的 条评论
为什么被折叠?
 到【灌水乐园】发言


