


1.activemq版本信息
activemq:apache-activemq-5.18.4
2.Windows下activemq开启jmx
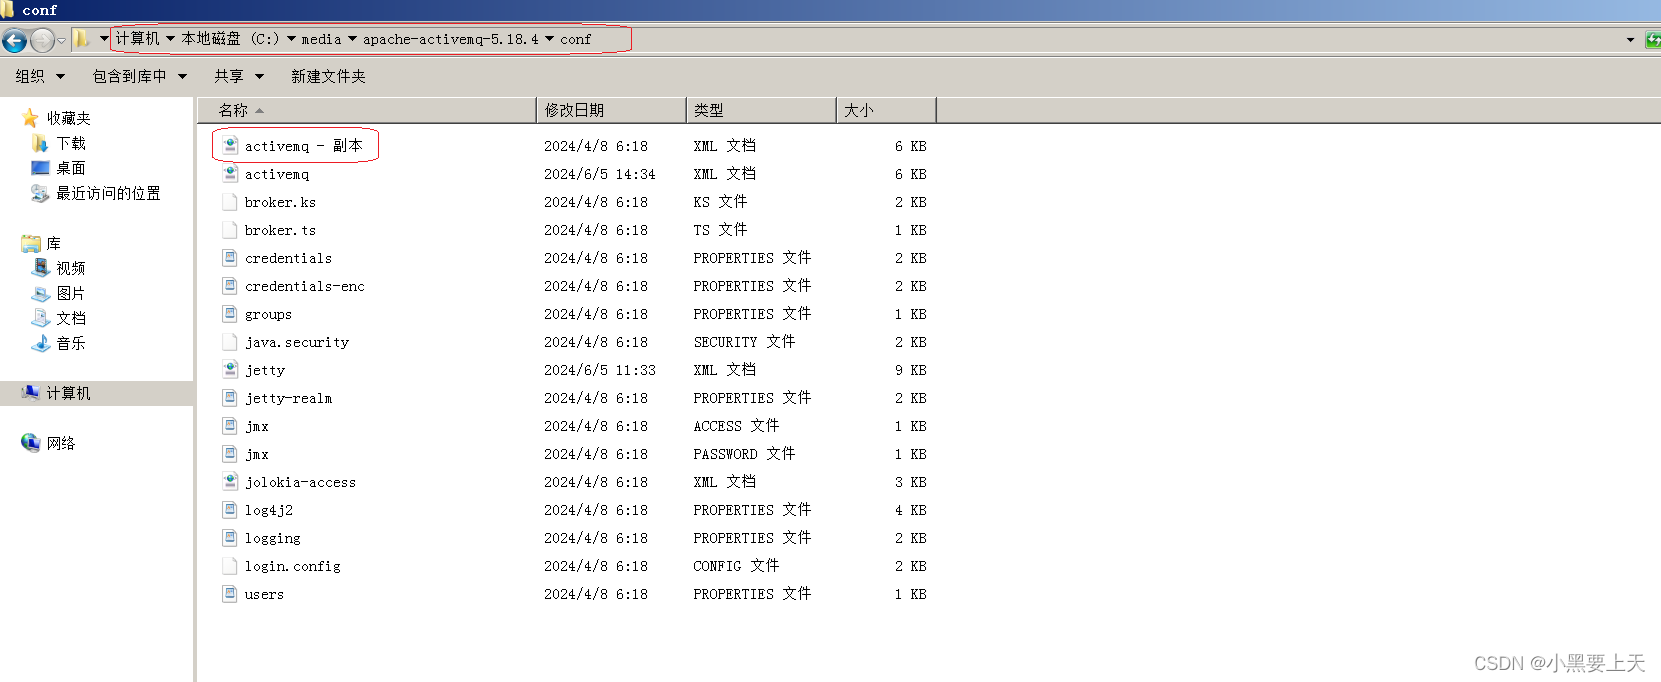
1.进入activemq conf目录,备份activemq.xml文件
2.编辑activemq.xml文件,在broker节点增加useJmx="true"
3.编辑activemq.xml文件,managementContext配置端口
4.保存activemq.xml文件
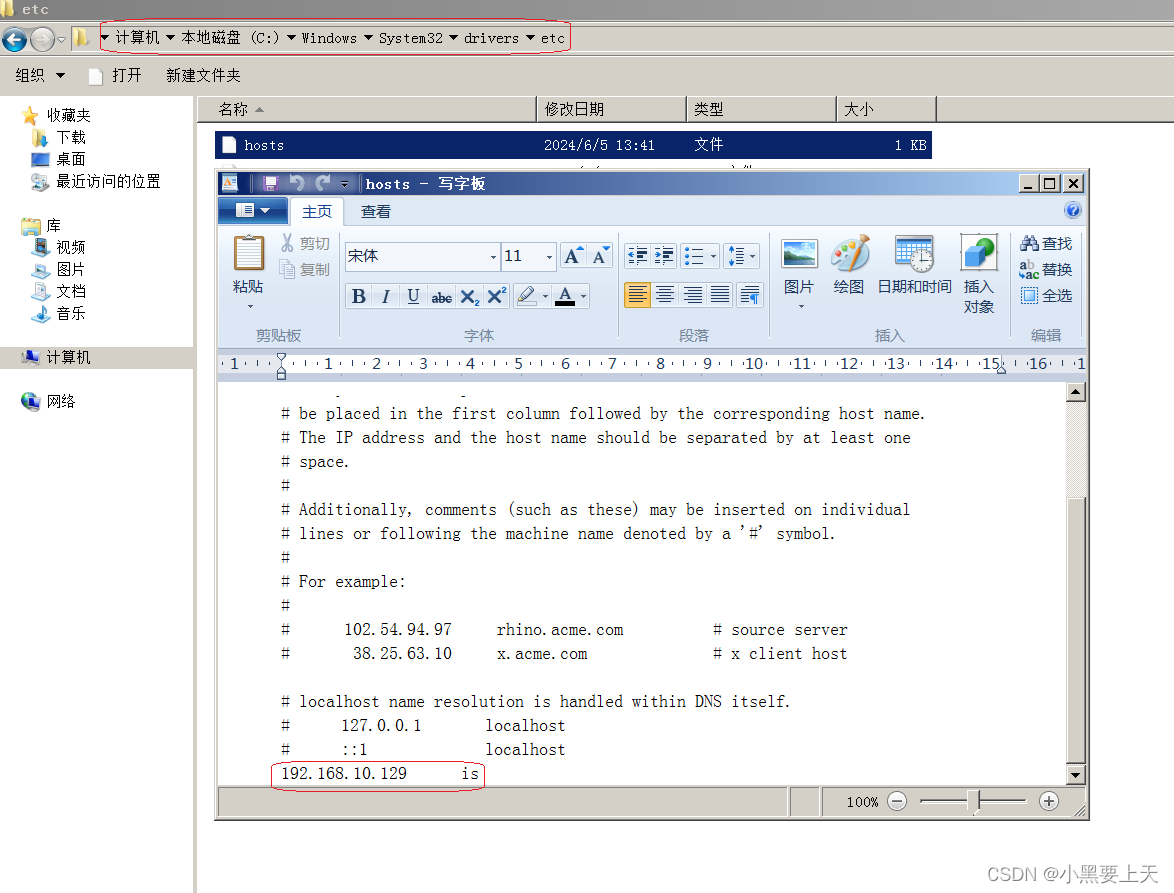
5.配置IP地址和主机名映射
6.启动activemq

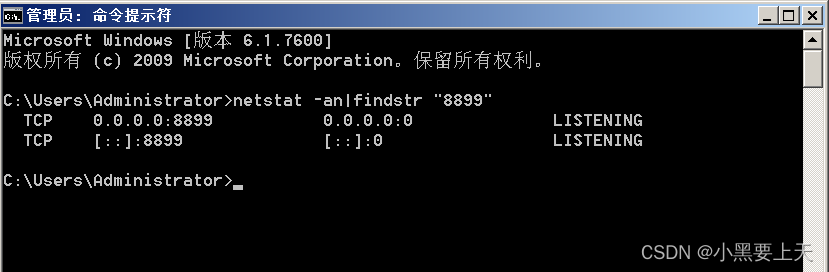
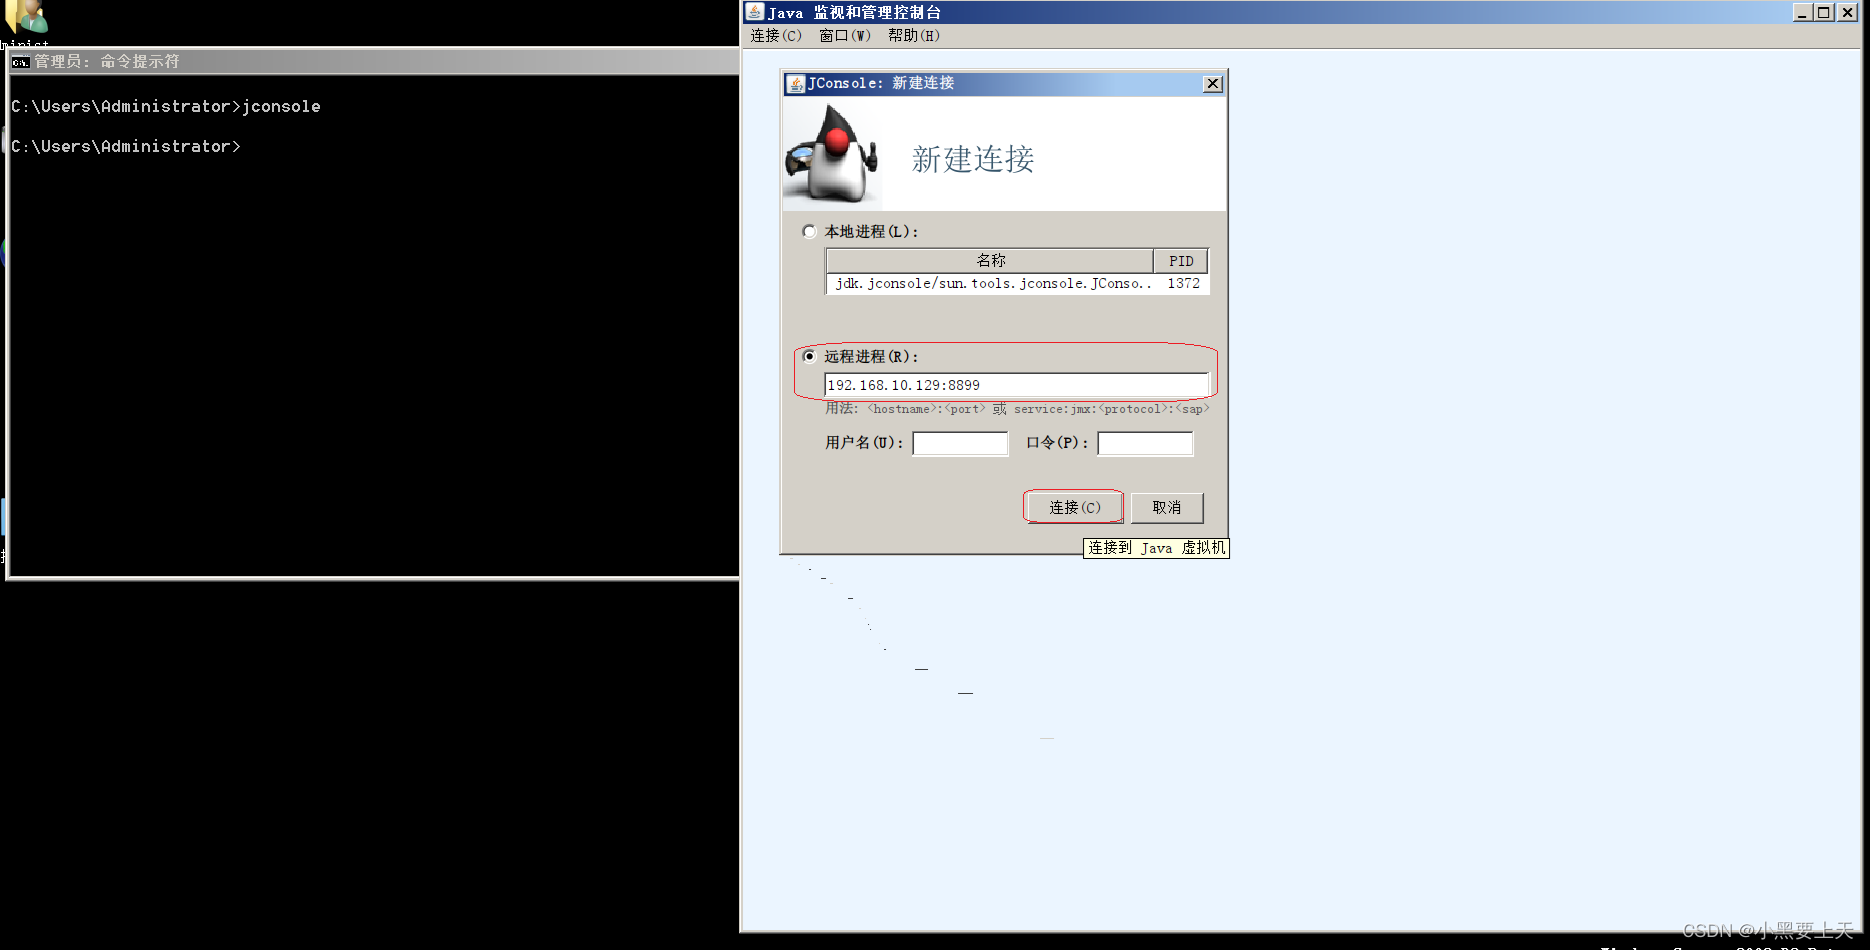
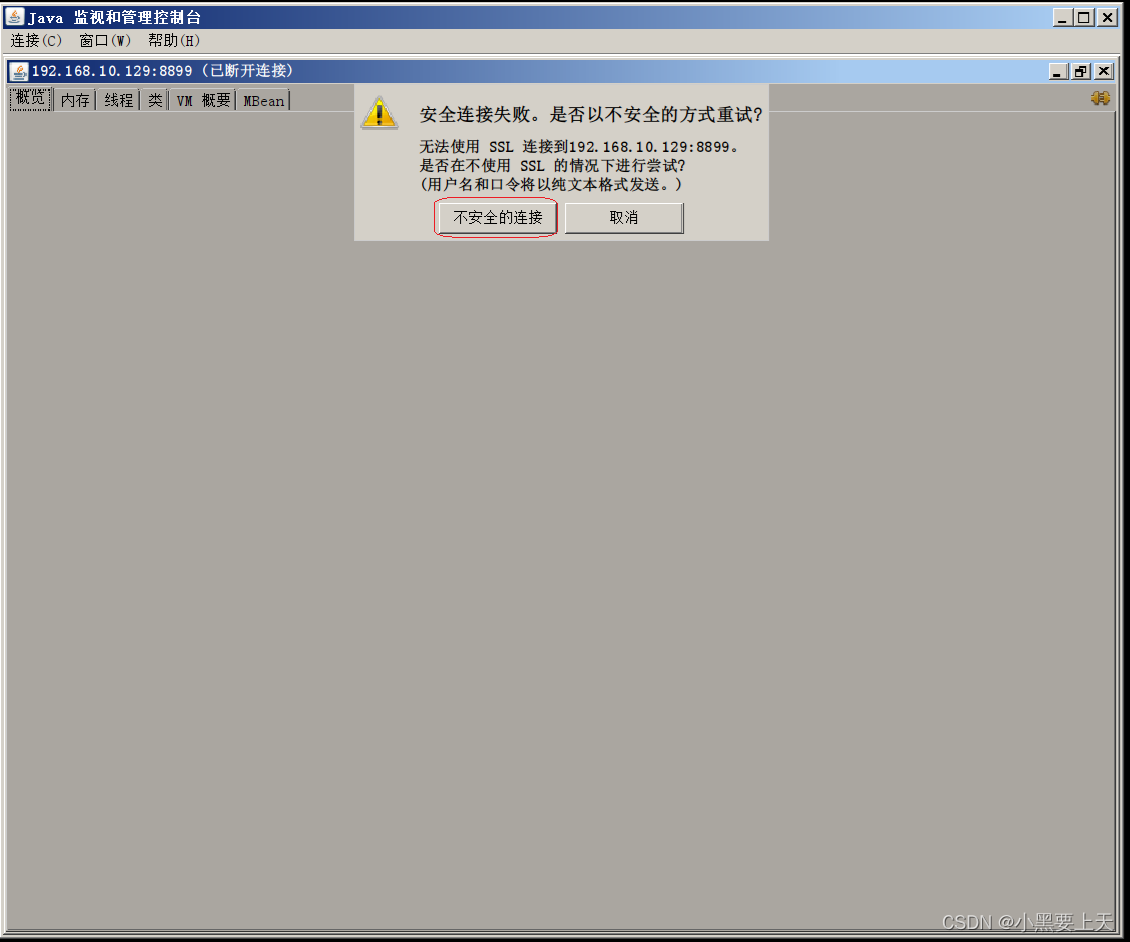
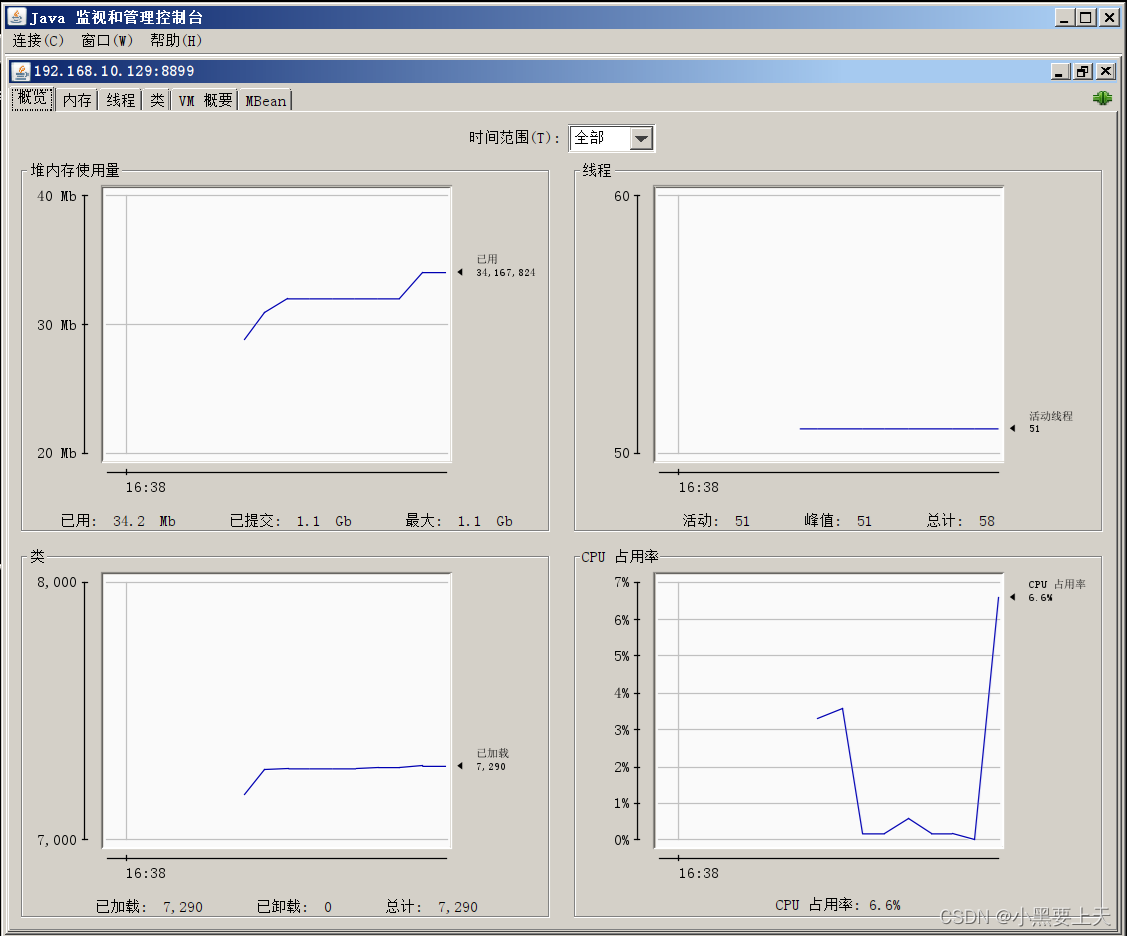
7.验证
-->端口验证
-->jconsole连接验证


 2846
2846

 被折叠的 条评论
为什么被折叠?
被折叠的 条评论
为什么被折叠?
 到【灌水乐园】发言


