


标题1、安装模板
dotnet new install Avalonia.Templates
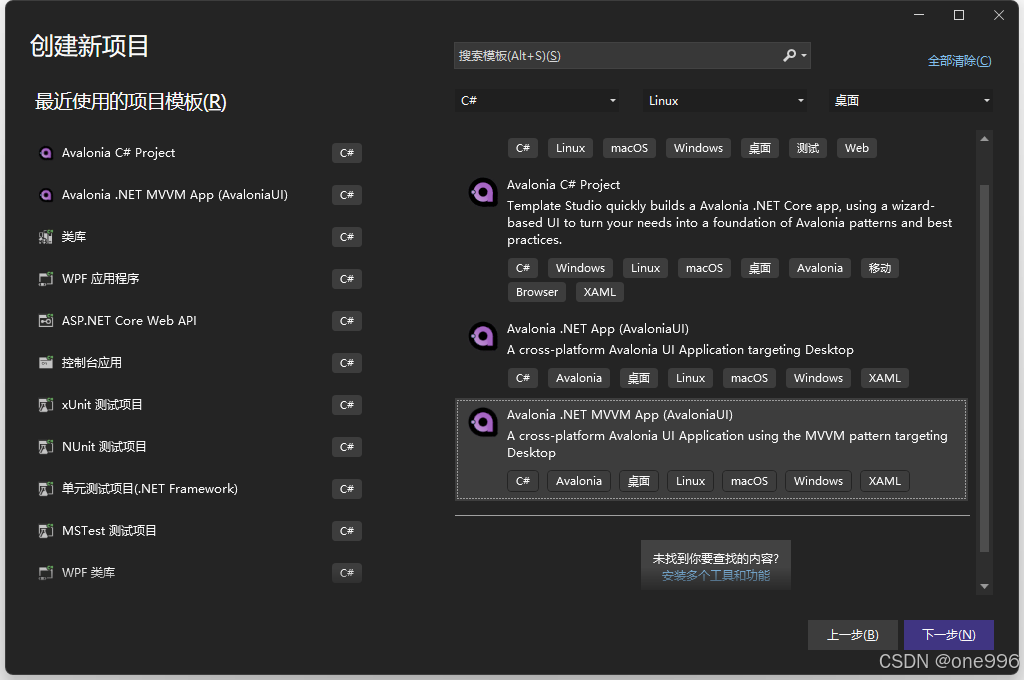
2、VS 2022创建
1、打开VS
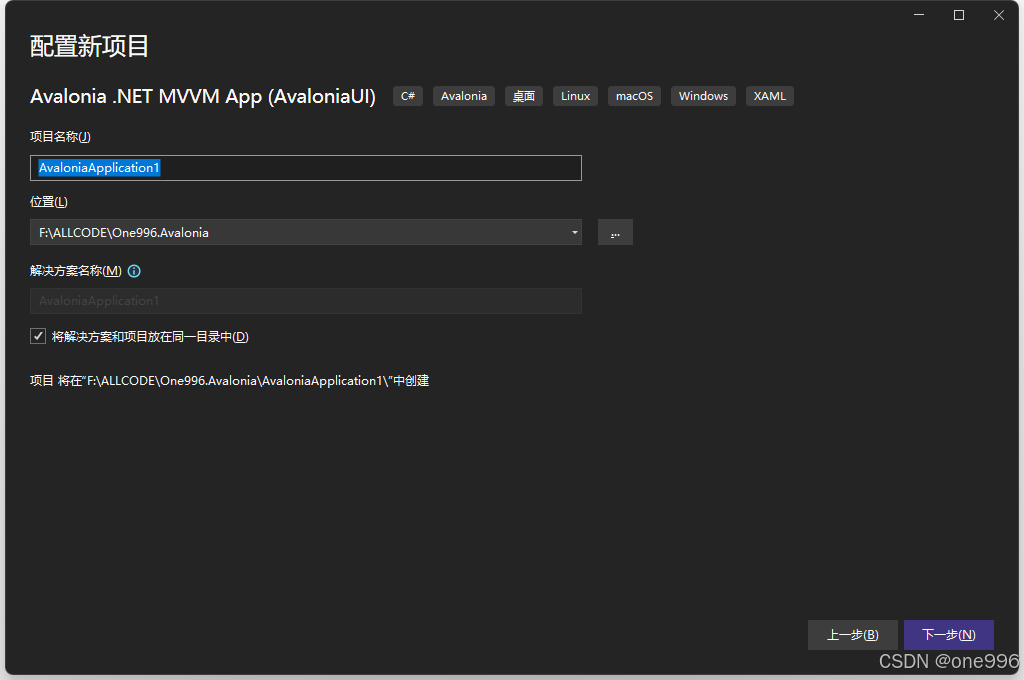
2、输入项目名称
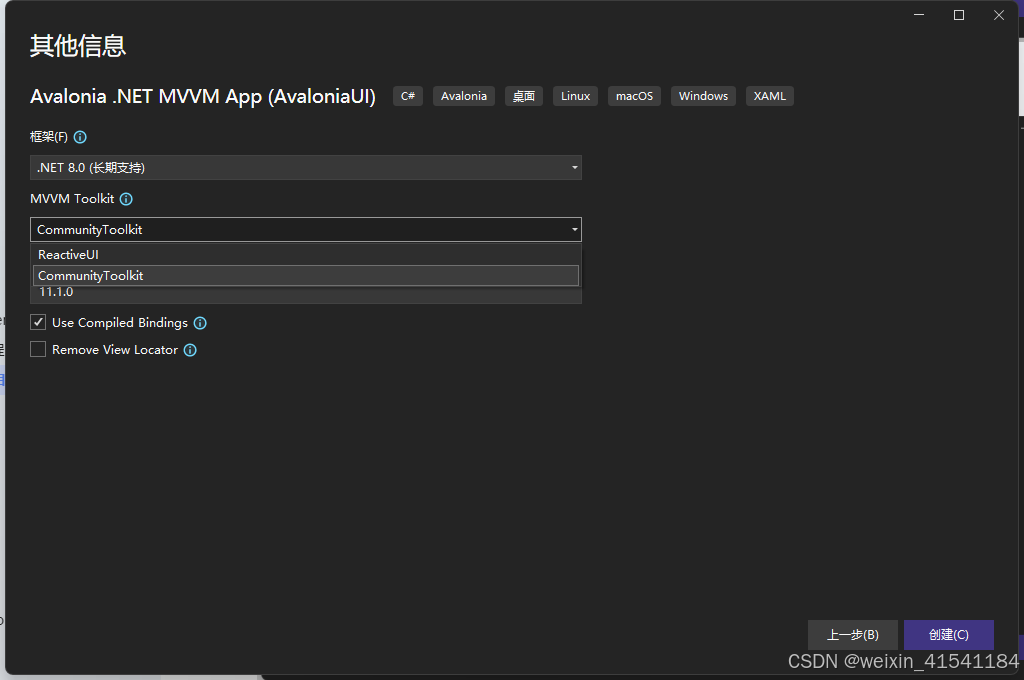
3、选择MVVM框架,选择自己熟悉的框架
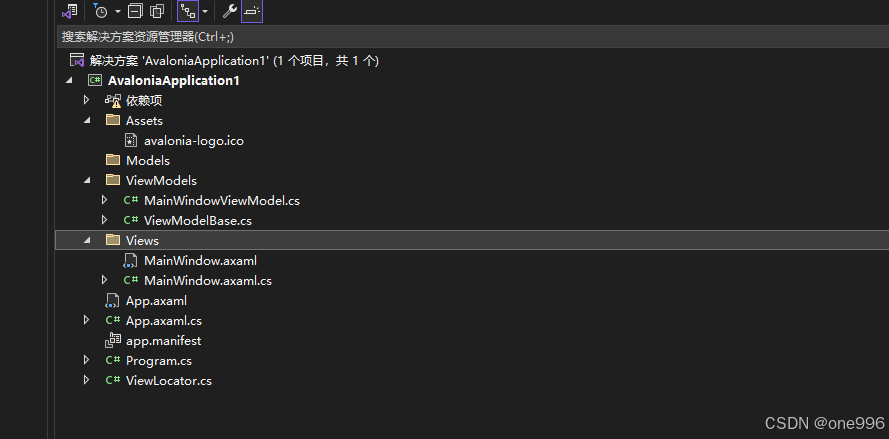
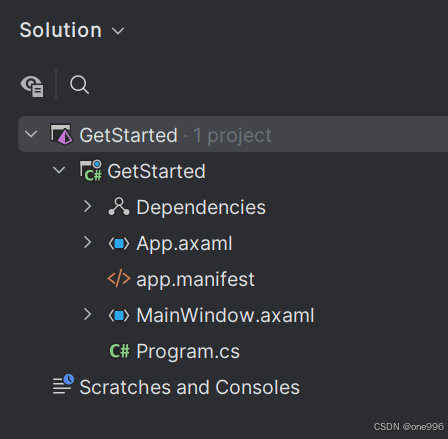
4、创建成功后项目结构如下
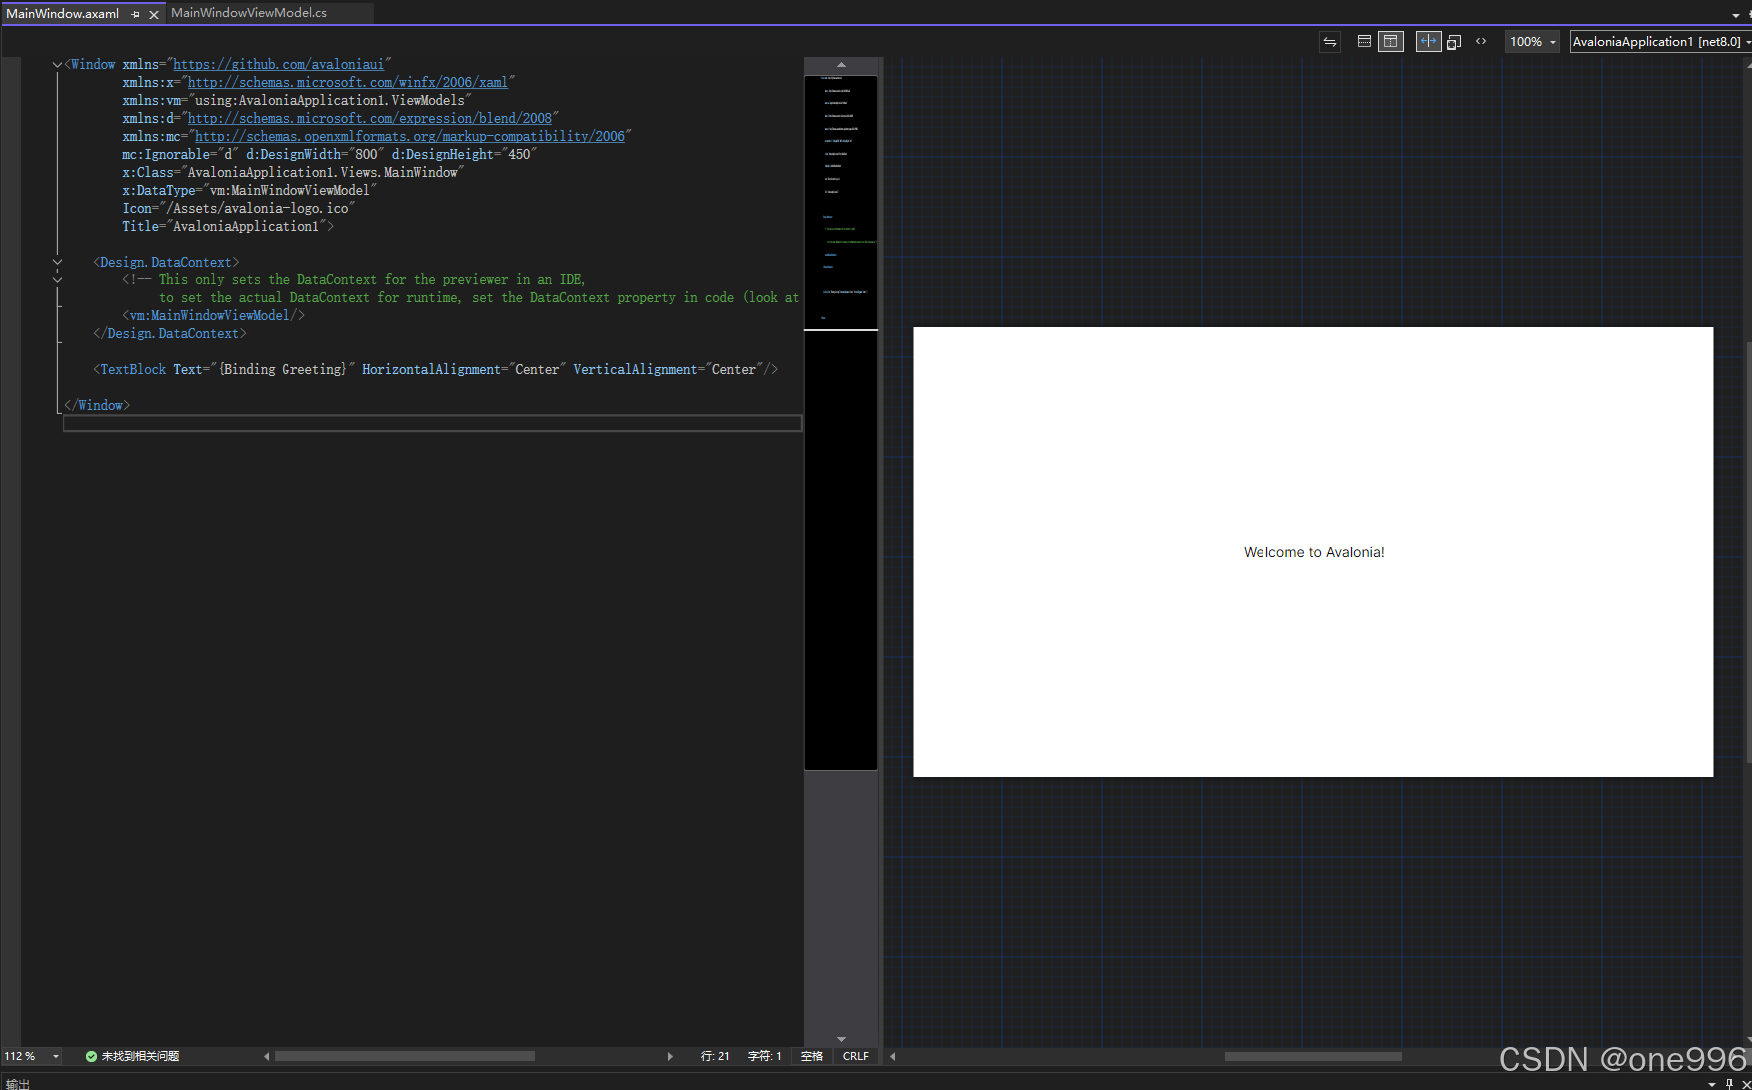
5、界面
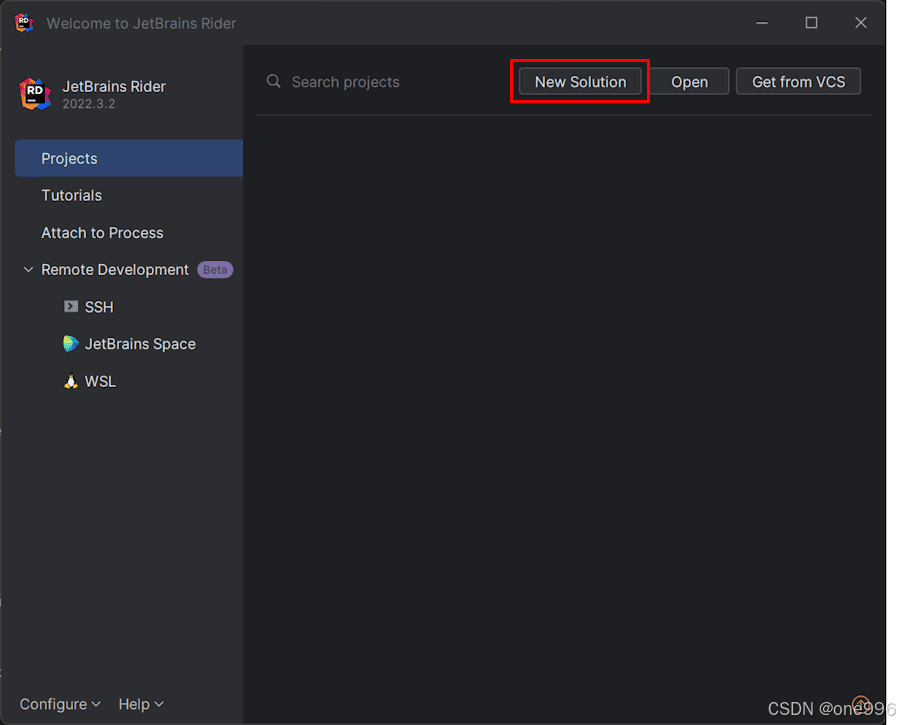
2、Rrider 创建
在Rider启动界面上,选择New Solution
在侧边栏中向下滚动并选择Avalonia App
在Solution Name字段中输入GetStartedApp
点击Create
该模板将创建一个新的解决方案和项目。
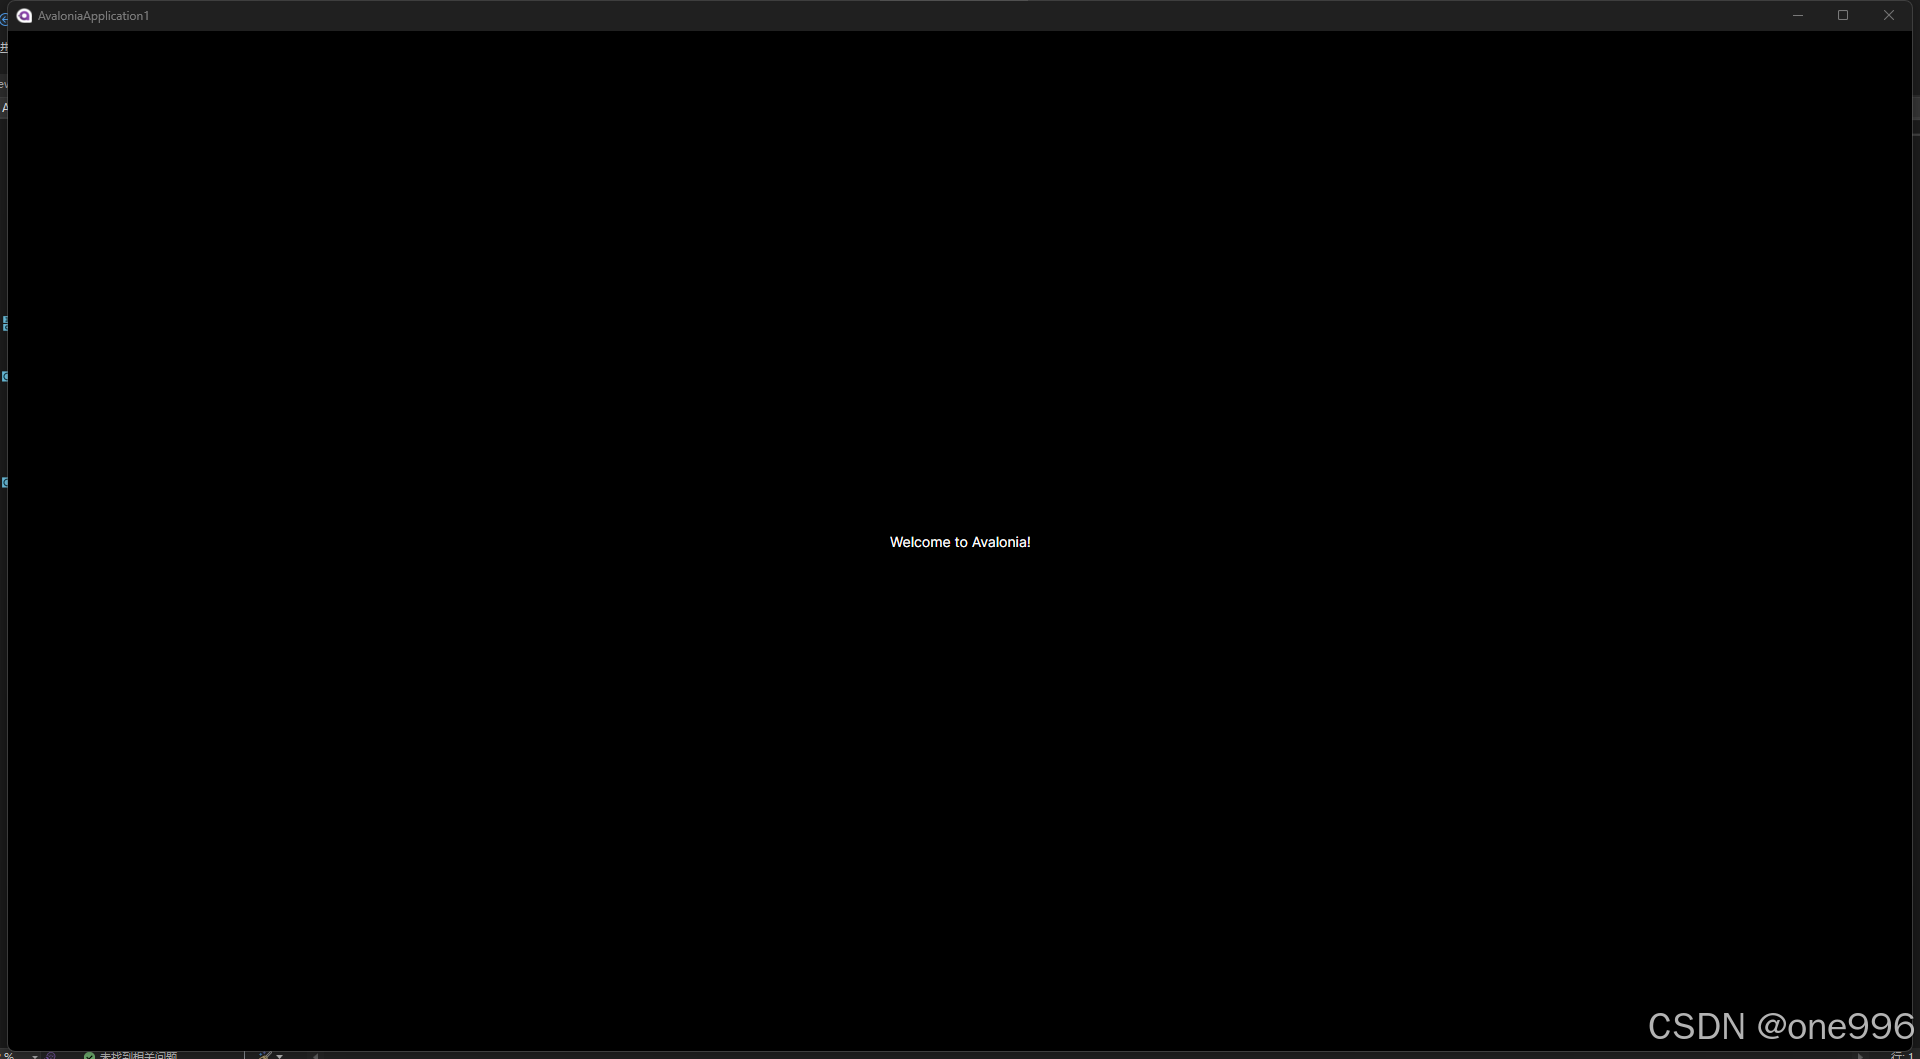
运行项目
可以进入项目文件下运行
dotnet run
VS、Rider手动启动

项目文件介绍
--Assets 静态资源
--Models 数据模型
--ViewModels vm
--Views 视图
App.axaml
这段代码配置了应用程序的全局数据模板和样式:
- 数据模板:通过 ViewLocator 实现数据对象到视图的动态绑定。
- 全局样式:应用 Fluent 主题,确保应用程序具有现代的视觉效果。
<Application.DataTemplates>
    <local:ViewLocator/>
</Application.DataTemplates>

<Application.Styles>
    <FluentTheme />
</Application.Styles>
ViewLocator
这段代码的主要目的是根据传入的数据对象动态创建一个对应的 UI 控件,并将数据绑定到该控件上。如果找不到对应的控件类型,则返回一个提示信息的 TextBlock。这种方法常用于实现 MVVM 模式中的视图和视图模型的动态绑定。

Program
项目启动入口
  // Initialization code. Don't use any Avalonia, third-party APIs or any
  // SynchronizationContext-reliant code before AppMain is called: things aren't initialized
  // yet and stuff might break.
  [STAThread]
  public static void Main(string[] args) => BuildAvaloniaApp()
      .StartWithClassicDesktopLifetime(args);

  // Avalonia configuration, don't remove; also used by visual designer.
  public static AppBuilder BuildAvaloniaApp()
      => AppBuilder.Configure<App>()
          .UsePlatformDetect()
          .WithInterFont()
          .LogToTrace();


 297
297

 被折叠的 条评论
为什么被折叠?
被折叠的 条评论
为什么被折叠?
 到【灌水乐园】发言


