


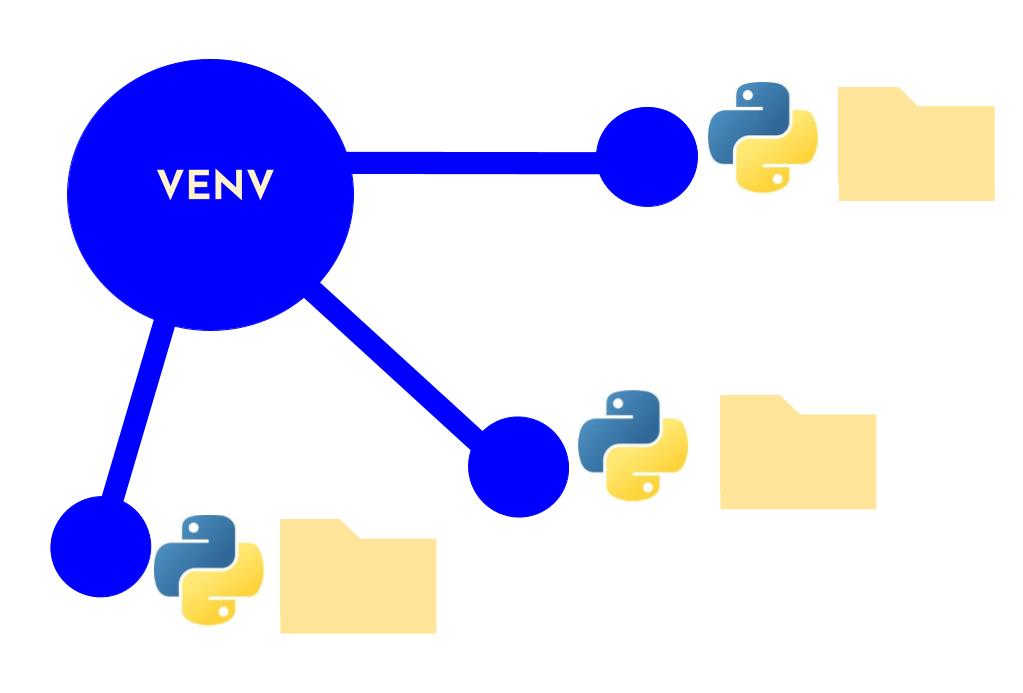
- 独立的 Python 运行环境
- 允许在同一台机器上为不同的项目创建隔离的 Python 环境
- 每个虚拟环境都有自己的 Python 解释器 安装的包/库 环境变量
一、要使用虚拟环境的原因及场景
原因
- 项目隔离:不同项目可能需要不同版本的 Python 或第三方库
- 避免冲突:防止全局 Python 环境被污染
- 依赖管理:方便记录和分享项目的依赖关系
- 测试环境:可以安全地测试新包而不影响其他项目
场景举例
- 项目 A 需要 Django 3.2 版本
- 项目 B 需要 Django 4.0 版本
- 如果在系统全局安装,两个版本会冲突
二、虚拟环境工具
| 工具名称 | 类型 | Python版本支持 | 安装方式 | 特点 | 适用场景 |
|---|---|---|---|---|---|
| venv(推荐) | 内置模块 | ≥ 3.3 | 无需安装,内置 | 轻量级、官方推荐、使用简单 | 通用开发、日常项目 |
| virtualenv | 第三方工具 | 2.x 和 3.x | pip install virtualenv | 功能丰富、兼容多版本 | 需要兼容旧版本或高级功能 |
| conda | Anaconda自带 | 2.x 和 3.x | 随 Anaconda/Miniconda 安装 | 跨语言包管理、数据科学生态 | 数据科学、机器学习项目 |
若需更老版本支持,可使用 virtualenv(Python 2兼容)
pip install virtualenv # 非必须,venv 通常够用三、创建虚拟环境
使用conda如何创建虚拟环境在pytorch专栏介绍了,具体可见
Windows环境下Pytorch的配置-CSDN博客![]() https://blog.csdn.net/weixin_41576682/article/details/155105034
https://blog.csdn.net/weixin_41576682/article/details/155105034
- Python 3.3+ 内置了
venv模块,无需额外安装
检查python的版本
cmd开启命令行,查询python版本,确保能够使用(使用哪个取决于是python.exe还是python3.exe),Anaconda安装但是查询不到版本,可以查看这篇安装了Anaconda在系统终端却无法使用python命令-CSDN博客![]() https://blog.csdn.net/weixin_41576682/article/details/155447224?spm=1001.2014.3001.5501
https://blog.csdn.net/weixin_41576682/article/details/155447224?spm=1001.2014.3001.5501
python3 --version
# 或者
python --version
创建虚拟环境
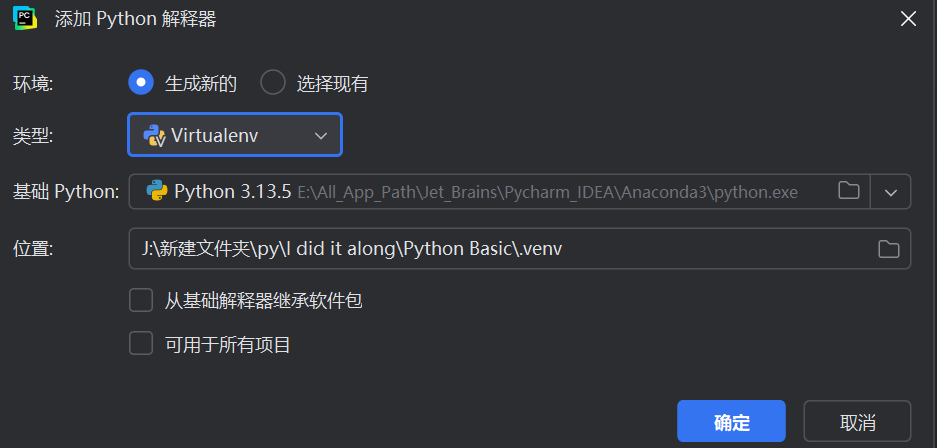
pycharm中可以手动添加虚拟环境
语法
# 基本语法
python3 -m venv 环境名称
创建并进入项目目录
# 进入项目目录
mkdir my_project && cd my_project

# 创建虚拟环境(命名为'.venv'是常见约定)
python3 -m venv .venv
参数说明
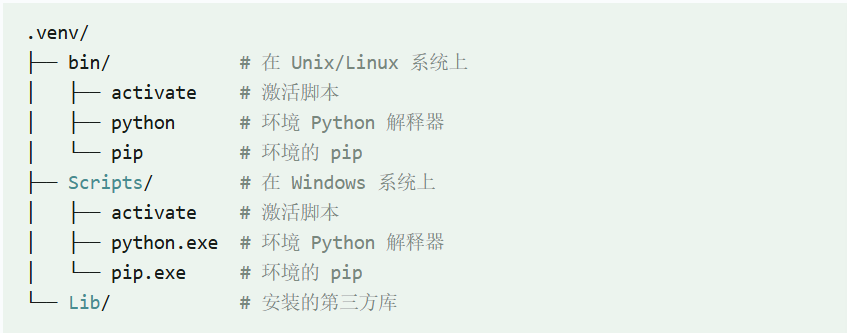
-m venv:使用 venv 模块.venv:虚拟环境的名称(可以自定义)创建后的目录结构
激活虚拟环境
激活环境后,所有 Python 和 pip 命令都会使用虚拟环境中的版本
Windows 系统
.venv\Scripts\activateUnix/Linux/MacOS 系统
source .venv/bin/activate激活成功后,命令行提示符通常会显示环境名称

使用虚拟环境
安装包
在激活的环境中,使用 pip 安装的包只会影响当前环境
语法
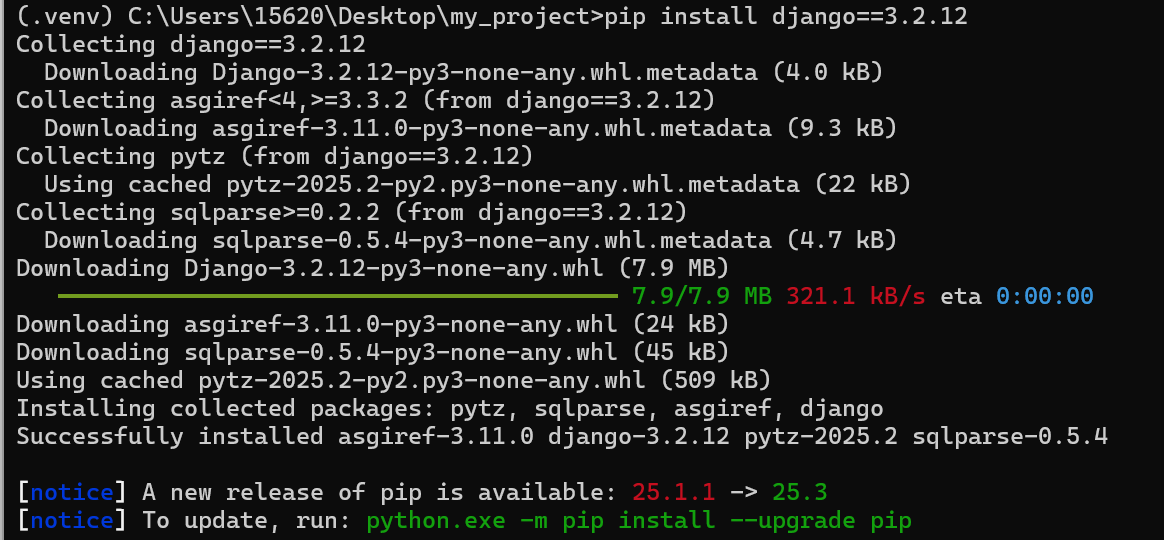
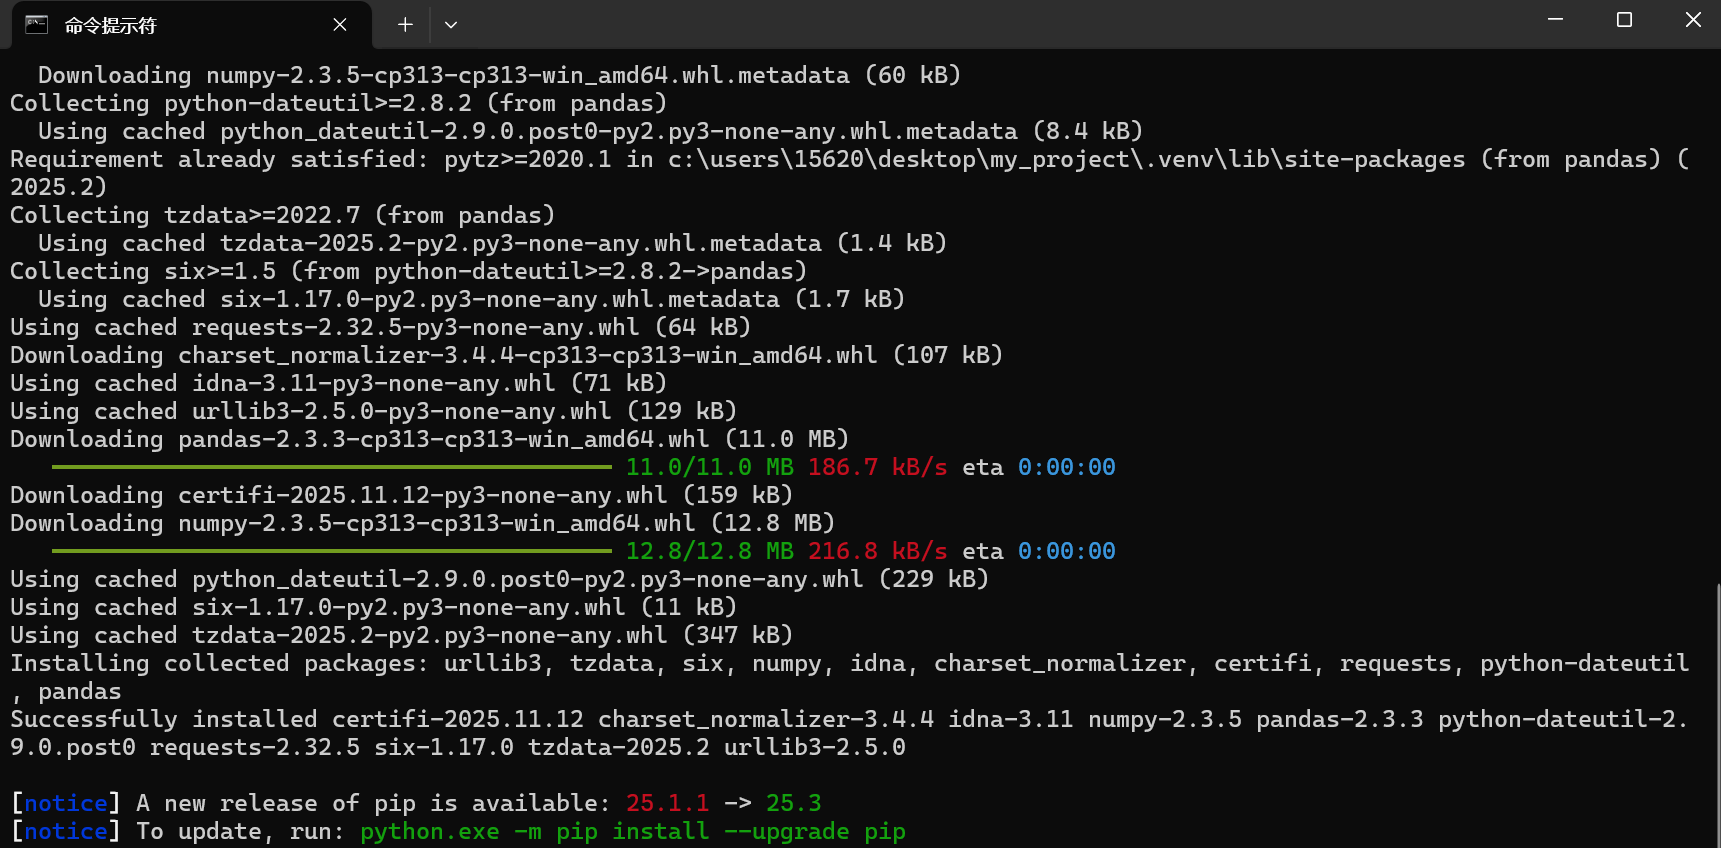
pip install package_name例如
# 安装单个包(如Django)
pip install django==3.2.12

# 安装多个包
pip install requests pandas
如下,安装成功
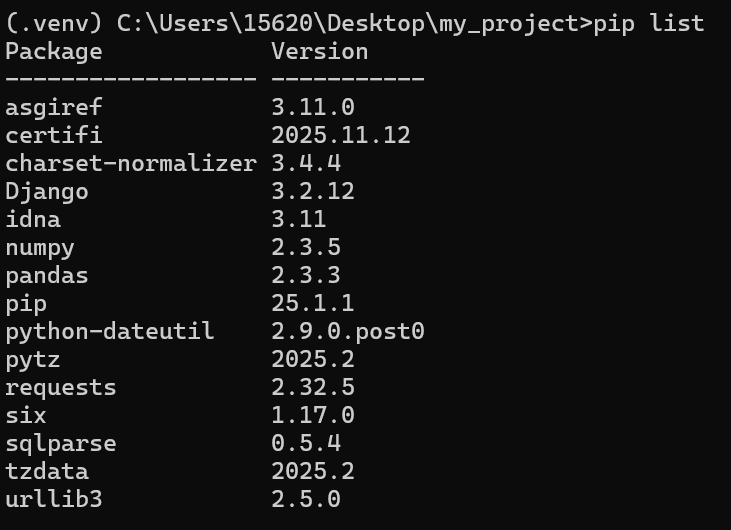
查看已安装的包
pip list未安装包的环境
安装包的环境

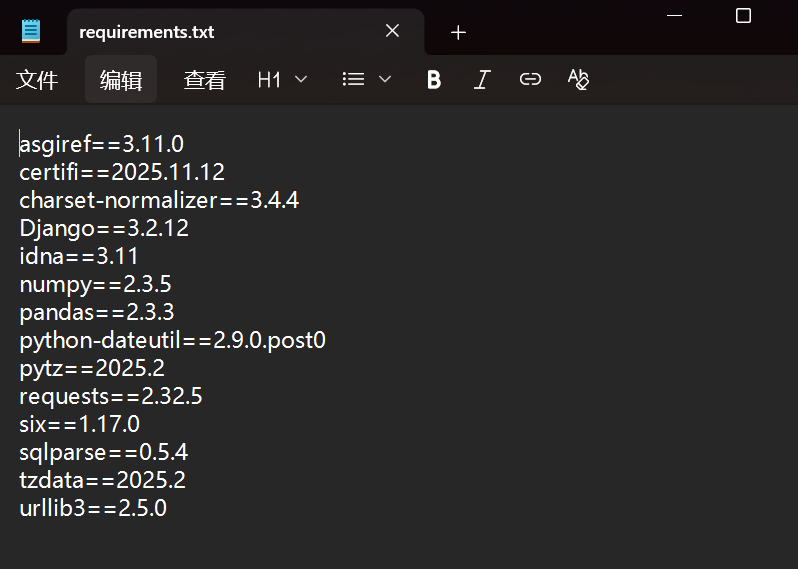
导出依赖
#导出环境中安装的所有包
pip freeze > requirements.txt
#只导出项目代码中实际导入 / 使用的包(精准匹配项目依赖)
pipreqs . --encoding=utf8

#第二条命令需要预安装pipreqs
pip install pipreqs
导出结果如下
退出虚拟环境
deactivate
删除虚拟环境
# 确保已退出环境
deactivate

# 删除目录
rm -rf .venv  # Linux/macOS
del /s /q .venv  # Windows (命令提示符)
实际项目示例
假设开发一个 Django 项目
# 创建环境并激活
python3 -m venv .venv
source .venv/bin/activate

# 安装Django
(.venv) pip install django==3.2.12

# 创建Django项目
(.venv) django-admin startproject my_site

# 运行测试
(.venv) cd my_site
(.venv) python manage.py runserver

# 完成后退出环境
(.venv) deactivate
高级用法
指定 Python 版本
如果安装了多个 Python 版本,可以指定使用哪个版本来创建虚拟环境
python3.8 -m venv .venv # 使用 Python 3.8创建不带 pip 的环境
python -m venv --without-pip .venv创建继承系统包的虚拟环境
python -m venv --system-site-packages .venv
四、常见问题解答
1. 为什么虚拟环境没有 activate 脚本?
确保你使用的是正确的路径
- Windows:
Scripts\activate- Unix/Linux:
bin/activate2. 如何知道当前是否在虚拟环境中?
检查命令行提示符是否有环境名称前缀,或运行
which python3.安装包速度慢
使用国内镜像源:
pip install -i https://pypi.tuna.tsinghua.edu.cn/simple package_name查看 Python 解释器的路径是否在虚拟环境目录中
4. 虚拟环境可以移动位置吗?
不建议移动虚拟环境,因为其中的路径是硬编码的。如果需要移动,最好重新创建
5. 虚拟环境会占用多少空间?
虚拟环境本身很小(约 20-50MB),但随着安装的包增多,空间占用会增加
五、最佳实践
- 每个项目一个环境:为每个 Python 项目创建独立的虚拟环境
- 记录依赖:定期更新
requirements.txt文件- 不提交环境:在版本控制中忽略虚拟环境目录
- 命名清晰:使用有意义的虚拟环境名称
- 定期清理:删除不再使用的虚拟环境
内容借鉴于菜鸟教程,感谢Python 虚拟环境创建(venv) | 菜鸟教程![]() https://www.runoob.com/python3/python-venv.html
https://www.runoob.com/python3/python-venv.html


 143
143

 被折叠的 条评论
为什么被折叠?
被折叠的 条评论
为什么被折叠?
 到【灌水乐园】发言


