


CentOS7 安装 GitLab
安装ssh
sudo yum install -y curl policycoreutils-pythonopenssh-server
将SSH服务设置成开机自启动:
sudo systemctl enable sshd
启动SSH服务
sudo systemctl start sshd
开启防火墙
service firewalld start
添加http服务到firewalld,pemmanent表示永久生效,若不加–permanent系统下次启动后就会失效。
sudo firewall-cmd --permanent --add-service=http
重启防火墙
sudo systemctl reload firewalld
安装Postfix以发送通知邮件
sudo yum install postfix
将postfix服务设置成开机自启动
sudo systemctl enable postfix
启动postfix
sudo systemctl start postfix
添加YUM-Gitlab源
vim /etc/yum.repos.d/gitlab-ce.repo
[gitlab-ce] name=Gitlab CE Repository
baseurl=https://mirrors.tuna.tsinghua.edu.cn/gitlab-ce/yum/el$releasever/
gpgcheck=0 enabled=1
yum makecache
我们选择安装最新版本的Gitlab。
yum install -y gitlab-ce
可以访问"https://mirrors.tuna.tsinghua.edu.cn/gitlab-ce/yum/el7/"查看Gitlab-ce的版本。 安装历史版本请使用下面命令:
yum install -y gitlab-ce-{VERSION}
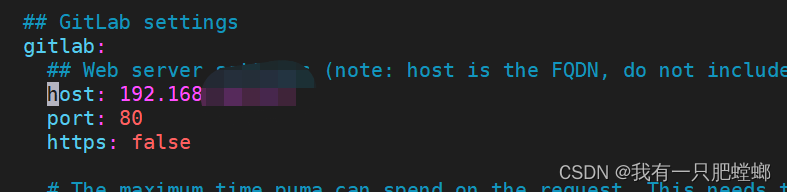
修改gitlab配置文件指定服务器ip
vim /etc/gitlab/gitlab.rb

修改克隆地址
vim /opt/gitlab/embedded/service/gitlab-rails/config/gitlab.yml
重置并启动GitLab
 gitlab-ctl reconfigure
 gitlab-ctl restart
根据之前配置的ip访问就行,默认端口8080
首次登录GitLab
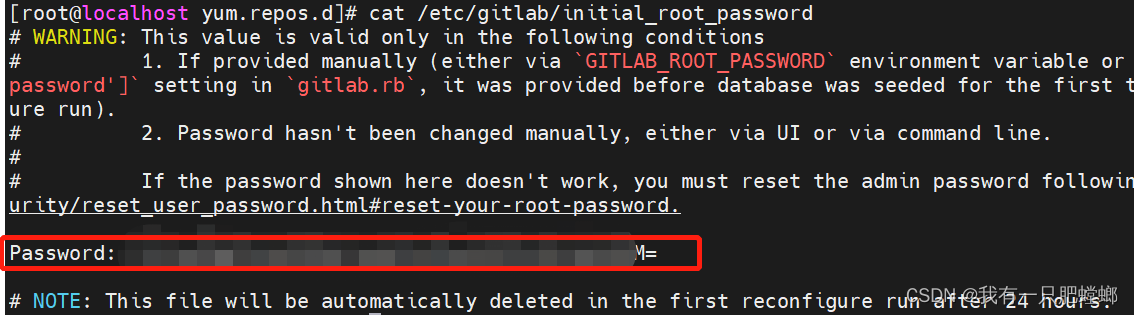
管理员账号为root
密码保存在配置文件内
cat /etc/gitlab/initial_root_password
修改管理员密码
进入 GitLab 控制台
GitLab 版本不同,命令会有所不同(网上说的而基本都是gitlab-rails console production ),推荐大家直接上 GitLab 官网去找对应版本的命令
gitlab-rails console -e production
进入控制台后,执行下面命令,此 user 则表示 root 用户
user = User.where(id: 1).first
修改密码,确认密码
user.password = 'secret_pass'
user.password_confirmation = 'secret_pass'
保存密码
user.save!
退出控制台
exit
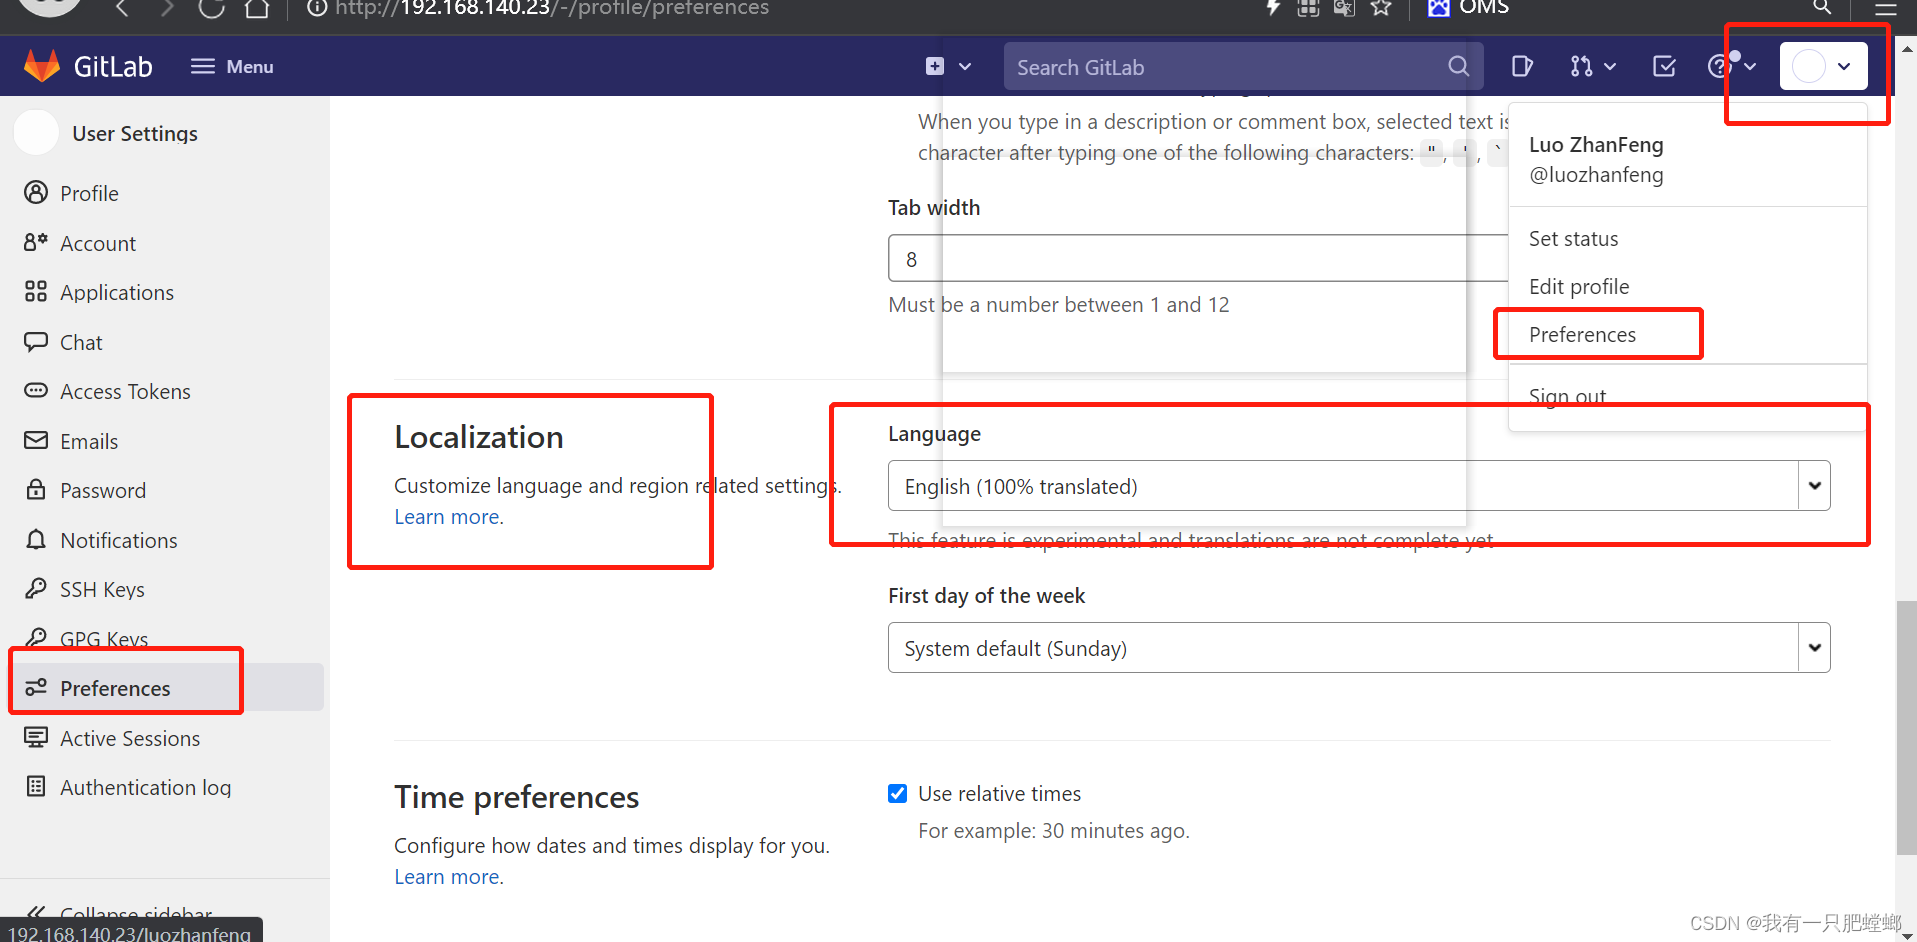
设置中文
如下图所示
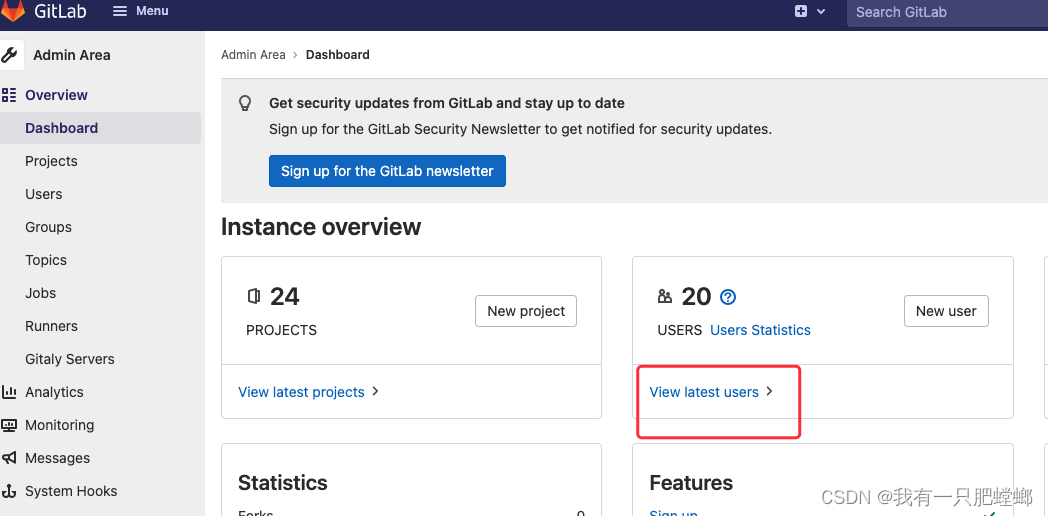
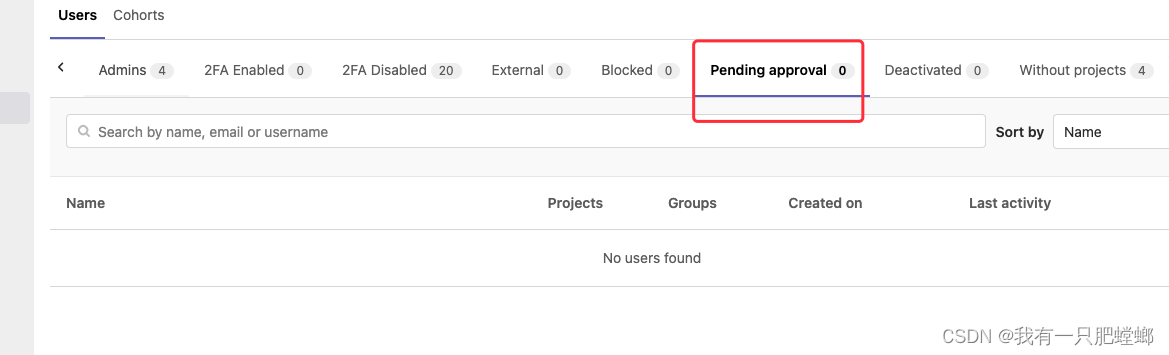
管理员通过账号审核申请
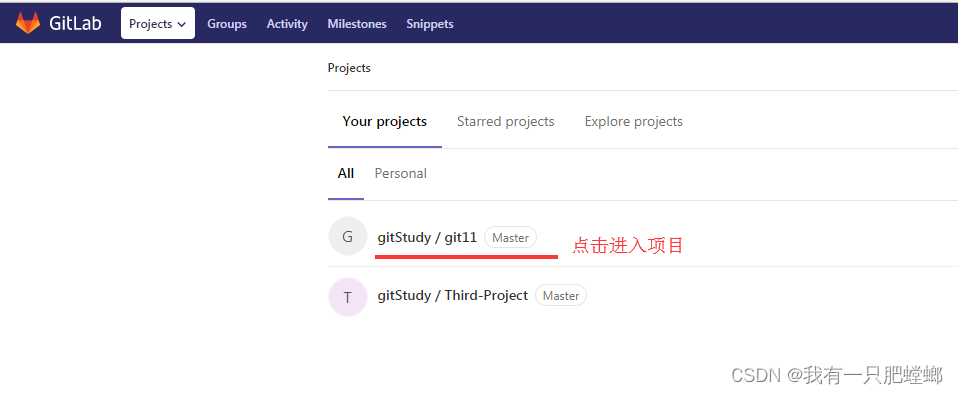
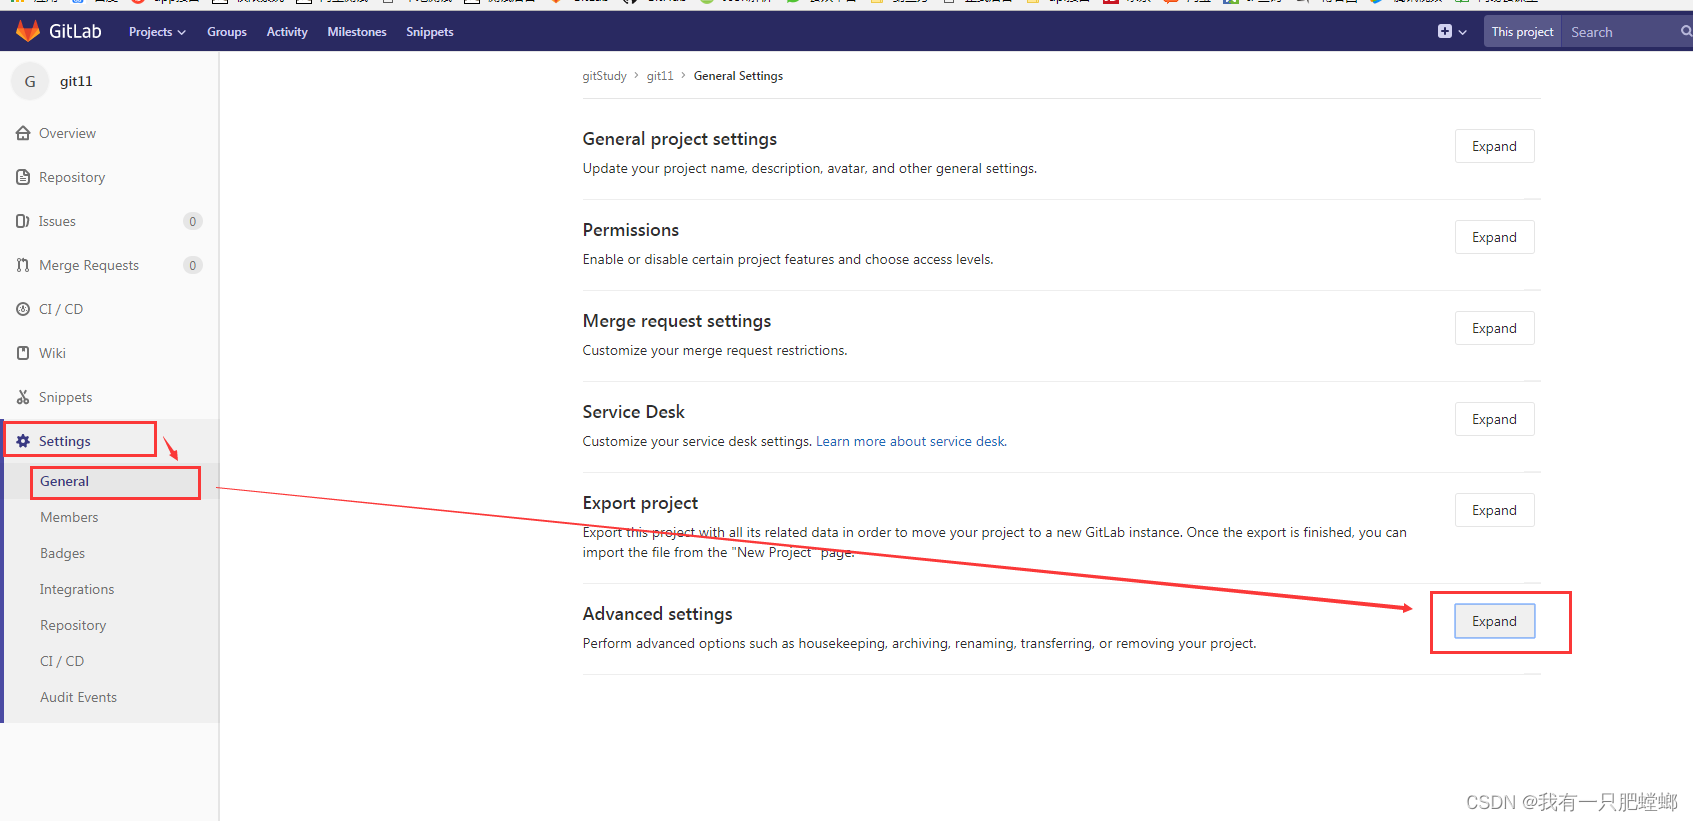
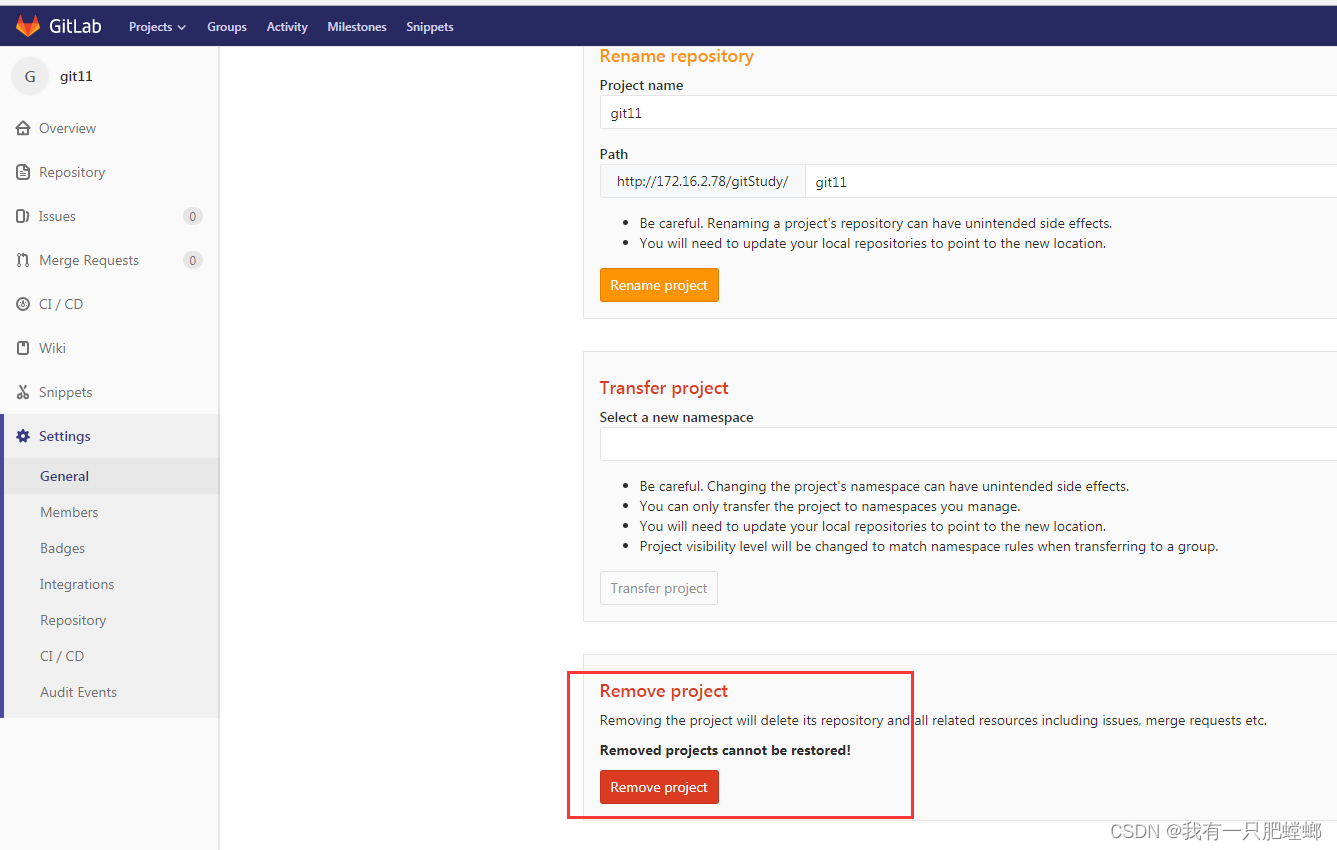
删除项目


 499
499


 被折叠的 条评论
为什么被折叠?
被折叠的 条评论
为什么被折叠?
 到【灌水乐园】发言


